HOW TO READ VALMONT DRAWINGS 2016 Valmont Industries





- Slides: 67

HOW TO READ VALMONT DRAWINGS © 2016 Valmont Industries, Inc. All rights reserved.

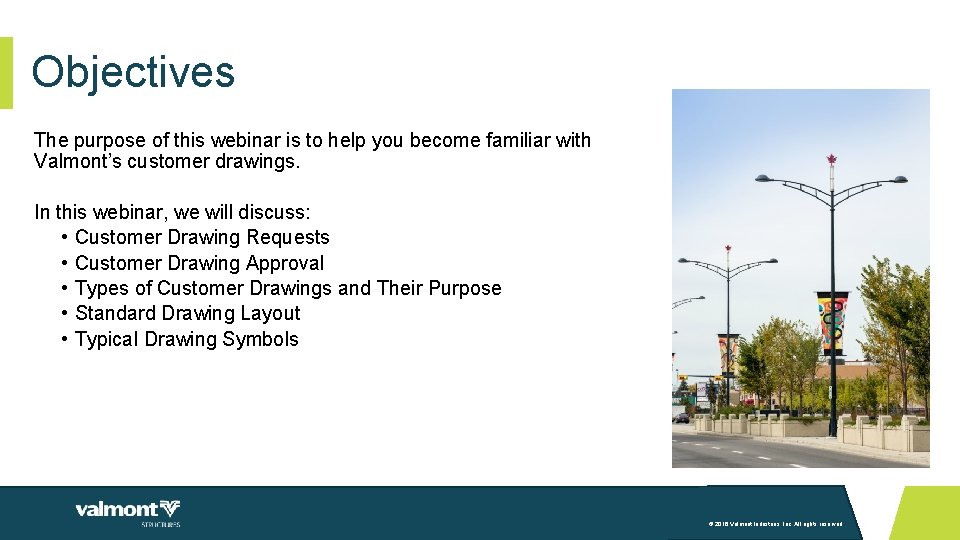
Objectives The purpose of this webinar is to help you become familiar with Valmont’s customer drawings. In this webinar, we will discuss: • Customer Drawing Requests • Customer Drawing Approval • Types of Customer Drawings and Their Purpose • Standard Drawing Layout • Typical Drawing Symbols © 2016 Valmont Industries, Inc. All rights reserved.

01 Customer Drawing Requests

Customer Drawing Requests • • Valmont receives the request for a customer drawing typically through a Valmont agent. The request is entered into our system by the assigned Project Administrator and placed in queue. Requests requiring design review are analyzed by our in-house Engineering staff. Drafting creates the customer drawing based on the project and/or customer requirements. • Purchase order (PO), plans, specifications, calculations prepared by Engineering, documented information from email communications between agent and Valmont, etc. • The completed customer drawing package is typically sent back to the Valmont agent for distribution to the project owner or approving authority. • Customer drawing • Formal calculations from Engineering (if required per project and/or customer requirements) • Professional Engineering (PE) stamp (if required per project and/or customer requirements) © 2016 Valmont Industries, Inc. All rights reserved.

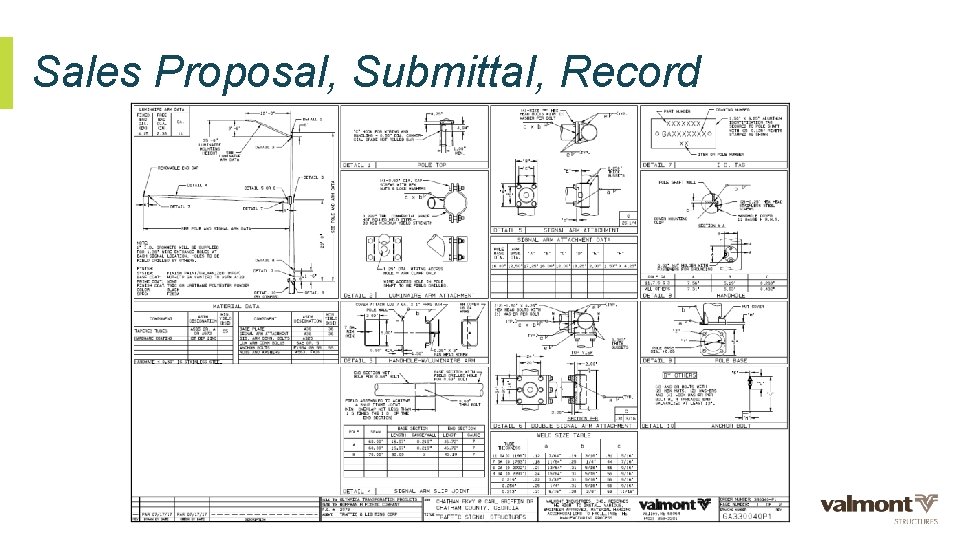
Customer Drawing Requests • Customer drawings are manually created using Auto. CAD. Marketing Illustrations are manually created using a variety of programs such as Auto. CAD, Inventor, Showcase, Photoshop, and Illustrator. • Drawings are not to scale but shall be proportional. • The type of customer drawing requested by the Valmont agent shall be based on the customer’s needs and the phase of the project. Some projects require a simple drawing while others require a more detailed drawing. • The different types of customer drawings include: • Marketing Illustration • Sales Proposal • Submittal Drawing • Record Drawing • DB Drawing • Sales Proposal, Submittal, Record and DB drawings are visually very similar but may have differences in the degree of detail being provided. © 2016 Valmont Industries, Inc. All rights reserved.

02 Customer Drawing Approval

Customer Drawing Approval • Some types of customer drawings require approval from the project owner or approving authority before the project can be released for manufacturing. • The project owner or approving authority will review the customer drawing package and provide comments and direction back thru the appropriate channels to Valmont. • Customer drawing approval definitions: • Approved Without Exception – The customer drawing is approved as submitted without exception. No revisions are required. Material can be manufactured as submitted with release of the project. • Approved as Noted – The customer drawing is approved as noted. Revisions are required however a revised customer drawing (otherwise known as a resubmittal) is not needed. Material can be manufactured as noted with release of the project. • Reject and Resubmit - The customer drawing is rejected and a resubmittal is required. The customer drawing will be revised and a resubmittal package will be provided for review by the project owner or approving authority. Material can not be manufactured until the approving authority approves the drawing. © 2016 Valmont Industries, Inc. All rights reserved.

03 Types of Customer Drawings and Their Purpose

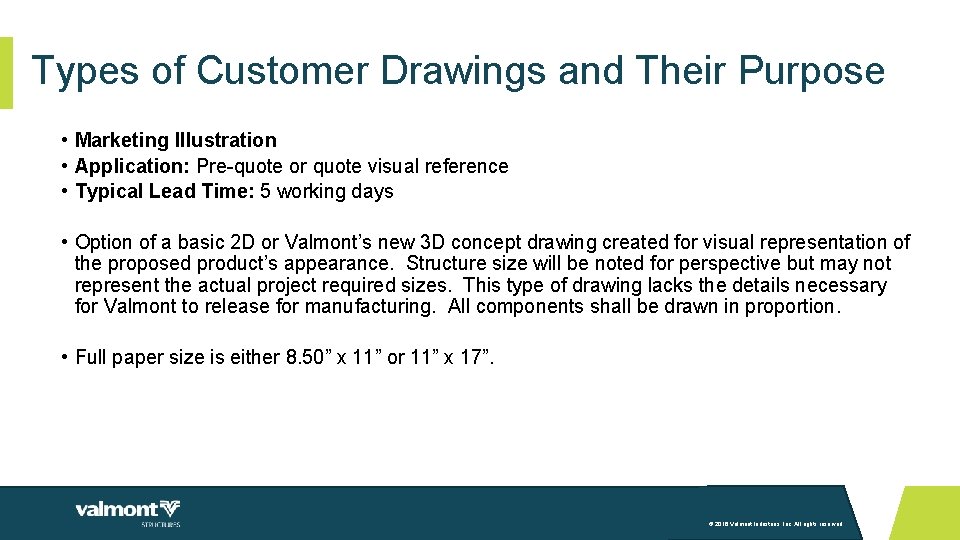
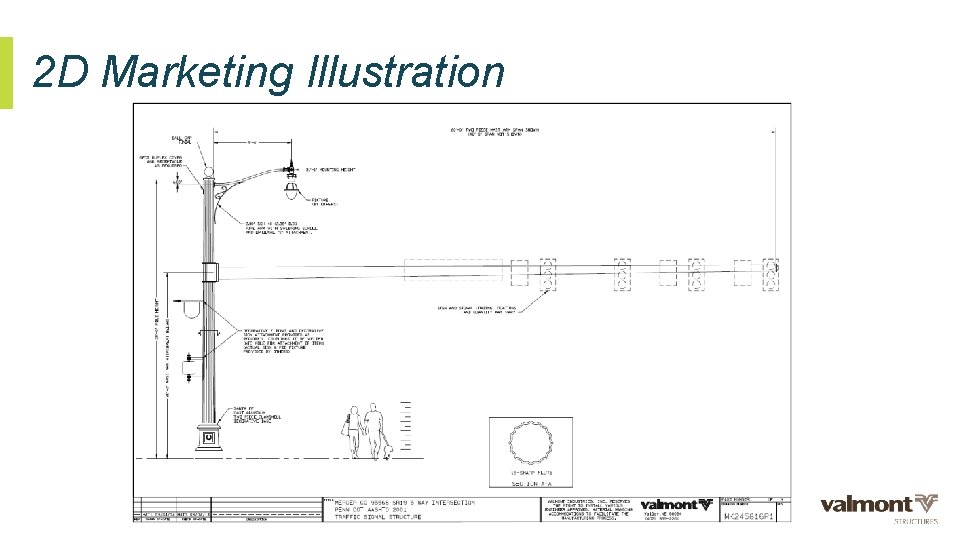
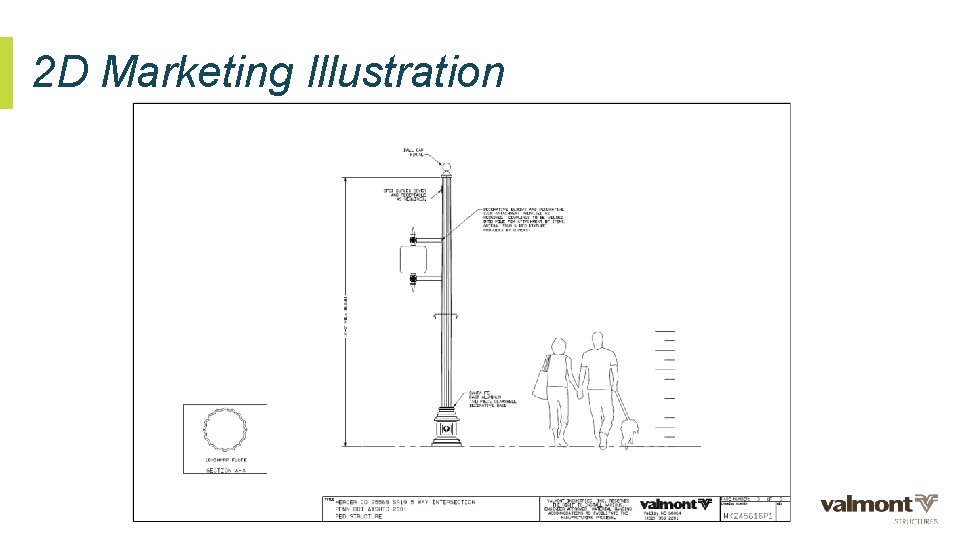
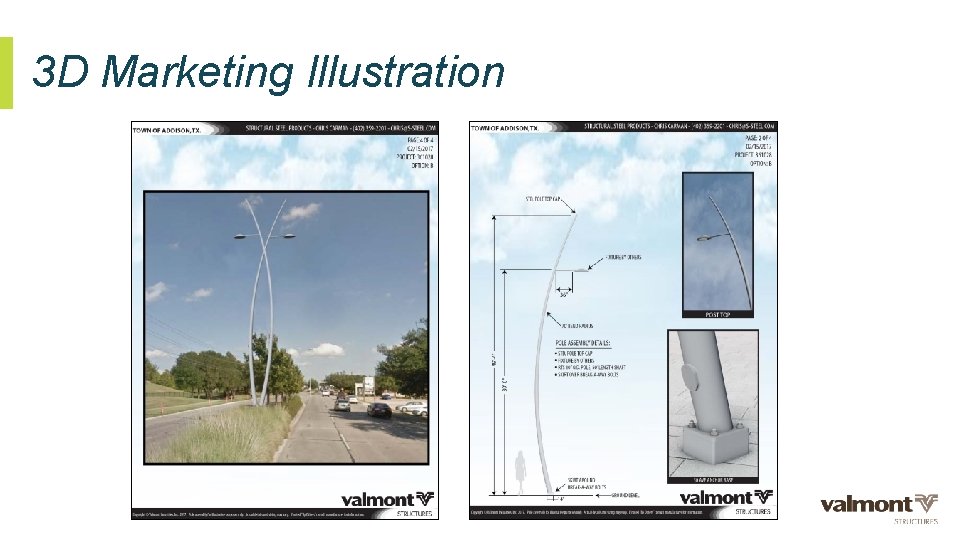
Types of Customer Drawings and Their Purpose • Marketing Illustration • Application: Pre-quote or quote visual reference • Typical Lead Time: 5 working days • Option of a basic 2 D or Valmont’s new 3 D concept drawing created for visual representation of the proposed product’s appearance. Structure size will be noted for perspective but may not represent the actual project required sizes. This type of drawing lacks the details necessary for Valmont to release for manufacturing. All components shall be drawn in proportion. • Full paper size is either 8. 50” x 11” or 11” x 17”. © 2016 Valmont Industries, Inc. All rights reserved.

2 D Marketing Illustration © 2016 Valmont Industries, Inc. All rights reserved.

2 D Marketing Illustration © 2016 Valmont Industries, Inc. All rights reserved.

3 D Marketing Illustration © 2016 Valmont Industries, Inc. All rights reserved.

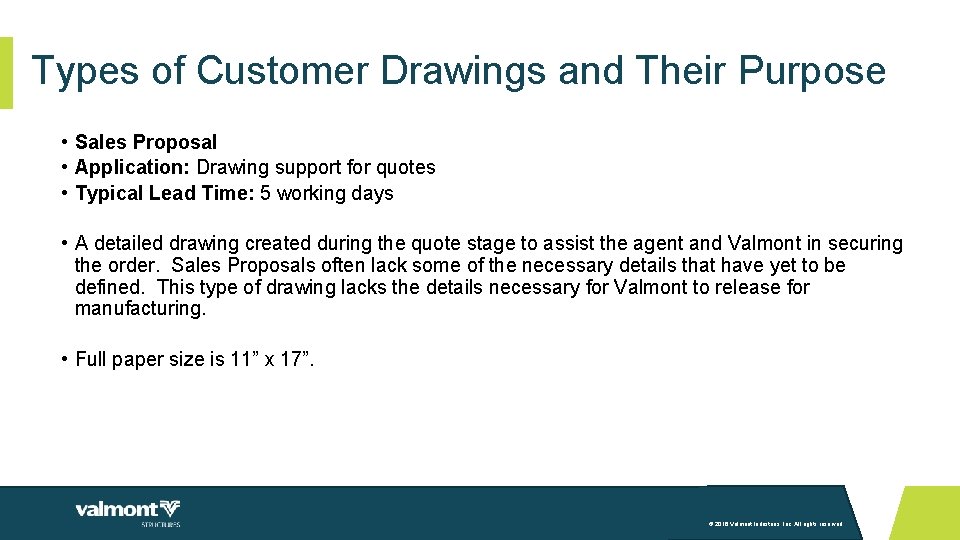
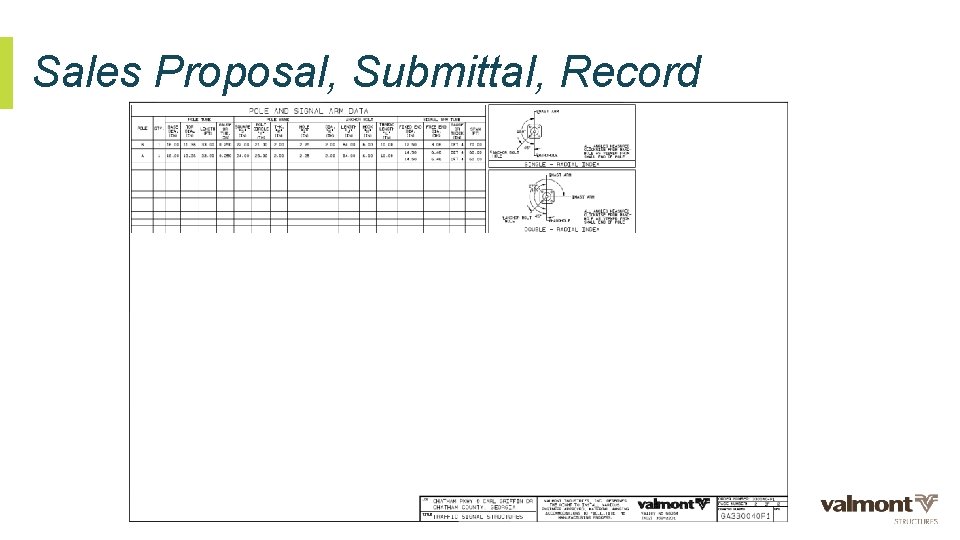
Types of Customer Drawings and Their Purpose • Sales Proposal • Application: Drawing support for quotes • Typical Lead Time: 5 working days • A detailed drawing created during the quote stage to assist the agent and Valmont in securing the order. Sales Proposals often lack some of the necessary details that have yet to be defined. This type of drawing lacks the details necessary for Valmont to release for manufacturing. • Full paper size is 11” x 17”. © 2016 Valmont Industries, Inc. All rights reserved.

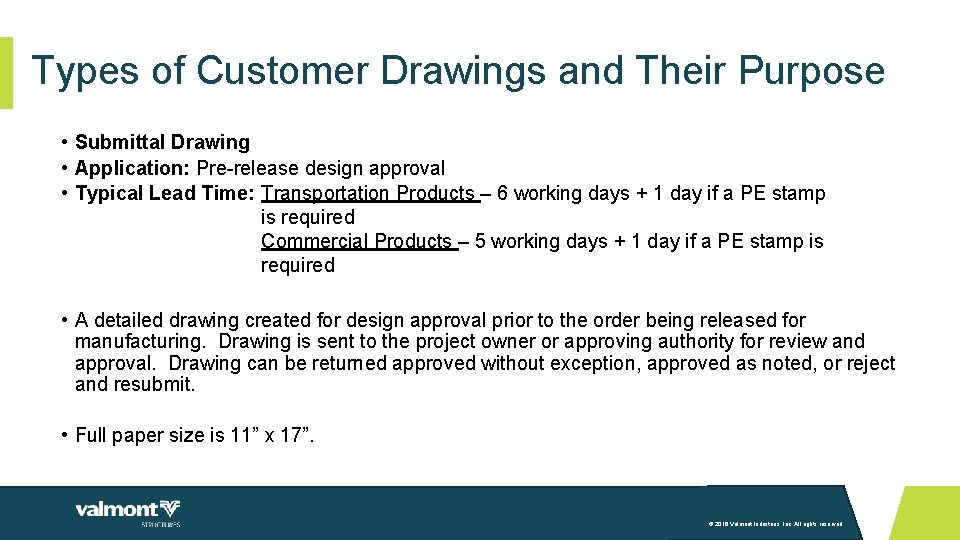
Types of Customer Drawings and Their Purpose • Submittal Drawing • Application: Pre-release design approval • Typical Lead Time: Transportation Products – 6 working days + 1 day if a PE stamp is required Commercial Products – 5 working days + 1 day if a PE stamp is required • A detailed drawing created for design approval prior to the order being released for manufacturing. Drawing is sent to the project owner or approving authority for review and approval. Drawing can be returned approved without exception, approved as noted, or reject and resubmit. • Full paper size is 11” x 17”. © 2016 Valmont Industries, Inc. All rights reserved.

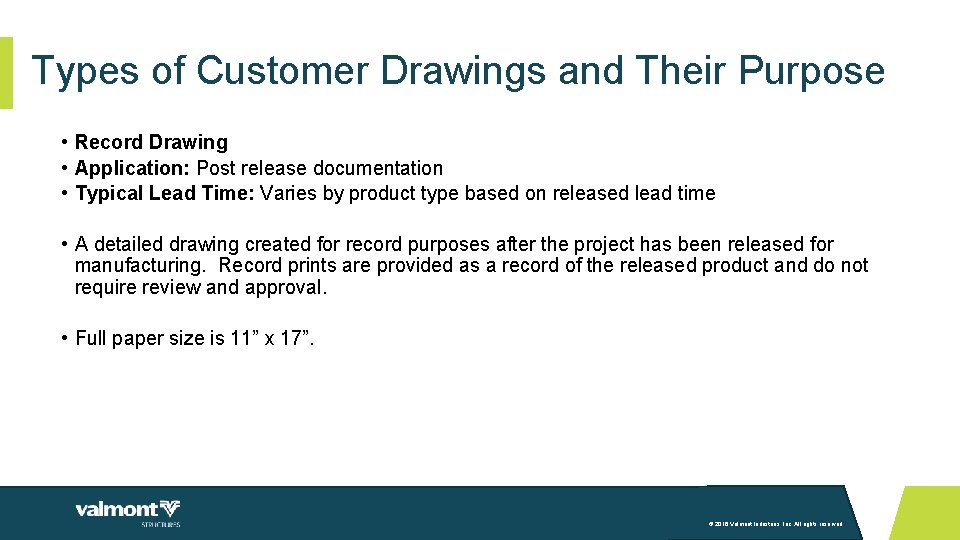
Types of Customer Drawings and Their Purpose • Record Drawing • Application: Post release documentation • Typical Lead Time: Varies by product type based on released lead time • A detailed drawing created for record purposes after the project has been released for manufacturing. Record prints are provided as a record of the released product and do not require review and approval. • Full paper size is 11” x 17”. © 2016 Valmont Industries, Inc. All rights reserved.

Sales Proposal, Submittal, Record © 2016 Valmont Industries, Inc. All rights reserved.

Sales Proposal, Submittal, Record © 2016 Valmont Industries, Inc. All rights reserved.

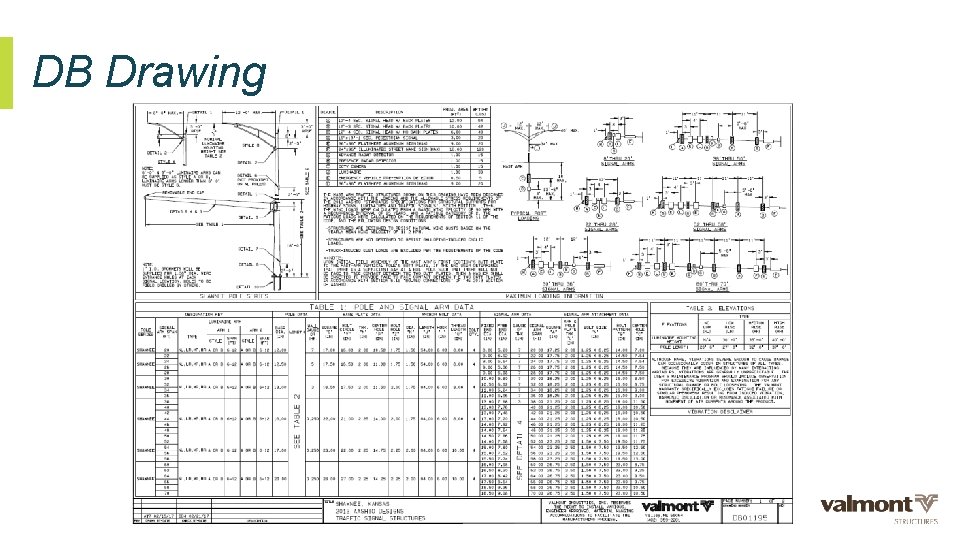
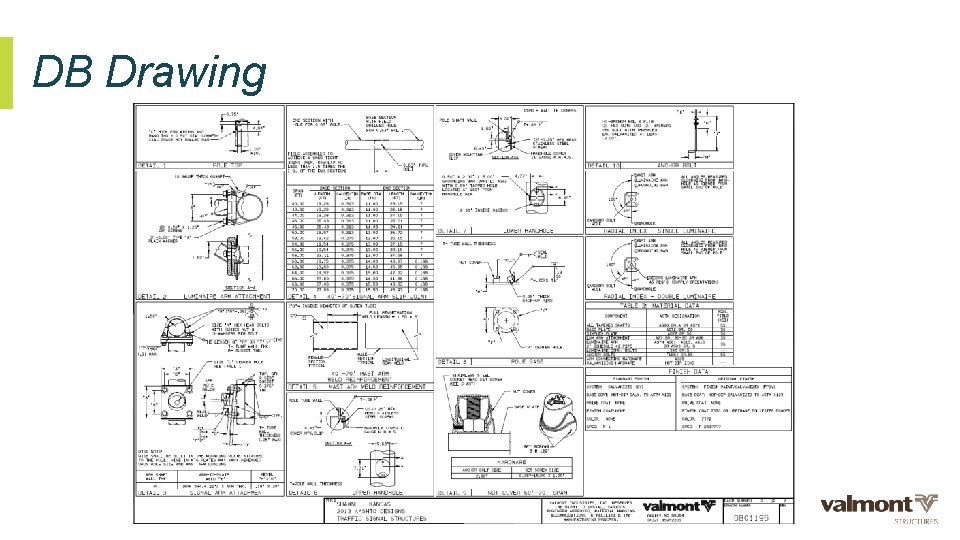
Types of Customer Drawings and Their Purpose • DB Drawing • Application: Drawing detailing a specific customer’s standards • Typical Lead Time: Varies based on customer’s required date • A detailed drawing reflecting a standard product design for an entity such as a Utility, County, City, or State. A DB drawing is intended to be reviewed and approved by the entity and is often specified in bid documents such as the written specifications. This type of drawing is used for multiple projects when standard product is ordered. • Full paper size is 11” x 17”. © 2016 Valmont Industries, Inc. All rights reserved.

DB Drawing © 2016 Valmont Industries, Inc. All rights reserved.

DB Drawing © 2016 Valmont Industries, Inc. All rights reserved.

04 Standard Drawing Layout

Standard Drawing Layout • Title Block • The title block is located along either the top or the bottom of the drawing page. • A full title block is located on the first page of drawing. • A partial title block is located on each additional page. • The title block provides pertinent information as each drawing is specific to either a project or a customer. © 2016 Valmont Industries, Inc. All rights reserved.

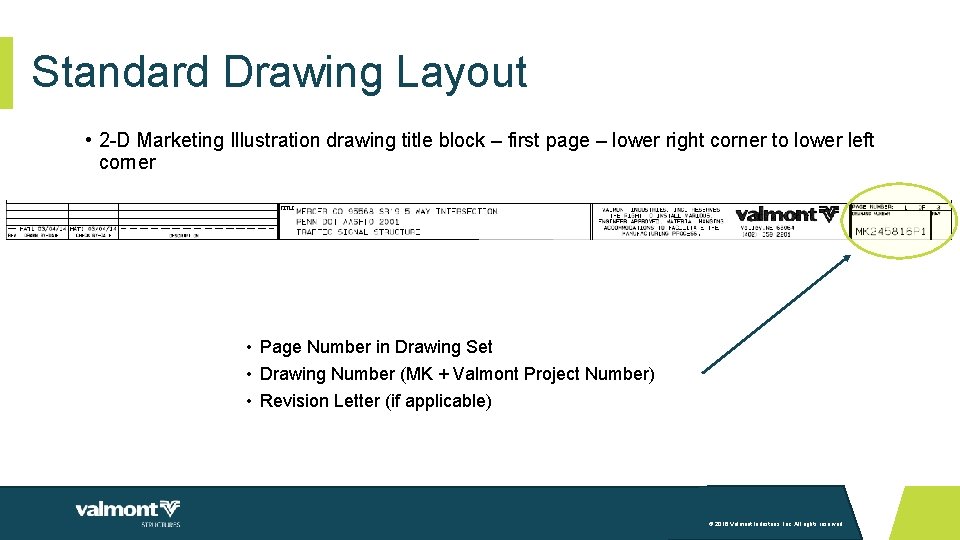
Standard Drawing Layout • 2 -D Marketing Illustration drawing title block – first page – lower right corner to lower left corner • Page Number in Drawing Set • Drawing Number (MK + Valmont Project Number) • Revision Letter (if applicable) © 2016 Valmont Industries, Inc. All rights reserved.

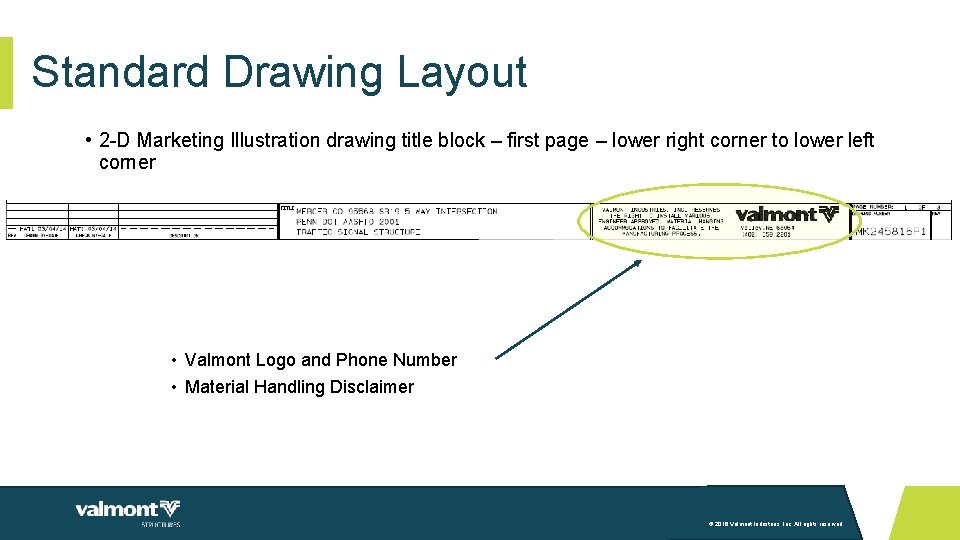
Standard Drawing Layout • 2 -D Marketing Illustration drawing title block – first page – lower right corner to lower left corner • Valmont Logo and Phone Number • Material Handling Disclaimer © 2016 Valmont Industries, Inc. All rights reserved.

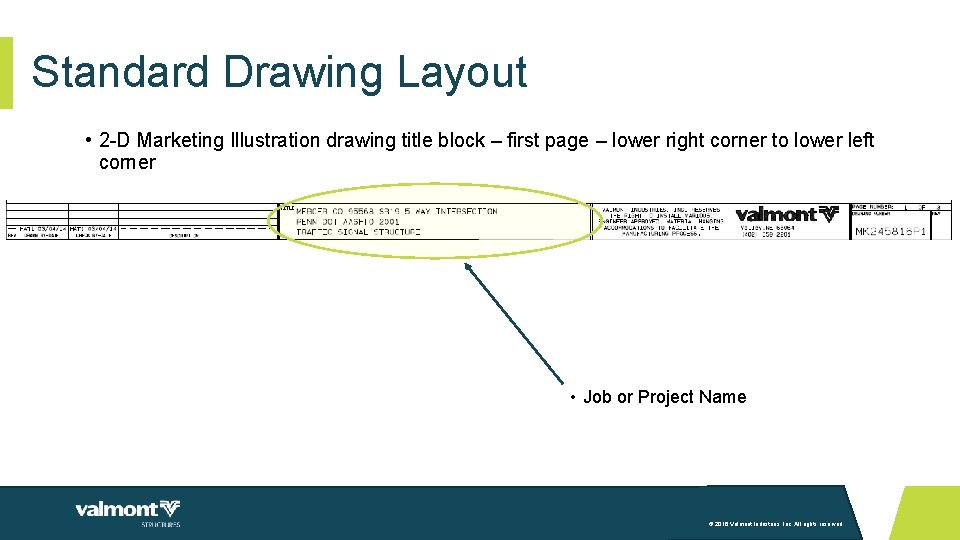
Standard Drawing Layout • 2 -D Marketing Illustration drawing title block – first page – lower right corner to lower left corner • Job or Project Name © 2016 Valmont Industries, Inc. All rights reserved.

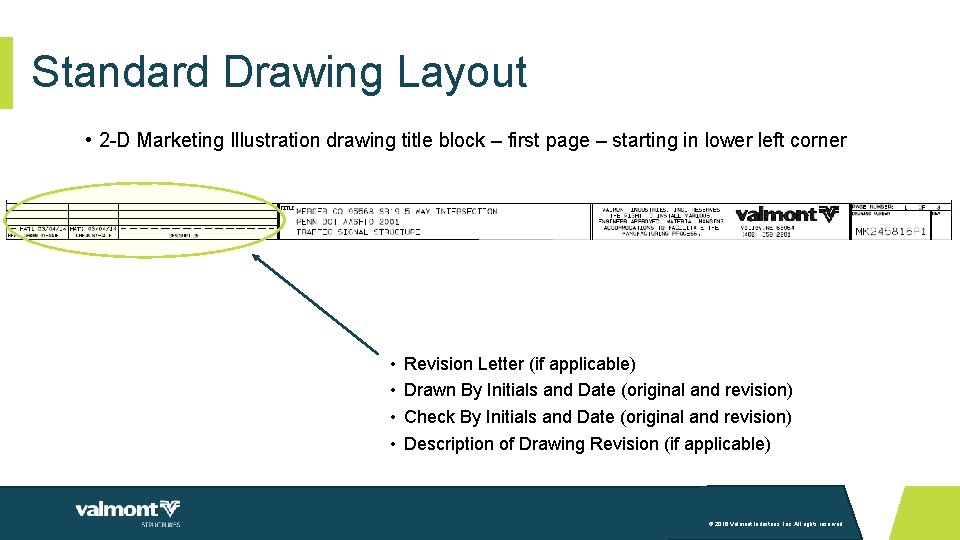
Standard Drawing Layout • 2 -D Marketing Illustration drawing title block – first page – starting in lower left corner • • Revision Letter (if applicable) Drawn By Initials and Date (original and revision) Check By Initials and Date (original and revision) Description of Drawing Revision (if applicable) © 2016 Valmont Industries, Inc. All rights reserved.

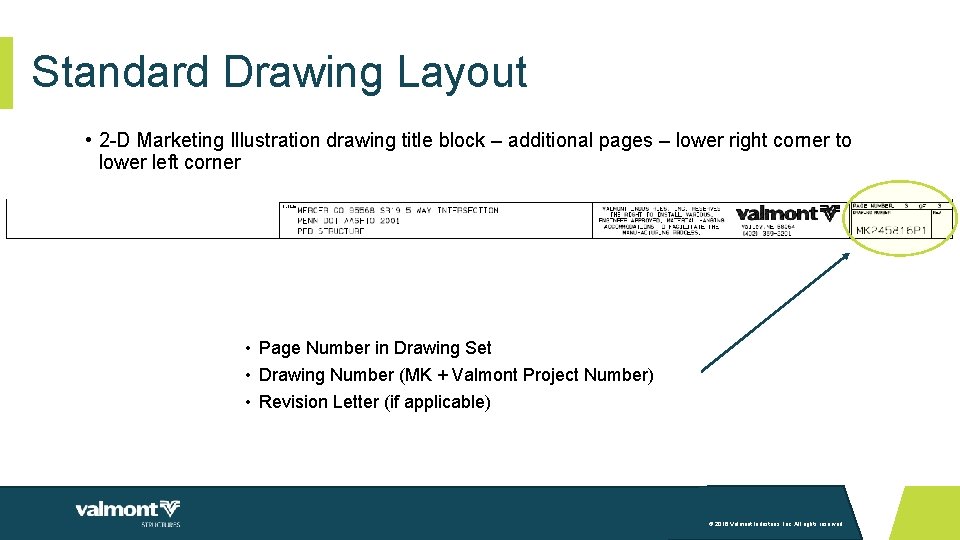
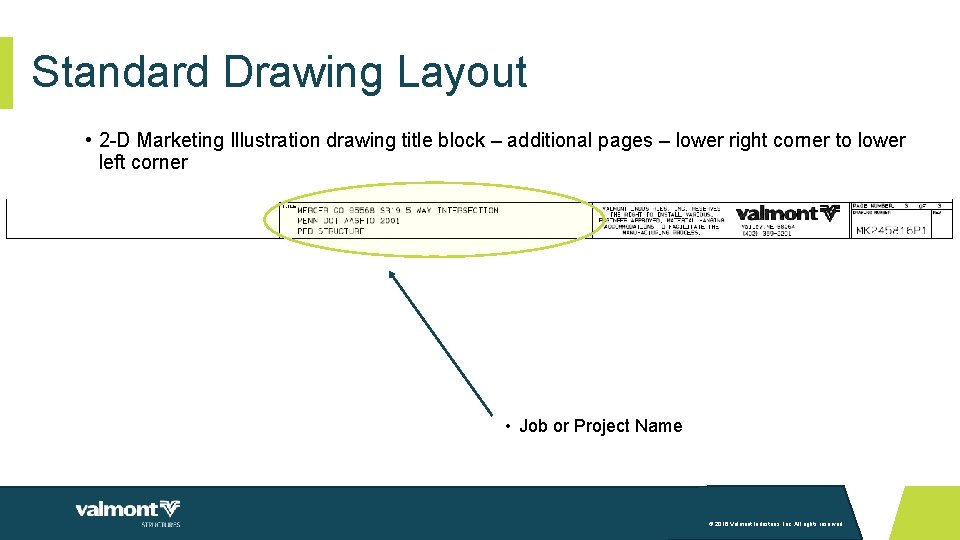
Standard Drawing Layout • 2 -D Marketing Illustration drawing title block – additional pages – lower right corner to lower left corner • Page Number in Drawing Set • Drawing Number (MK + Valmont Project Number) • Revision Letter (if applicable) © 2016 Valmont Industries, Inc. All rights reserved.

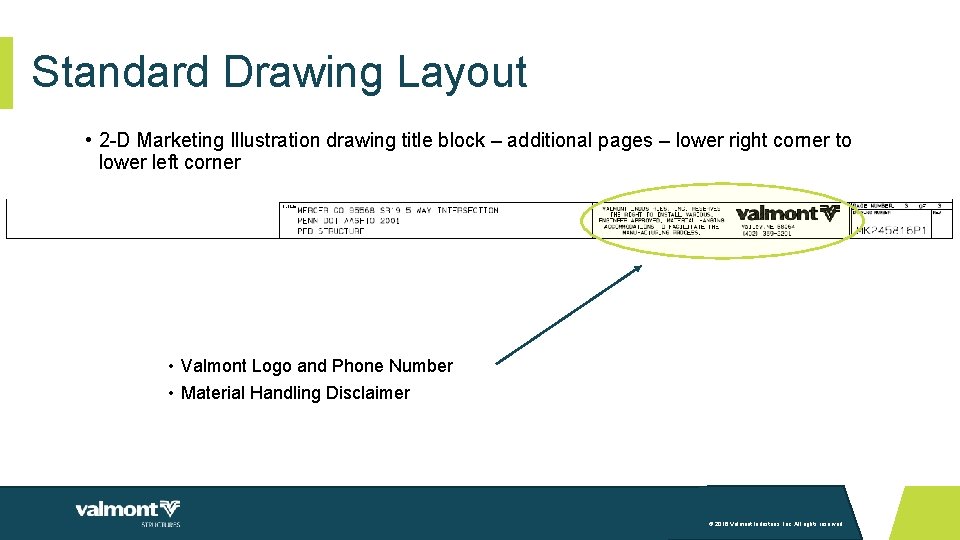
Standard Drawing Layout • 2 -D Marketing Illustration drawing title block – additional pages – lower right corner to lower left corner • Valmont Logo and Phone Number • Material Handling Disclaimer © 2016 Valmont Industries, Inc. All rights reserved.

Standard Drawing Layout • 2 -D Marketing Illustration drawing title block – additional pages – lower right corner to lower left corner • Job or Project Name © 2016 Valmont Industries, Inc. All rights reserved.

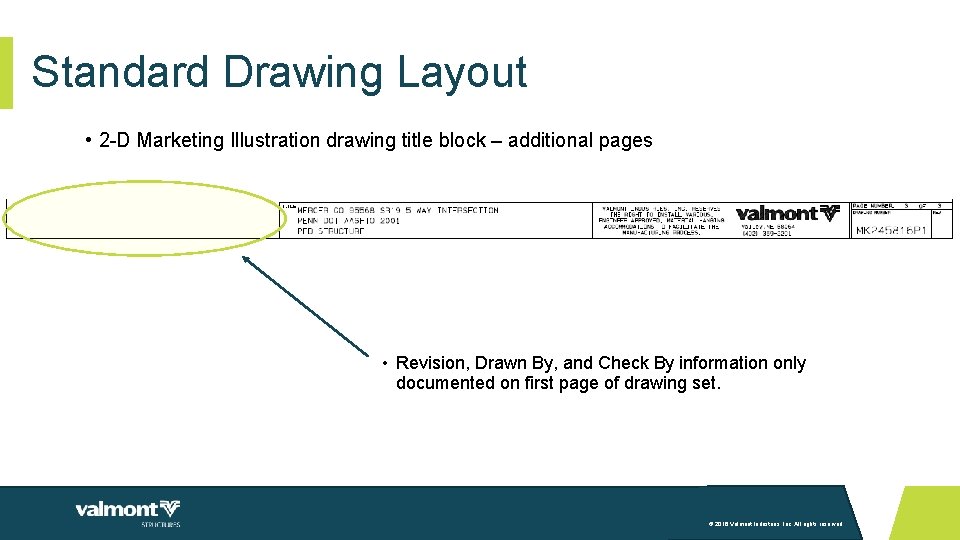
Standard Drawing Layout • 2 -D Marketing Illustration drawing title block – additional pages • Revision, Drawn By, and Check By information only documented on first page of drawing set. © 2016 Valmont Industries, Inc. All rights reserved.

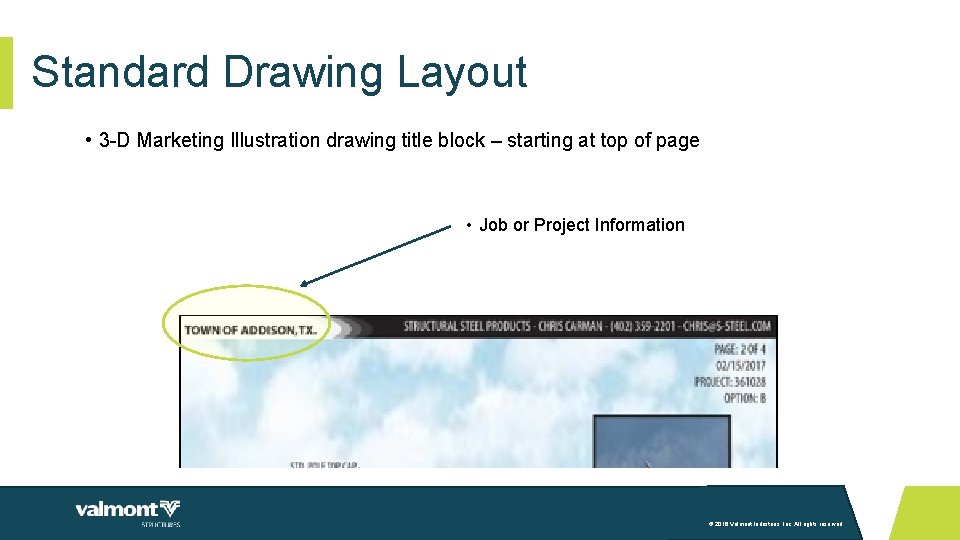
Standard Drawing Layout • 3 -D Marketing Illustration drawing title block – starting at top of page • Job or Project Information © 2016 Valmont Industries, Inc. All rights reserved.

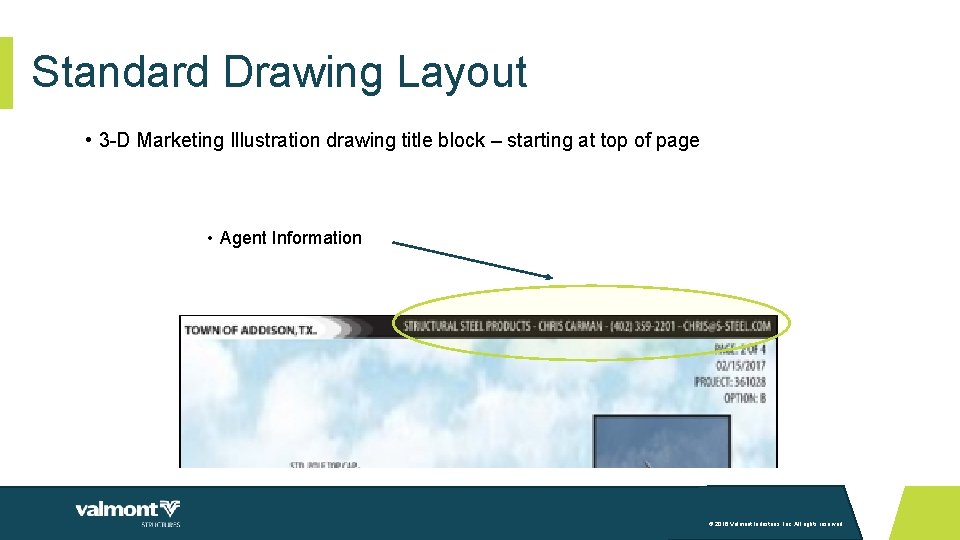
Standard Drawing Layout • 3 -D Marketing Illustration drawing title block – starting at top of page • Agent Information © 2016 Valmont Industries, Inc. All rights reserved.

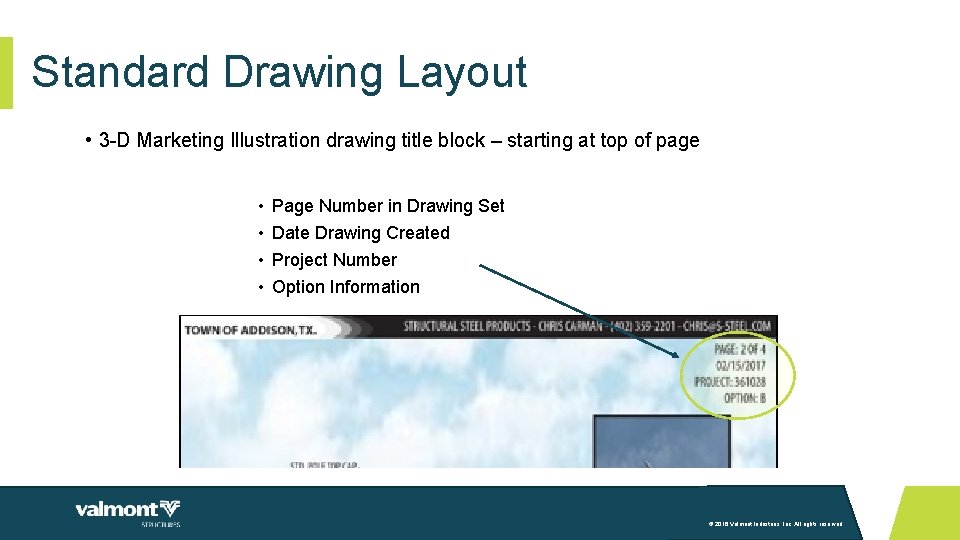
Standard Drawing Layout • 3 -D Marketing Illustration drawing title block – starting at top of page • • Page Number in Drawing Set Date Drawing Created Project Number Option Information © 2016 Valmont Industries, Inc. All rights reserved.

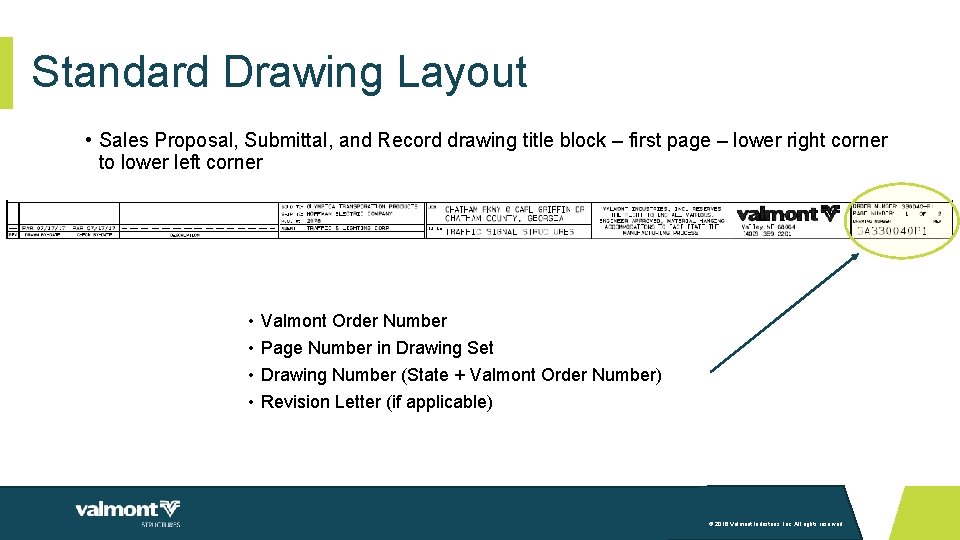
Standard Drawing Layout • Sales Proposal, Submittal, and Record drawing title block – first page – lower right corner to lower left corner • • Valmont Order Number Page Number in Drawing Set Drawing Number (State + Valmont Order Number) Revision Letter (if applicable) © 2016 Valmont Industries, Inc. All rights reserved.

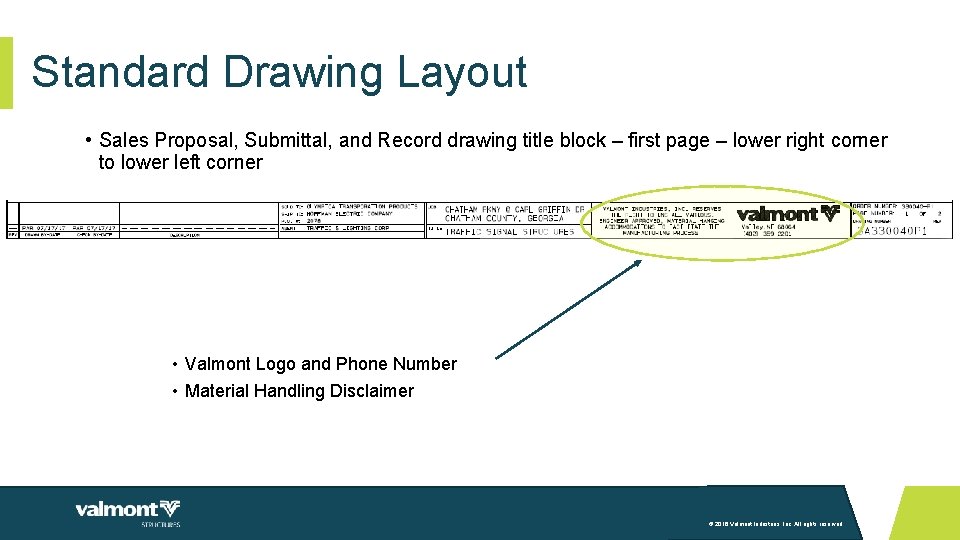
Standard Drawing Layout • Sales Proposal, Submittal, and Record drawing title block – first page – lower right corner to lower left corner • Valmont Logo and Phone Number • Material Handling Disclaimer © 2016 Valmont Industries, Inc. All rights reserved.

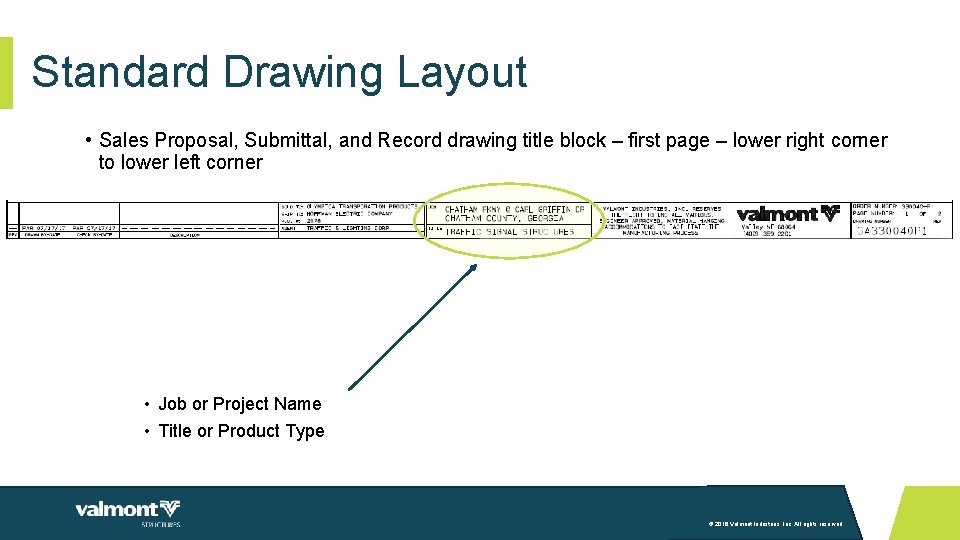
Standard Drawing Layout • Sales Proposal, Submittal, and Record drawing title block – first page – lower right corner to lower left corner • Job or Project Name • Title or Product Type © 2016 Valmont Industries, Inc. All rights reserved.

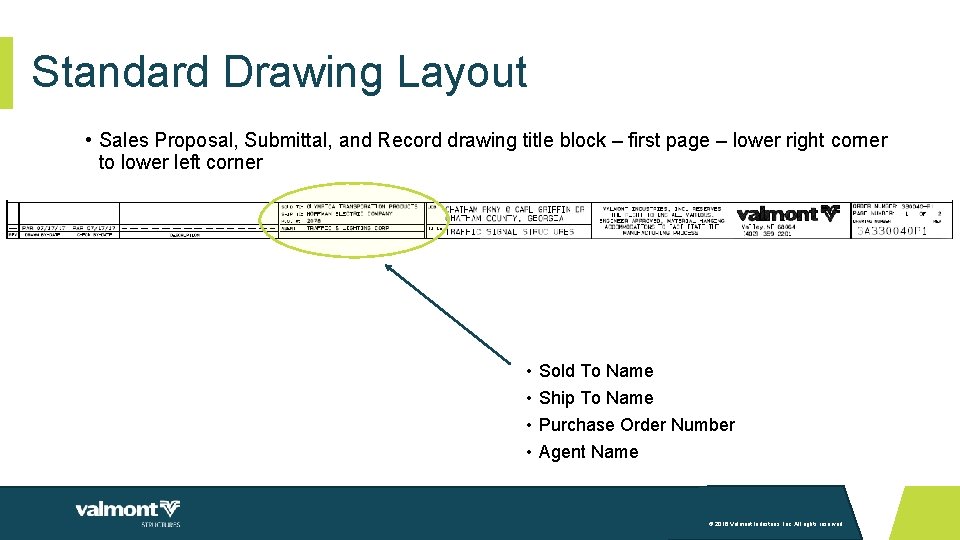
Standard Drawing Layout • Sales Proposal, Submittal, and Record drawing title block – first page – lower right corner to lower left corner • • Sold To Name Ship To Name Purchase Order Number Agent Name © 2016 Valmont Industries, Inc. All rights reserved.

Standard Drawing Layout • Sales Proposal, Submittal, and Record drawing title block – first page – starting in lower left corner • • Revision Letter (if applicable) Drawn By Initials and Date (original and revision) Check By Initials and Date (original and revision) Description of Drawing Revision (if applicable) © 2016 Valmont Industries, Inc. All rights reserved.

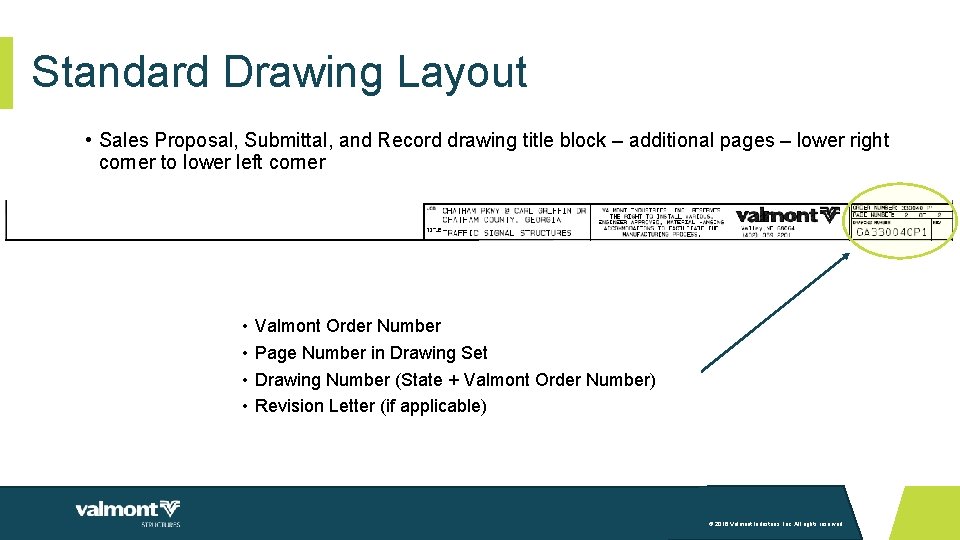
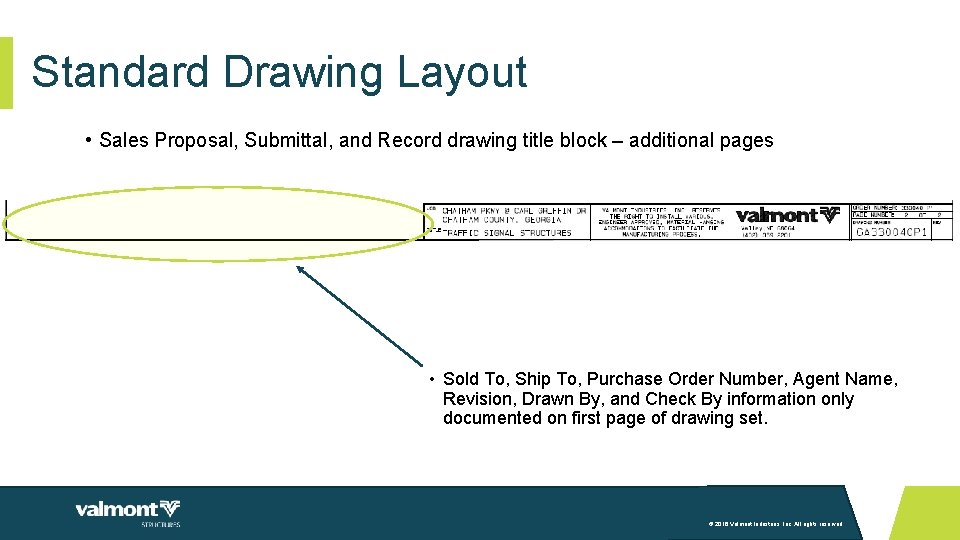
Standard Drawing Layout • Sales Proposal, Submittal, and Record drawing title block – additional pages – lower right corner to lower left corner • • Valmont Order Number Page Number in Drawing Set Drawing Number (State + Valmont Order Number) Revision Letter (if applicable) © 2016 Valmont Industries, Inc. All rights reserved.

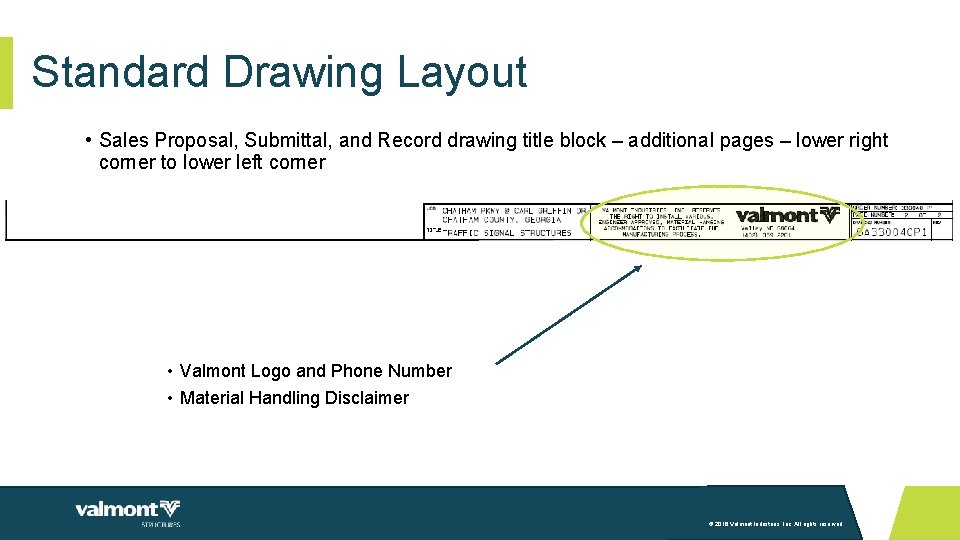
Standard Drawing Layout • Sales Proposal, Submittal, and Record drawing title block – additional pages – lower right corner to lower left corner • Valmont Logo and Phone Number • Material Handling Disclaimer © 2016 Valmont Industries, Inc. All rights reserved.

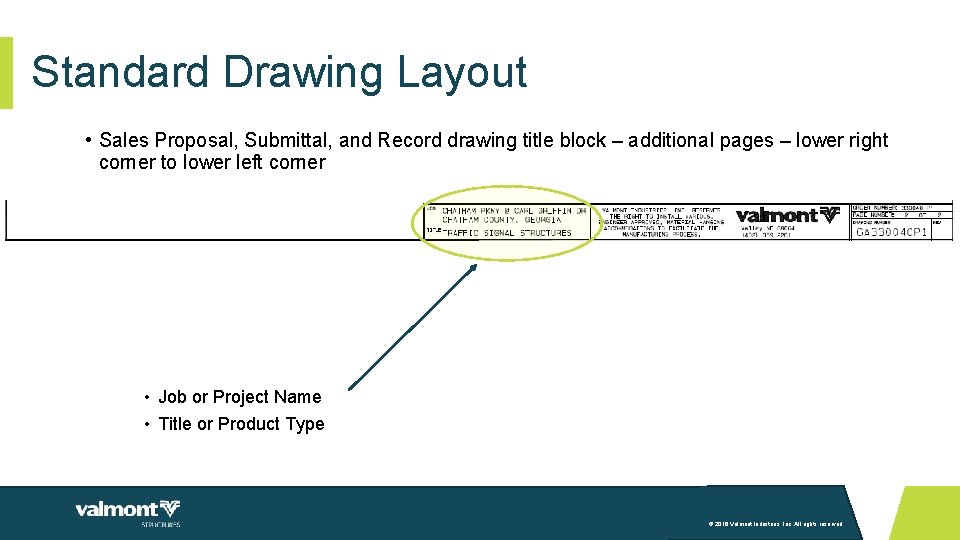
Standard Drawing Layout • Sales Proposal, Submittal, and Record drawing title block – additional pages – lower right corner to lower left corner • Job or Project Name • Title or Product Type © 2016 Valmont Industries, Inc. All rights reserved.

Standard Drawing Layout • Sales Proposal, Submittal, and Record drawing title block – additional pages • Sold To, Ship To, Purchase Order Number, Agent Name, Revision, Drawn By, and Check By information only documented on first page of drawing set. © 2016 Valmont Industries, Inc. All rights reserved.

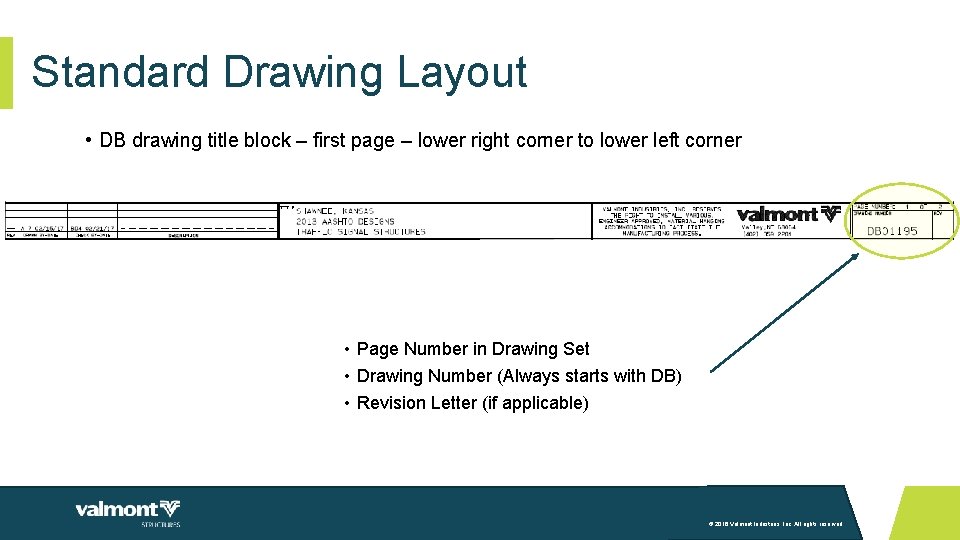
Standard Drawing Layout • DB drawing title block – first page – lower right corner to lower left corner • Page Number in Drawing Set • Drawing Number (Always starts with DB) • Revision Letter (if applicable) © 2016 Valmont Industries, Inc. All rights reserved.

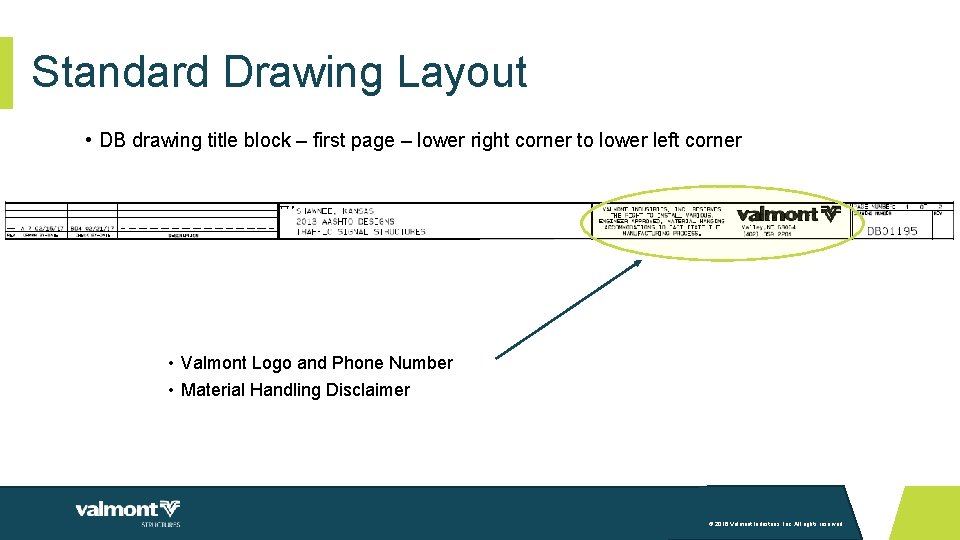
Standard Drawing Layout • DB drawing title block – first page – lower right corner to lower left corner • Valmont Logo and Phone Number • Material Handling Disclaimer © 2016 Valmont Industries, Inc. All rights reserved.

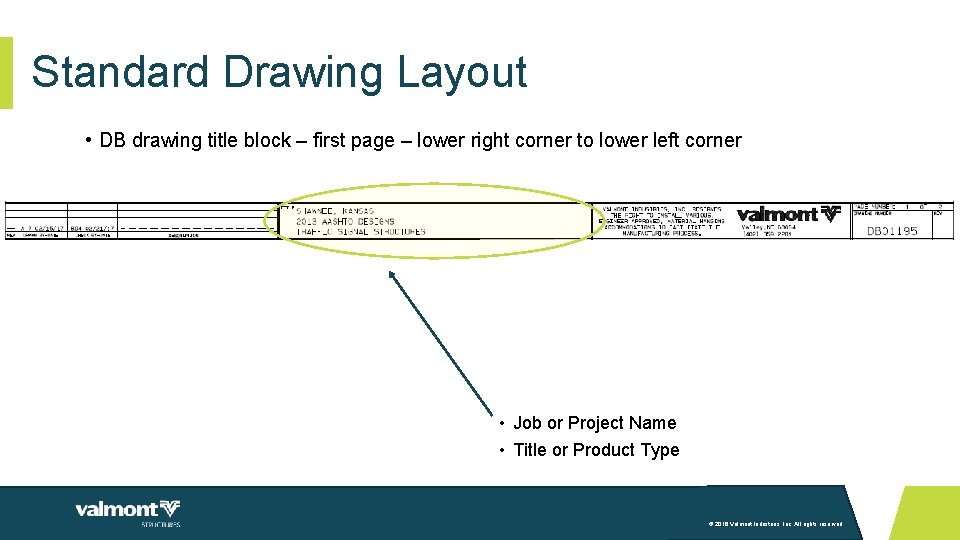
Standard Drawing Layout • DB drawing title block – first page – lower right corner to lower left corner • Job or Project Name • Title or Product Type © 2016 Valmont Industries, Inc. All rights reserved.

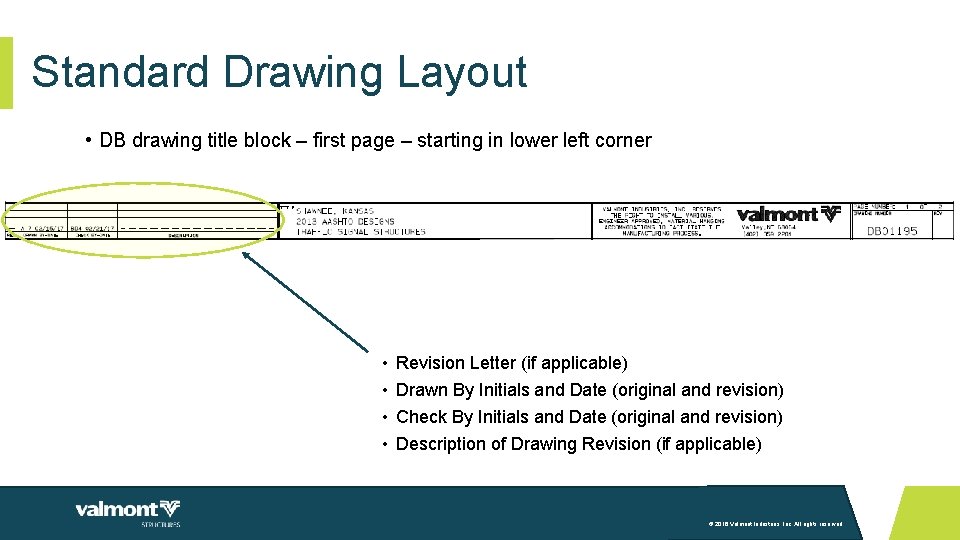
Standard Drawing Layout • DB drawing title block – first page – starting in lower left corner • • Revision Letter (if applicable) Drawn By Initials and Date (original and revision) Check By Initials and Date (original and revision) Description of Drawing Revision (if applicable) © 2016 Valmont Industries, Inc. All rights reserved.

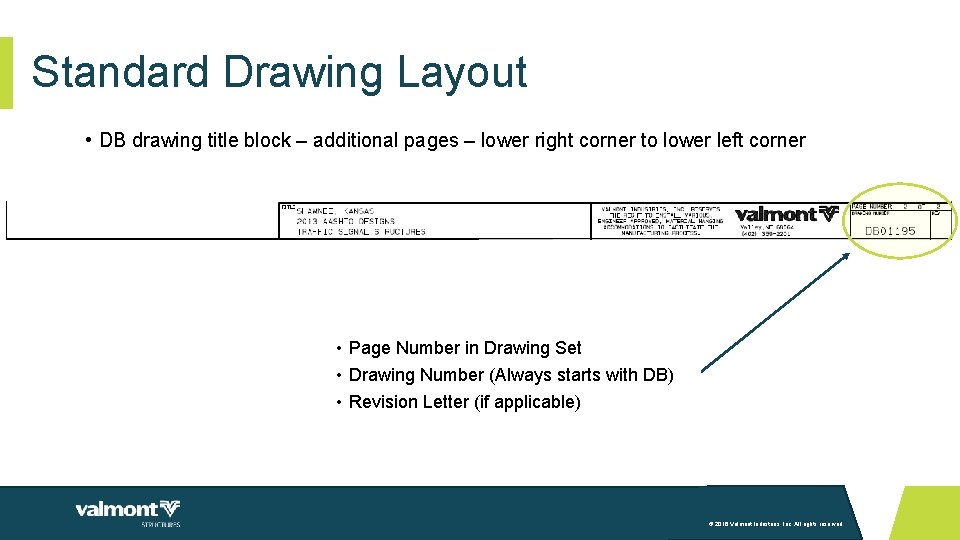
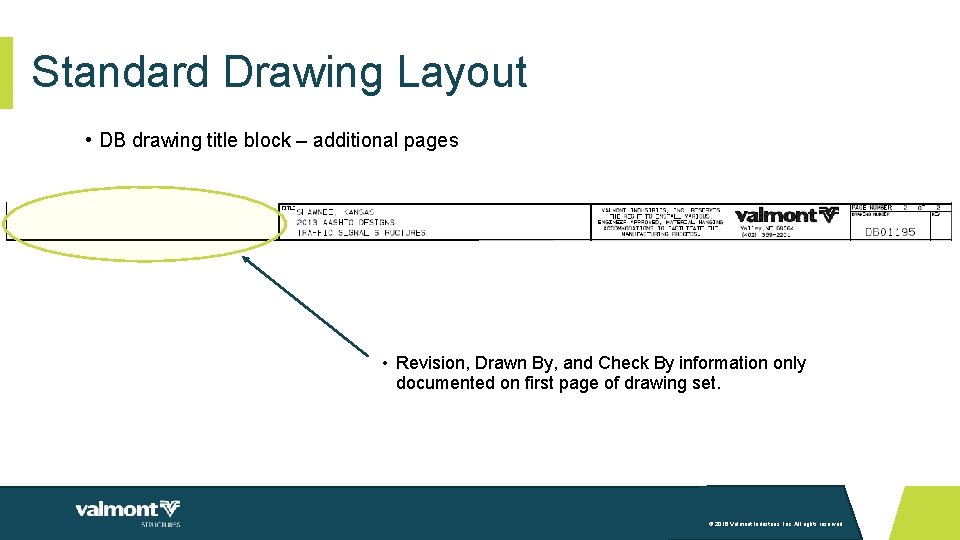
Standard Drawing Layout • DB drawing title block – additional pages – lower right corner to lower left corner • Page Number in Drawing Set • Drawing Number (Always starts with DB) • Revision Letter (if applicable) © 2016 Valmont Industries, Inc. All rights reserved.

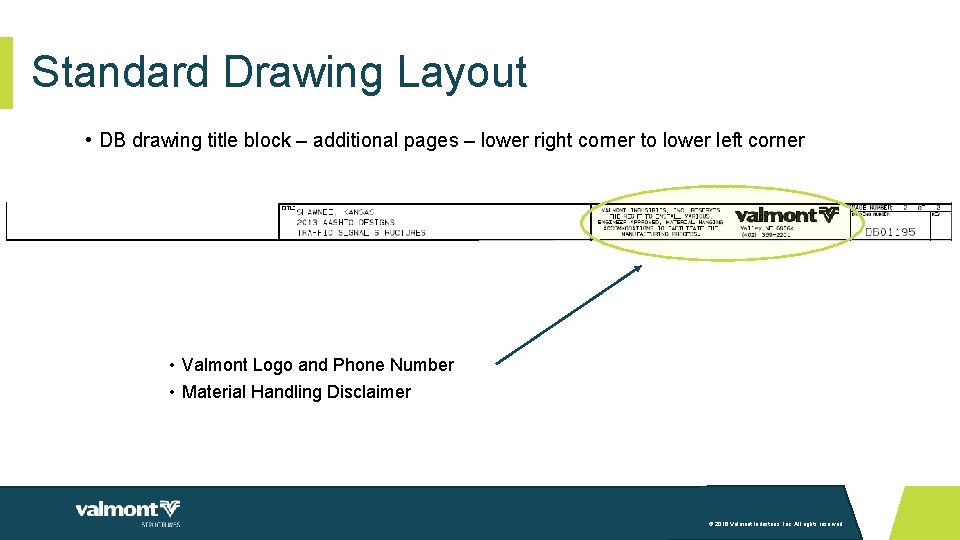
Standard Drawing Layout • DB drawing title block – additional pages – lower right corner to lower left corner • Valmont Logo and Phone Number • Material Handling Disclaimer © 2016 Valmont Industries, Inc. All rights reserved.

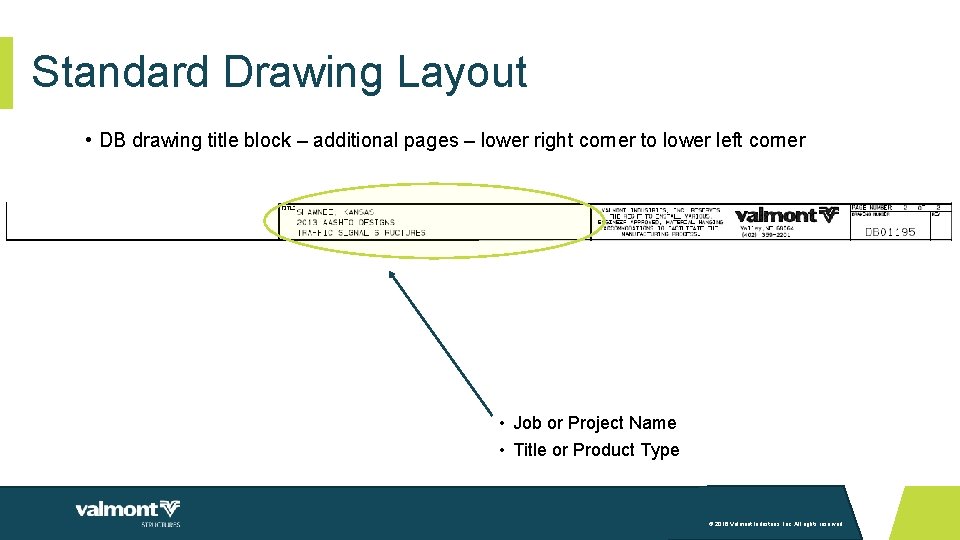
Standard Drawing Layout • DB drawing title block – additional pages – lower right corner to lower left corner • Job or Project Name • Title or Product Type © 2016 Valmont Industries, Inc. All rights reserved.

Standard Drawing Layout • DB drawing title block – additional pages • Revision, Drawn By, and Check By information only documented on first page of drawing set. © 2016 Valmont Industries, Inc. All rights reserved.

Standard Drawing Layout • Details • Drawings include a detail showing the structure elevation providing an overall view of the assembly. • Drawings include details showing components and their requirements. • Provided by Valmont unless otherwise noted. • Details are specific to either the project or the customer. © 2016 Valmont Industries, Inc. All rights reserved.

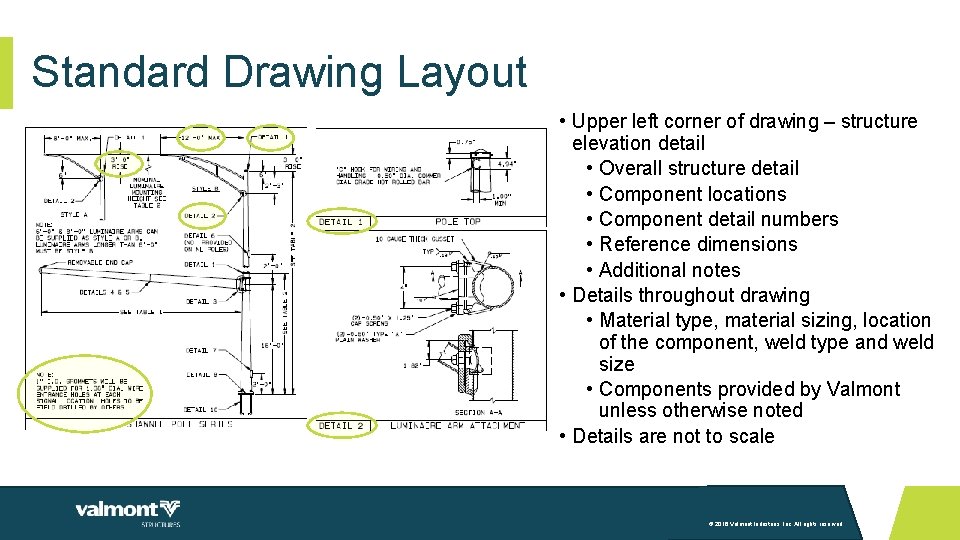
Standard Drawing Layout • Upper left corner of drawing – structure elevation detail • Overall structure detail • Component locations • Component detail numbers • Reference dimensions • Additional notes • Details throughout drawing • Material type, material sizing, location of the component, weld type and weld size • Components provided by Valmont unless otherwise noted • Details are not to scale © 2016 Valmont Industries, Inc. All rights reserved.

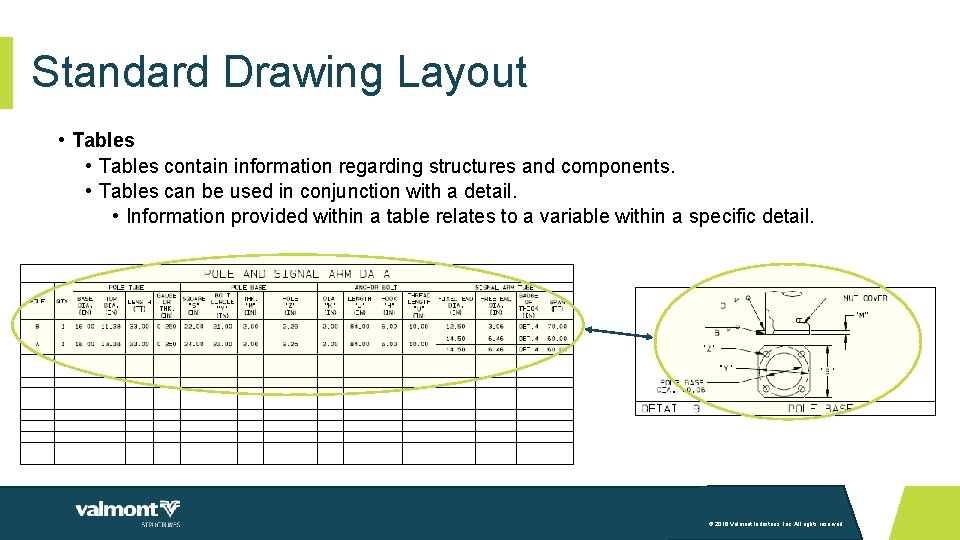
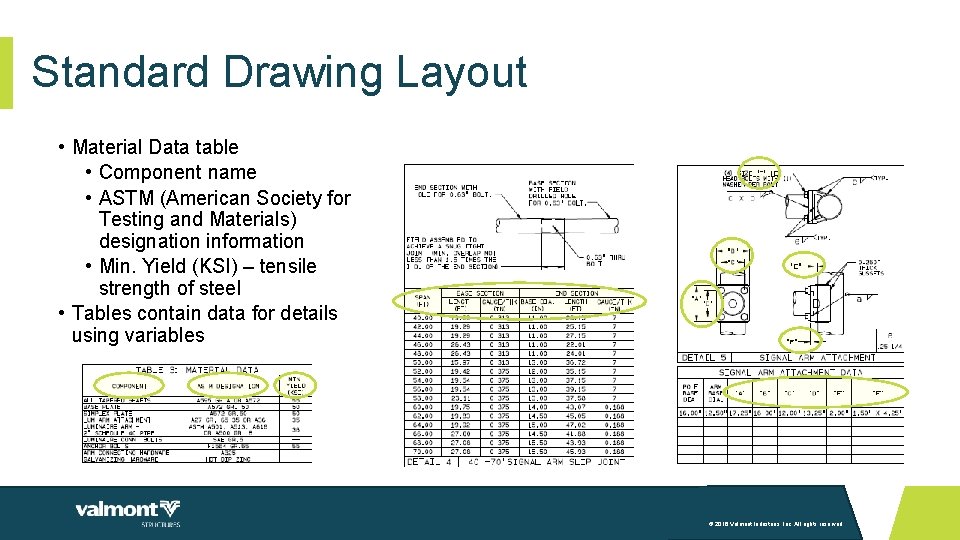
Standard Drawing Layout • Tables contain information regarding structures and components. • Tables can be used in conjunction with a detail. • Information provided within a table relates to a variable within a specific detail. © 2016 Valmont Industries, Inc. All rights reserved.

Standard Drawing Layout • Material Data table • Component name • ASTM (American Society for Testing and Materials) designation information • Min. Yield (KSI) – tensile strength of steel • Tables contain data for details using variables © 2016 Valmont Industries, Inc. All rights reserved.

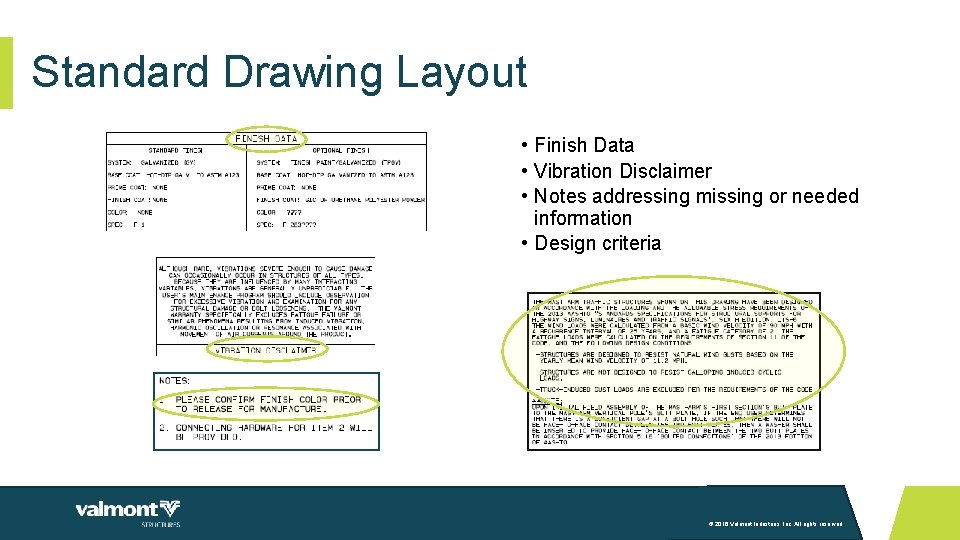
Standard Drawing Layout • Notes provide additional information outside a detail or table. • Notes address missing or needed information prior to release for manufacturing. • This information MUST be provided and is needed for processing. © 2016 Valmont Industries, Inc. All rights reserved.

Standard Drawing Layout • Finish Data • Vibration Disclaimer • Notes addressing missing or needed information • Design criteria © 2016 Valmont Industries, Inc. All rights reserved.

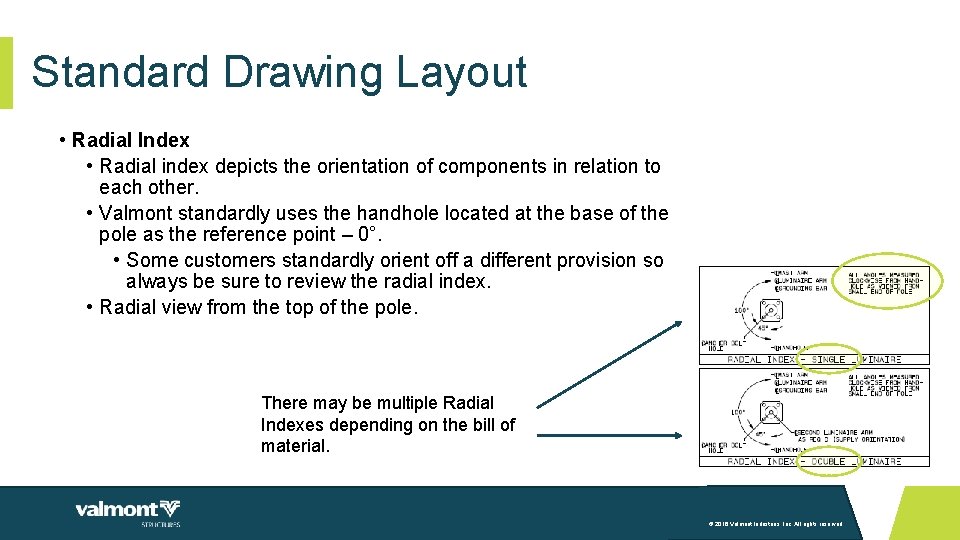
Standard Drawing Layout • Radial Index • Radial index depicts the orientation of components in relation to each other. • Valmont standardly uses the handhole located at the base of the pole as the reference point – 0°. • Some customers standardly orient off a different provision so always be sure to review the radial index. • Radial view from the top of the pole. There may be multiple Radial Indexes depending on the bill of material. © 2016 Valmont Industries, Inc. All rights reserved.

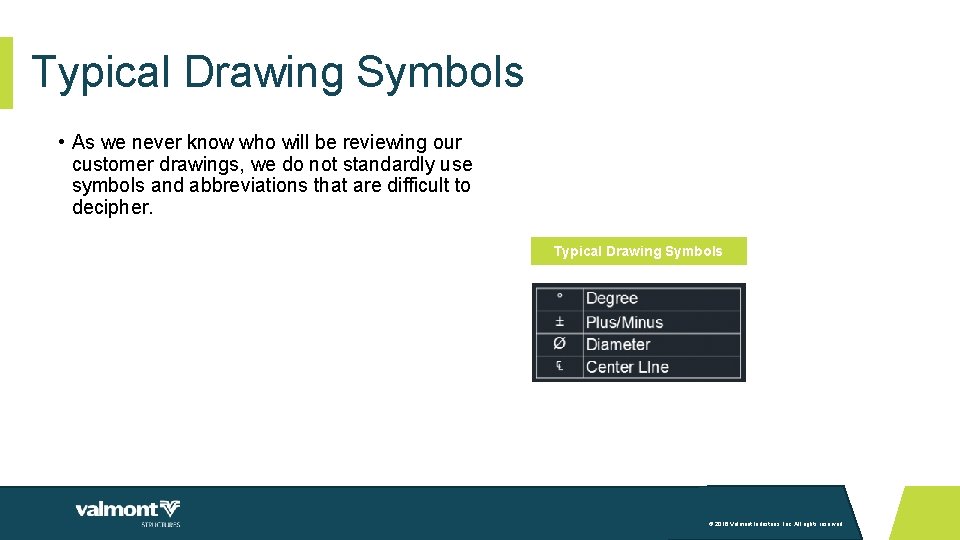
Typical Drawing Symbols • As we never know who will be reviewing our customer drawings, we do not standardly use symbols and abbreviations that are difficult to decipher. Typical Drawing Symbols © 2016 Valmont Industries, Inc. All rights reserved.

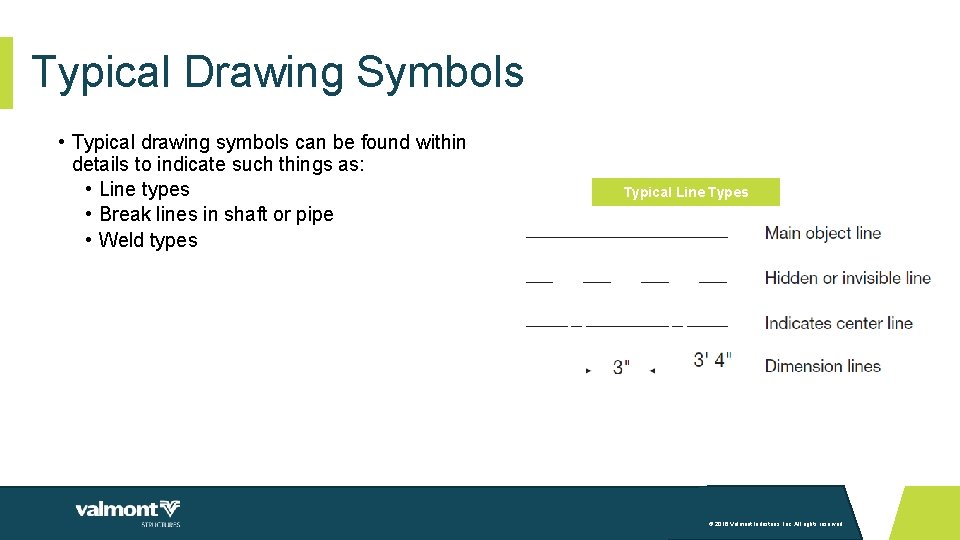
Typical Drawing Symbols • Typical drawing symbols can be found within details to indicate such things as: • Line types • Break lines in shaft or pipe • Weld types Typical Line Types © 2016 Valmont Industries, Inc. All rights reserved.

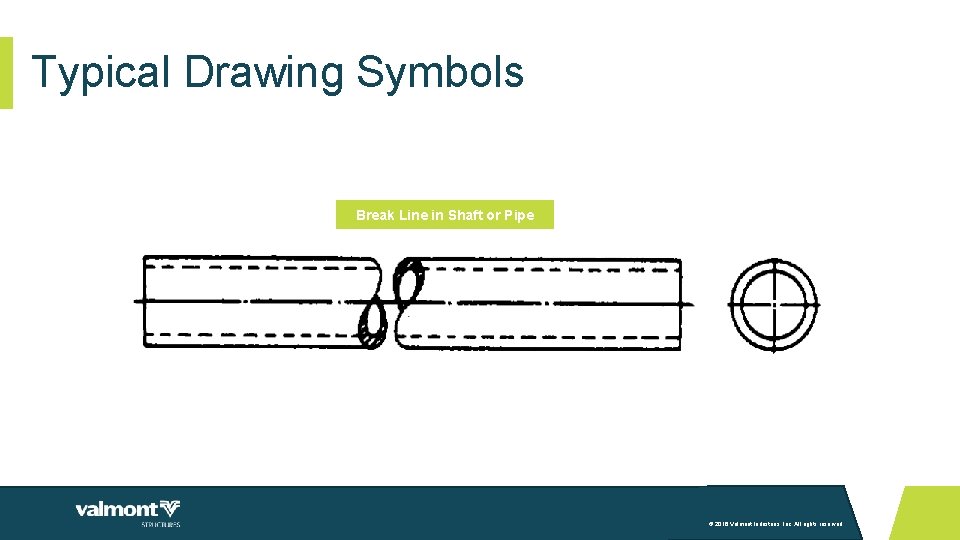
Typical Drawing Symbols Break Line in Shaft or Pipe © 2016 Valmont Industries, Inc. All rights reserved.

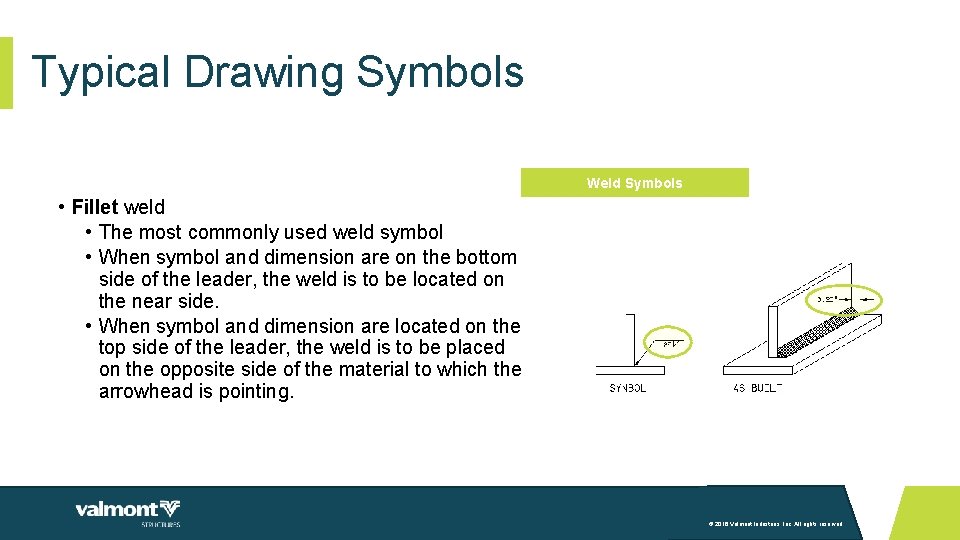
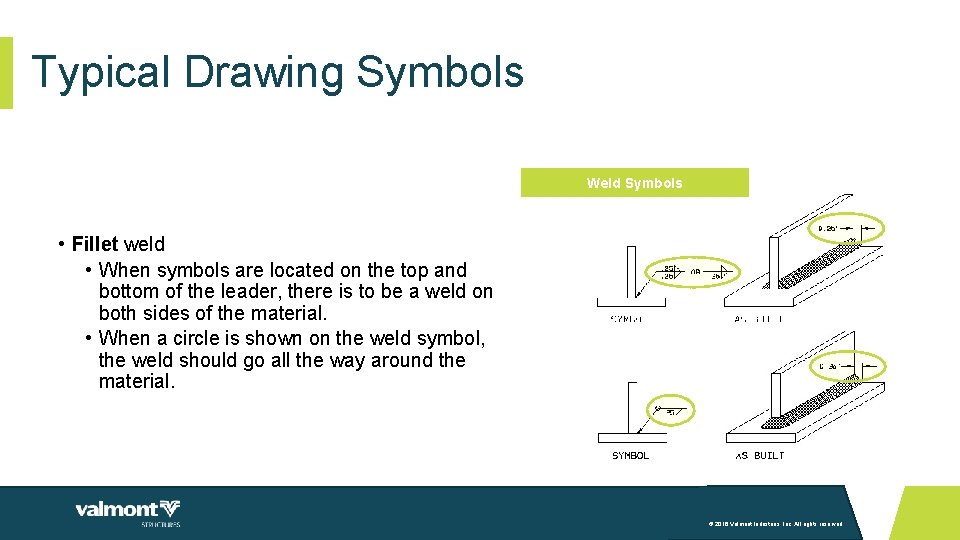
Typical Drawing Symbols Weld Symbols • Fillet weld • The most commonly used weld symbol • When symbol and dimension are on the bottom side of the leader, the weld is to be located on the near side. • When symbol and dimension are located on the top side of the leader, the weld is to be placed on the opposite side of the material to which the arrowhead is pointing. © 2016 Valmont Industries, Inc. All rights reserved.

Typical Drawing Symbols Weld Symbols • Fillet weld • When symbols are located on the top and bottom of the leader, there is to be a weld on both sides of the material. • When a circle is shown on the weld symbol, the weld should go all the way around the material. © 2016 Valmont Industries, Inc. All rights reserved.

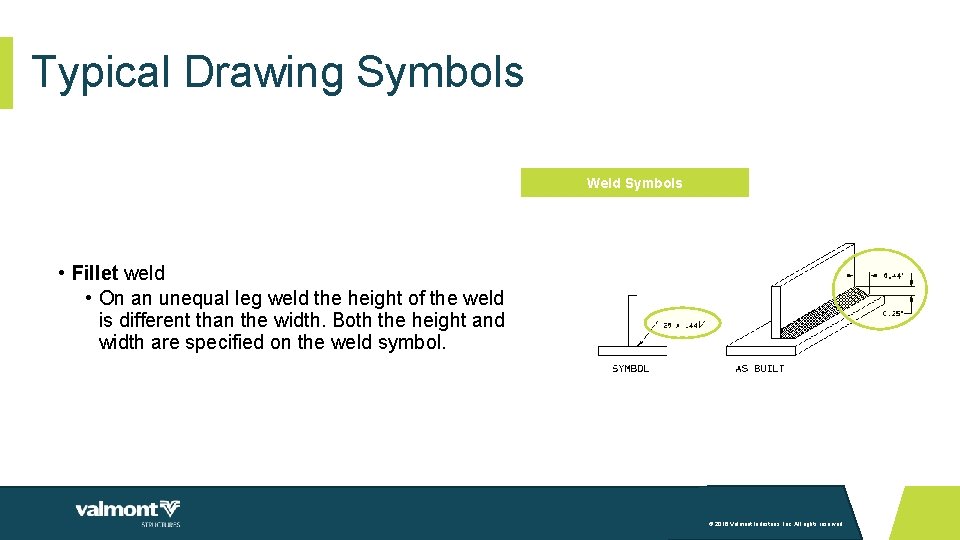
Typical Drawing Symbols Weld Symbols • Fillet weld • On an unequal leg weld the height of the weld is different than the width. Both the height and width are specified on the weld symbol. © 2016 Valmont Industries, Inc. All rights reserved.

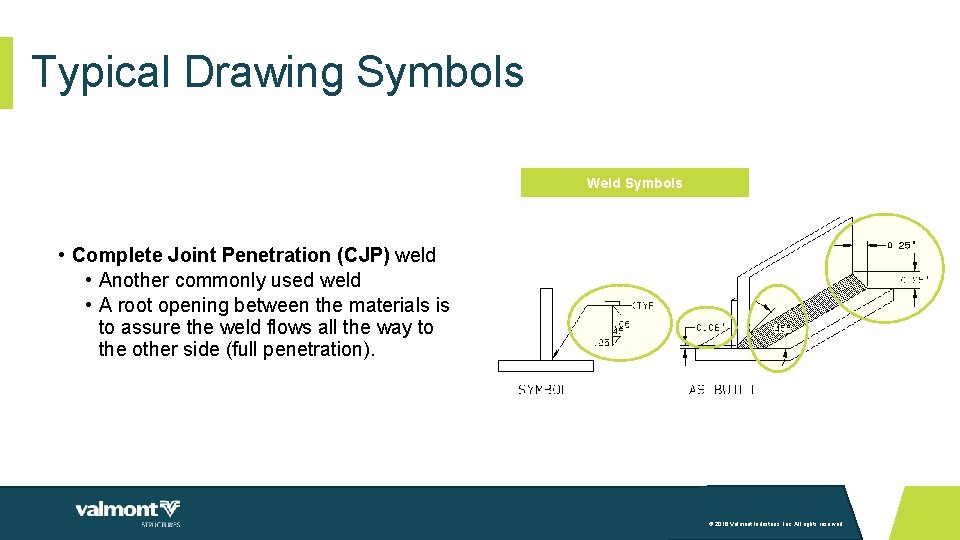
Typical Drawing Symbols Weld Symbols • Complete Joint Penetration (CJP) weld • Another commonly used weld • A root opening between the materials is to assure the weld flows all the way to the other side (full penetration). © 2016 Valmont Industries, Inc. All rights reserved.

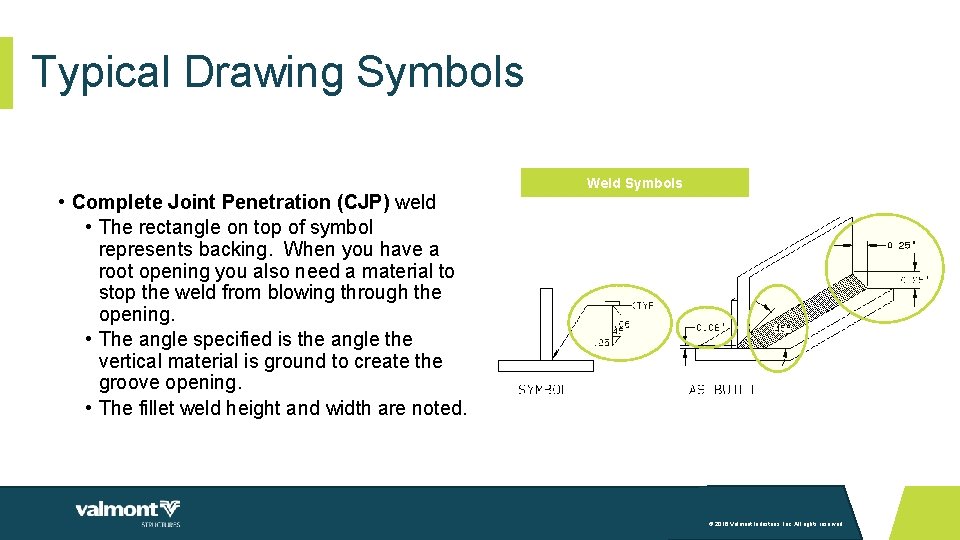
Typical Drawing Symbols • Complete Joint Penetration (CJP) weld • The rectangle on top of symbol represents backing. When you have a root opening you also need a material to stop the weld from blowing through the opening. • The angle specified is the angle the vertical material is ground to create the groove opening. • The fillet weld height and width are noted. Weld Symbols © 2016 Valmont Industries, Inc. All rights reserved.

Wrap-Up • Contact information • Tom Gregory, Drafting Manager • tgregory@valmont. com • 1 (402) 359 -2201 Extension number 3454 • Candace Hanway, Training and Development Specialist • candace. hanway@valmont. com • 1 (402) 359 -2201 Extension number 3785 © 2016 Valmont Industries, Inc. All rights reserved.

THANK YOU! valmontstructures. com © 2016 Valmont Industries, Inc. All rights reserved.