
How to Presentation Vital Signs in the Measure

- Slides: 23
How to Presentation Vital Signs in the Measure title Ambulatory Setting: Temperatur An Evidence-Based Approach e SUB TITLE HERE Cecelia L. Crawford RN, MSN
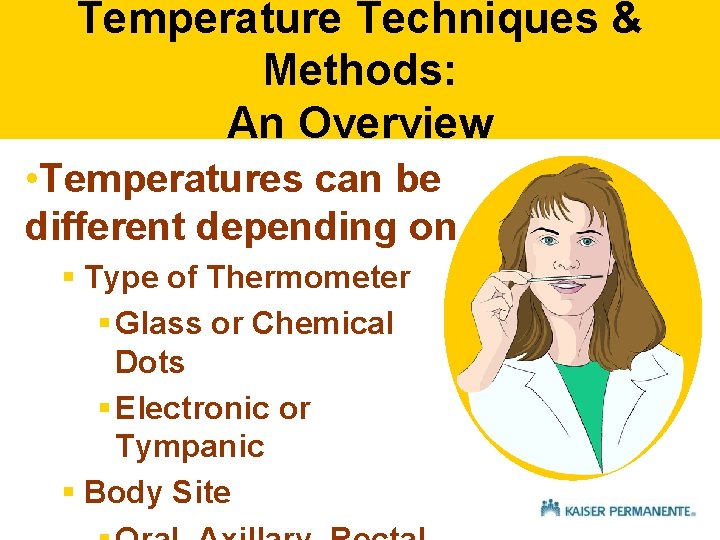
Temperature Techniques & Methods: An Overview • Temperatures can be different depending on § Type of Thermometer § Glass or Chemical Dots § Electronic or Tympanic § Body Site
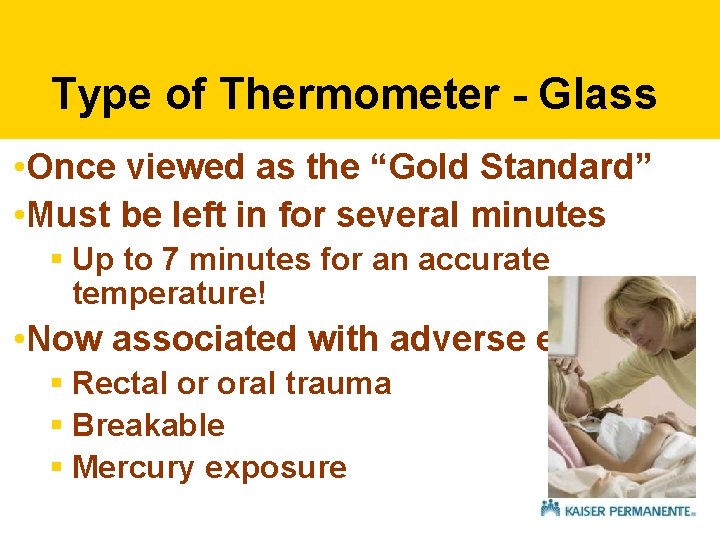
Type of Thermometer - Glass • Once viewed as the “Gold Standard” • Must be left in for several minutes § Up to 7 minutes for an accurate temperature! • Now associated with adverse events § Rectal or oral trauma § Breakable § Mercury exposure
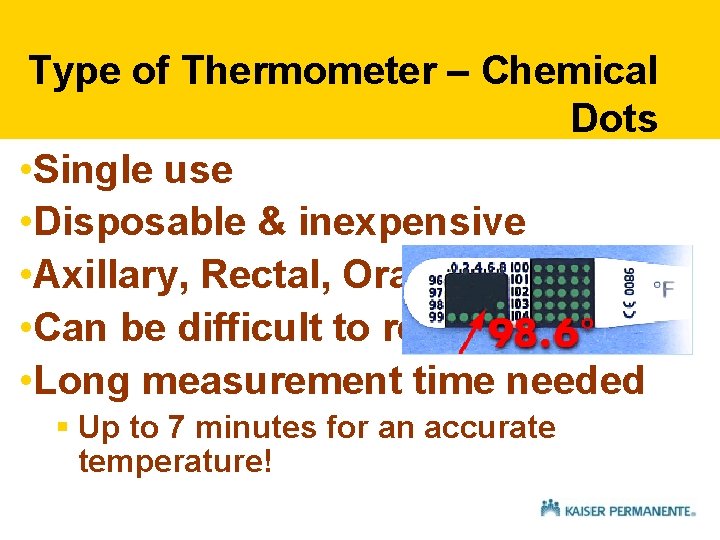
Type of Thermometer – Chemical Dots • Single use • Disposable & inexpensive • Axillary, Rectal, Oral • Can be difficult to read • Long measurement time needed § Up to 7 minutes for an accurate temperature!
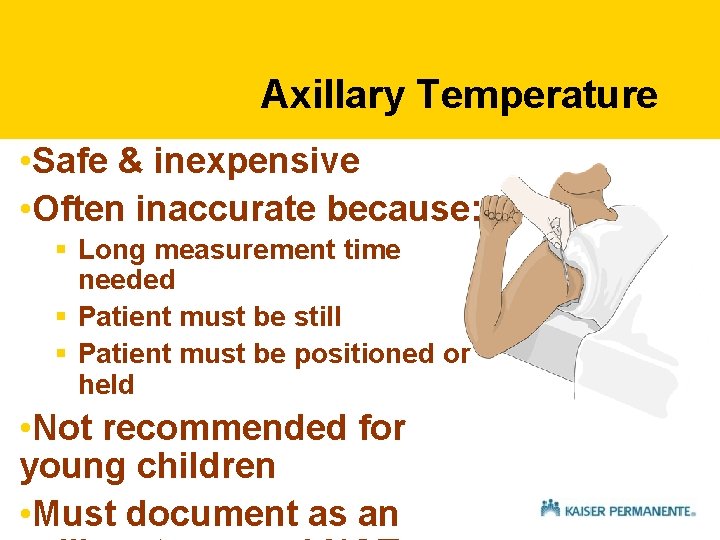
Axillary Temperature • Safe & inexpensive • Often inaccurate because: § Long measurement time needed § Patient must be still § Patient must be positioned or held • Not recommended for young children • Must document as an
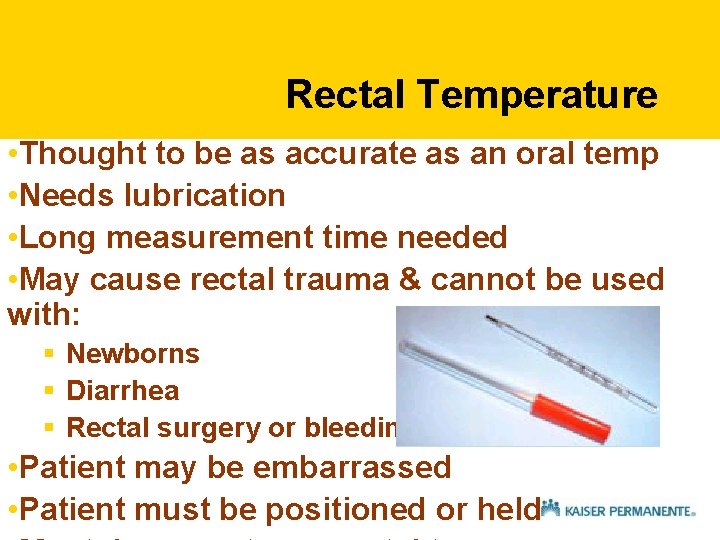
Rectal Temperature • Thought to be as accurate as an oral temp • Needs lubrication • Long measurement time needed • May cause rectal trauma & cannot be used with: § Newborns § Diarrhea § Rectal surgery or bleeding • Patient may be embarrassed • Patient must be positioned or held
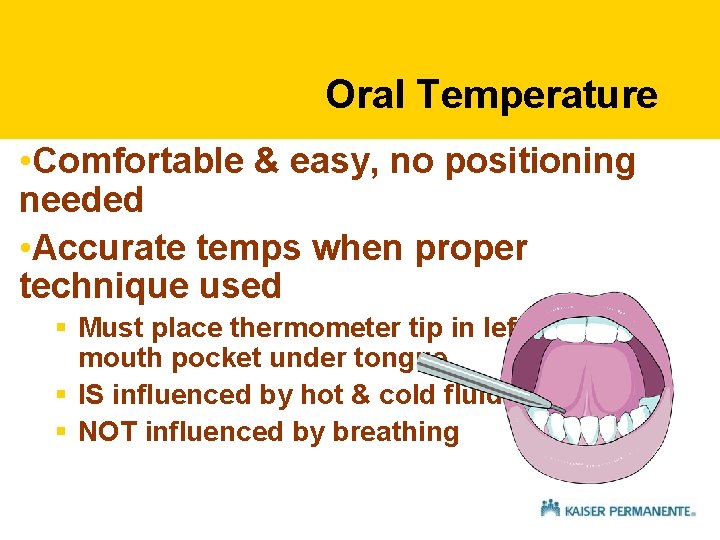
Oral Temperature • Comfortable & easy, no positioning needed • Accurate temps when proper technique used § Must place thermometer tip in left or right mouth pocket under tongue § IS influenced by hot & cold fluids § NOT influenced by breathing
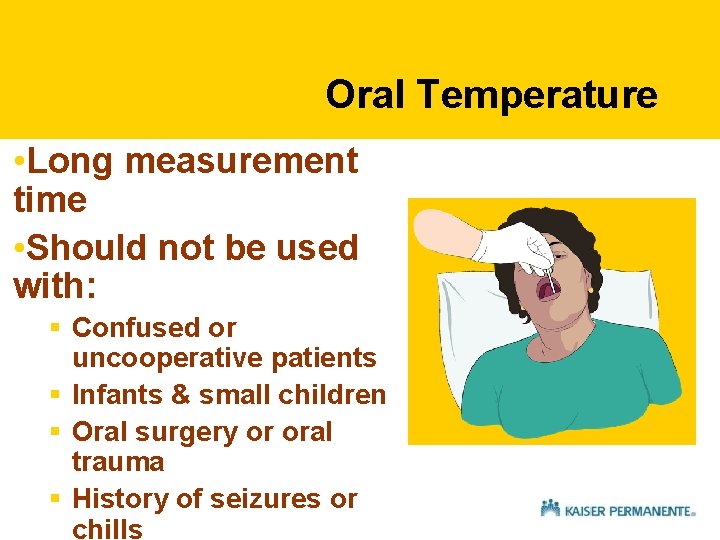
Oral Temperature • Long measurement time • Should not be used with: § Confused or uncooperative patients § Infants & small children § Oral surgery or oral trauma § History of seizures or chills
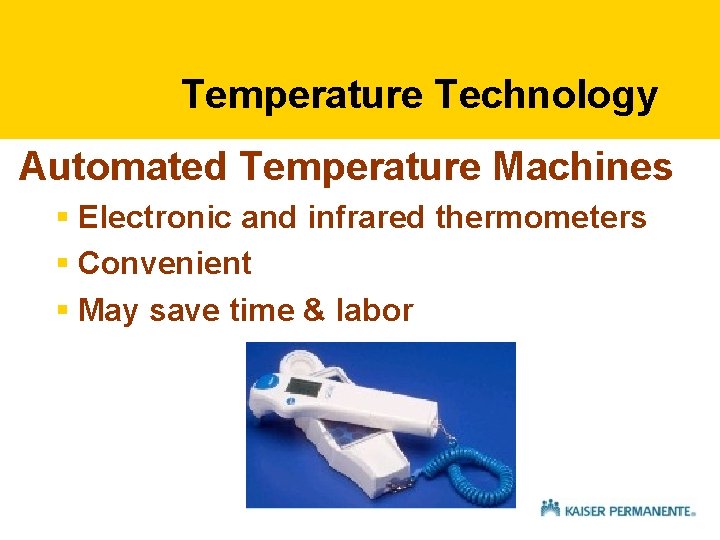
Temperature Technology Automated Temperature Machines § Electronic and infrared thermometers § Convenient § May save time & labor
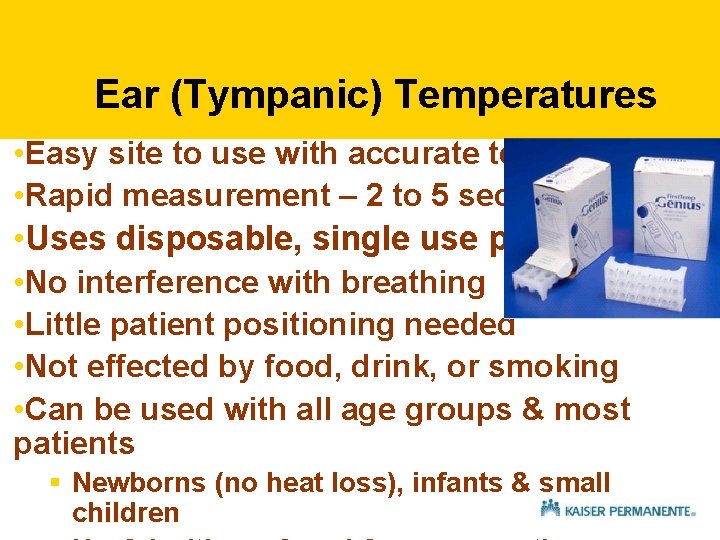
Ear (Tympanic) Temperatures • Easy site to use with accurate temps • Rapid measurement – 2 to 5 seconds! • Uses disposable, single use probes • No interference with breathing • Little patient positioning needed • Not effected by food, drink, or smoking • Can be used with all age groups & most patients § Newborns (no heat loss), infants & small children
Ear (Tympanic) Temperatures • Can be affected by heat & cold: § Heating & cooling measures § Hot packs, ice packs, heating blankets § Extreme outside and inside temperatures § Air conditioners, overheated rooms § Very hot or very cold days § Bathing or swimming
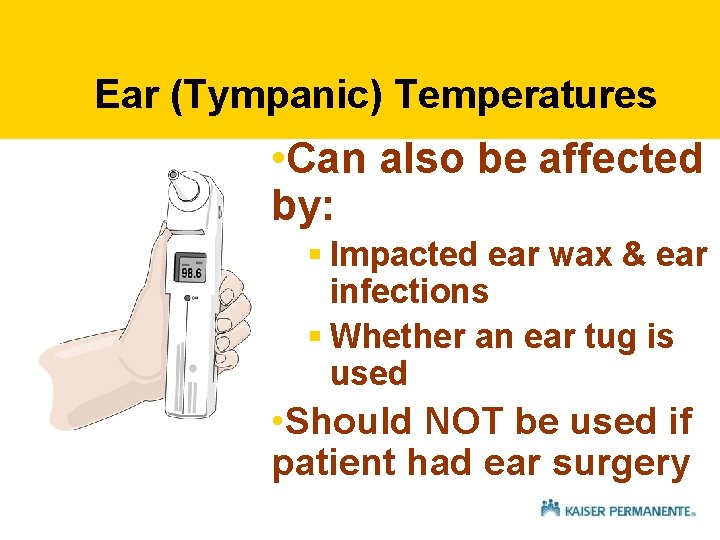
Ear (Tympanic) Temperatures • Can also be affected by: § Impacted ear wax & ear infections § Whether an ear tug is used • Should NOT be used if patient had ear surgery
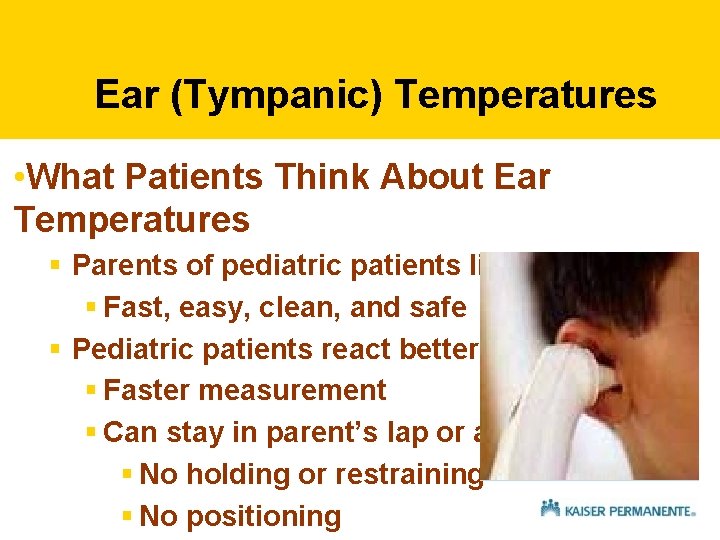
Ear (Tympanic) Temperatures • What Patients Think About Ear Temperatures § Parents of pediatric patients like them! § Fast, easy, clean, and safe § Pediatric patients react better! § Faster measurement § Can stay in parent’s lap or arms § No holding or restraining § No positioning
Temperature – It’s All About The Numbers! Terminal Digit Preference • Some people may show a preference for certain numbers in temperature readings* § Zeros, even numbers, odd numbers • Be aware you might “like” some numbers more than others! (*Roubsanthisuk, W. , Wongsurin, U. , Saravich, S. , & Buranakitjaroen, P. , 2007)
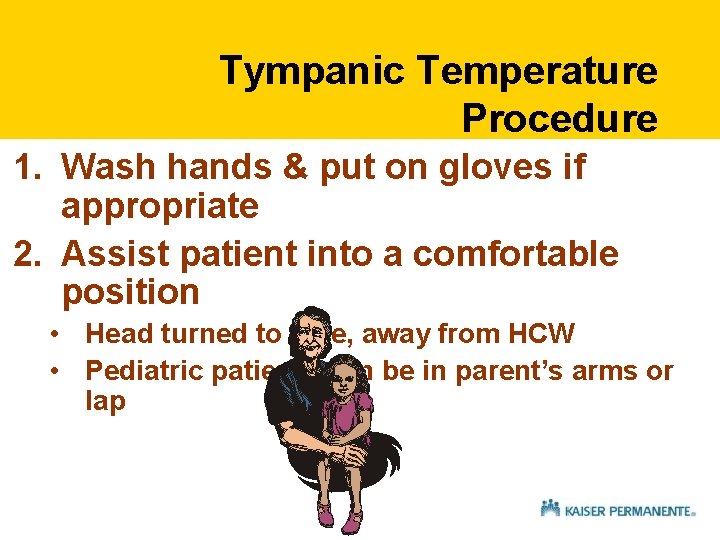
Tympanic Temperature Procedure 1. Wash hands & put on gloves if appropriate 2. Assist patient into a comfortable position • Head turned to side, away from HCW • Pediatric patients can be in parent’s arms or lap
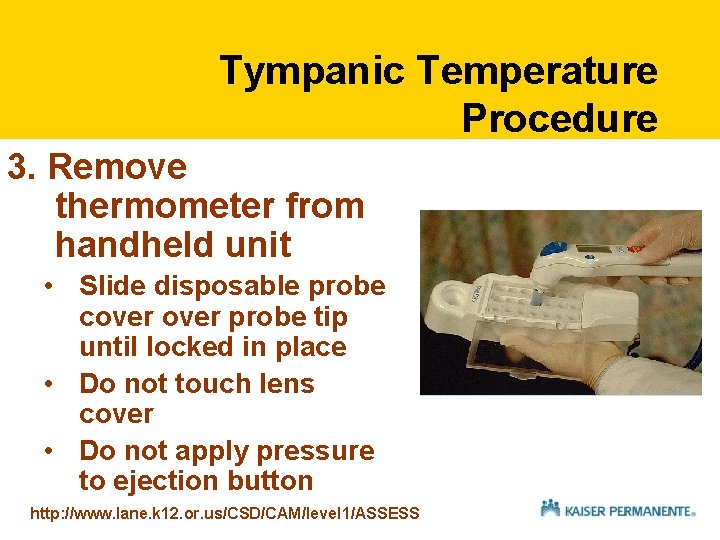
Tympanic Temperature Procedure 3. Remove thermometer from handheld unit • Slide disposable probe cover probe tip until locked in place • Do not touch lens cover • Do not apply pressure to ejection button http: //www. lane. k 12. or. us/CSD/CAM/level 1/ASSESS
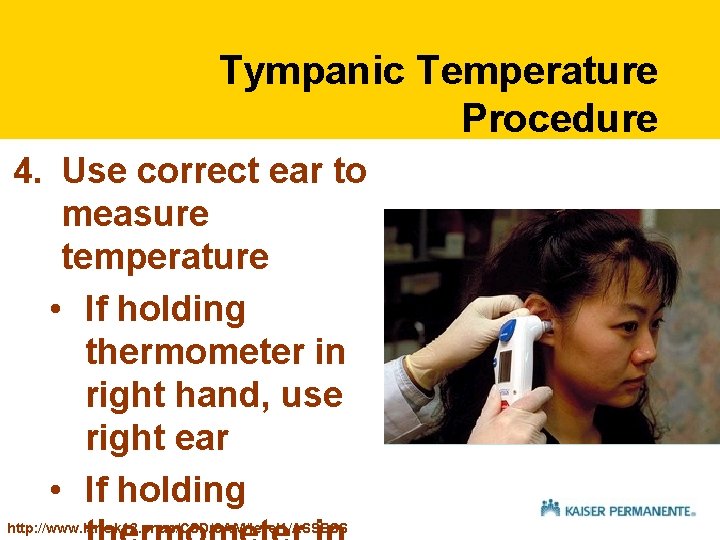
Tympanic Temperature Procedure 4. Use correct ear to measure temperature • If holding thermometer in right hand, use right ear • If holding http: //www. lane. k 12. or. us/CSD/CAM/level 1/ASSESS
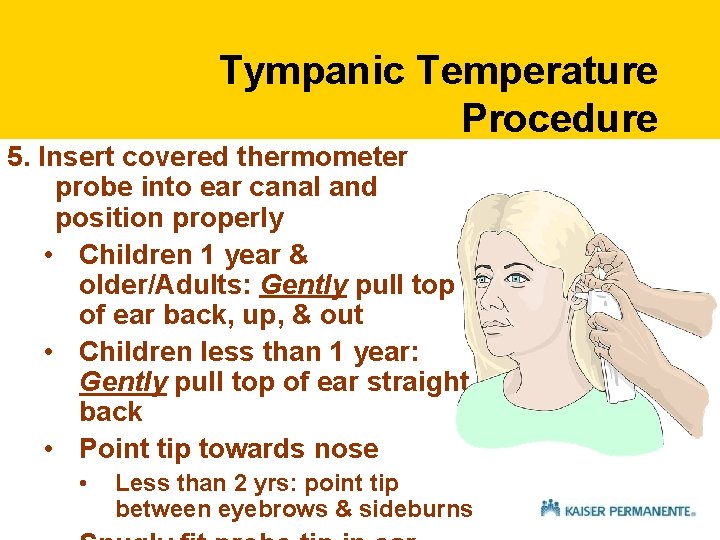
Tympanic Temperature Procedure 5. Insert covered thermometer probe into ear canal and position properly • Children 1 year & older/Adults: Gently pull top of ear back, up, & out • Children less than 1 year: Gently pull top of ear straight back • Point tip towards nose • Less than 2 yrs: point tip between eyebrows & sideburns
Tympanic Temperature Procedure 6. Depress scan button on handheld unit 7. Leave probe in place until a “beep” is heard • Temperature will appear on digital display screen 8. Carefully remove probe from ear canal
Tympanic Temperature Procedure 10. To repeat a temperature measurement: • Use a new probe cover • Wait 2 -3 minutes if using the same ear • May use the opposite ear with new probe cover 11. When temperature measurement is done: • Return handheld unit to thermometer base • Tell patient the temperature reading • Assist patient to comfortable position
Tympanic Temperature Procedure • Inform RN or MD if: § Very low or very high temperature § Normal temp: between 97 o to 100 o F § Ear wax is seen in ear or on probe cover § Unable to get a temperature reading due to: § Uncooperative patient § Confused patient § Parent or patient refuses
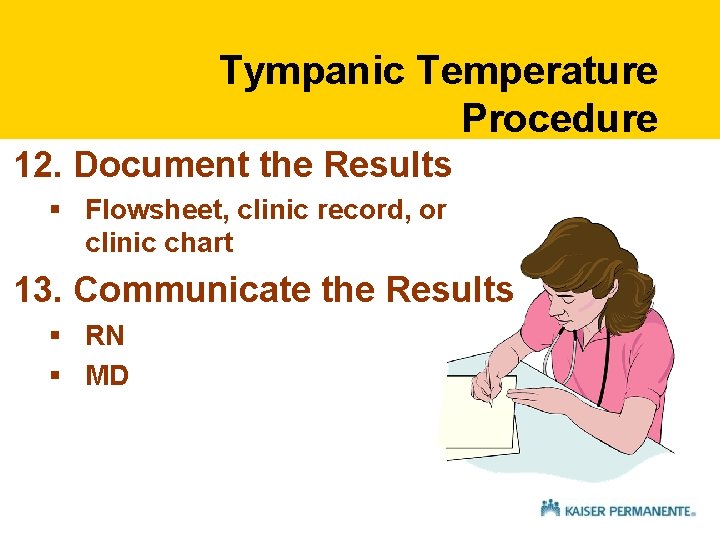
Tympanic Temperature Procedure 12. Document the Results § Flowsheet, clinic record, or clinic chart 13. Communicate the Results § RN § MD
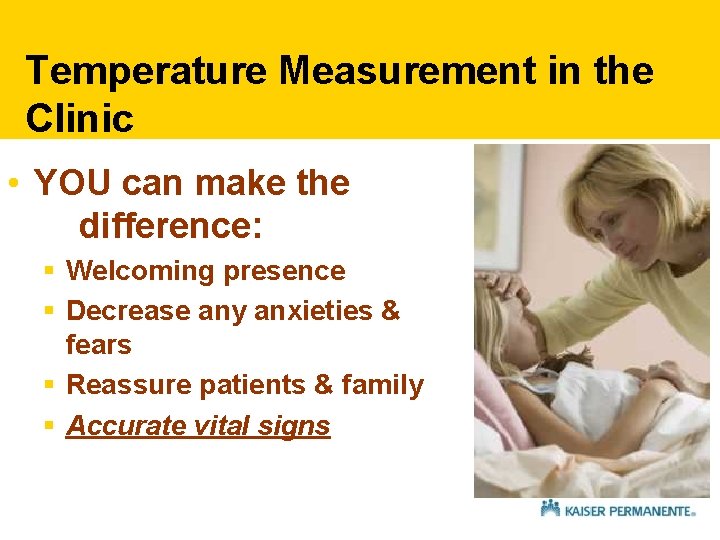
Temperature Measurement in the Clinic • YOU can make the difference: § Welcoming presence § Decrease any anxieties & fears § Reassure patients & family § Accurate vital signs