Hadoop install Hadoop VMplayer Ubuntu ubuntu12 04 3

Hadoop install

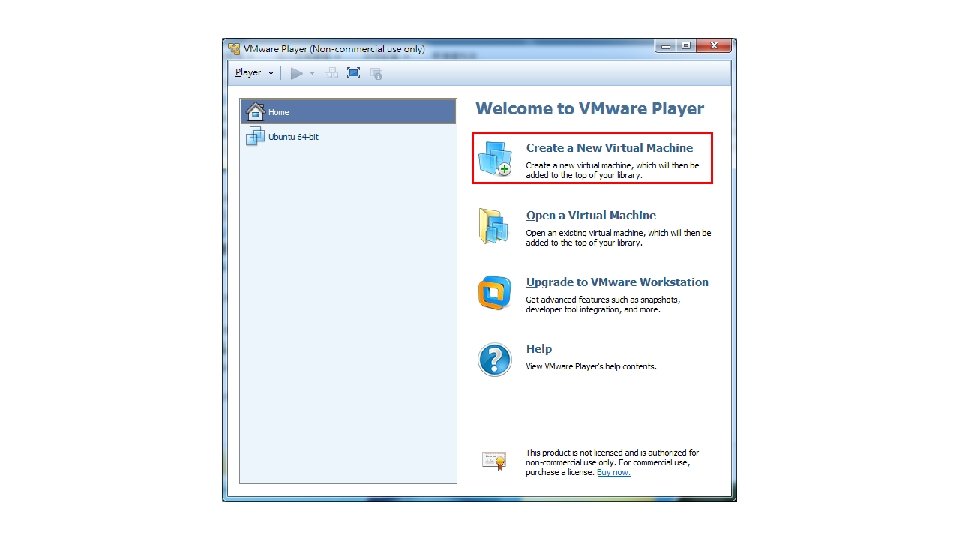
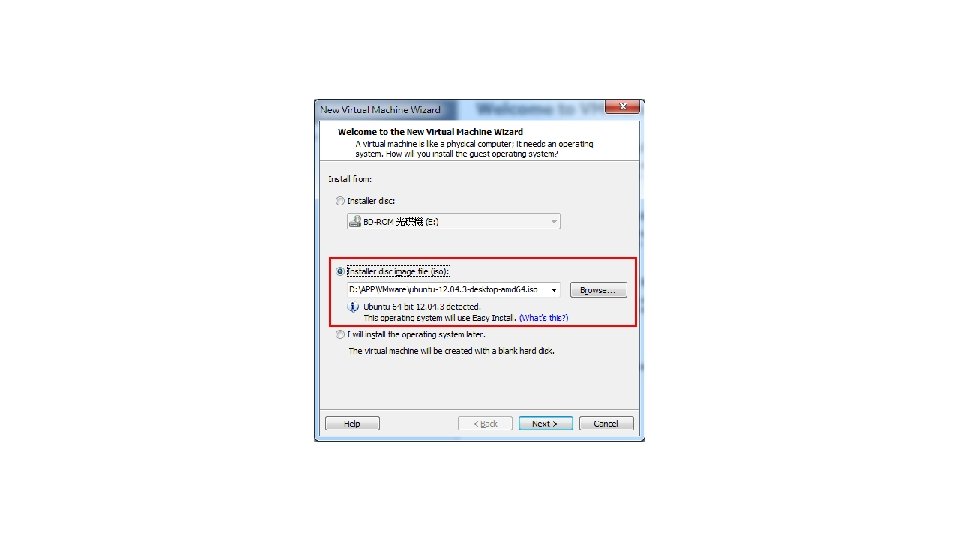
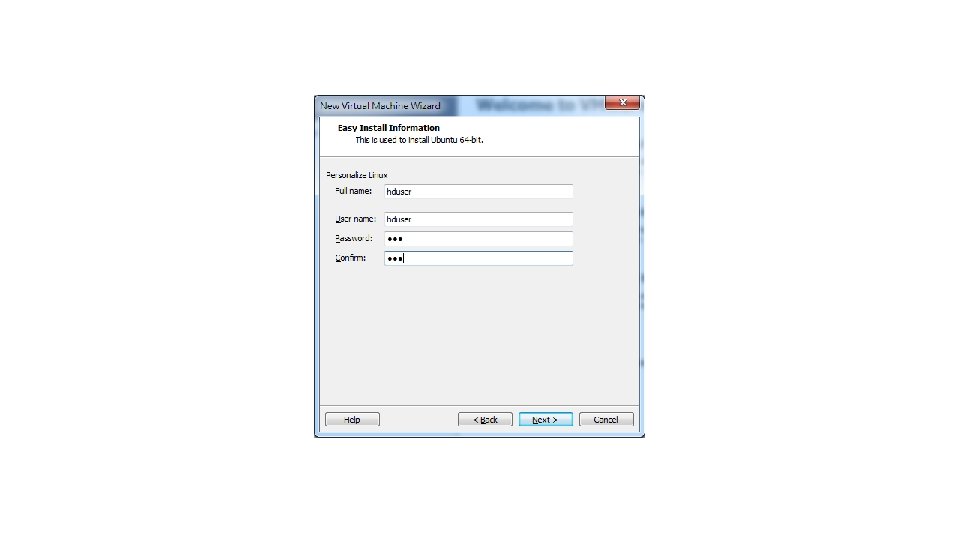
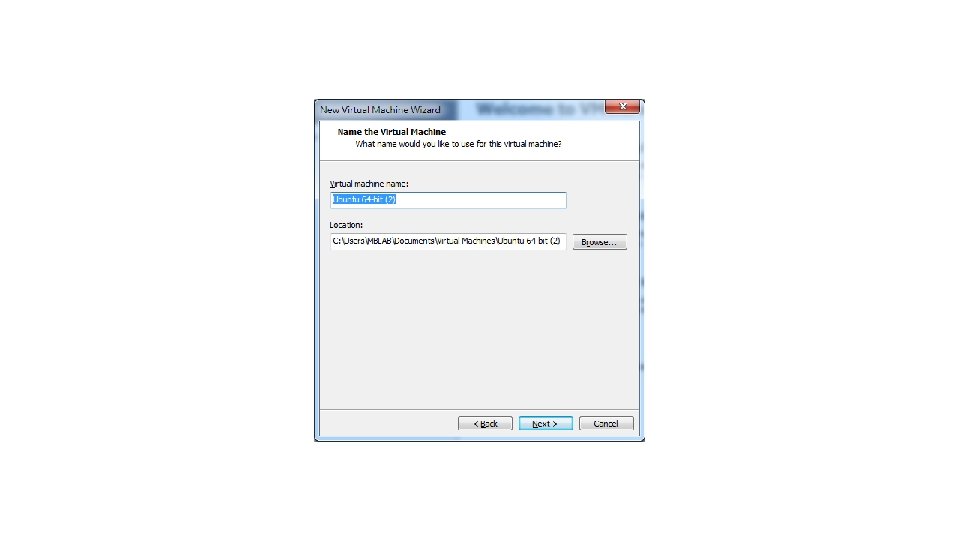
安裝相關軟體與Hadoop版本 • 虛擬機軟體: VMplayer • 作業系統: Ubuntu • 版本: ubuntu-12. 04. 3 -desktop-amd 64 • Java版本: JDK 7 • Hadoop版本: Hadoop 1. 1. 2


P. S. Num lock記得打開


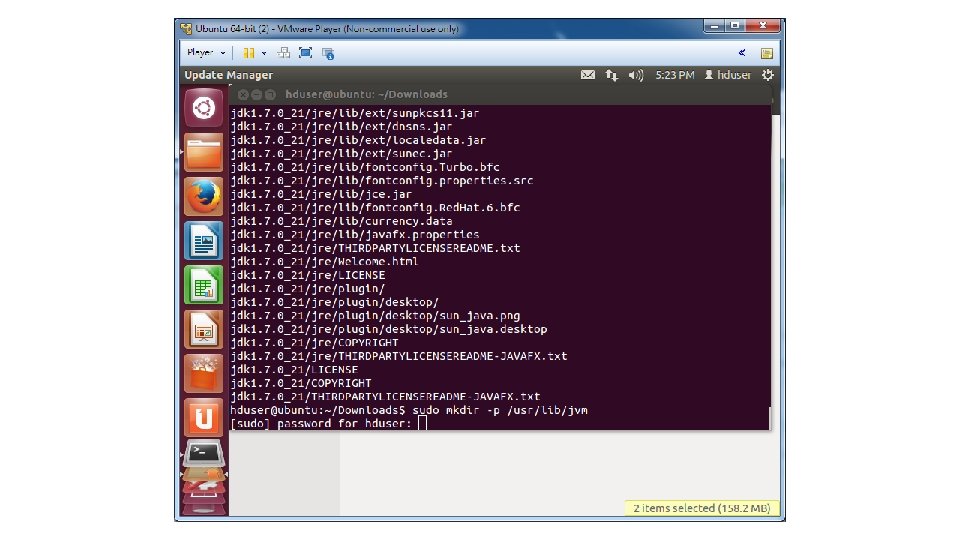
• Open a terminal window with Ctrl + Alt + T • Install Java JDK 7 • a. Download the Java JDK (https: //www. dropbox. com/s/h 6 bw 3 tibft 3 gs 17/jdk -7 u 21 -linux-x 64. tar. gz) • b. Unzip the file cd Downloads tar -xvf jdk-7 u 21 -linux-x 64. tar. gz • c. Now move the JDK 7 directory to /usr/lib sudo mkdir -p /usr/lib/jvm sudo mv. /jdk 1. 7. 0_21 /usr/lib/jvm/jdk 1. 7. 0

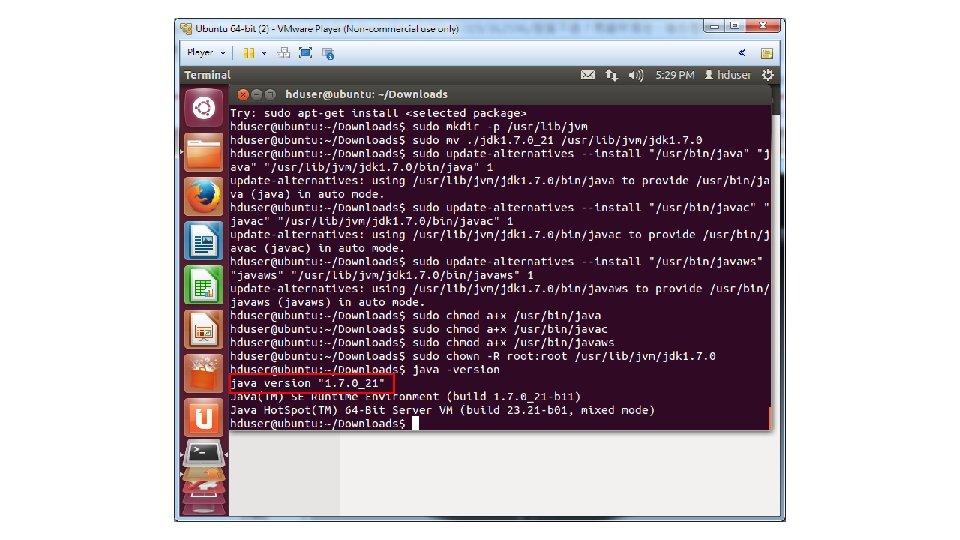
• d. Now run sudo update-alternatives --install "/usr/bin/java" "/usr/lib/jvm/jdk 1. 7. 0/bin/java" 1 sudo update-alternatives --install "/usr/bin/javac" "/usr/lib/jvm/jdk 1. 7. 0/bin/javac" 1 sudo update-alternatives --install "/usr/bin/javaws" "/usr/lib/jvm/jdk 1. 7. 0/bin/javaws" 1

• e. Correct the file ownership and the permissions of the executables: sudo chmod a+x /usr/bin/javac sudo chmod a+x /usr/bin/javaws sudo chown -R root: root /usr/lib/jvm/jdk 1. 7. 0 • f. Check the version of you new JDK 7 installation: java -version


• 11. Install SSH Server sudo apt-get install openssh-client sudo apt-get install openssh-server • 12. Configure SSH su - hduser ssh-keygen -t rsa -P "" cat $HOME/. ssh/id_rsa. pub >> $HOME/. ssh/authorized_keys ssh localhost

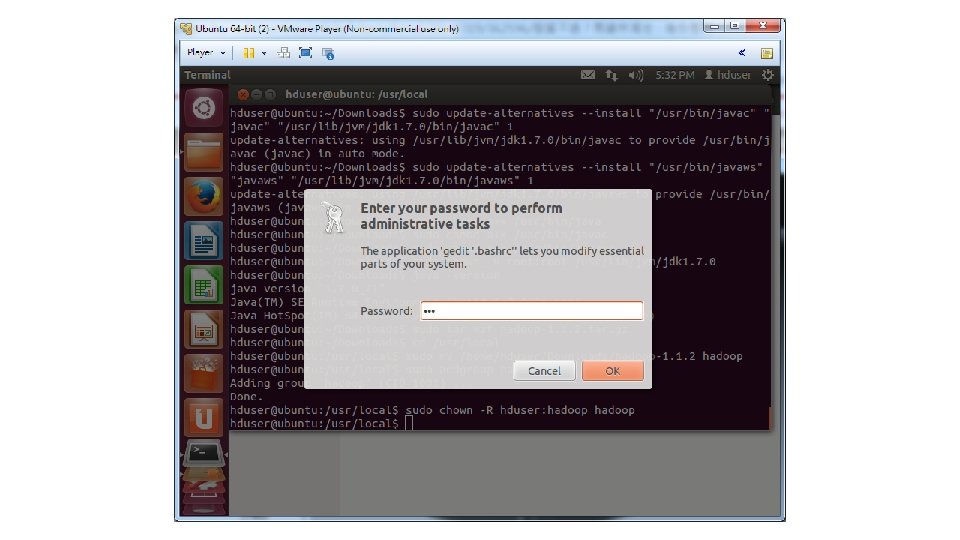
• 1. Download Apache Hadoop 1. 1. 2 (https: //www. dropbox. com/s/znonl 6 ia 1259 by 3/hadoop-1. 1. 2. tar. gz) and store it the Downloads folder • 2. Unzip the file (open up the terminal window) cd Downloads sudo tar xzf hadoop-1. 1. 2. tar. gz cd /usr/local sudo mv /home/hduser/Downloads/hadoop-1. 1. 2 hadoop sudo addgroup hadoop sudo chown -R hduser: hadoop

• 3. Open your. bashrc file in the extended terminal (Alt + F 2) gksudo gedit. bashrc

• 4. Add the following lines to the bottom of the file:

• # Set Hadoop-related environment variables • export HADOOP_HOME=/usr/local/hadoop • export PIG_HOME=/usr/local/pig • export PIG_CLASSPATH=/usr/local/hadoop/conf • # Set JAVA_HOME (we will also configure JAVA_HOME directly for Hadoop later on) • export JAVA_HOME=/usr/lib/jvm/jdk 1. 7. 0/ • # Some convenient aliases and functions for running Hadoop-related commands • unalias fs &> /dev/null • alias fs="hadoop fs" • unalias hls &> /dev/null • alias hls="fs -ls" • # If you have LZO compression enabled in your Hadoop cluster and • # compress job outputs with LZOP (not covered in this tutorial): • # Conveniently inspect an LZOP compressed file from the command • # line; run via: • # $ lzohead /hdfs/path/to/lzop/compressed/file. lzo • # Requires installed 'lzop' command. • # • lzohead () { • hadoop fs -cat $1 | lzop -dc | head -1000 | less • } • # Add Hadoop bin/ directory to PATH • export PATH=$PATH: $HADOOP_HOME/bin • export PATH=$PATH: $PIG_HOME/bin


• 5. Save the. bashrc file and close it • 6. Run gksudo gedit /usr/local/hadoop/conf/hadoop-env. sh • 7. Add the following lines • # The java implementation to use. Required. • export JAVA_HOME=/usr/lib/jvm/jdk 1. 7. 0/ • 8. Save and close file


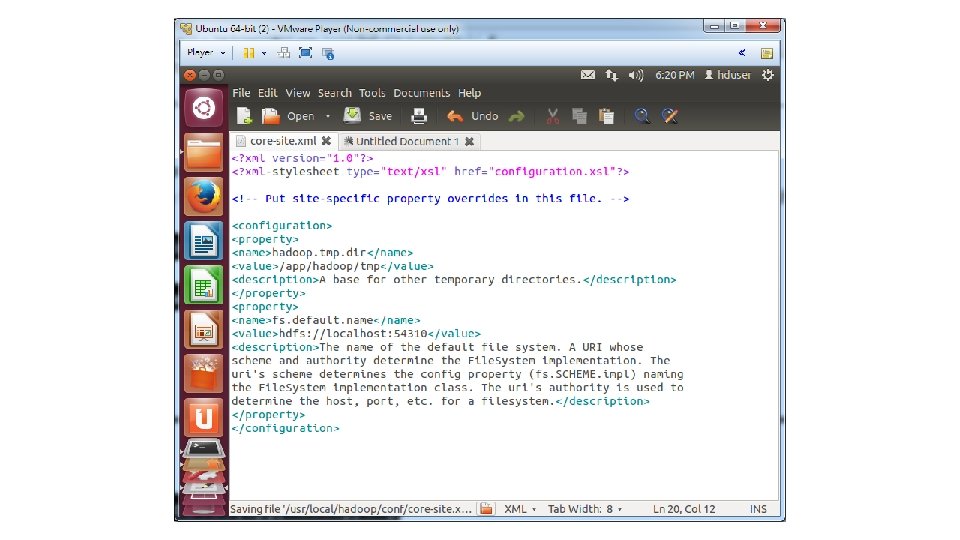
• 9. In the terminal window, create a directory and set the required ownerships and permissions sudo mkdir -p /app/hadoop/tmp sudo chown hduser: hadoop /app/hadoop/tmp sudo chmod 750 /app/hadoop/tmp • 10. Run gksudo gedit /usr/local/hadoop/conf/core-site. xml • 11. Add the following between the <configuration> … </configuration> tags

• • • • <property> <name>hadoop. tmp. dir</name> <value>/app/hadoop/tmp</value> <description>A base for other temporary directories. </description> </property> <name>fs. default. name</name> <value>hdfs: //localhost: 54310</value> <description>The name of the default file system. A URI whose scheme and authority determine the File. System implementation. The uri's scheme determines the config property (fs. SCHEME. impl) naming the File. System implementation class. The uri's authority is used to determine the host, port, etc. for a filesystem. </description> </property>

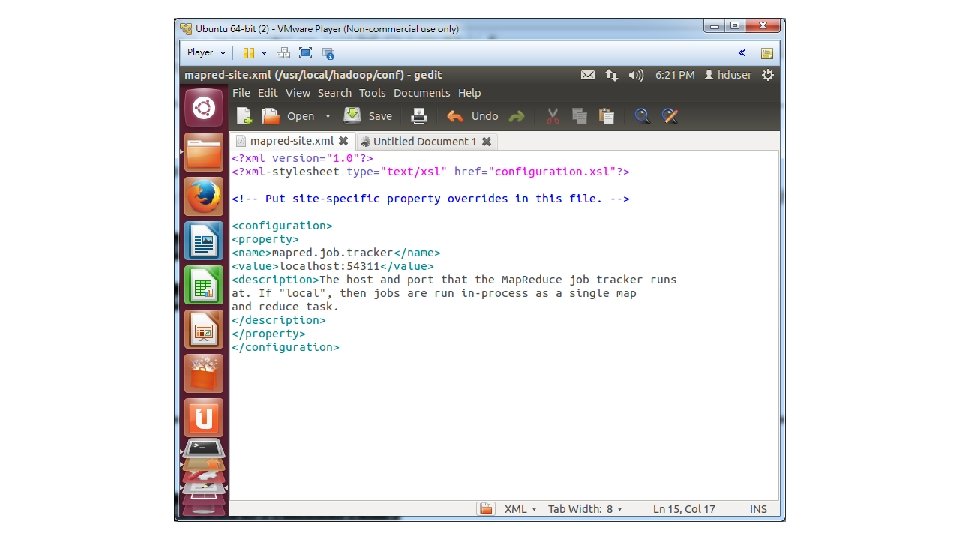
• 12. Save and close file • 13. Run gksudo gedit /usr/local/hadoop/conf/mapred-site. xml • 14. Add the following between the <configuration> … </configuration> tags

• <property> • <name>mapred. job. tracker</name> • <value>localhost: 54311</value> • <description>The host and port that the Map. Reduce job tracker runs • at. If "local", then jobs are run in-process as a single map • and reduce task. • </description> • </property>

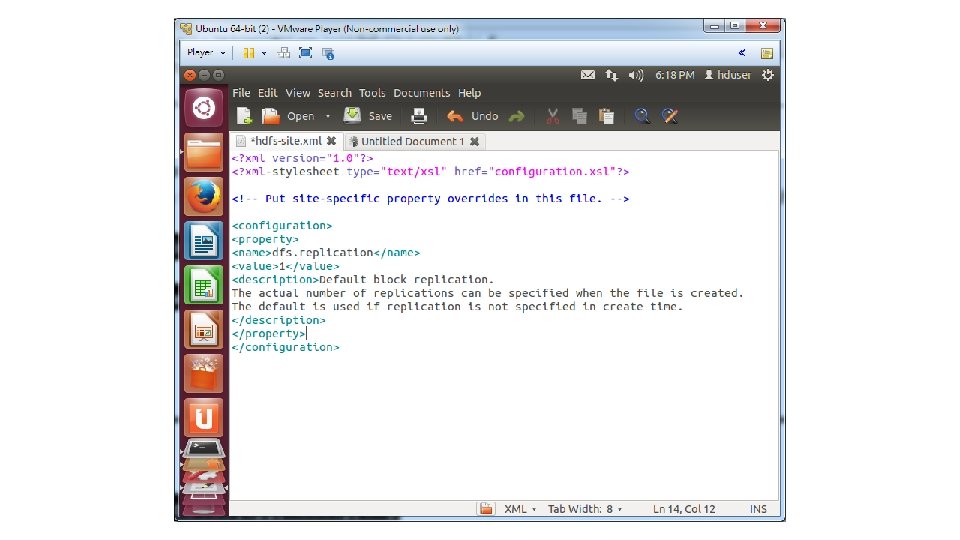
• 15. Save and close file • 16. Run gksudo gedit /usr/local/hadoop/conf/hdfs-site. xml • 17. Add the following between the <configuration> … </configuration> tags

• <property> • <name>dfs. replication</name> • <value>1</value> • <description>Default block replication. • The actual number of replications can be specified when the file is created. • The default is used if replication is not specified in create time. • </description> • </property>

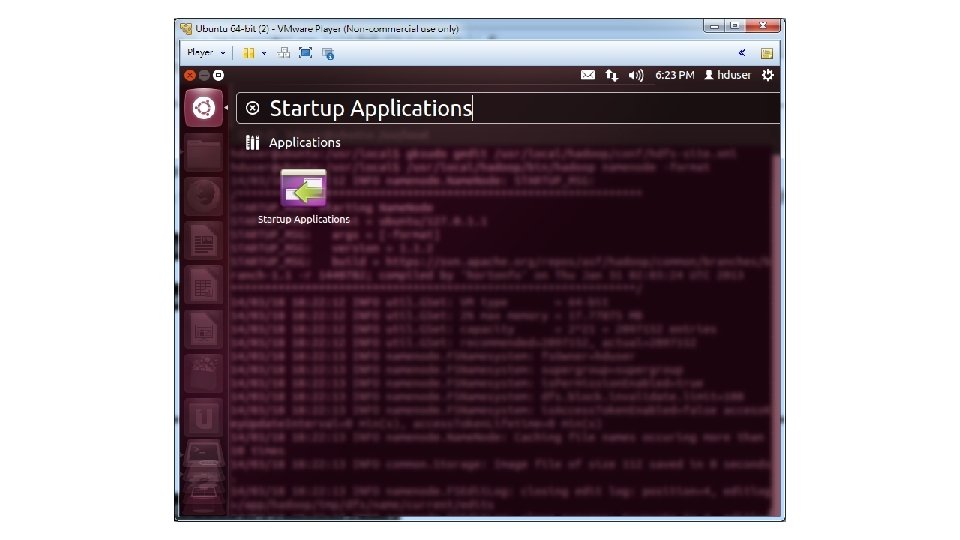
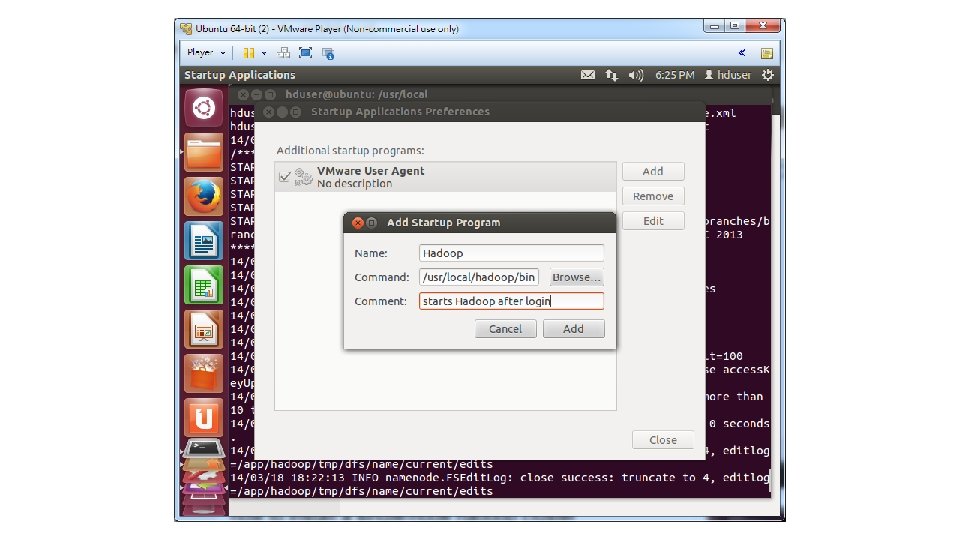
• 34. Format the HDFS /usr/local/hadoop/bin/hadoop namenode -format • 35. Press the Start button and type Startup Applications • 36. Add an application with the following command: /usr/local/hadoop/bin/start-all. sh • 37. Restart Ubuntu and login


• 1. Get the Gettysburg Address and store it on your Downloads folder • (https: //www. dropbox. com/s/w 6 yvyg 1 p 57 sf 6 sh/gettysburg. txt) • 2. Copy the Gettysburg Address from the name node to the HDFS cd Downloads hadoop fs -put gettysburg. txt /user/hduser/gettysburg. txt • 3. Check that the Gettysburg Address is in HDFS hadoop fs -ls /user/hduser/getty/
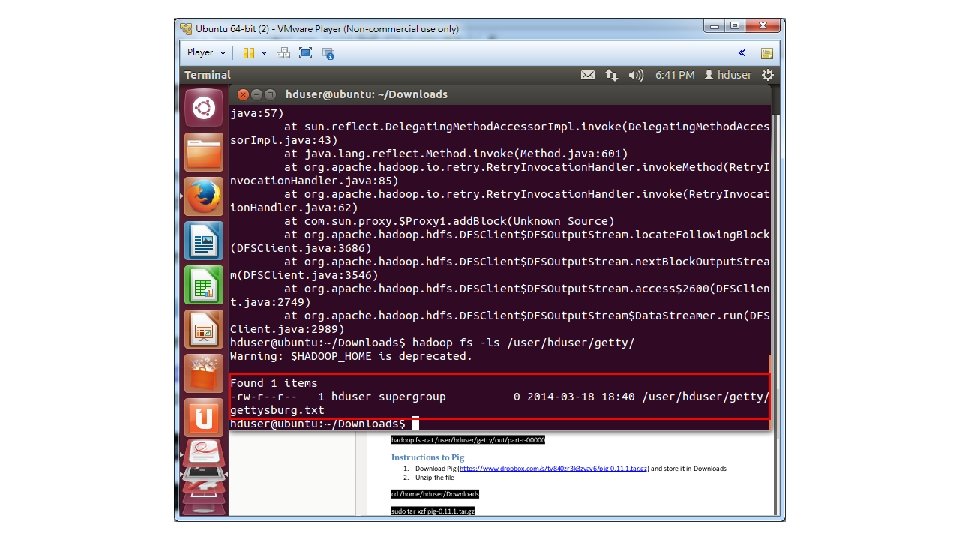

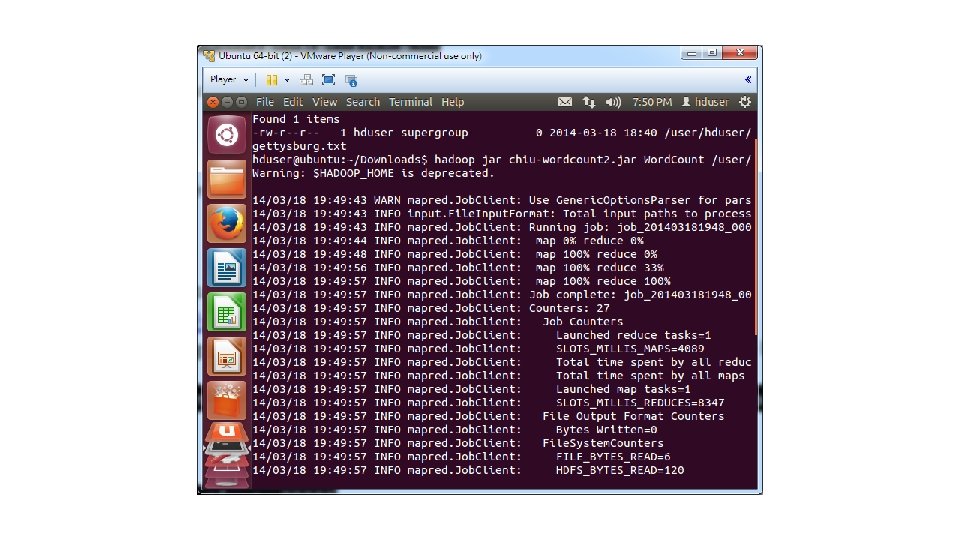
• 4. Delete Gettysburg Address from your name node rm gettysburg. txt • 5. Download a jar file that contains a Word. Count program into the Downloads folder • (https: //www. dropbox. com/s/gp 6 t 7616 wsypkdo/chiuwordcount 2. jar) • 6. Execute the Word. Count program on the Gettysburg Address (the following command is one line) hadoop jar chiu-wordcount 2. jar Word. Count /user/hduser/gettysburg. txt /user/hduser/getty/out

• 7. Check Map. Reduce results hadoop fs -cat /user/hduser/getty/out/part-r-00000
- Slides: 46