
Good Afternoon FIND YOUR NAME ON THE POSTIT


- Slides: 22
Good Afternoon! • FIND YOUR NAME ON THE POST-IT NOTES • Warm Up– Grab the two sheets on the front desk. – Begin answering the questions using the lab cartoon. – Pass forward your homework. (book WS) • Today: – – Microscope notes Finish lab View microscope slides Class work
Good Afternoon • Warm Up: – Microscope labeling on front desk…Do not use your notes! • Today: – Characteristics of Life notes – Class work – Microscope Quiz
The Compound Light Microscope
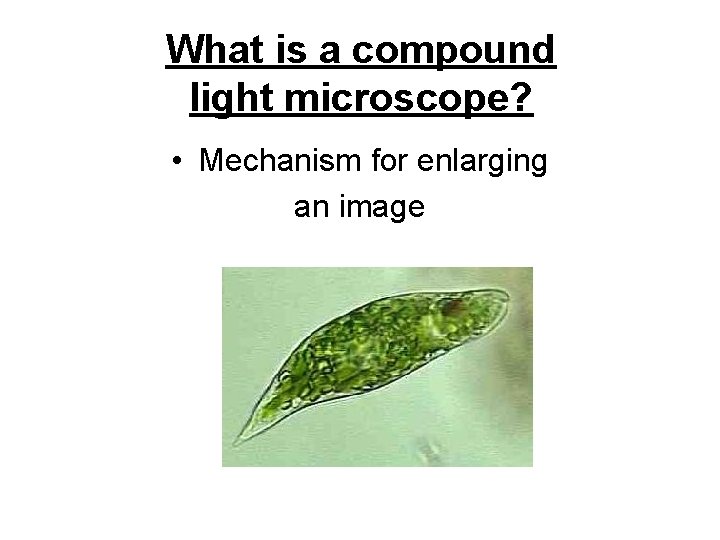
What is a compound light microscope? • Mechanism for enlarging an image
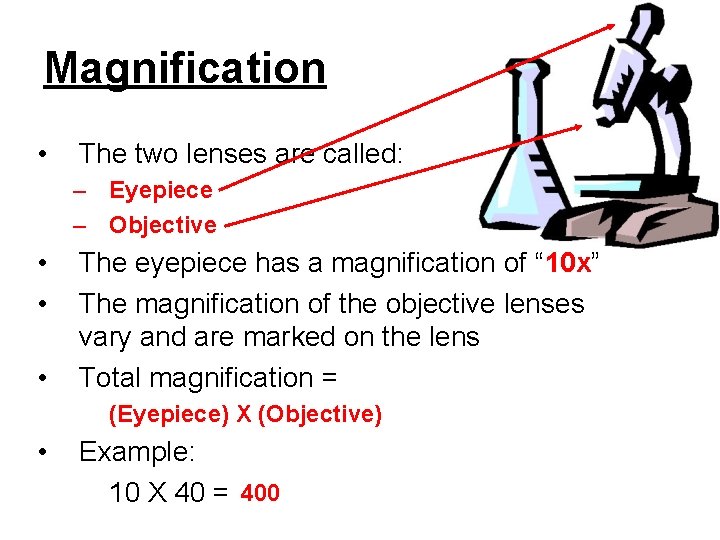
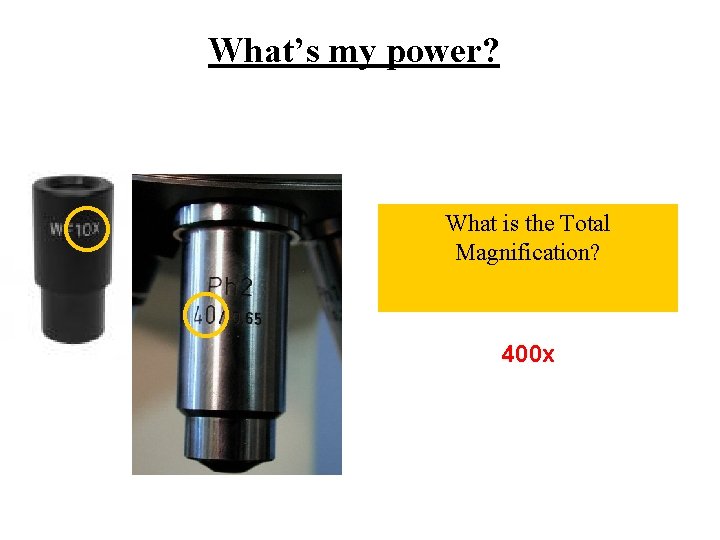
Magnification • The two lenses are called: – Eyepiece – Objective • • • The eyepiece has a magnification of “ 10 x” The magnification of the objective lenses vary and are marked on the lens Total magnification = (Eyepiece) X (Objective) • Example: 10 X 40 = 400
What’s my power? What is the Total Magnification? 400 x
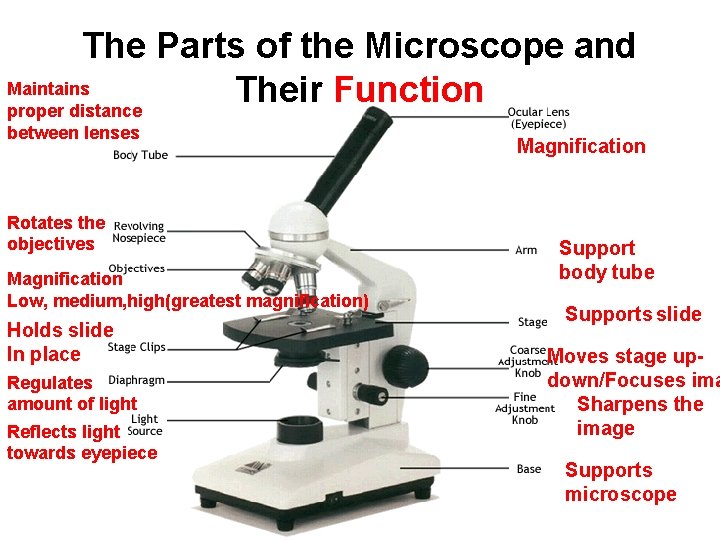
The Parts of the Microscope and Maintains Their Function proper distance between lenses Rotates the objectives Magnification Low, medium, high(greatest magnification) Holds slide In place Regulates amount of light Reflects light towards eyepiece Magnification Support body tube Supports slide Moves stage updown/Focuses ima Sharpens the image Supports microscope
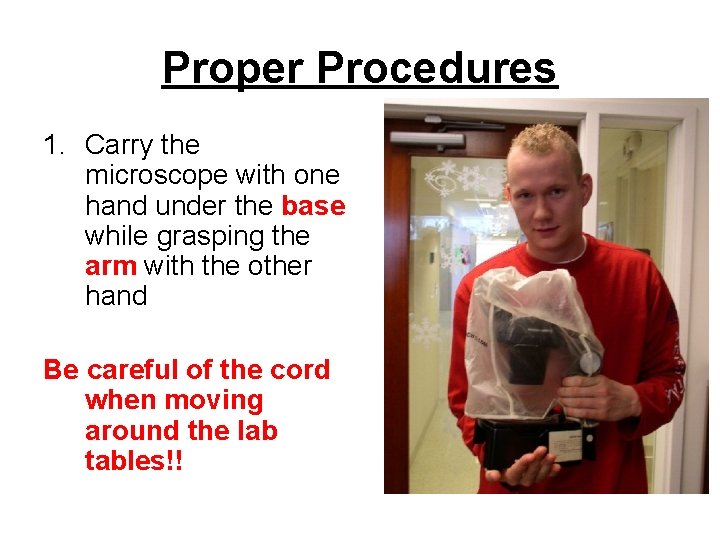
Proper Procedures 1. Carry the microscope with one hand under the base while grasping the arm with the other hand Be careful of the cord when moving around the lab tables!!
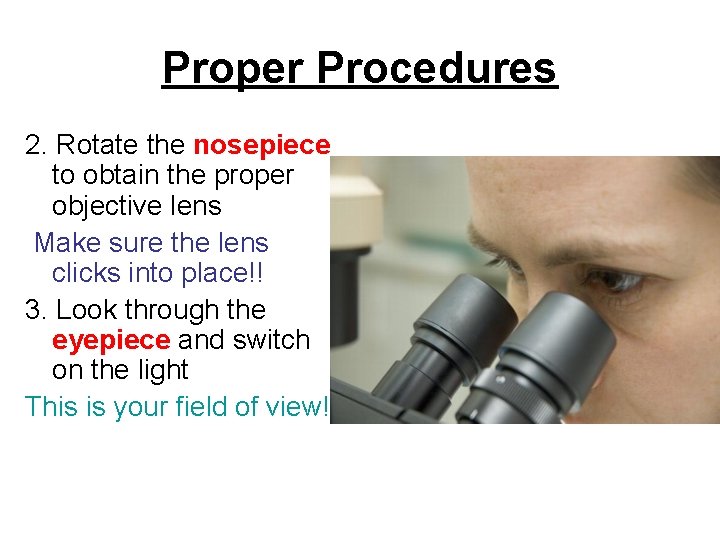
Proper Procedures 2. Rotate the nosepiece to obtain the proper objective lens Make sure the lens clicks into place!! 3. Look through the eyepiece and switch on the light This is your field of view!
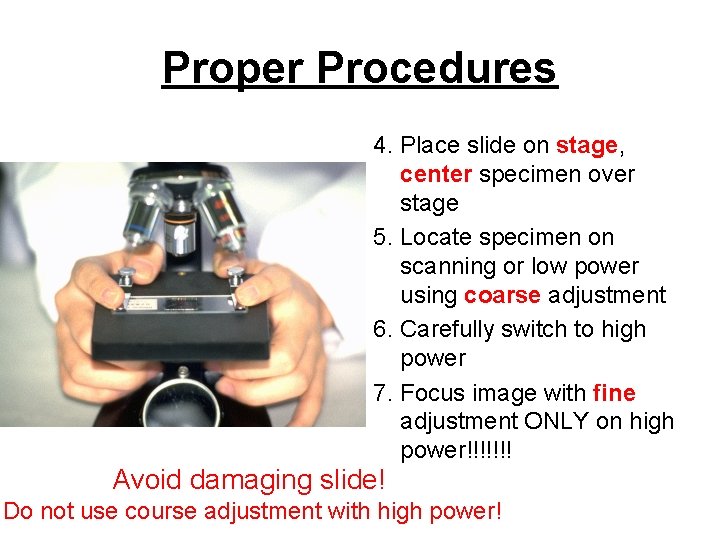
Proper Procedures 4. Place slide on stage, center specimen over stage 5. Locate specimen on scanning or low power using coarse adjustment 6. Carefully switch to high power 7. Focus image with fine adjustment ONLY on high power!!!!!!! Avoid damaging slide! Do not use course adjustment with high power!
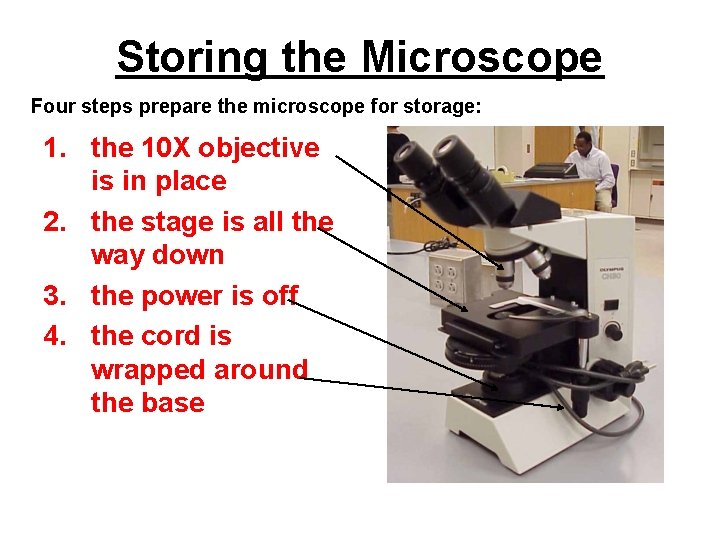
Storing the Microscope Four steps prepare the microscope for storage: 1. the 10 X objective is in place 2. the stage is all the way down 3. the power is off 4. the cord is wrapped around the base
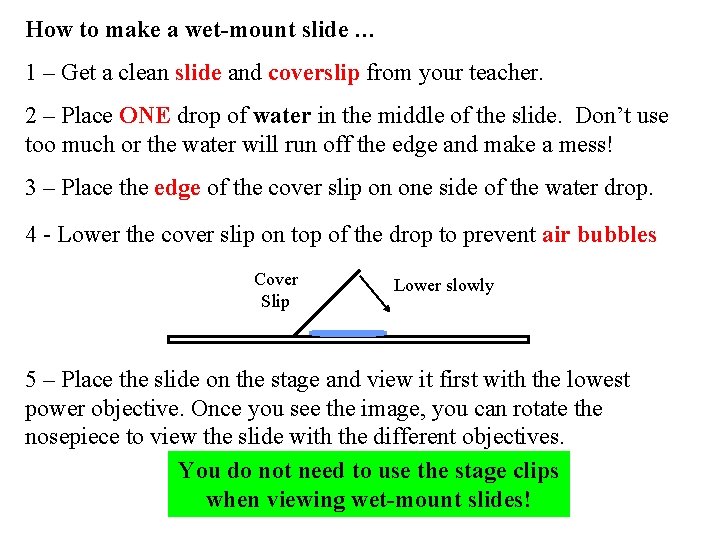
How to make a wet-mount slide … 1 – Get a clean slide and coverslip from your teacher. 2 – Place ONE drop of water in the middle of the slide. Don’t use too much or the water will run off the edge and make a mess! 3 – Place the edge of the cover slip on one side of the water drop. 4 - Lower the cover slip on top of the drop to prevent air bubbles Cover Slip Lower slowly 5 – Place the slide on the stage and view it first with the lowest power objective. Once you see the image, you can rotate the nosepiece to view the slide with the different objectives. You do not need to use the stage clips when viewing wet-mount slides!
Homework 1. QUIZ Friday! – Microscope notes 2. Characteristics packet due Tuesday
GOOD MORNING!!! • I’ll collect your homework. • No Warm Up today • Today: – Notes – Class work – QUIZ TOMORROW
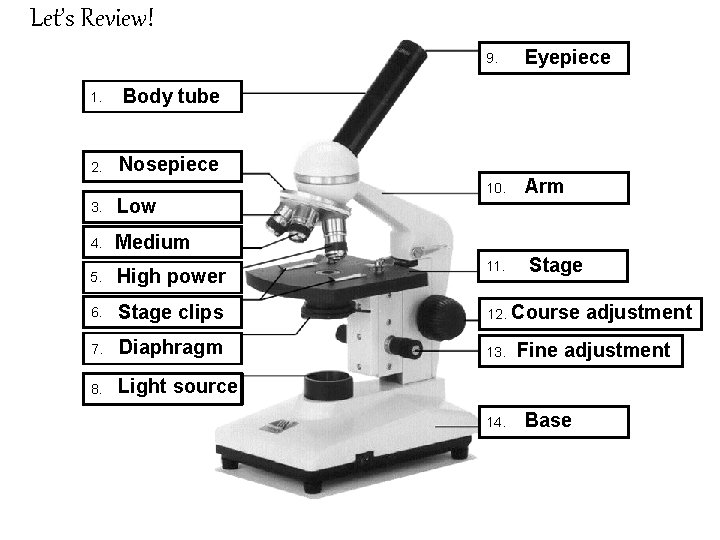
Let’s Review! 1. Body tube 2. Nosepiece 9. Eyepiece 10. Arm 3. Low 4. Medium 5. High power 11. 6. Stage clips 12. 7. Diaphragm 13. 8. Light source 14. Stage Course adjustment Fine adjustment Base
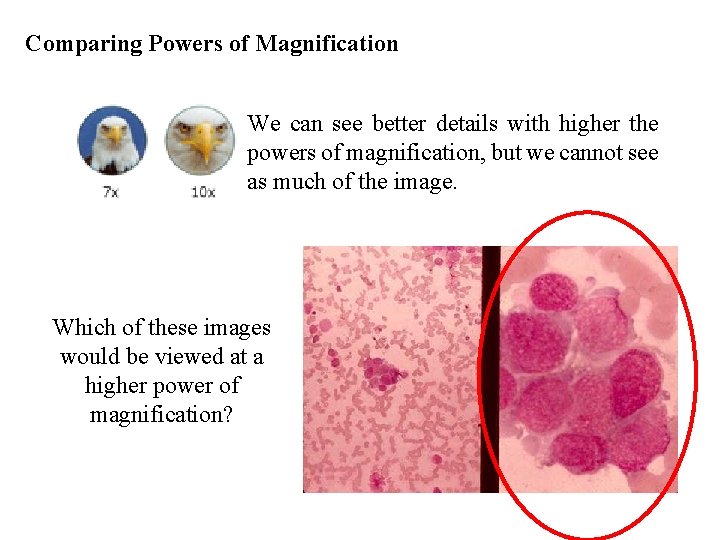
Comparing Powers of Magnification We can see better details with higher the powers of magnification, but we cannot see as much of the image. Which of these images would be viewed at a higher power of magnification?
References • • • http: //www. cerebromente. org. br/n 17/history/neurons 1_i. htm Google Images http: //science. howstuffworks. com/light-microscope 1. htm
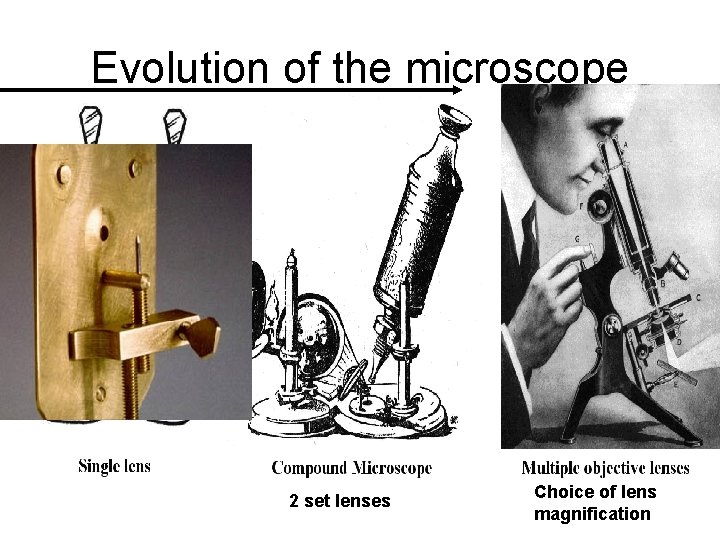
Evolution of the microscope 2 set lenses Choice of lens magnification
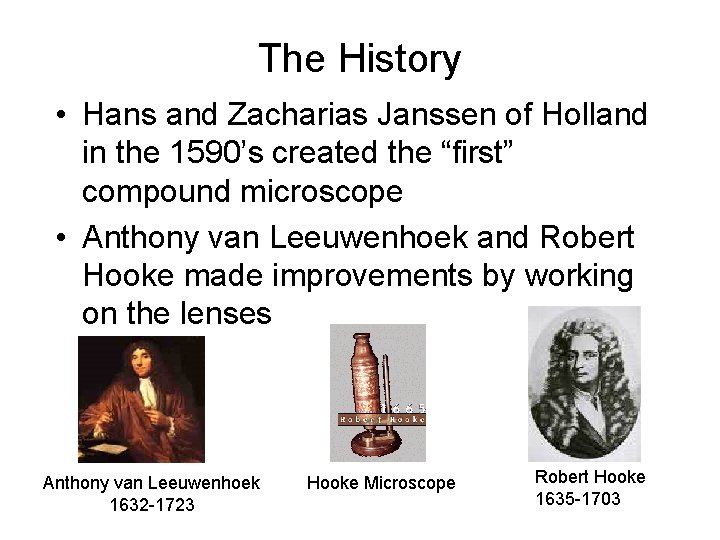
The History • Hans and Zacharias Janssen of Holland in the 1590’s created the “first” compound microscope • Anthony van Leeuwenhoek and Robert Hooke made improvements by working on the lenses Anthony van Leeuwenhoek 1632 -1723 Hooke Microscope Robert Hooke 1635 -1703
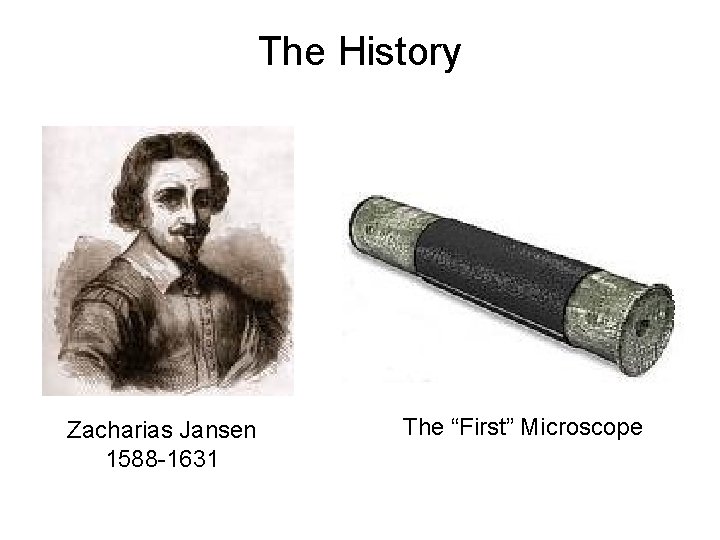
The History Zacharias Jansen 1588 -1631 The “First” Microscope