Geometric Dimensioning and Tolerancing Chapter 1 Drawing Standards








- Slides: 41

Geometric Dimensioning and Tolerancing Chapter 1 Drawing Standards Mr. Zboril | Cincinnati State Workforce Development Center This Photo by Unknown Author is licensed under CC BY-SA-NC

Unit 1 – Drawing Standards After studying this unit, you will know: • What an Engineering Drawing is and why they are important… • The four consequences of drawing errors… • The two primary dimensioning and tolerancing standards used globally • The ASME standards which cover dimensioning and tolerancing • The roles of dimensioning and tolerancing standards on engineering drawings and which standards apply.

Unit 1 – Drawing Standards An engineering drawing is a document that communicates a precise description of a part. It is where the engineering requirements of the part is located. A. Geometry B. Important Functional Relationships C. Tolerance (Variation) D. Material, Heat Treatment, Surface Coatings E. Part documentation information

Unit 1 – Drawing Standards – Importance of Eng. Drawings An engineering drawing affects the success of both the product and the organization. If the drawing is vague, resources are wasted understanding the document’s intentions. The function of a product determines the amount of variation permitted for each dimension. The allowable variation must be communicated clearly and in a mathematically repeatable method.

Unit 1 – Drawing Standards – Importance of Eng. Drawings Insert picture at bottom of pg 3.

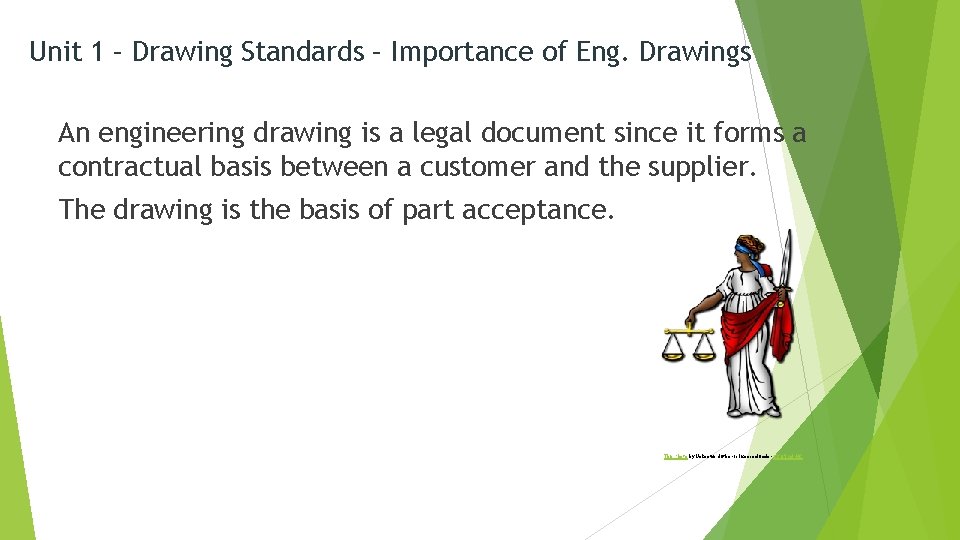
Unit 1 – Drawing Standards – Importance of Eng. Drawings An engineering drawing is a legal document since it forms a contractual basis between a customer and the supplier. The drawing is the basis of part acceptance. This Photo by Unknown Author is licensed under CC BY-SA-NC

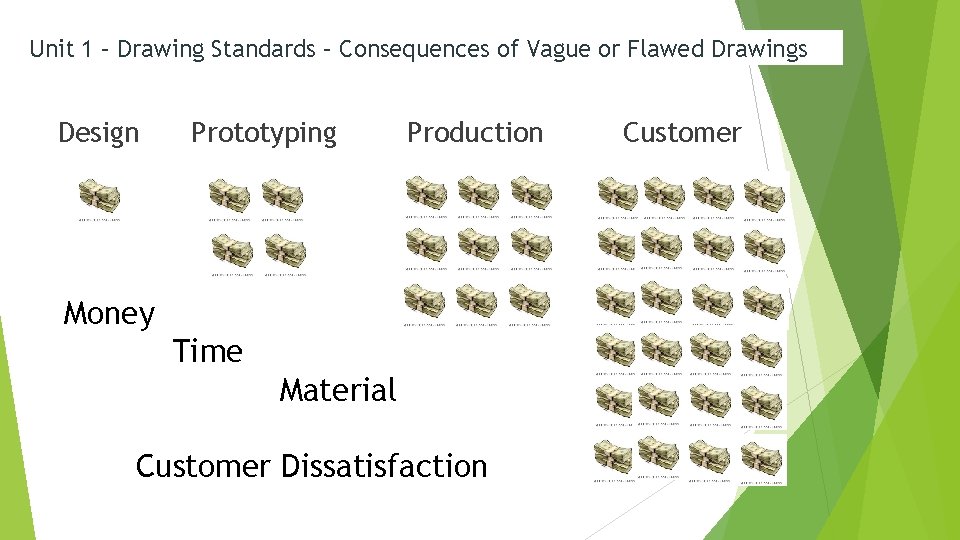
Unit 1 – Drawing Standards – Consequences of Vague or Flawed Drawings Design Prototyping Production Money Time Material Customer Dissatisfaction Customer

Unit 1 – Drawing Standards – Dimensioning and Tolerancing Standards 1. ASME Standards (American Society of Mechanical Engineers) § 2. ISO Standards (International Organization of Standards) § 3. Used in the United States, but also known (and used) globally. Used globally Corporate Standards § Large organizations will publish an addendum to ASME or ISO Standards

Unit 1 – Drawing Standards – Dimensioning and Tolerancing Standards ASME Standard Y 14. 5 -2009 is the standard for dimensioning and tolerancing. § This standard should be specified at a minimum. Dimension and Tolerance Standards are necessary. § Common rules and conventions § Common interpretations

Unit 1 – Drawing Standards – Dimensioning and Tolerancing Standards Drawings need to specify which standards apply § Commonly found in the Title Block or Notes.

Unit 1 – Drawings and Prints Two phases in the manufacturing process: DESIGN PHASE PRODUCTION PHASE

Unit 1 – Drawings and Prints Design team line-up… DESIGN TEAM This Photo by Unknown Author is licensed under CC BY-SA Design Engineering Manufacturing People Marketing Accounting $$

Unit 1 – Drawings and Prints DESIGN TEAM This Photo by Unknown Author is licensed under CC BY-SA Manufacturing will make and inspect the final product. They are essential to keep the engineers “in check” - they confirm the engineering design can actually be made and inspected. They also offer suggestions to make the manufacturing process simpler. Accounting ensures the company will profit (and not lose money) through manufacturing the part.

Unit 1 – Uses of 3 D Modeling What is a 3 D Model Used for? Simulation and Analysis Export for prototyping and production Drawing creation Assembly modeling

Unit 1 – Uses of 3 D Modeling What is a 3 D Model Used for? Simulation and Analysis Engineers will take the 3 D model and analyze it using computer software to predict how the part will act under actual conditions (temperature, stress, etc. ) One such program is called FEA or Finite Element Analysis.

Unit 1 – Uses of 3 D Modeling What is a 3 D Model Used for? Simulation and Analysis Simulation allows engineers to test their designs without producing a part – this reduces cost

Unit 1 – Uses of 3 D Modeling What is a 3 D Model Used for? Export for prototyping and production Prototyping is the process where a single part is made for testing. The prototype may be a scaled model, a sample produced from a different material, or an actual part.

Unit 1 – Uses of 3 D Modeling What is a 3 D Model Used for? Drawing Creation Two-dimensional drawings (2 D) are required to manufacture a part. CAD software can create a 2 D drawing from a 3 D model.

Unit 1 – Prototyping and 3 D Printing A prototype is a sample part that is manufactured for analysis. Typically, a prototype is used for testing and to ensure the part will assemble correctly with the other parts. A 3 D printer is a manufacturing device that uses an electronic file to create a part. 3 D Printing is an additive manufacturing process.

A part drawing contains info for a single part. An assembly drawing accomplishes two things: 1. Identifies each part in a product 2. Shows how the parts fit together

A print is a physical (paper) copy of a drawing. The act of interpreting the information shown on a drawing or print is known as print reading.

Unit 1 – Production Phase Production team line-up… PRODUCTI ON TEAM This Photo by Unknown Author is licensed under CC BY-SA Manufacturing Personnel Assemblers Inspectors Packers and Shippers

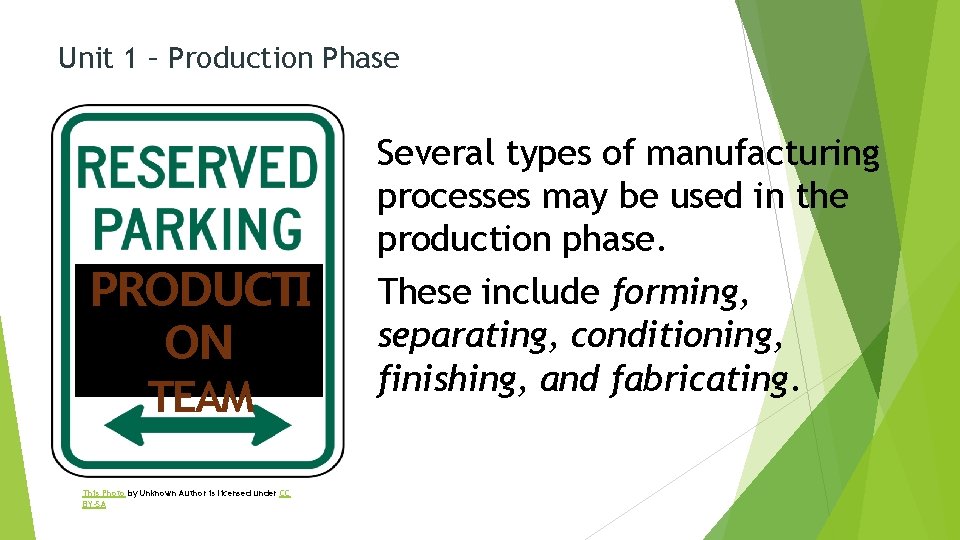
Unit 1 – Production Phase PRODUCTI ON TEAM This Photo by Unknown Author is licensed under CC BY-SA Several types of manufacturing processes may be used in the production phase. These include forming, separating, conditioning, finishing, and fabricating.

Mr. Zboril Contact Information brian 44212@gmail. com www. brianzboril. weebly. com (Blueprint Reading tab) cell: 513 -375 -7552 Class Time 1 pm Tues & Thurs

Blueprint Reading 1 Unit 2 Visualizing Shapes This Photo by Unknown Author is licensed under CC BY-SA-NC Mr. zboril | Cincinnati State Workforce development center

Unit 2 – Visualizing Shapes I am still happy you are in the class… …. Harambe would be happy, too. This Photo by Unknown Author is licensed under CC BY-NC-ND

Unit 2 – Visualizing Shapes After studying this unit, you will know: • The six principal views of an object. • First and third-angle projections • How to visualize three-dimensional objects from orthographic drawings. • How to drawing a missing view of an object from two given views.

Unit 2 – Six Principal Views The six principal views of an object are: • Top • Bottom • Left Side • Right Side • Front • Rear The arrangement of these views depend on whether the drawing is a first-angle view or third-angle view.

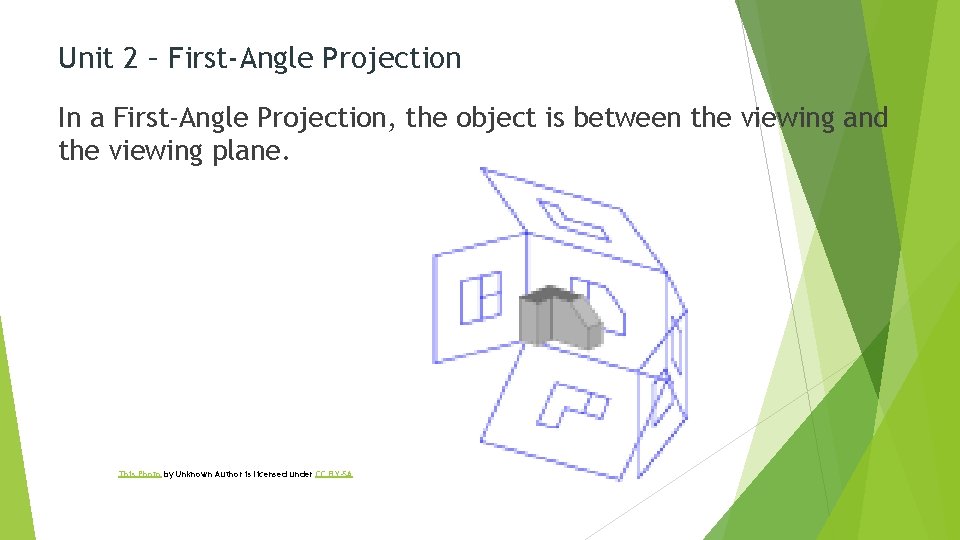
Unit 2 – First-Angle Projection In a First-Angle Projection, the object is between the viewing and the viewing plane. This Photo by Unknown Author is licensed under CC BY-SA

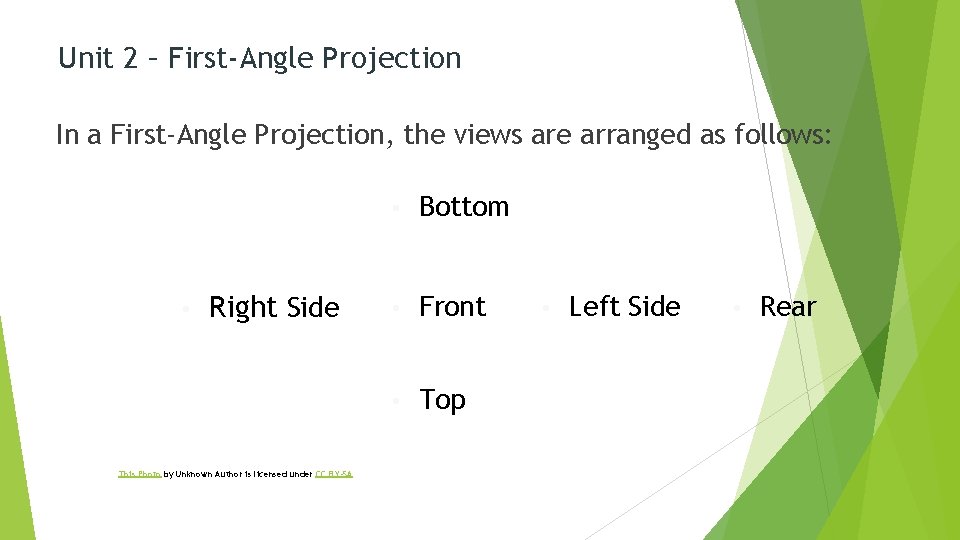
Unit 2 – First-Angle Projection In a First-Angle Projection, the views are arranged as follows: • Right Side This Photo by Unknown Author is licensed under CC BY-SA • Bottom • Front • Top • Left Side • Rear

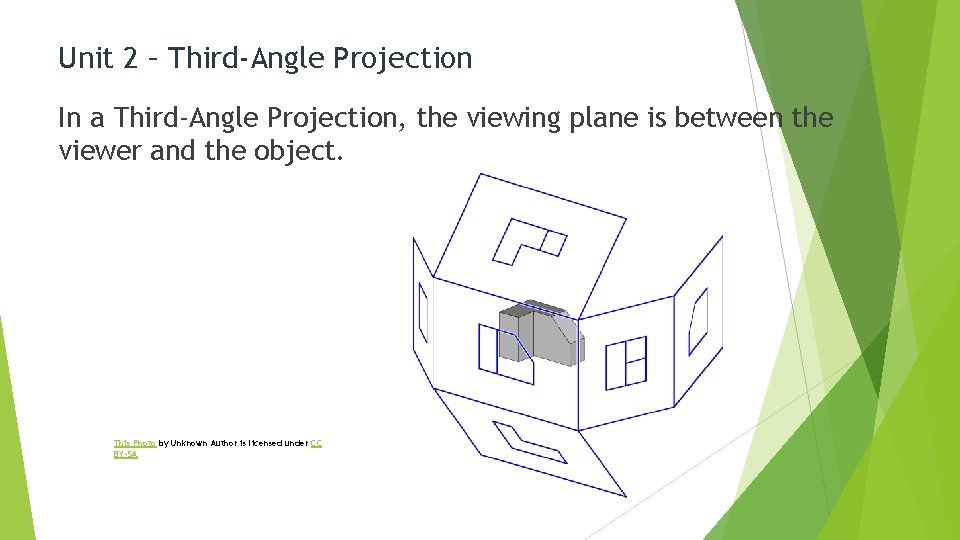
Unit 2 – Third-Angle Projection In a Third-Angle Projection, the viewing plane is between the viewer and the object. This Photo by Unknown Author is licensed under CC BY-SA

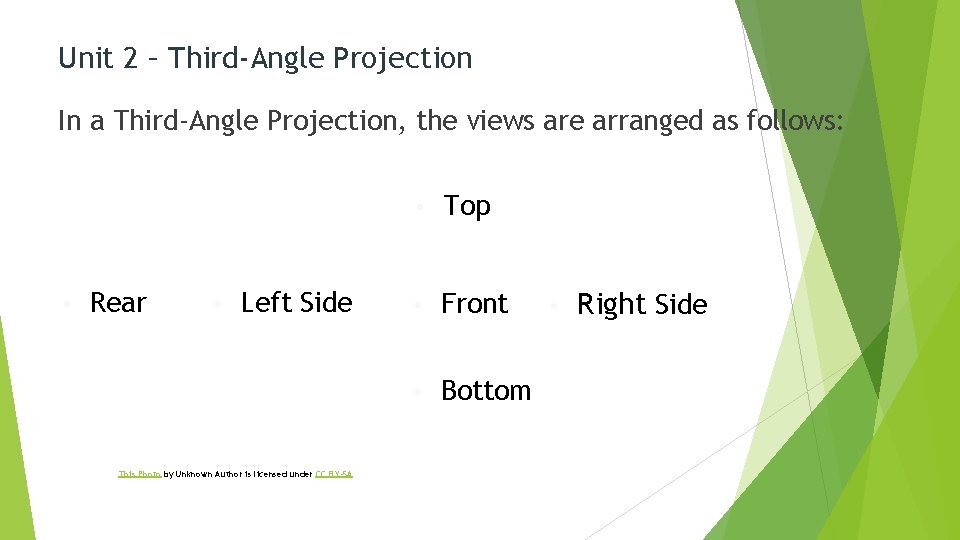
Unit 2 – Third-Angle Projection In a Third-Angle Projection, the views are arranged as follows: • Rear • Left Side This Photo by Unknown Author is licensed under CC BY-SA • Top • Front • Bottom • Right Side

Unit 2 – Drawings and Prints Design team line-up… DESIGN TEAM This Photo by Unknown Author is licensed under CC BY-SA Design Engineering Manufacturing People Marketing Accounting $$

Unit 1 – Drawings and Prints DESIGN TEAM This Photo by Unknown Author is licensed under CC BY-SA Manufacturing will make and inspect the final product. They are essential to keep the engineers “in check” - they confirm the engineering design can actually be made and inspected. They also offer suggestions to make the manufacturing process simpler. Accounting ensures the company will profit (and not lose money) through manufacturing the part.

Unit 1 – Uses of 3 D Modeling What is a 3 D Model Used for? Simulation and Analysis Export for prototyping and production Drawing creation Assembly modeling

Unit 1 – Prototyping and 3 D Printing A prototype is a sample part that is manufactured for analysis. Typically, a prototype is used for testing and to ensure the part will assemble correctly with the other parts. A 3 D printer is a manufacturing device that uses an electronic file to create a part. 3 D Printing is an additive manufacturing process.

A part drawing contains info for a single part. An assembly drawing accomplishes two things: 1. Identifies each part in a product 2. Shows how the parts fit together

A print is a physical (paper) copy of a drawing. The act of interpreting the information shown on a drawing or print is known as print reading.

Unit 1 – Production Phase Production team line-up… PRODUCTI ON TEAM This Photo by Unknown Author is licensed under CC BY-SA Manufacturing Personnel Assemblers Inspectors Packers and Shippers

Unit 1 – Production Phase PRODUCTI ON TEAM This Photo by Unknown Author is licensed under CC BY-SA Several types of manufacturing processes may be used in the production phase. These include forming, separating, conditioning, finishing, and fabricating.

Mr. Zboril Contact Information brian 44212@gmail. com www. brianzboril. weebly. com (Blueprint Reading tab) cell: 513 -375 -7552 Class Time 1 pm Tues & Thurs