Gears Angular Velocity Ratio Source Kinematic analysis and



- Slides: 12

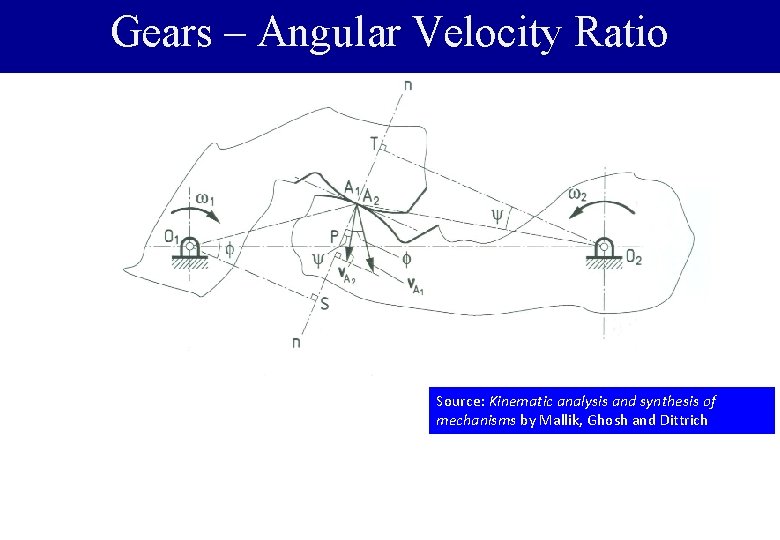
Gears – Angular Velocity Ratio Source: Kinematic analysis and synthesis of mechanisms by Mallik, Ghosh and Dittrich

Constant Angular Velocity Ratio Can be achieved using a belt pulley system: Angular velocity ratio is same as the inverse ratio of the diameters Source: Kinematic analysis and synthesis of mechanisms by Mallik, Ghosh and Dittrich

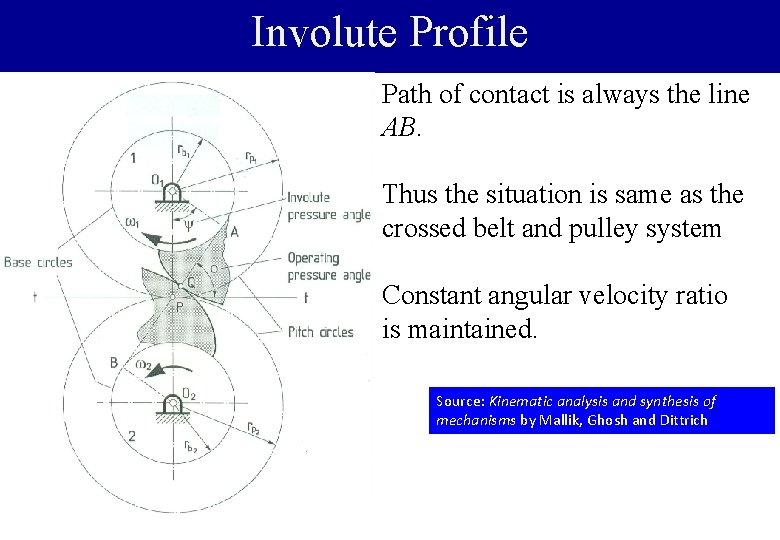
Involute Profile The curves on the shaded area are the involute profiles. Obtained by tracing the point Q on the shaded flanges attached to pulleys 1 and 2. Source: Kinematic analysis and synthesis of mechanisms by Mallik, Ghosh and Dittrich

Involute Profile Path of contact is always the line AB. Thus the situation is same as the crossed belt and pulley system Constant angular velocity ratio is maintained. Source: Kinematic analysis and synthesis of mechanisms by Mallik, Ghosh and Dittrich

Gear Mesh Design – Spur and Helical Useful quantities:

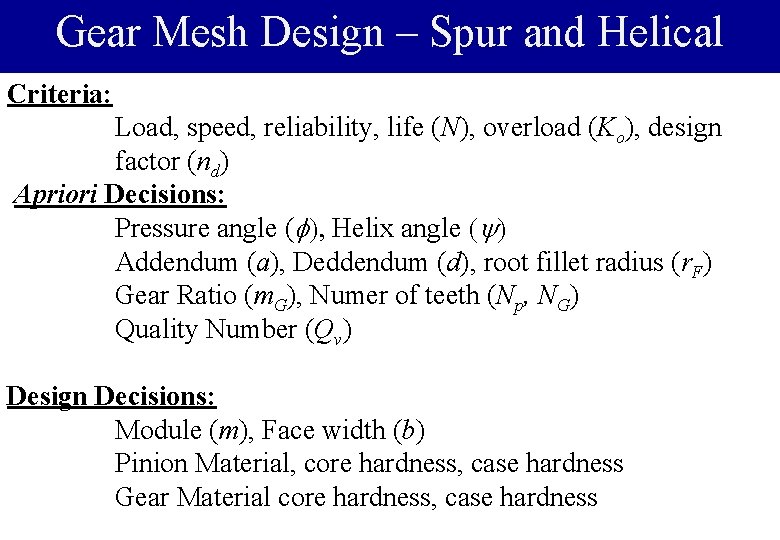
Gear Mesh Design – Spur and Helical Criteria: Load, speed, reliability, life (N), overload (Ko), design factor (nd) Apriori Decisions: Pressure angle (f), Helix angle (y) Addendum (a), Deddendum (d), root fillet radius (r. F) Gear Ratio (m. G), Numer of teeth (Np, NG) Quality Number (Qv) Design Decisions: Module (m), Face width (b) Pinion Material, core hardness, case hardness Gear Material core hardness, case hardness

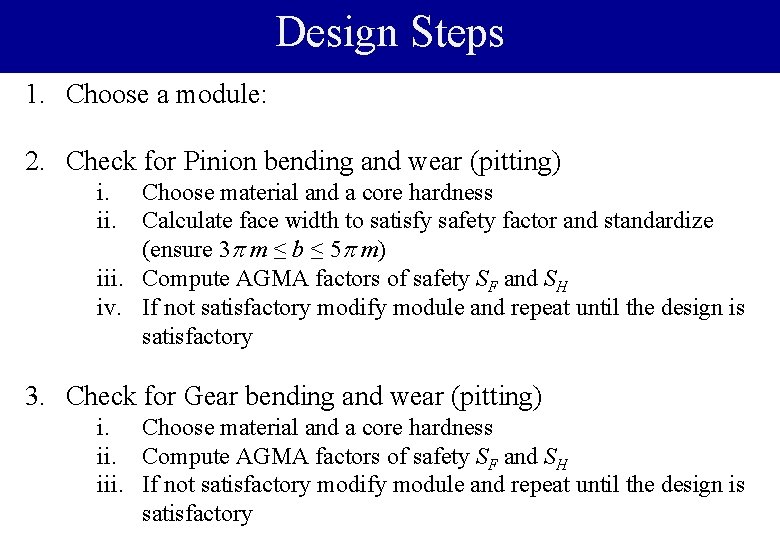
Design Steps 1. Choose a module: 2. Check for Pinion bending and wear (pitting) i. ii. Choose material and a core hardness Calculate face width to satisfy safety factor and standardize (ensure 3 p m ≤ b ≤ 5 p m) iii. Compute AGMA factors of safety SF and SH iv. If not satisfactory modify module and repeat until the design is satisfactory 3. Check for Gear bending and wear (pitting) i. Choose material and a core hardness ii. Compute AGMA factors of safety SF and SH iii. If not satisfactory modify module and repeat until the design is satisfactory

Gear Force Analysis

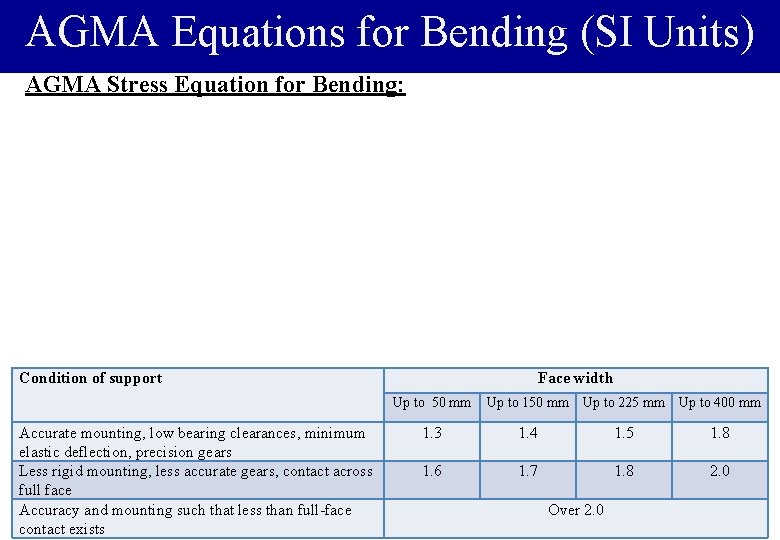
AGMA Equations for Bending (SI Units) AGMA Stress Equation for Bending: Condition of support Accurate mounting, low bearing clearances, minimum elastic deflection, precision gears Less rigid mounting, less accurate gears, contact across full face Accuracy and mounting such that less than full-face contact exists Face width Up to 50 mm Up to 150 mm Up to 225 mm Up to 400 mm 1. 3 1. 4 1. 5 1. 8 1. 6 1. 7 1. 8 2. 0 Over 2. 0

AGMA Equations for Bending (SI Units) AGMA Strength Equation for Bending:

AGMA Equations for Pitting (SI Units) AGMA Stress Equation for Contact (pitting):

AGMA Equations for Pitting (SI Units) AGMA Strength Equation for Pitting: