GDT Inspection in Spatial Analyzer Jeremy Winn Application
- Slides: 53

GD&T Inspection in Spatial. Analyzer Jeremy Winn Application Engineer New River Kinematics Philip Wilson Application Engineer New River Kinematics

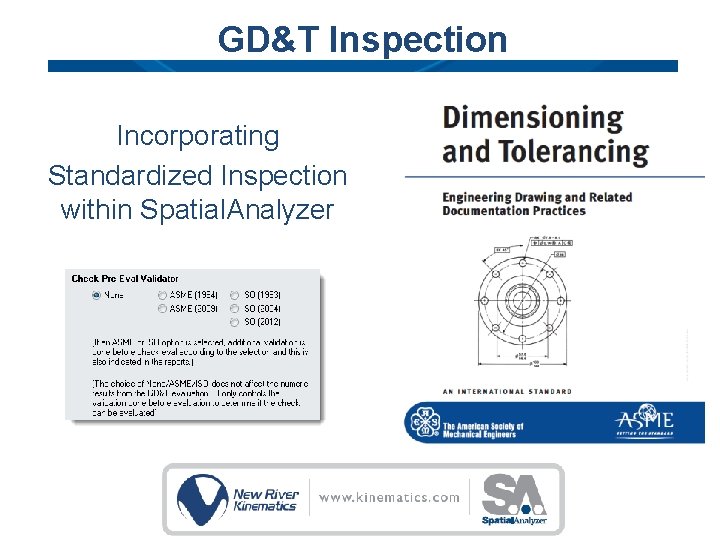
GD&T Inspection Incorporating Standardized Inspection within Spatial. Analyzer

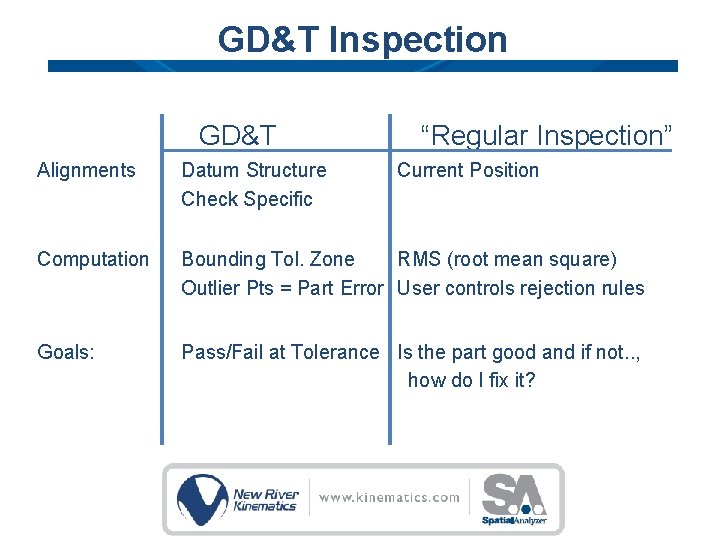
GD&T Inspection GD&T “Regular Inspection” Alignments Datum Structure Check Specific Current Position Computation Bounding Tol. Zone RMS (root mean square) Outlier Pts = Part Error User controls rejection rules Goals: Pass/Fail at Tolerance Is the part good and if not. . , how do I fix it?

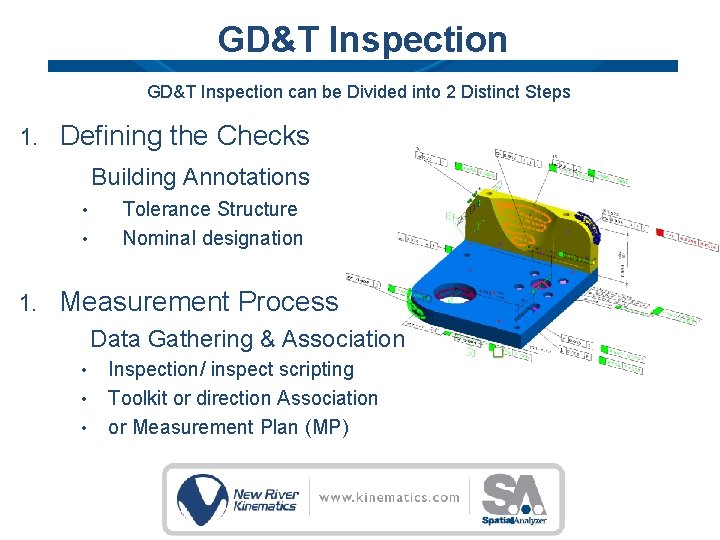
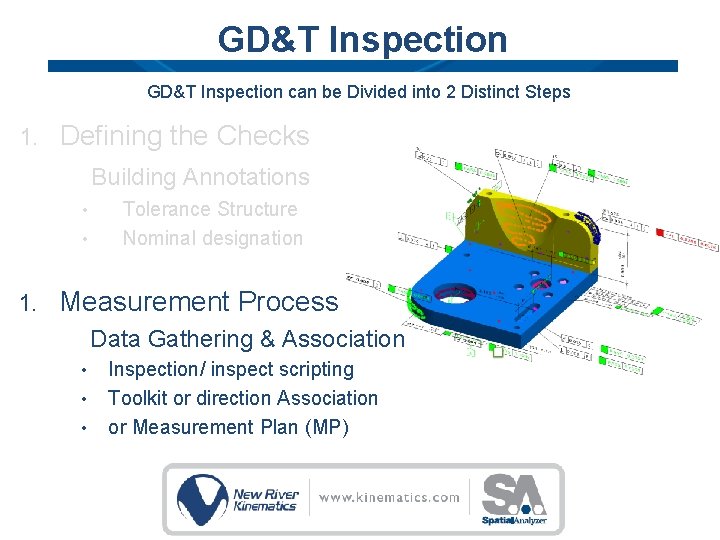
GD&T Inspection can be Divided into 2 Distinct Steps 1. Defining the Checks Building Annotations • • 1. Tolerance Structure Nominal designation Measurement Process Data Gathering & Association • • • Inspection/ inspect scripting Toolkit or direction Association or Measurement Plan (MP)

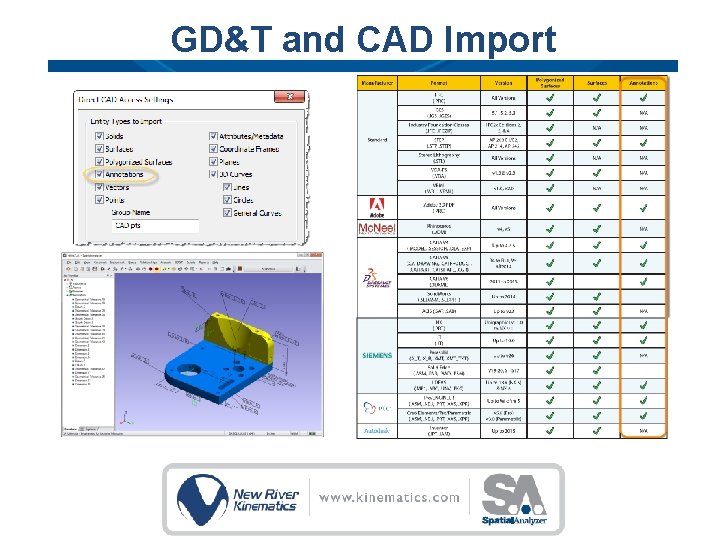
GD&T and CAD Import

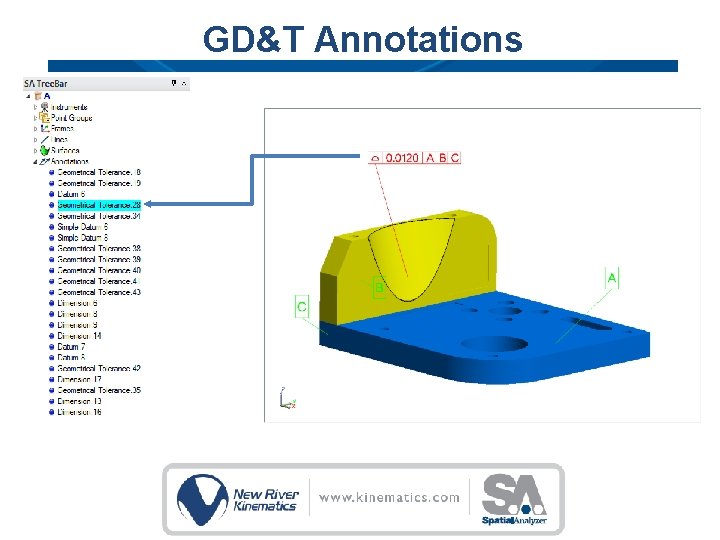
GD&T Annotations

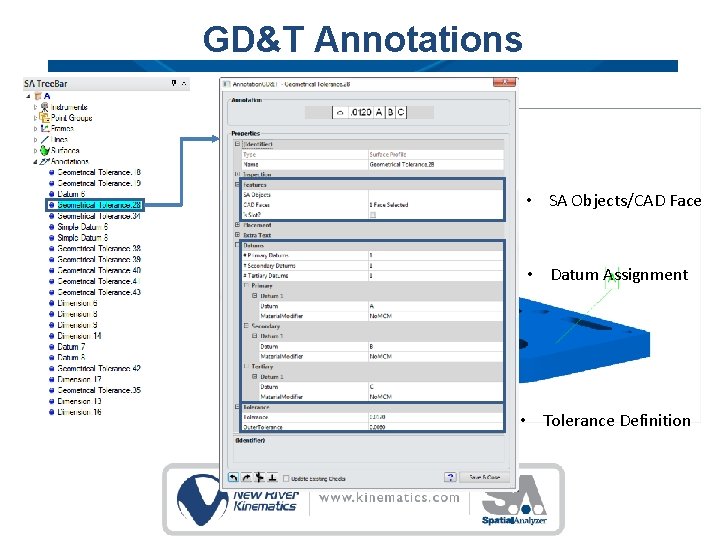
GD&T Annotations • SA Objects/CAD Face • Datum Assignment • Tolerance Definition

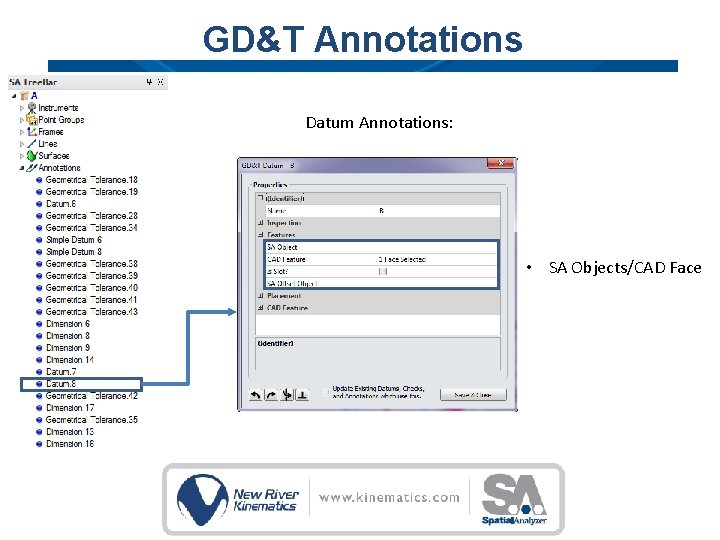
GD&T Annotations Datum Annotations: • SA Objects/CAD Face

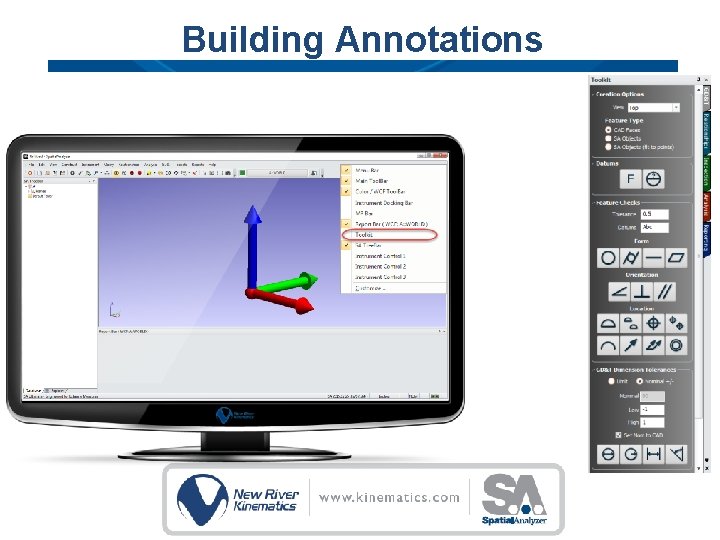
Building Annotations

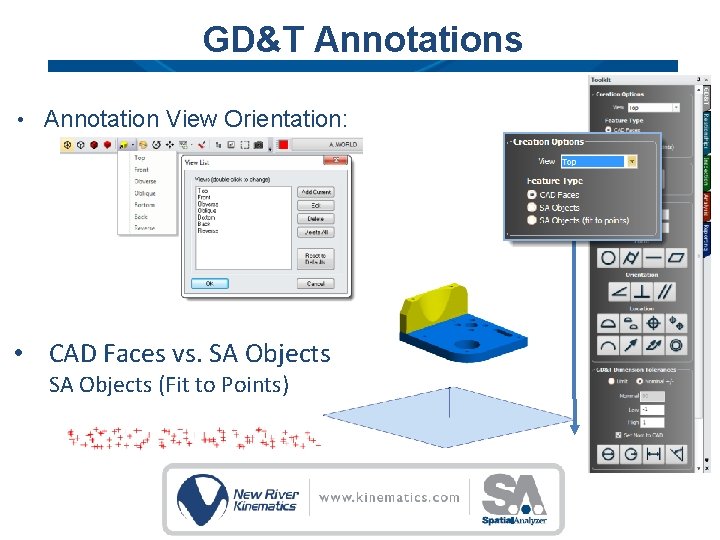
GD&T Annotations • Annotation View Orientation: • CAD Faces vs. SA Objects (Fit to Points)

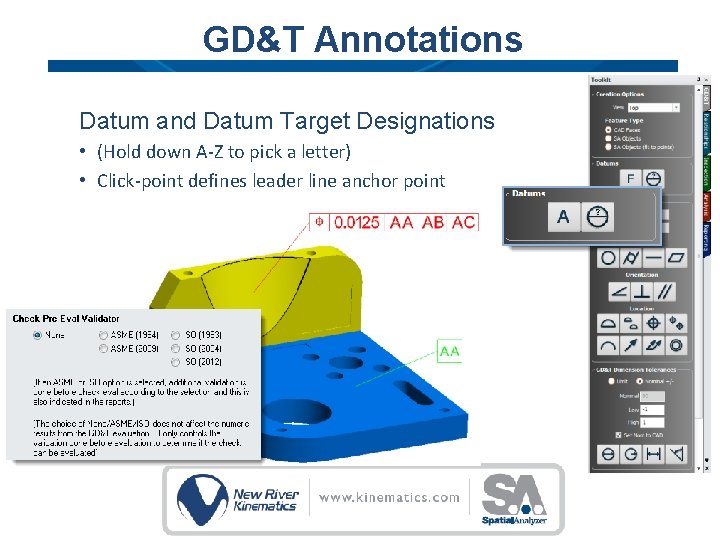
GD&T Annotations Datum and Datum Target Designations • (Hold down A-Z to pick a letter) • Click-point defines leader line anchor point

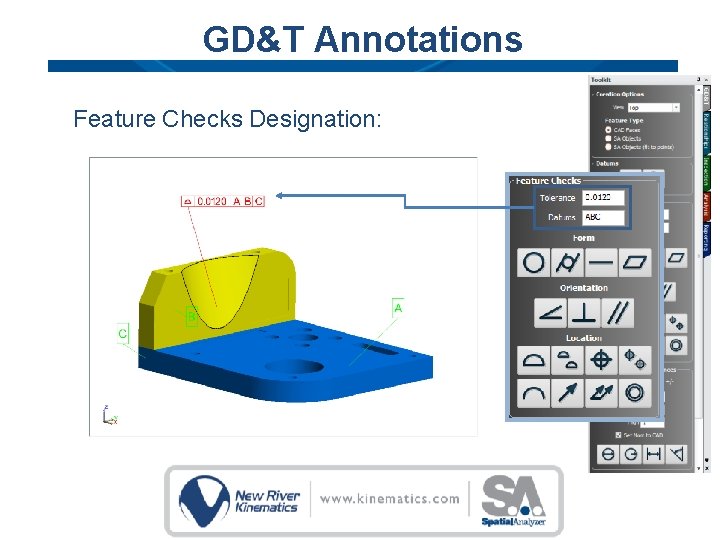
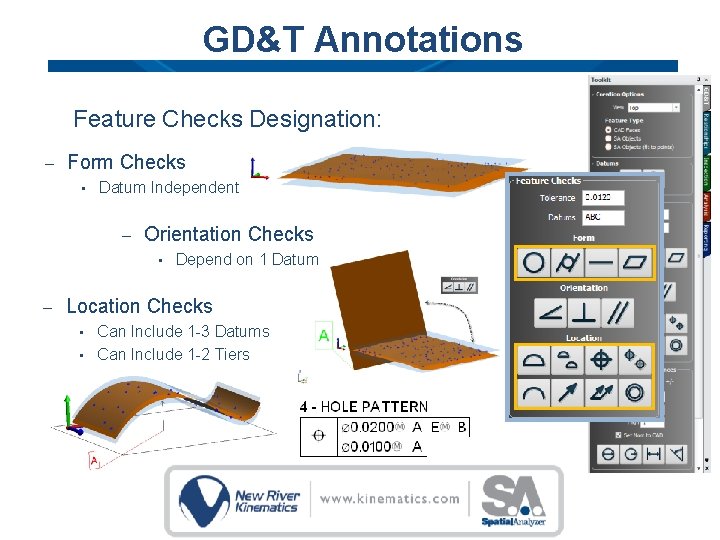
GD&T Annotations Feature Checks Designation:

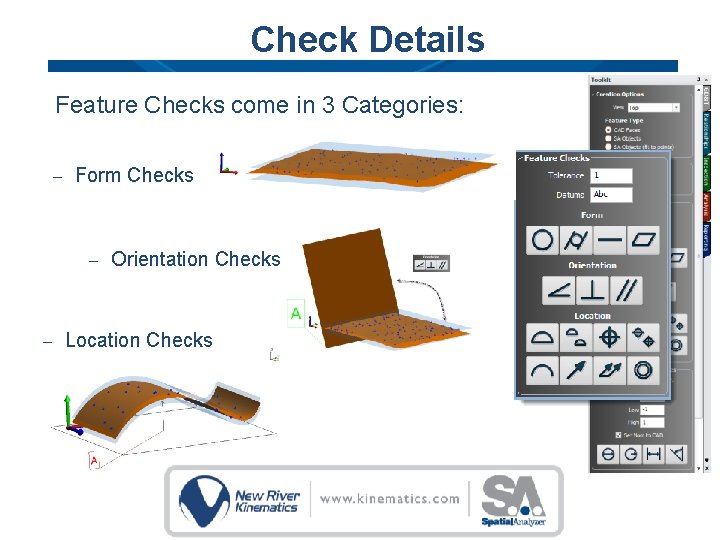
GD&T Annotations Feature Checks Designation: – Form Checks • Datum Independent – Orientation Checks • – Depend on 1 Datum Location Checks Can Include 1 -3 Datums • Can Include 1 -2 Tiers •

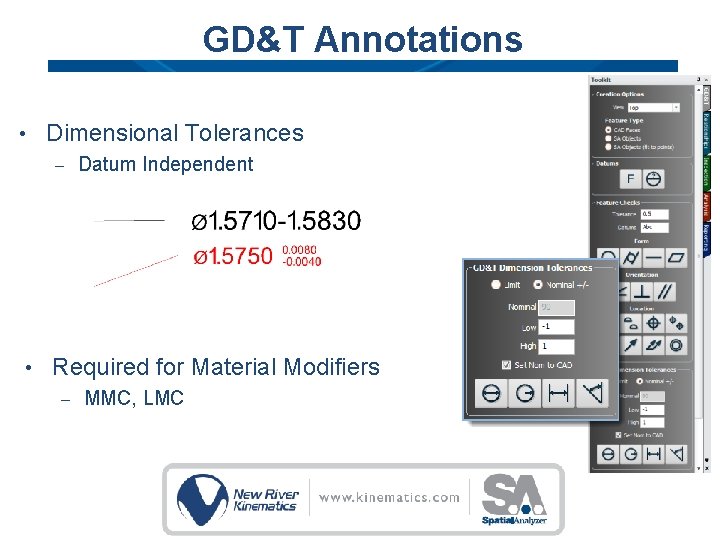
GD&T Annotations • Dimensional Tolerances – • Datum Independent Required for Material Modifiers – MMC, LMC

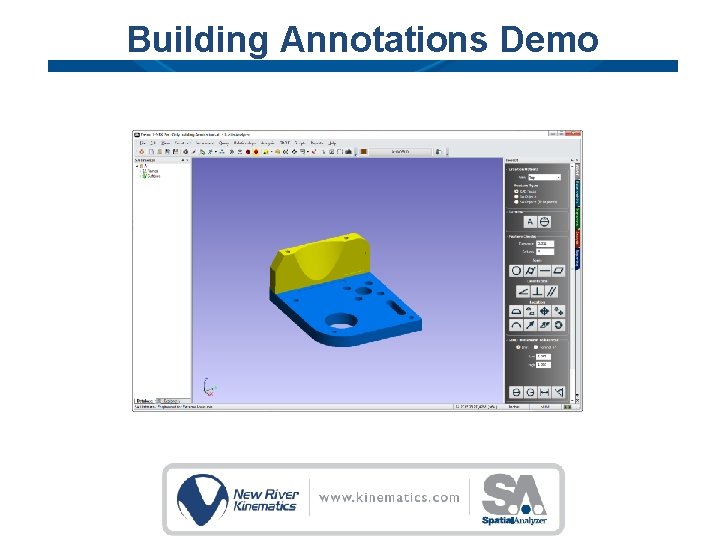
Building Annotations Demo

GD&T Inspection can be Divided into 2 Distinct Steps 1. Defining the Checks Building Annotations • • 1. Tolerance Structure Nominal designation Measurement Process Data Gathering & Association • • • Inspection/ inspect scripting Toolkit or direction Association or Measurement Plan (MP)

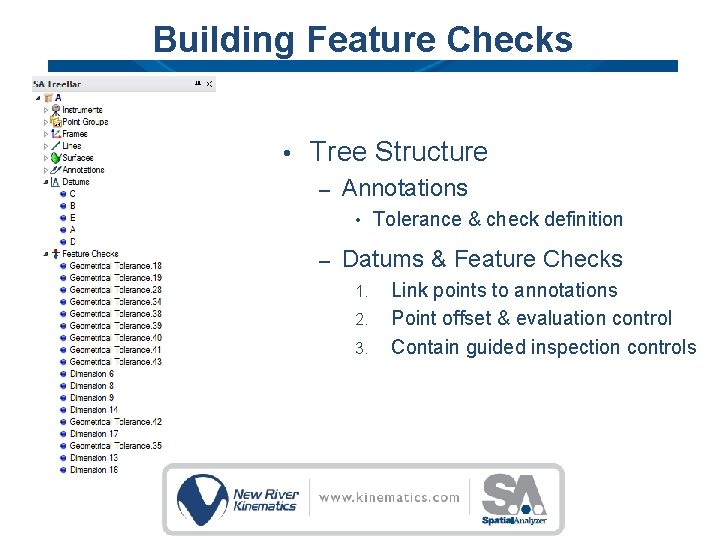
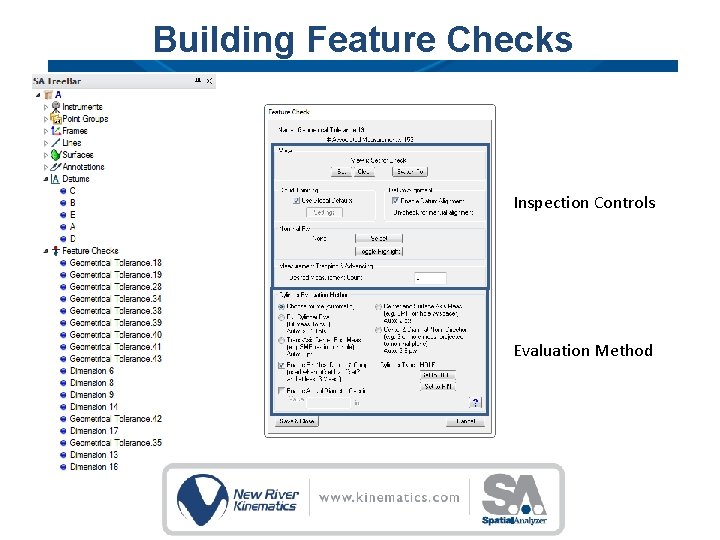
Building Feature Checks • Tree Structure – Annotations • – Tolerance & check definition Datums & Feature Checks 1. 2. 3. Link points to annotations Point offset & evaluation control Contain guided inspection controls

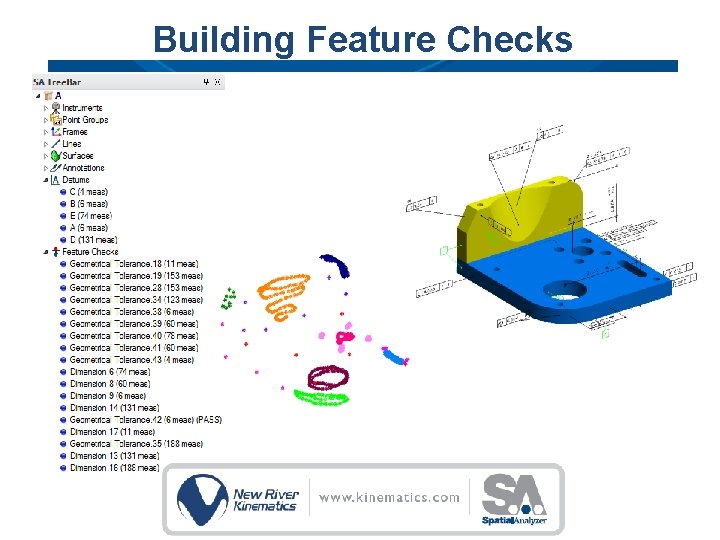
Building Feature Checks

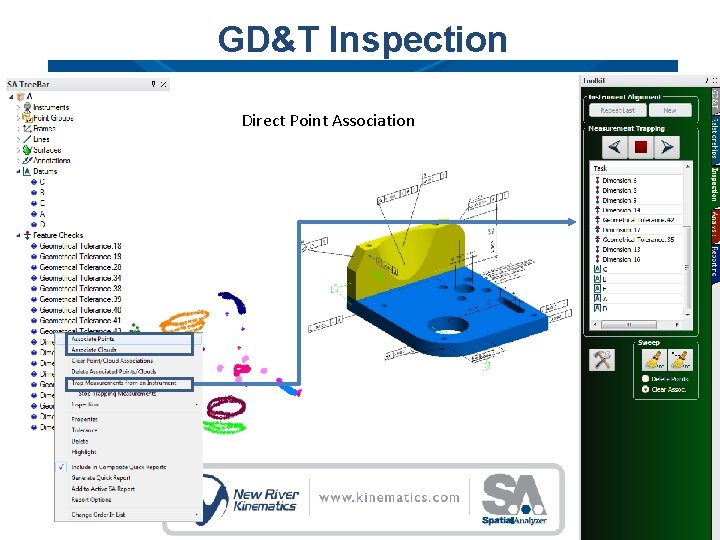
GD&T Inspection Direct Point Association

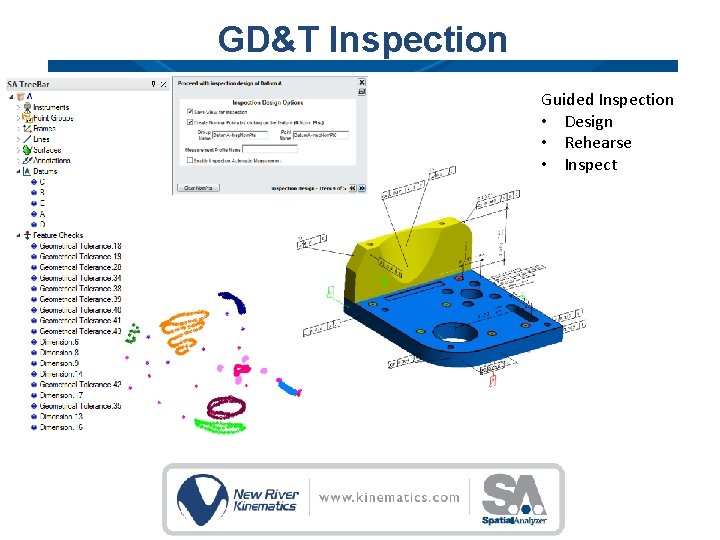
GD&T Inspection Guided Inspection • Design • Rehearse • Inspect

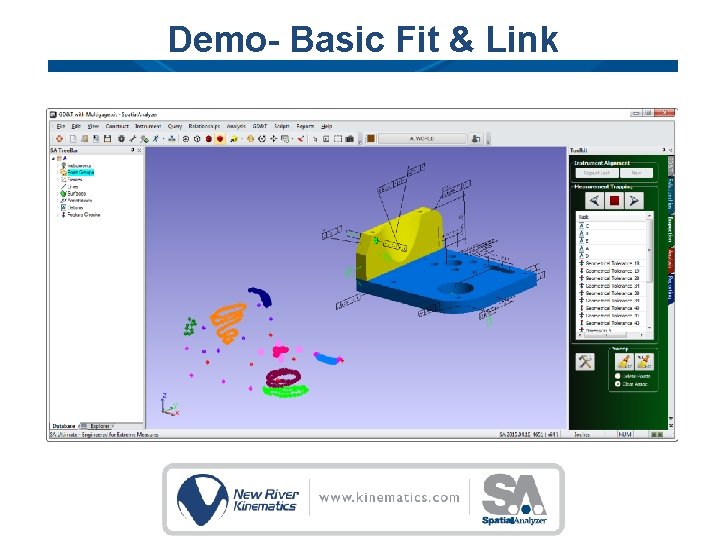
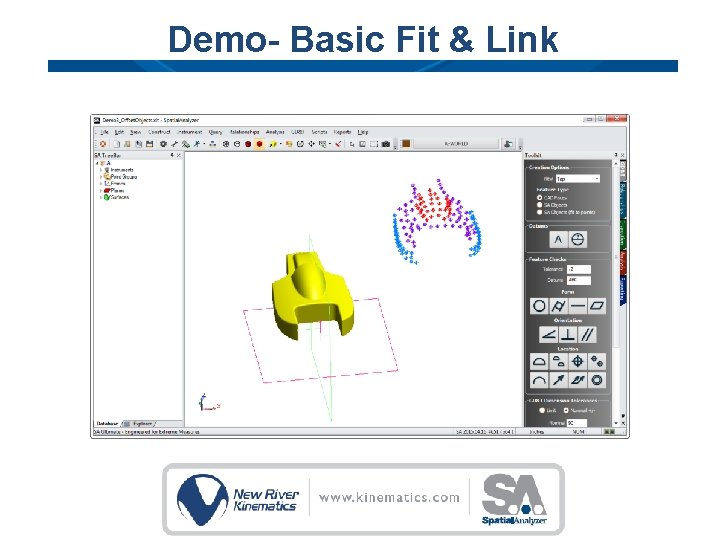
Demo- Basic Fit & Link

Check Details Feature Checks come in 3 Categories: – Form Checks – – Orientation Checks Location Checks

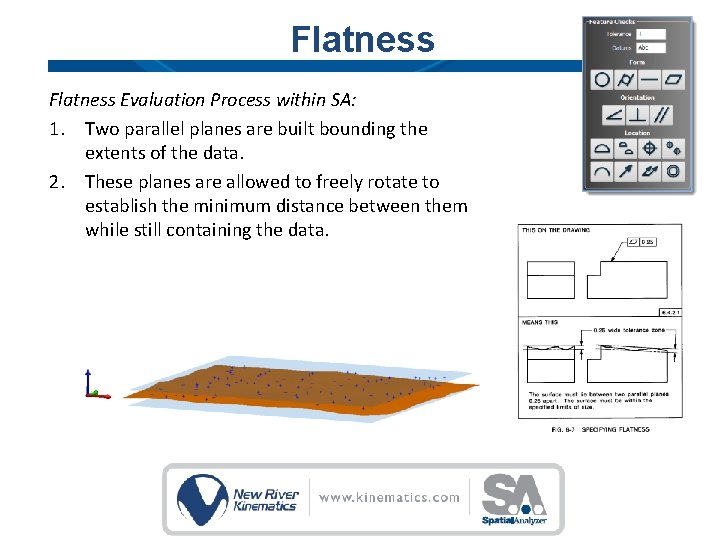
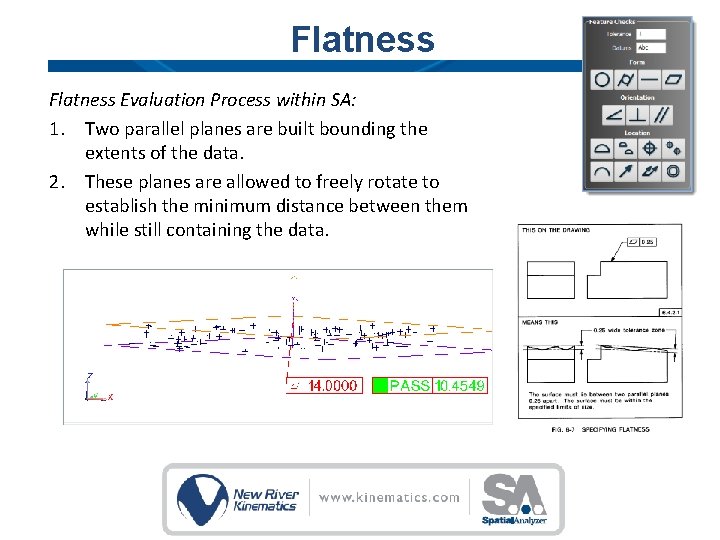
Flatness Evaluation Process within SA: 1. Two parallel planes are built bounding the extents of the data. 2. These planes are allowed to freely rotate to establish the minimum distance between them while still containing the data.

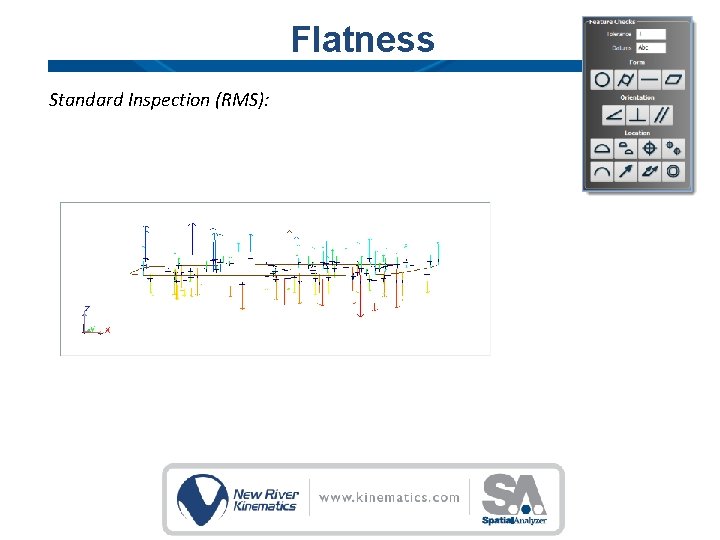
Flatness Standard Inspection (RMS):

Flatness Evaluation Process within SA: 1. Two parallel planes are built bounding the extents of the data. 2. These planes are allowed to freely rotate to establish the minimum distance between them while still containing the data.

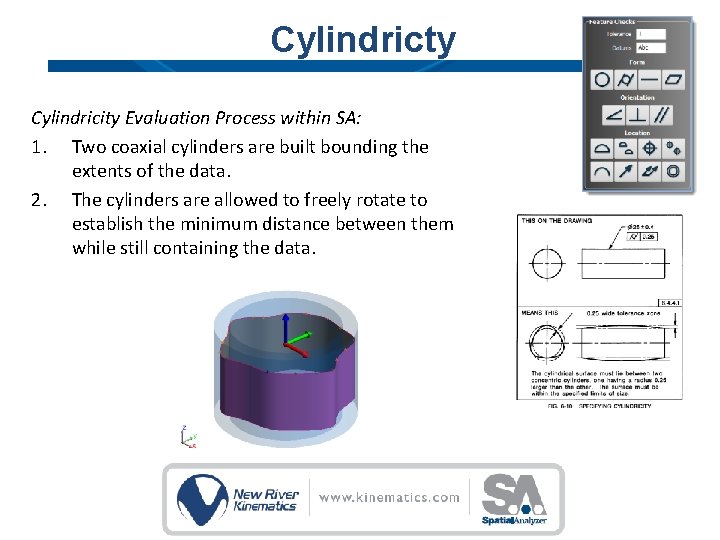
Cylindricty Cylindricity Evaluation Process within SA: 1. Two coaxial cylinders are built bounding the extents of the data. 2. The cylinders are allowed to freely rotate to establish the minimum distance between them while still containing the data.

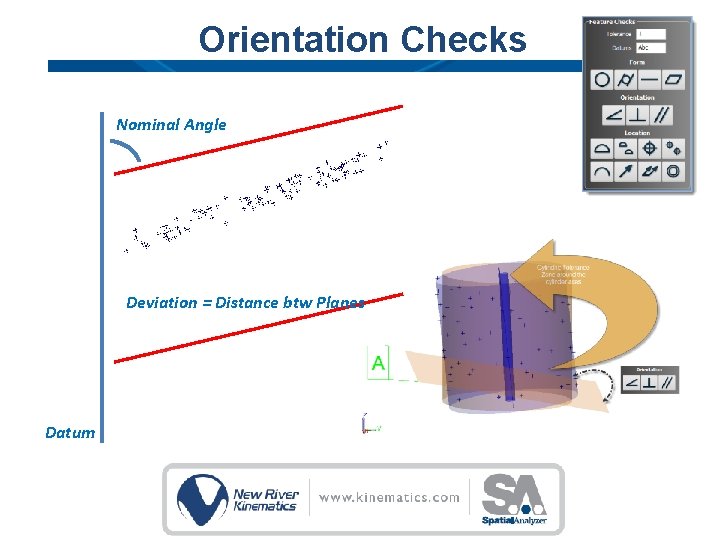
Orientation Checks Nominal Angle Deviation = Distance btw Planes Datum

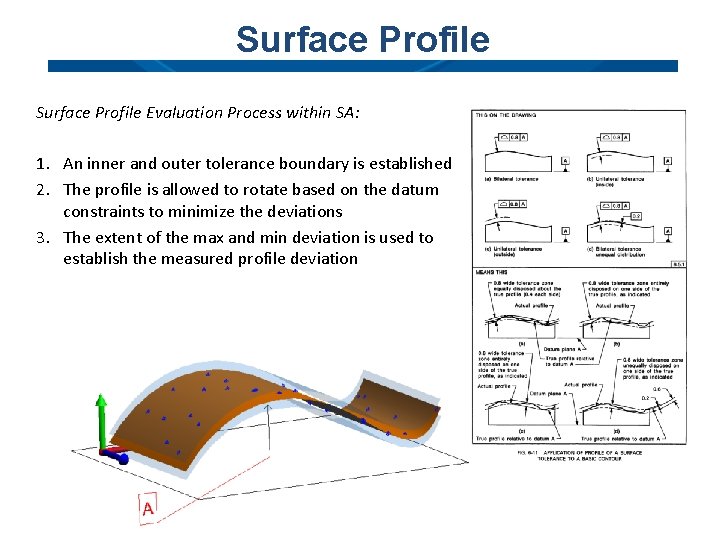
Surface Profile Evaluation Process within SA: 1. An inner and outer tolerance boundary is established 2. The profile is allowed to rotate based on the datum constraints to minimize the deviations 3. The extent of the max and min deviation is used to establish the measured profile deviation

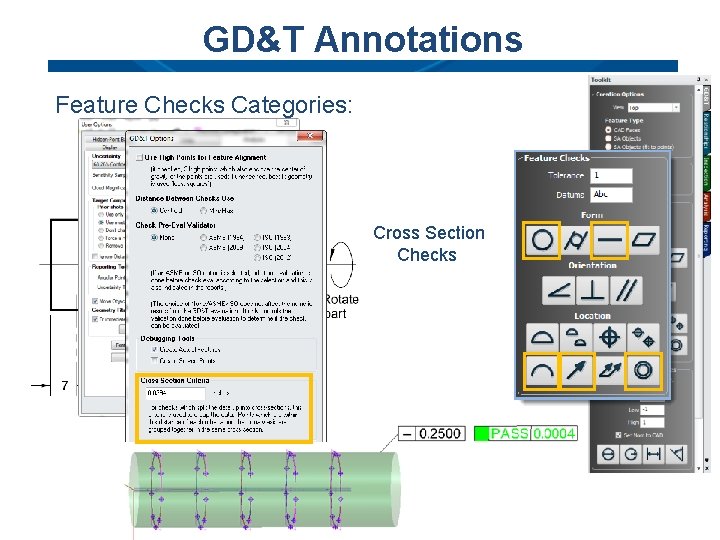
GD&T Annotations Feature Checks Categories: Cross Section Checks

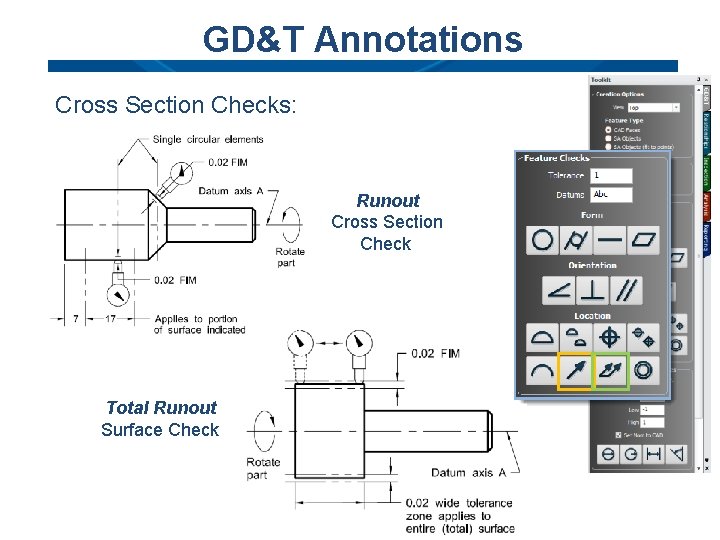
GD&T Annotations Cross Section Checks: Runout Cross Section Check Total Runout Surface Check

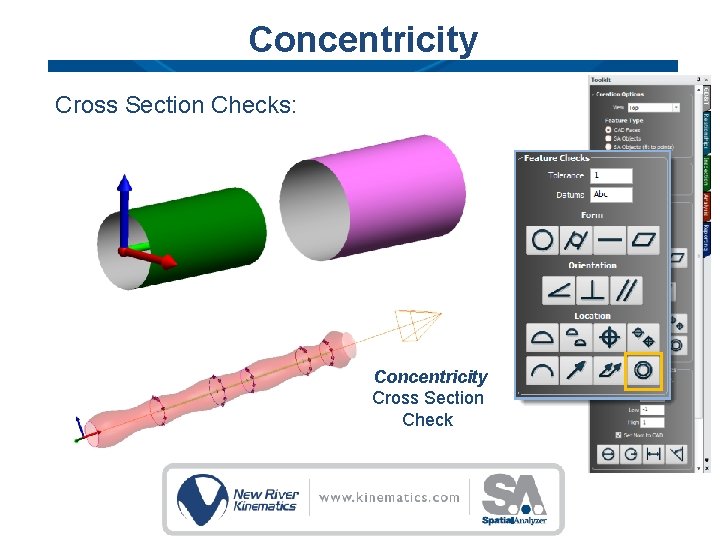
Concentricity Cross Section Checks: Concentricity Cross Section Check

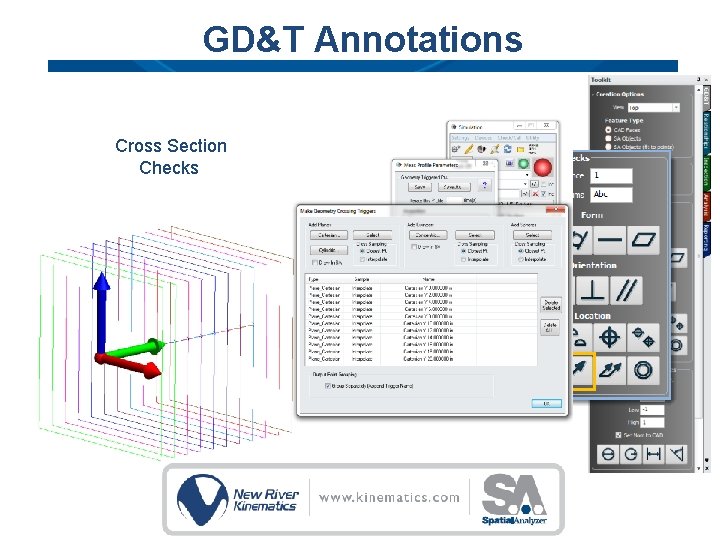
GD&T Annotations Cross Section Checks

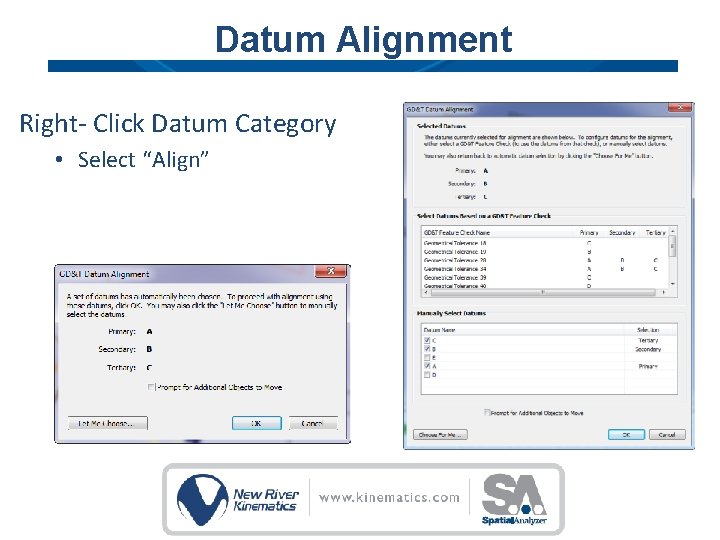
Datum Alignment Right- Click Datum Category • Select “Align”

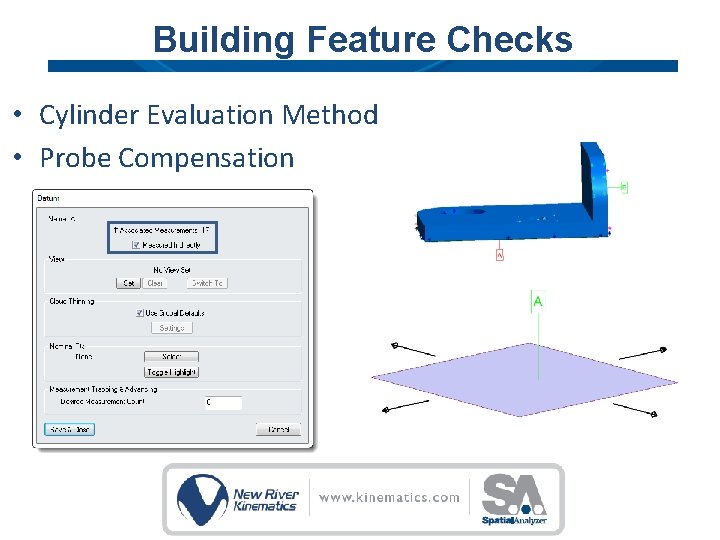
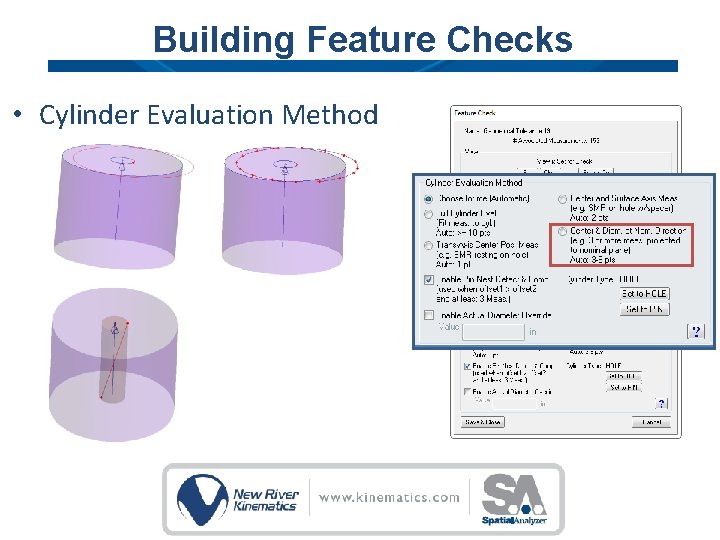
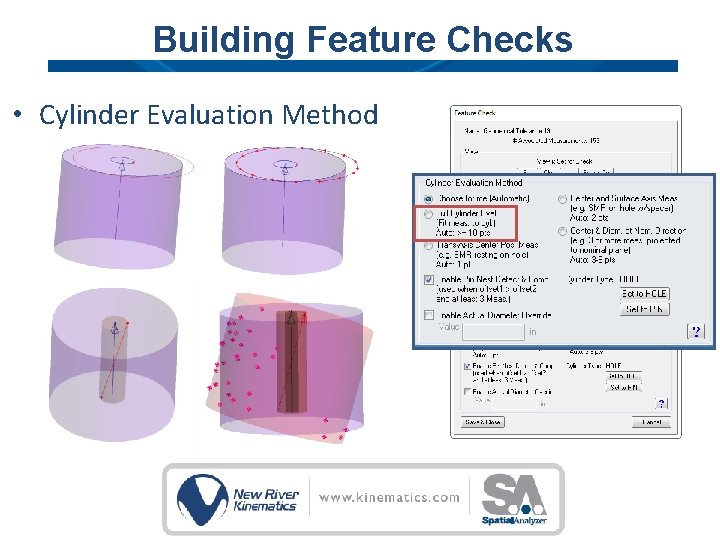
Building Feature Checks • Cylinder Evaluation Method • Probe Compensation

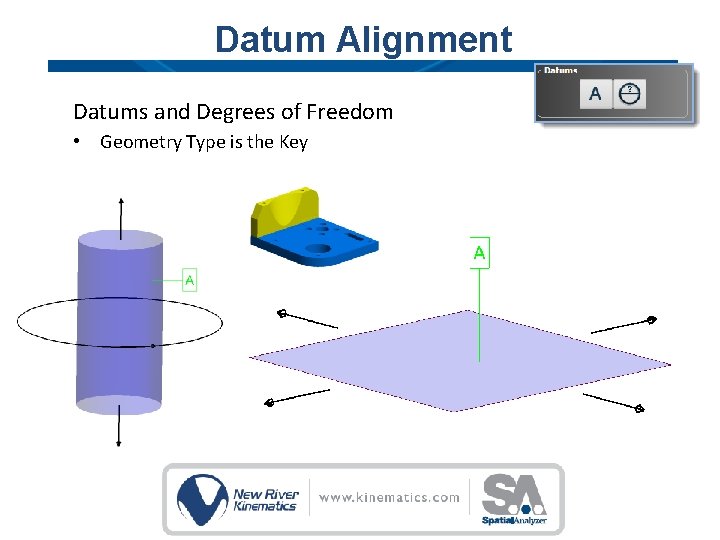
Datum Alignment Datums and Degrees of Freedom • Geometry Type is the Key

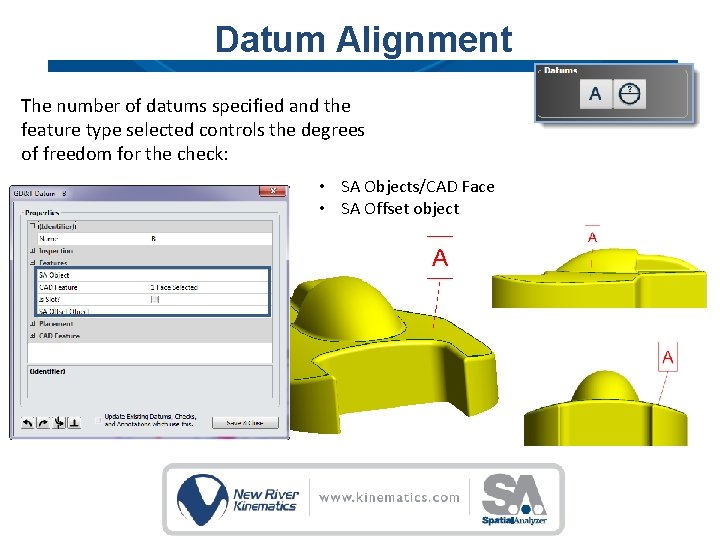
Datum Alignment The number of datums specified and the feature type selected controls the degrees of freedom for the check: • SA Objects/CAD Face • SA Offset object

Demo- Basic Fit & Link

Building Feature Checks Inspection Controls Evaluation Method

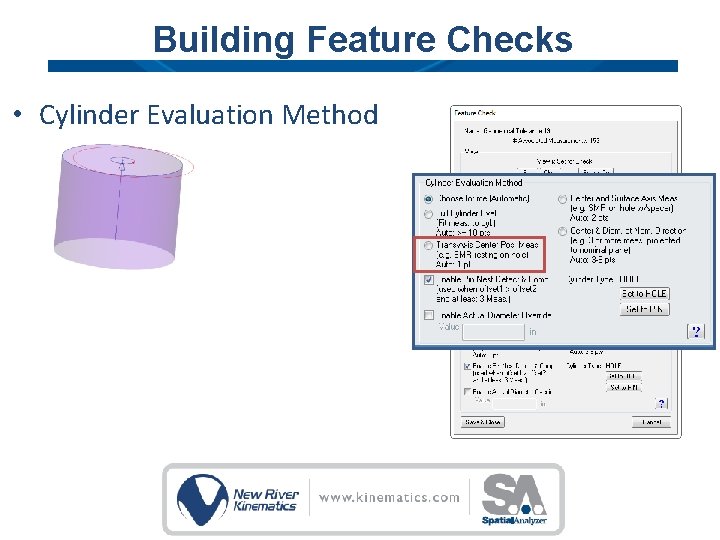
Building Feature Checks • Cylinder Evaluation Method

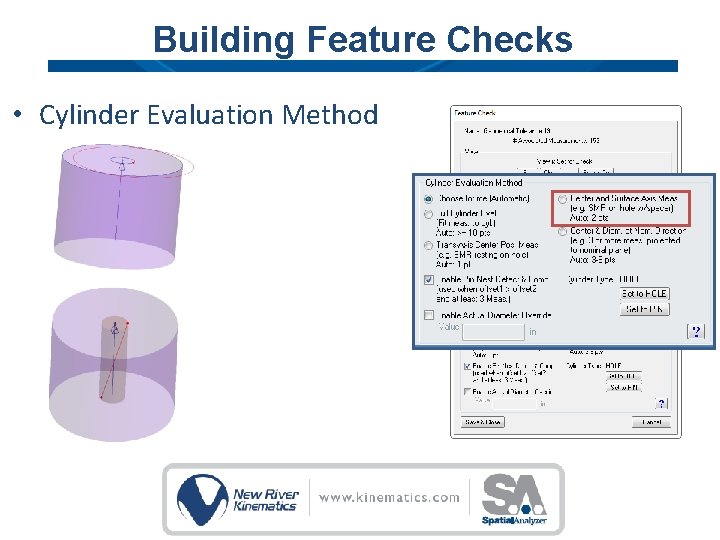
Building Feature Checks • Cylinder Evaluation Method

Building Feature Checks • Cylinder Evaluation Method

Building Feature Checks • Cylinder Evaluation Method

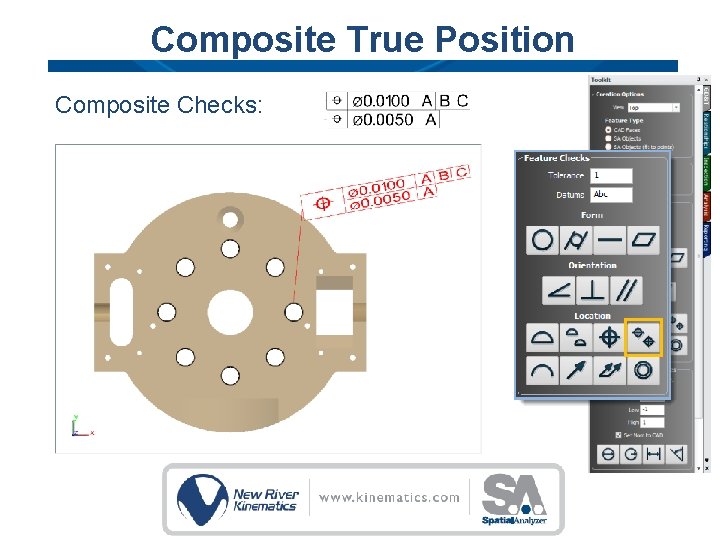
Composite True Position Composite Checks:

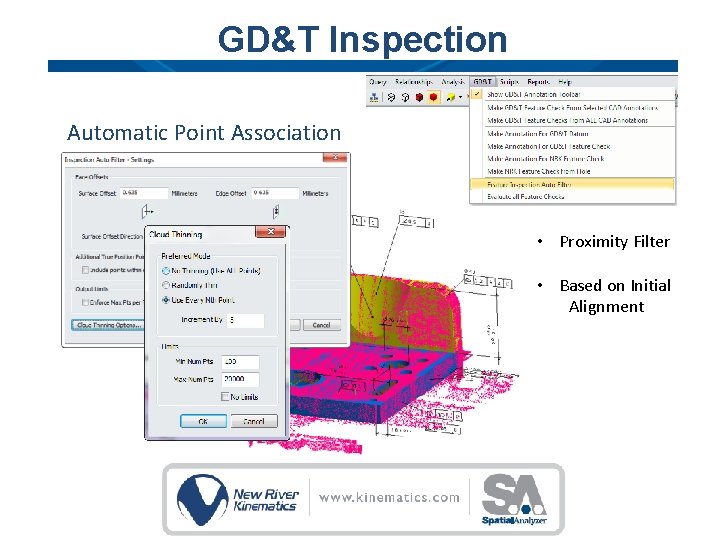
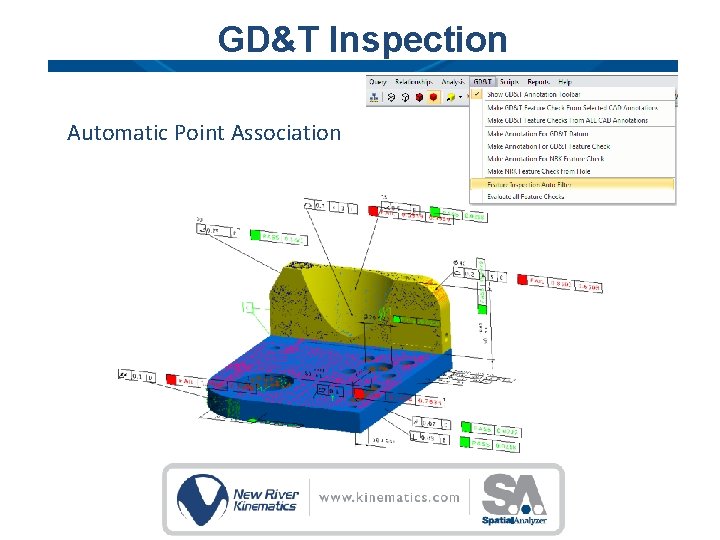
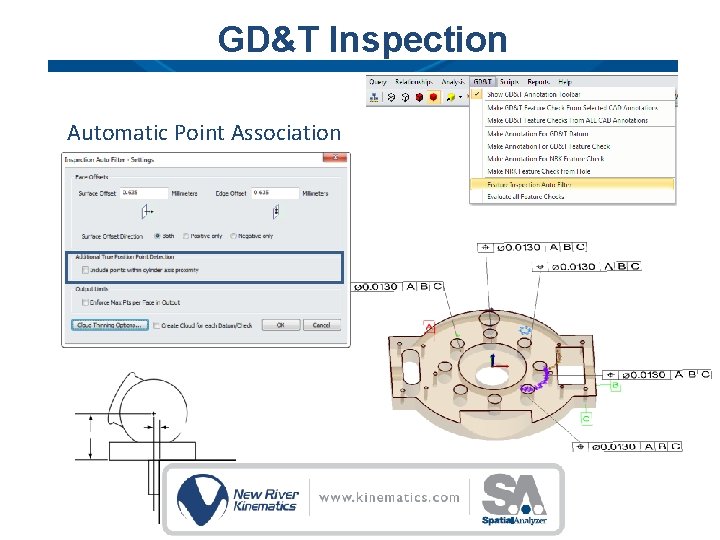
GD&T Inspection Automatic Point Association • Proximity Filter • Based on Initial Alignment

GD&T Inspection Automatic Point Association

GD&T Inspection Automatic Point Association

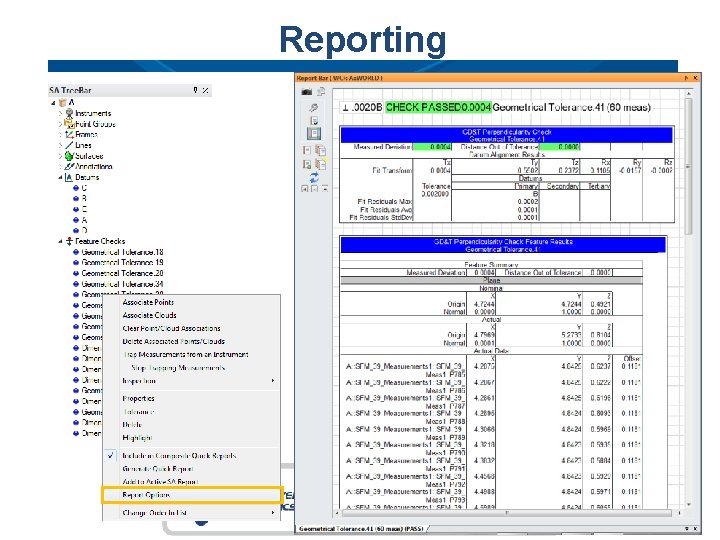
Reporting

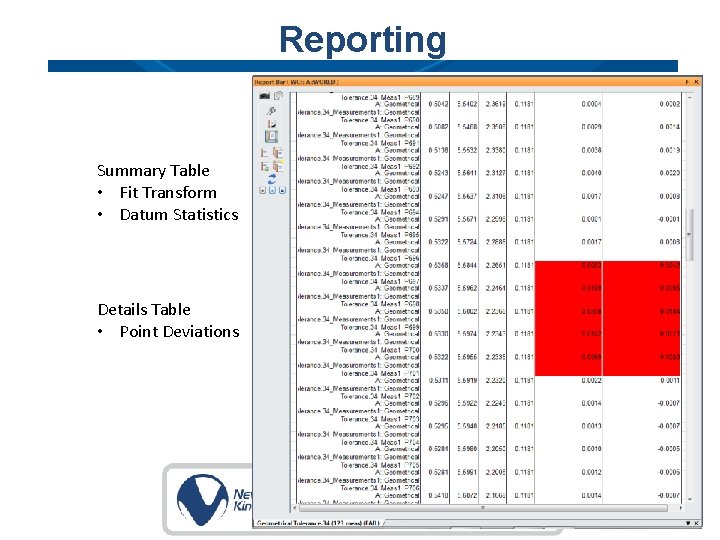
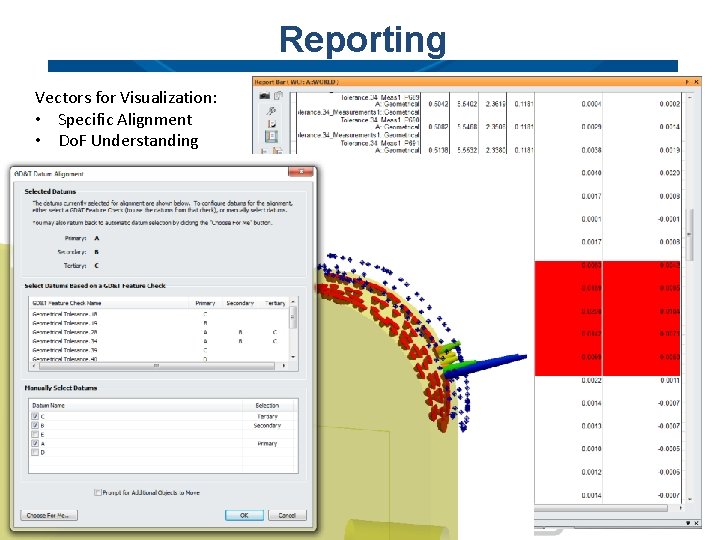
Reporting Summary Table • Fit Transform • Datum Statistics Details Table • Point Deviations

Reporting Vectors for Visualization: • Specific Alignment • Do. F Understanding

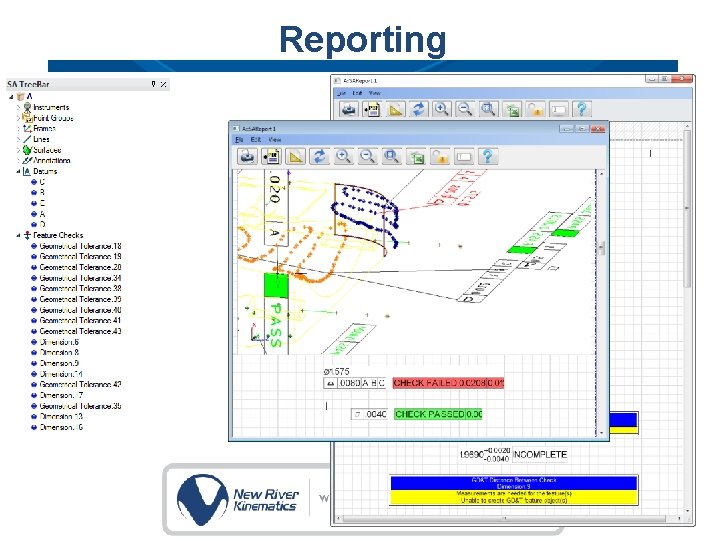
Reporting

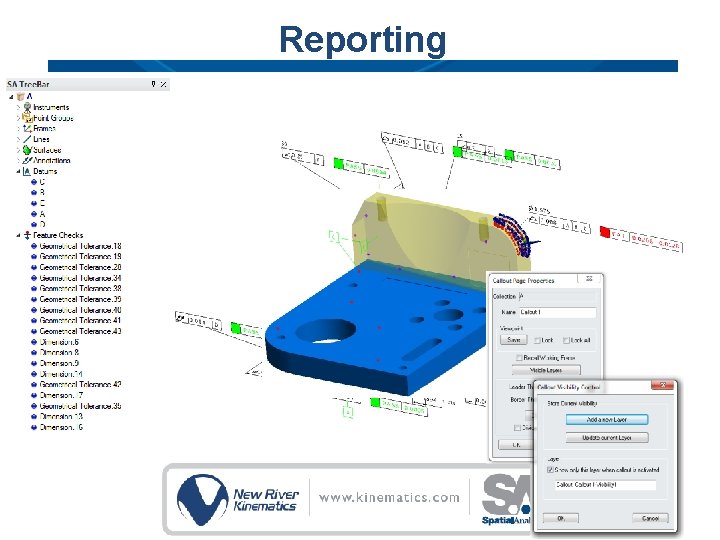
Reporting

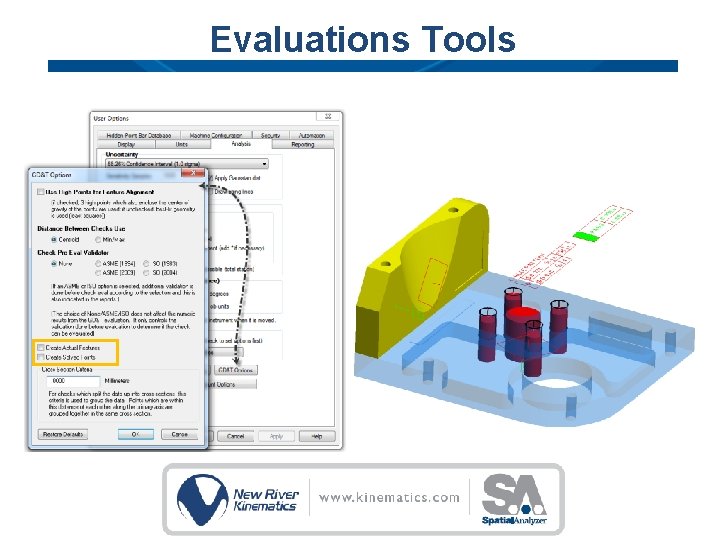
Evaluations Tools

Thank You