Fundamentals of Thermal Conductivity Measurement via ASTM 5470
- Slides: 21

Fundamentals of Thermal Conductivity Measurement via ASTM 5470 by Dr. John W. Sofia Analysis Tech Inc. 2016 Fundamentals www. analysistech. com 1

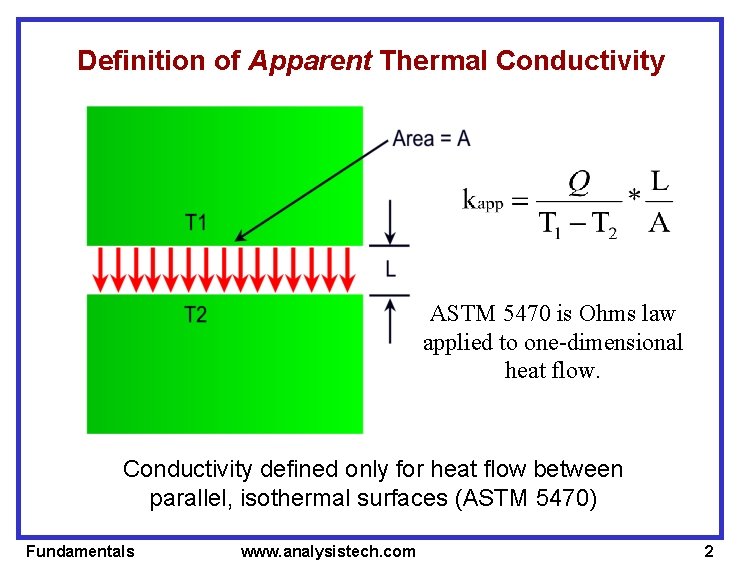
Definition of Apparent Thermal Conductivity ASTM 5470 is Ohms law applied to one-dimensional heat flow. Conductivity defined only for heat flow between parallel, isothermal surfaces (ASTM 5470) Fundamentals www. analysistech. com 2

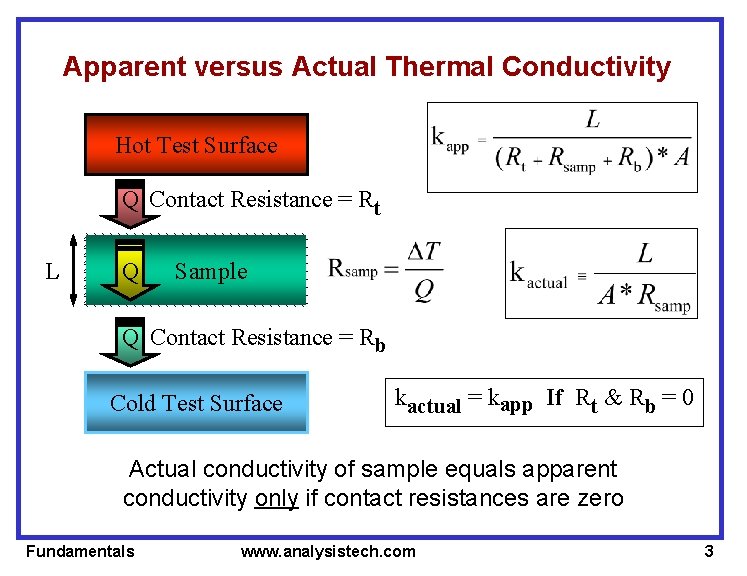
Apparent versus Actual Thermal Conductivity Hot Test Surface Q Contact Resistance = Rt L Q Sample Q Contact Resistance = Rb Cold Test Surface kactual = kapp If Rt & Rb = 0 Actual conductivity of sample equals apparent conductivity only if contact resistances are zero Fundamentals www. analysistech. com 3

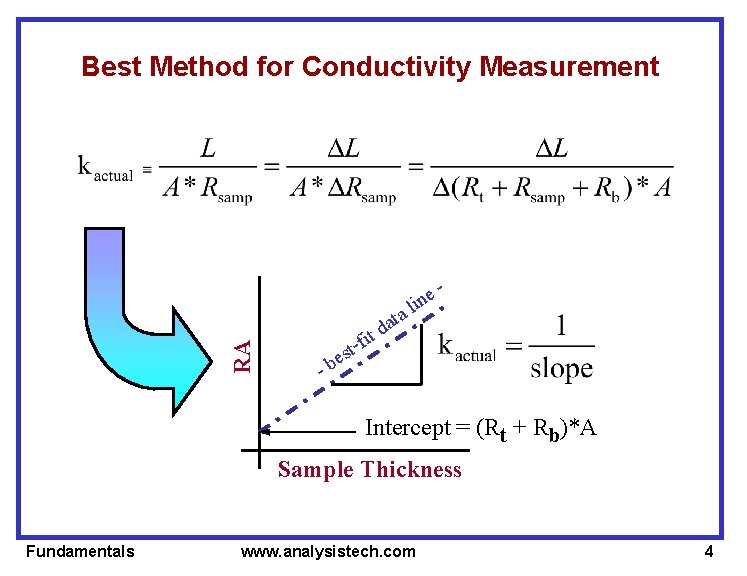
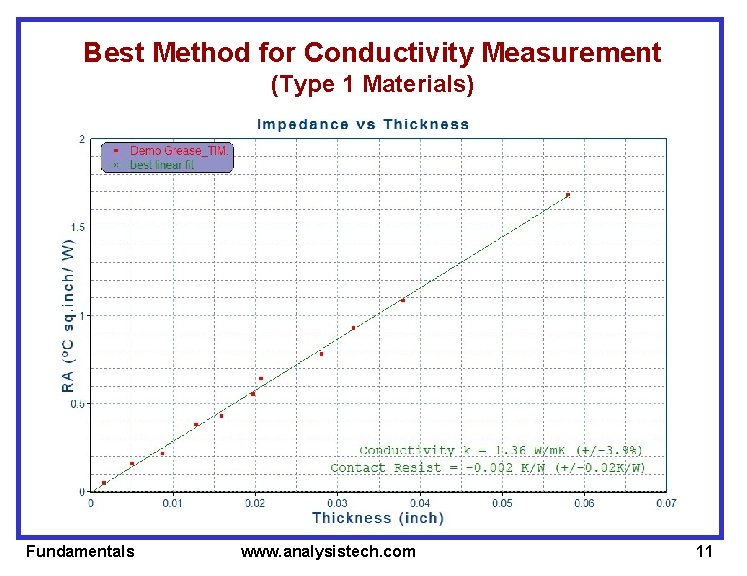
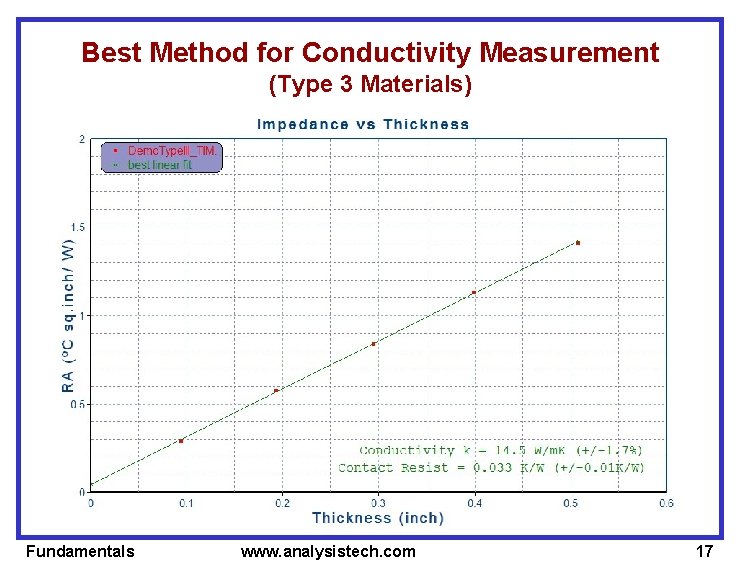
Best Method for Conductivity Measurement RA ta a ti d e lin - -f t s e -b Intercept = (Rt + Rb)*A Sample Thickness Fundamentals www. analysistech. com 4

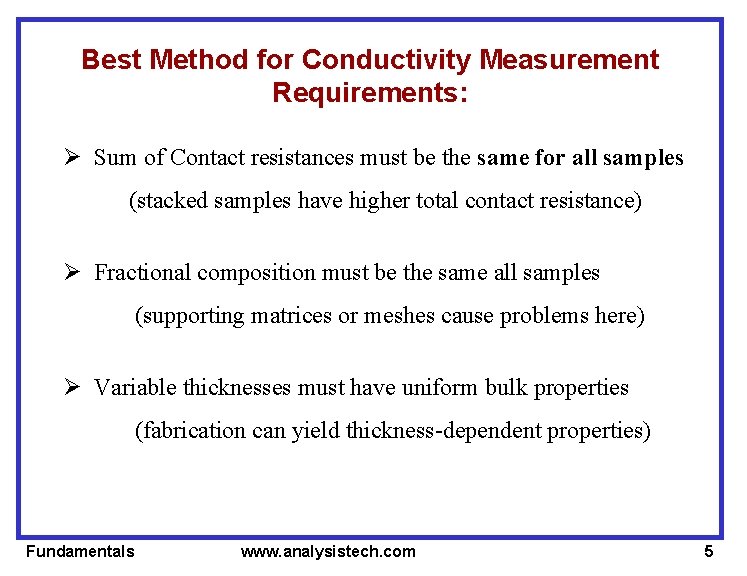
Best Method for Conductivity Measurement Requirements: Ø Sum of Contact resistances must be the same for all samples (stacked samples have higher total contact resistance) Ø Fractional composition must be the same all samples (supporting matrices or meshes cause problems here) Ø Variable thicknesses must have uniform bulk properties (fabrication can yield thickness-dependent properties) Fundamentals www. analysistech. com 5

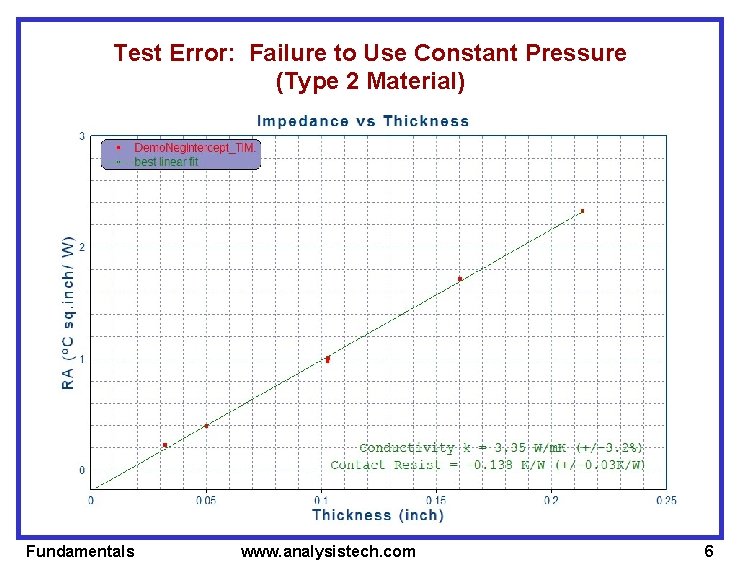
Test Error: Failure to Use Constant Pressure (Type 2 Material) Fundamentals www. analysistech. com 6

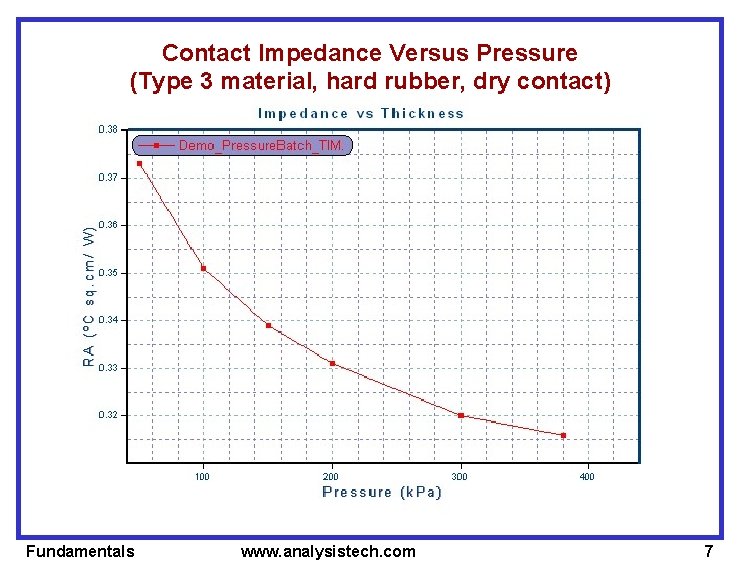
Contact Impedance Versus Pressure (Type 3 material, hard rubber, dry contact) Fundamentals www. analysistech. com 7

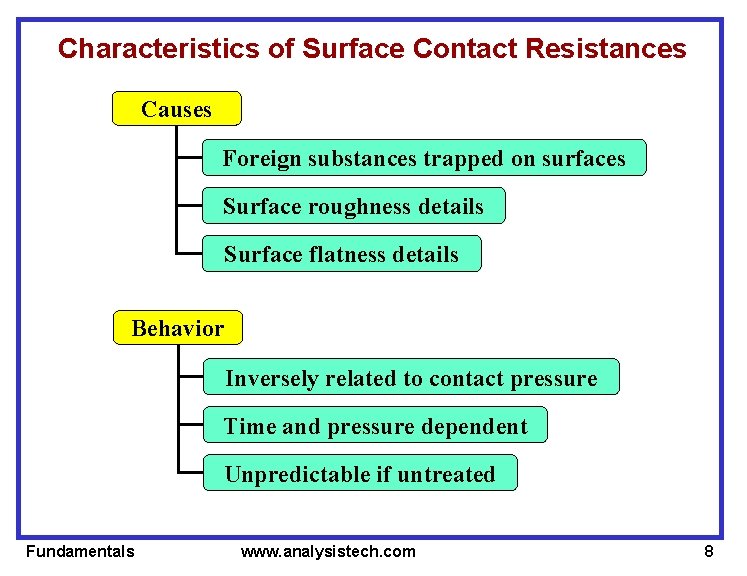
Characteristics of Surface Contact Resistances Causes Foreign substances trapped on surfaces Surface roughness details Surface flatness details Behavior Inversely related to contact pressure Time and pressure dependent Unpredictable if untreated Fundamentals www. analysistech. com 8

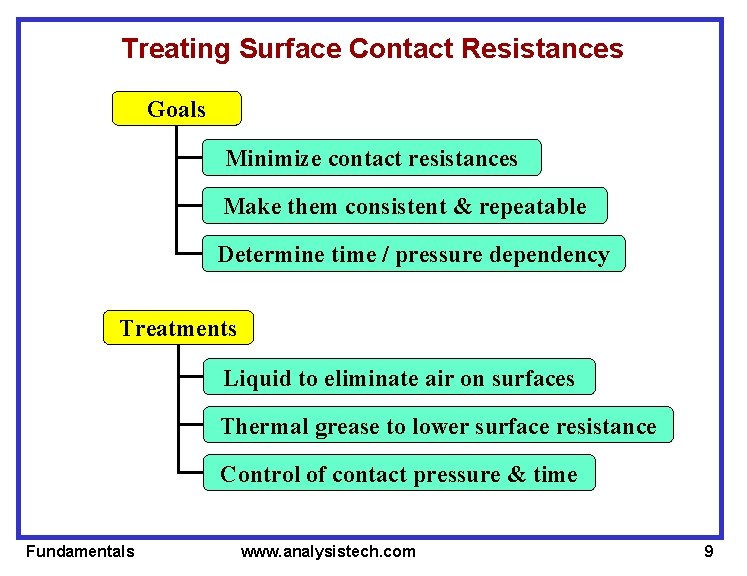
Treating Surface Contact Resistances Goals Minimize contact resistances Make them consistent & repeatable Determine time / pressure dependency Treatments Liquid to eliminate air on surfaces Thermal grease to lower surface resistance Control of contact pressure & time Fundamentals www. analysistech. com 9

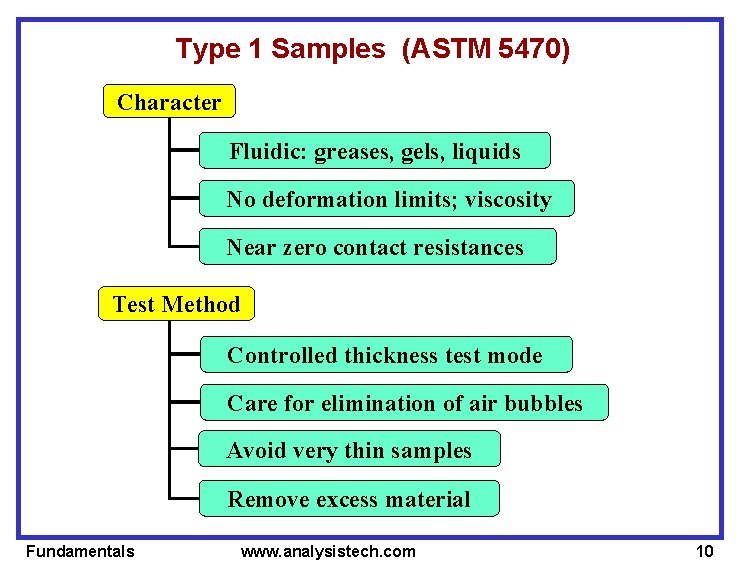
Type 1 Samples (ASTM 5470) Character Fluidic: greases, gels, liquids No deformation limits; viscosity Near zero contact resistances Test Method Controlled thickness test mode Care for elimination of air bubbles Avoid very thin samples Remove excess material Fundamentals www. analysistech. com 10

Best Method for Conductivity Measurement (Type 1 Materials) Fundamentals www. analysistech. com 11

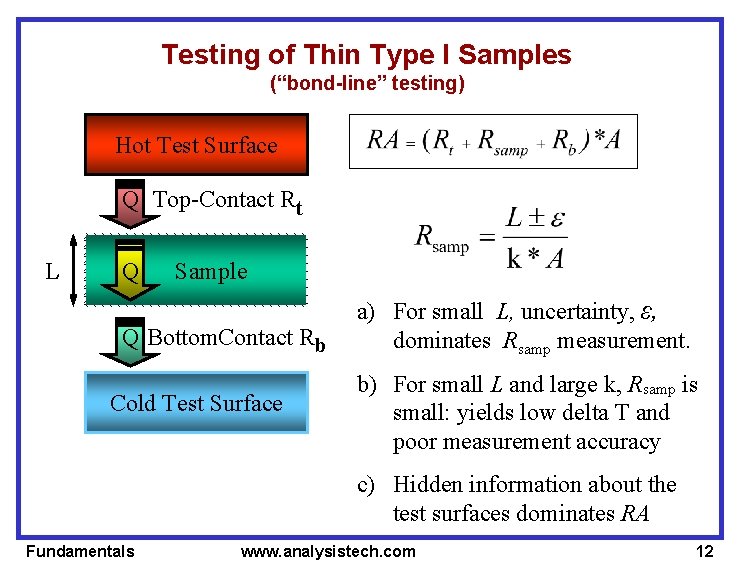
Testing of Thin Type I Samples (“bond-line” testing) Hot Test Surface Q Top-Contact Rt L Q Sample Q Bottom. Contact Rb Cold Test Surface a) For small L, uncertainty, ε, dominates Rsamp measurement. b) For small L and large k, Rsamp is small: yields low delta T and poor measurement accuracy c) Hidden information about the test surfaces dominates RA Fundamentals www. analysistech. com 12

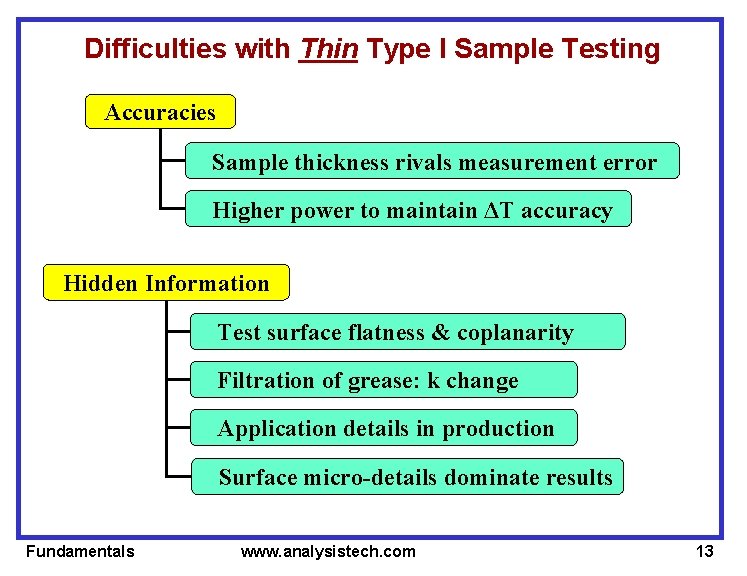
Difficulties with Thin Type I Sample Testing Accuracies Sample thickness rivals measurement error Higher power to maintain ΔT accuracy Hidden Information Test surface flatness & coplanarity Filtration of grease: k change Application details in production Surface micro-details dominate results Fundamentals www. analysistech. com 13

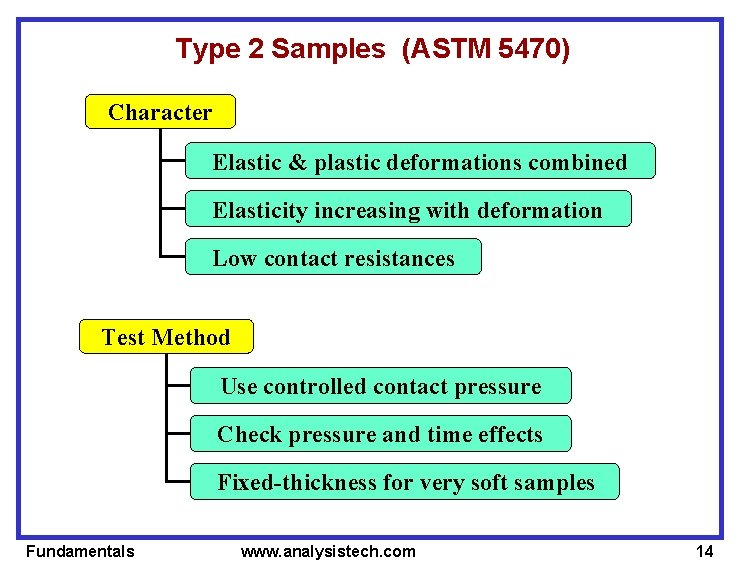
Type 2 Samples (ASTM 5470) Character Elastic & plastic deformations combined Elasticity increasing with deformation Low contact resistances Test Method Use controlled contact pressure Check pressure and time effects Fixed-thickness for very soft samples Fundamentals www. analysistech. com 14

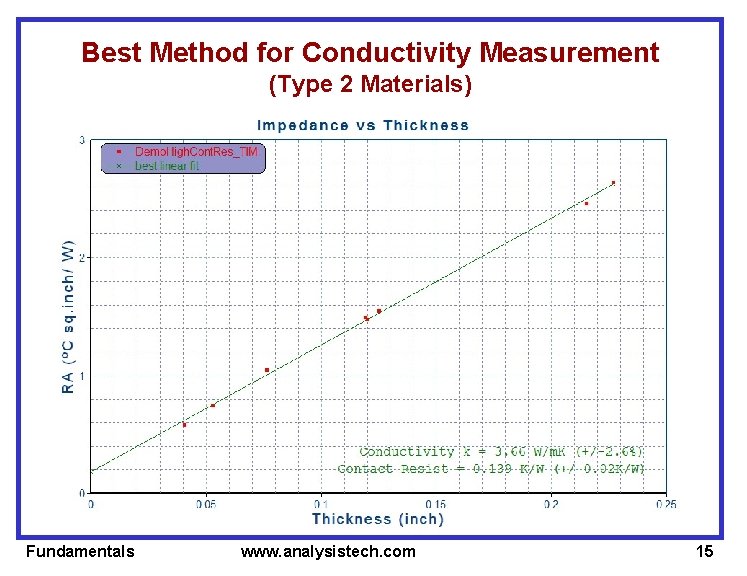
Best Method for Conductivity Measurement (Type 2 Materials) Fundamentals www. analysistech. com 15

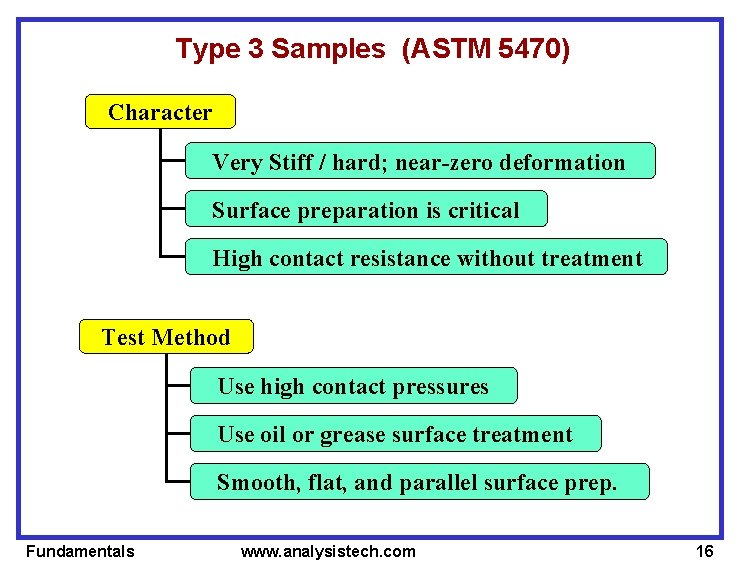
Type 3 Samples (ASTM 5470) Character Very Stiff / hard; near-zero deformation Surface preparation is critical High contact resistance without treatment Test Method Use high contact pressures Use oil or grease surface treatment Smooth, flat, and parallel surface prep. Fundamentals www. analysistech. com 16

Best Method for Conductivity Measurement (Type 3 Materials) Fundamentals www. analysistech. com 17

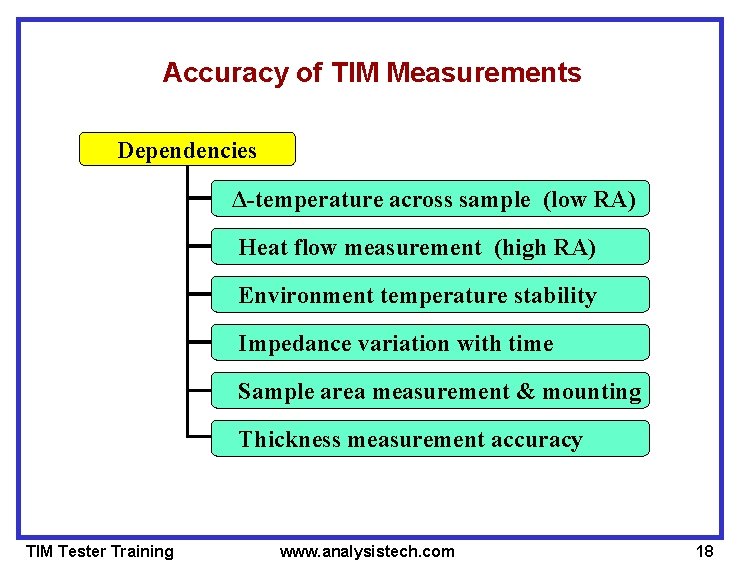
Accuracy of TIM Measurements Dependencies Δ-temperature across sample (low RA) Heat flow measurement (high RA) Environment temperature stability Impedance variation with time Sample area measurement & mounting Thickness measurement accuracy TIM Tester Training www. analysistech. com 18

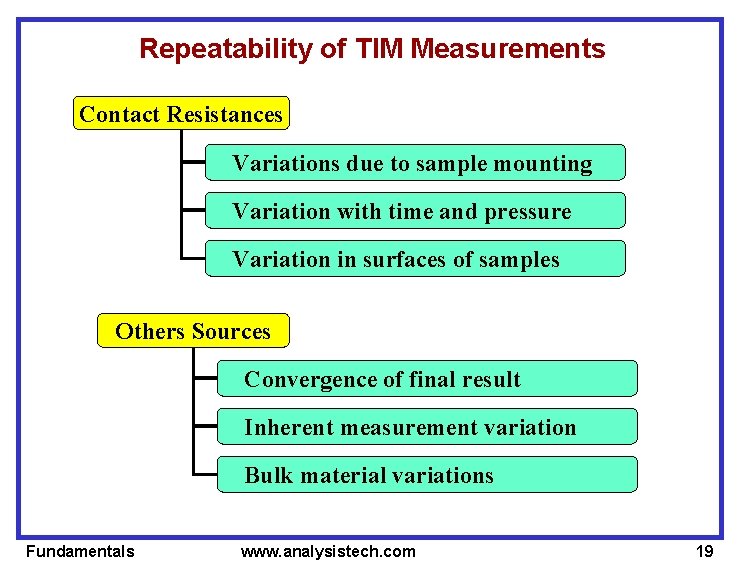
Repeatability of TIM Measurements Contact Resistances Variations due to sample mounting Variation with time and pressure Variation in surfaces of samples Others Sources Convergence of final result Inherent measurement variation Bulk material variations Fundamentals www. analysistech. com 19

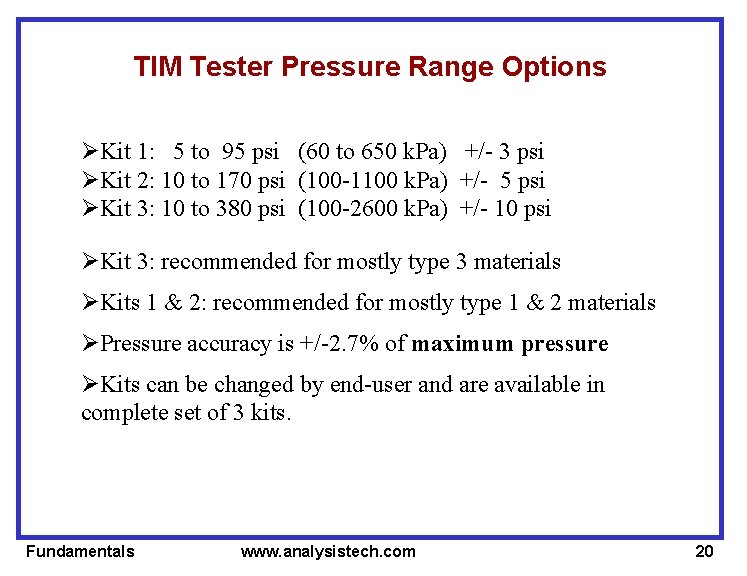
TIM Tester Pressure Range Options ØKit 1: 5 to 95 psi (60 to 650 k. Pa) +/- 3 psi ØKit 2: 10 to 170 psi (100 -1100 k. Pa) +/- 5 psi ØKit 3: 10 to 380 psi (100 -2600 k. Pa) +/- 10 psi ØKit 3: recommended for mostly type 3 materials ØKits 1 & 2: recommended for mostly type 1 & 2 materials ØPressure accuracy is +/-2. 7% of maximum pressure ØKits can be changed by end-user and are available in complete set of 3 kits. Fundamentals www. analysistech. com 20

Fundamentals www. analysistech. com 21