Forms Manager What is Forms Manager Forms Manager


- Slides: 50
Forms Manager
What is Forms Manager? • Forms Manager is a completely new online form creation and form data management tool
Key Features
Full Integration inside the finalsite CMS
The Forms Manager is NOW launched from the Site Manager Menu
Browse for your forms when inserting them into your Site Pages, Banners & Calendar Events
Updated Interface focused on improving the user experience
Drag and Drop Form Elements
Other Key Features • • • Granular Form Level User Permissions “Save and Return” Feature form submitters Searchable Form Categories Auto-Calculation of Multiple Fields Conditional Fields Pagination for Long Forms Validation function for email, phone numbers, URLs, etc. Save your own choice option lists for reuse Create forms and save them as templates
Where can I use these forms? • • • Banners Assigned to a Site Page through Page Manager Direct Link URL (emails and IMs) Embedded in an external HTML Page Attached to a calendar event
Forms Manager Dashboard
Forms List • From this list you can: – Create a New Form – Select an Existing Form to Edit or View – Filter forms list by Name, Location & Category – Sort data in each column – See which forms have submissions that have yet to be reviewed
Create New Form
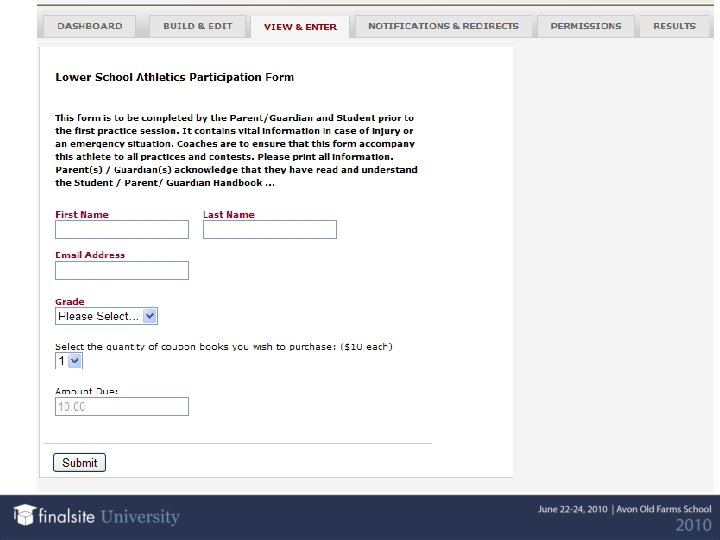
Build & Edit: Form Info
A Quick Note About Payments • • • Our Process of Accepting Payments with Forms is now PCI (Payment Card Industry) compliant. We’ve partnered with a 3 rd party vendor to handle all payment transactions through the Forms Manager This means that all payment transactions are securely sent to a certified PCI compliant data center which adheres to the strict set of rules required for compliance
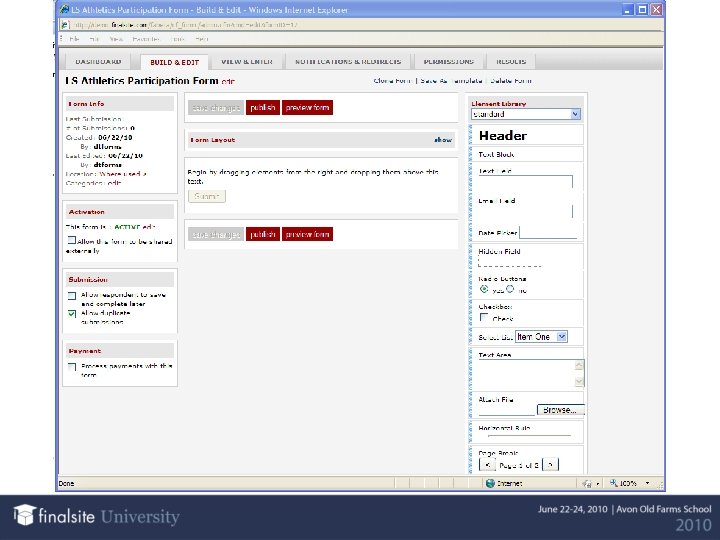
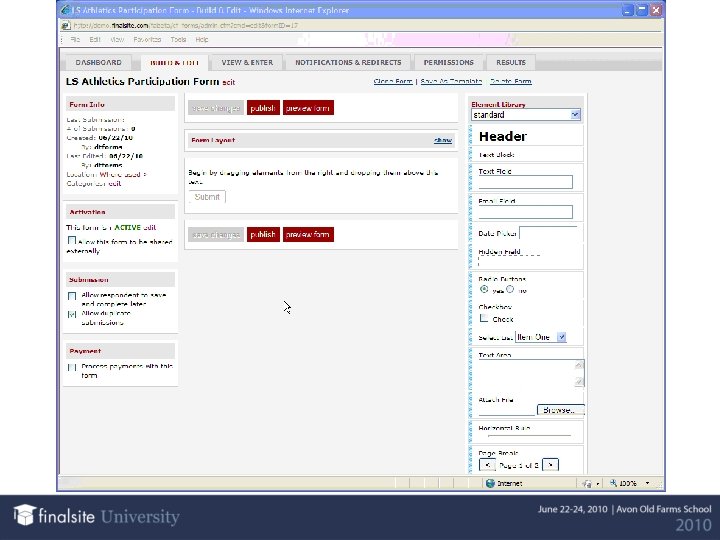
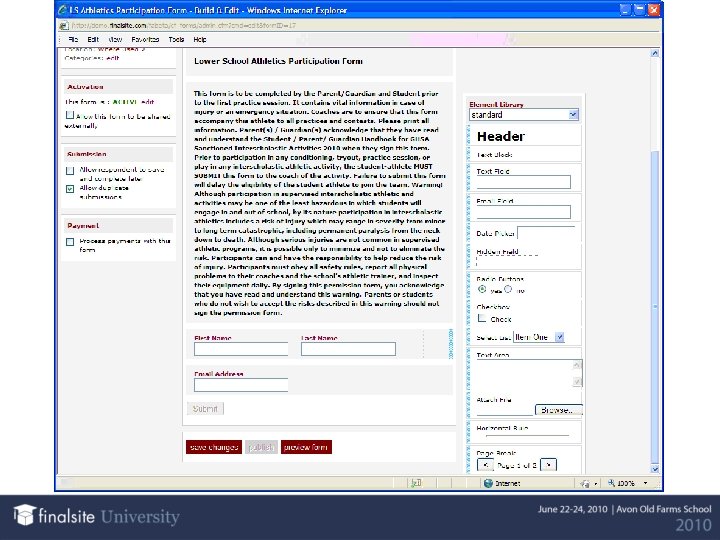
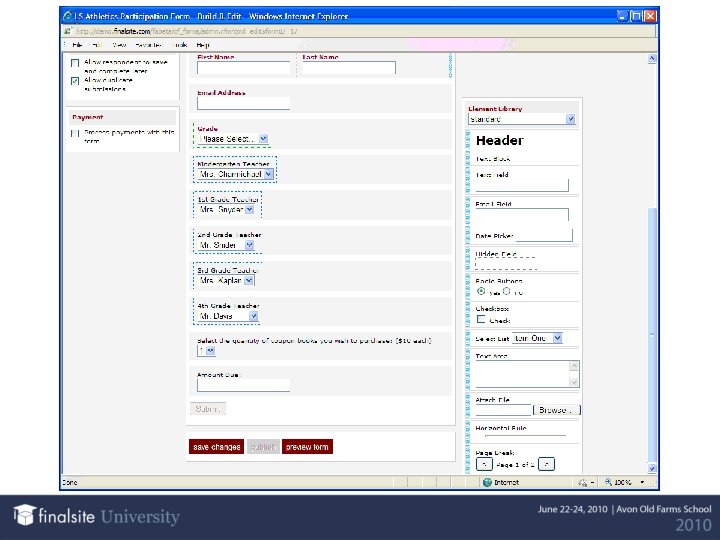
Let’s Get To It! • Drag – Begin by dragging the elements from the right and dropping them into the form • Edit – Configure your Elements that you’ve added to the Form • Save – Forms can be versioned so that you can edit a form while the current version remains accessible to the end user.
Element Library Standard Elements – Header – Text Block – Text Field – Email Field – Date Picker – Hidden Fields – Radio Buttons – Checkboxes – Select Lists – Text Areas – File Attachments – Horizontal Rules – Page Breaks
Full Featured Editor
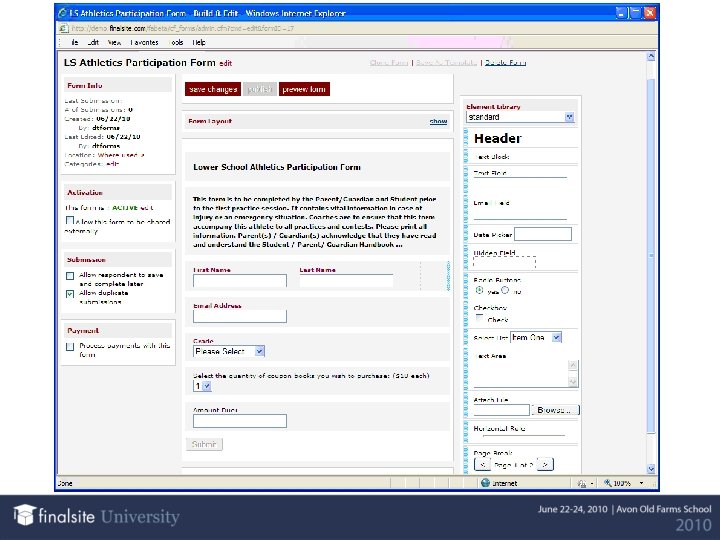
Customized Options Lists • Create Customized options lists – Configure the order of the options – Set alternate submission values not visible to the end user (dollar amounts, numeric scoring…) – Select a default value • Available for Radio buttons, Checkboxes and Select Lists
Currency Fields • Select Lists, Radio Buttons, Checkboxes and Text Fields have the option to be identified as “Currency Fields” • Text Blocks and Text Fields are capable of displaying Totals from other currency fields
Validation • • • Email URLs Alphanumeric Combinations Phone #’s SSN Zipcodes
Prefill • • If a portal user is logged in when they load the form, we can pre-populate certain fields with data such as: – Name (First, Last, Middle) – Address – Phone Number End users can always edit the data that has been prefilled
Conditional Questions • • Tailor your form to the user Display only the questions that pertain to the user based on the answers they provide
Element Library Grouped Elements – Address Block – Phone and Extension Block – Name Block
Lots of Options
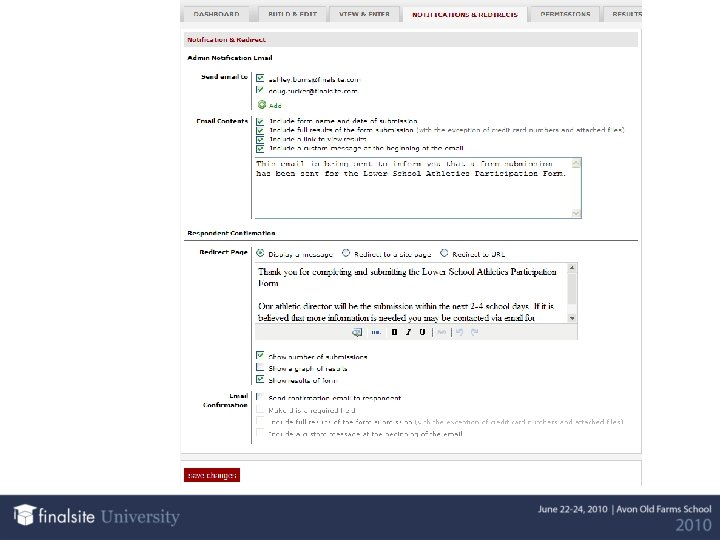
Notifications & Redirects Tab • Who Gets Notified of a new submission? • What information do we include in the Notification? • What do we do with the Submitter once they’ve completed the form?
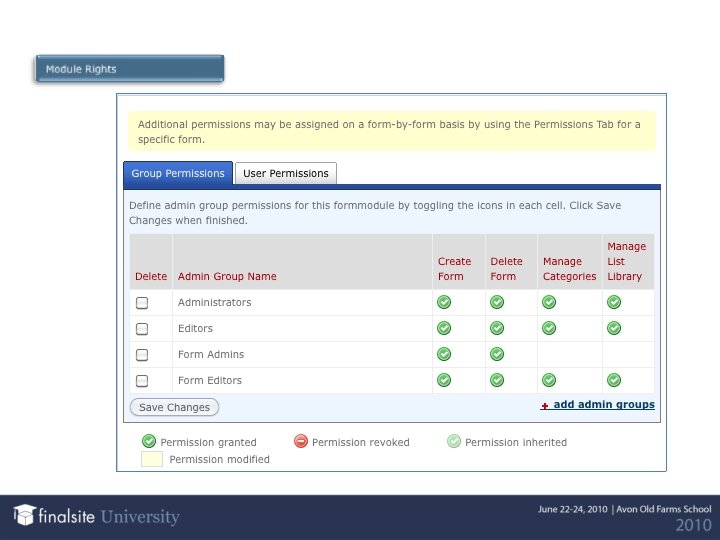
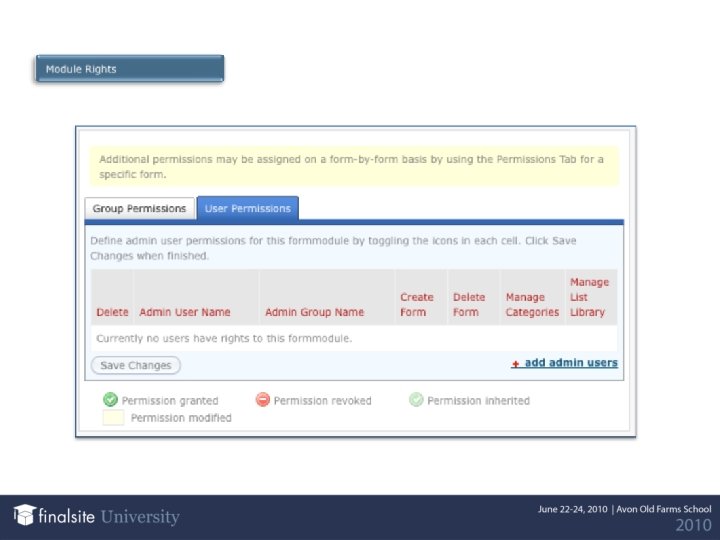
Permissions Tab • Set Form Level Permissions – Which Admin Groups/Users have rights to: • Edit the form • Publish the form • View the Form Results • Edit the Form Results • Mark the Form as “Reviewed” • Access The “View & Enter” Tab
Permissions Tab
Results Tab • • • View Submissions in an Aggregated View or Grouped By version Mark Submissions as “Reviewed” Customize Print & Export Properties Export Submissions to: – MS Excel – XML – Tab-Delimited Edit Submissions
Results
• This is your initial view of the Forms Manager Dashboard. • This menu is found on the left side of the dashboard page • This menu is also tuned towards administrators that have rights to the Forms Manager.
This is the first menu item that you see in the list of options on the dashboard. • From here you can view all the forms you have created or have access to. • You can view the status of a form to see if it is active, inactive, or scheduled. • You can also create a form from this area of the menu using the link in the left – hand corner
• ACTIVE form: blue text • INACTIVE form: grey text • SCHEDULED form: green Italic text Searchable fields are red:
• Each category will display the name, the created on date, and the number of forms associated with that particular category. • Here is where you can create a new category • Edit an existing category • Merge 2 or more categories together • Delete an existing category
• The list library tab allows an admin to select from a drop down list of prefabricated answers that can be used inside elements of a form.
You can also select the ‘create a new list’ option in the list library. When you do this, the drop-down help box will appear to assist you in the creation of your new list. When you are done, you should select the ‘save’ option, which will then store your new list in the drop down menu so that it can be accessed for later use.
• This is an example of where you will see the option to ‘load from the list library’ within a form. • This is inside an element that you have dragged into your form, and have chosen to edit.
• This is what the list will look like, all the available form templates will have a link to the form. • After selecting one of the links, you will get to view the full form (in the build and edit tab) but it will display this message…
Where templates can be accessed… In the ‘build and edit’ tab via the Forms List page. • This is what you see after you select to create a new form.
And, once on a form, you can save that form via the link in the top-right hand corner that says,
Thank You Please feel free to ask any questions you may have.