Extracting NDVI from MODIS 12 band Satellite Imagery

Extracting NDVI from MODIS 12 -band Satellite Imagery

Scratch folder before script ran I did not want to keep the original source imagery, so to keep things a bit more simple I put the data in the Scratch workplace folder that the intermediate data would end up in as well, all to be deleted after the model was finished.

Scratch folder after script ran
 raster info NDVI = band 0")
MODIS (. hdf) raster info NDVI = band 0

Extract NDVI I used the ‘Extract Subdataset’ tool with the MODIS imagery as the input and ‘ 0’ as the target subdataset. I truncated the file name to the following format: AYYYYDDD_h##v##_ndvi. tif. ‘A’ is at the start because some tools seem to err when loading files beginning with numerals, ‘YYYY’ is the year, ‘DDD’ is the Julian date, and ‘h##v##’ corresponds to MODIS’s naming scheme for tiles of specific spatial extents. The Julian dates (with A before them) were from th th the 9 letter to the 15 ([8: 16] because of how Python indexes) in the original file name. th nd ‘h##v##’ were the 18 through 22.

Odd spatial reference

Project raster to relevant coordinate system The original imagery has a very obscure spatial reference, Arc. Map names it as ‘Unknown_datum_based_upon_the_custom_spheroid_Sinusoidal. ’ I used the ‘Project Raster’ tool to accomplish the projection.

Project

Project

Project

Project

Project

Create subdirectories to put clipped rasters into I created different subdirectories based on the date and append the clip tool to output rasters of a unique date into its corresponding folder.

Clip the projected rasters to the desired extent

Clip

Clip

Clip

Clip

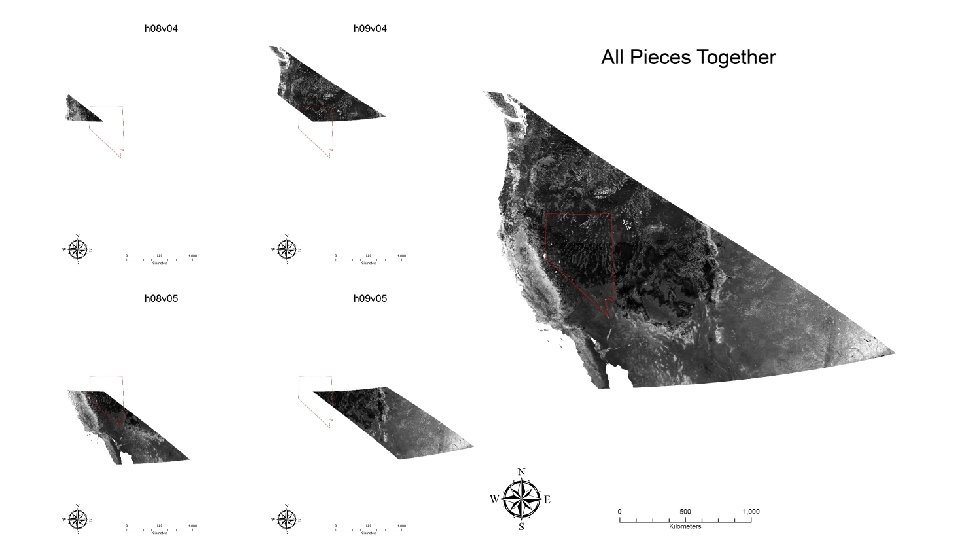
Mosaic to new raster To mosaic them I used the ‘Mosaic to New Raster’ tool and iterated through the subdirectories to mosaic the 4 clipped rasters sharing the same unique date.
")
Mosaic folder after running the script (was empty before)

Mosaic to New Raster
- Slides: 22