Enter the URL 1 Enter the login ID


 from the Current Charge.")


 Go to “link” on Edit and select Add")

 Go to “link” on Edit and select Add")


- Slides: 33
Enter the URL
1. Enter the login ID 2. Enter the Password 3. Click on submit button
Select HR (Admin) from the Current Charge.
1. Go to “link” on HR 2. Go to “link” on Edit and select Assign Nodal Officer
1. Select Ward/Branch/Department 2. Choose office to search Employee 3. Select Employee Id. Name for Assign the charge of Nodal Officer
Click on Assign Charge then employee name show in the list. Click on “Delete” then data will delete from the list.
1. Go to “link” on HR 2. Go to “link” on Edit and select Add Office
1. Enter Name of office 2. Select Office Type 3. Click here for save the data
You get Office ID when data will save success fully. Click on “Edit” if you want to change the name of post. Click on “Delete” if you want to delete data.
Go to “link” on HR (Admin) Go to “link” on Edit and select Add designa tion
1. Enter name of post Click on “Delete” if you want to delete data. Click on “Edit” if you want to change the name of post. 2. Click on “Add” button than data will show in list.
Go to “link” on HR (Admin) Go to “link” on Edit and select Add Employee
Select “add/Update/delete” from Operation.
Select add from Operation. 1. Select office from Office 2. Select Employee type 3. Enter First name of employee 4. Enter Last name of employee 5. Select designation of employee 6. Enter Reference Number. 8. Enter approval password 7. Enter Remarks 9. Click on save button than data will save and show in “EIS” link
Go to link on “EIS” and select “ADD employee Request”
1. Select “Add Employee Request” 2. Select Employee 3. Click on “Approve” button than data will approved
Select “Update” from Operation
1. Select Office from office 2. Select name of Employee 3. Select new office of employee 4. Enter “Approval password” 5. Click on “update” than data will update and show in “EIS” link.
Go to link on “EIS” and select “ADD employee Request”
1. Select Update Employee Request 2. Select Employee 3. Click on “approve” than data will approved.
Select “Delete” from Operation.
1. Select office 2. Select Employee 3. Enter “Approval password” 4. Click on “Delete” than message will show.
Click on “ok” than data will deleted and show in “EIS” link.
Go to link on “EIS” and select “ADD employee Request”
1. Select “delete employee Request” 2. Select Employee Click on “Approve” button than data will deleted finally.
Select NO-EDP Branch from current charge
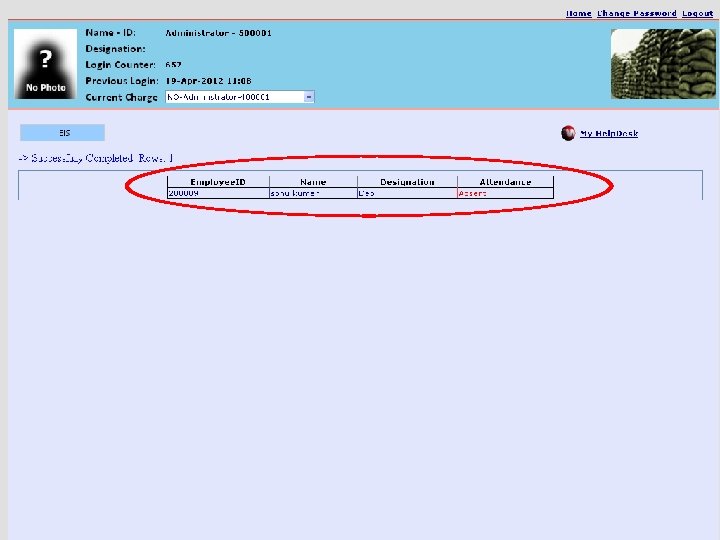
Go to ‘link’ on EIS and Select Attendance
Select Attendance type from attendance list
1. Click on NO 2. Click on submit button for mark Attendance finally.
1. Click on Yes
2. Click on ADD 1. Enter the Employee ID whose names are not included in the Attendance.
Click on submit button for mark Attendance Finally.