Engineering Drawing Mr Tanaka Drawing exercise I have
- Slides: 24

Engineering Drawing Mr. Tanaka

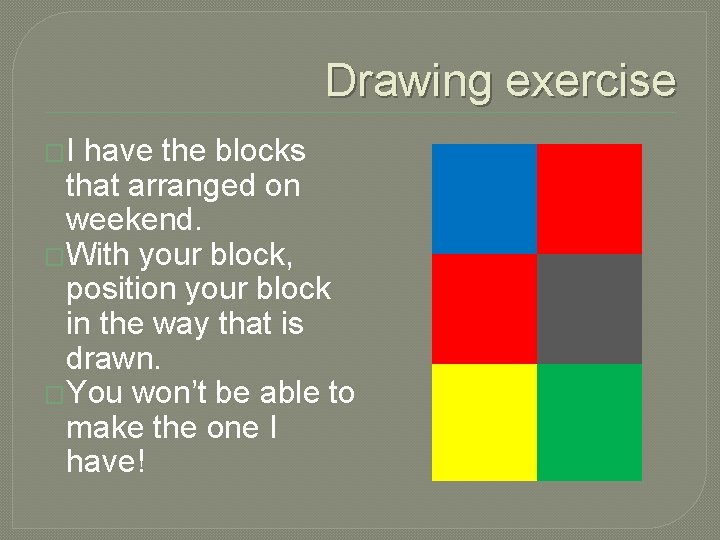
Drawing exercise �I have the blocks that arranged on weekend. �With your block, position your block in the way that is drawn. �You won’t be able to make the one I have!

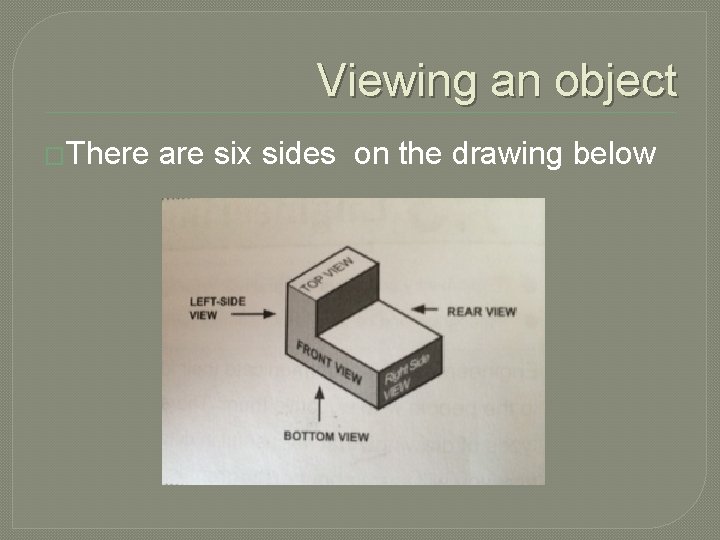
Viewing an object �There are six sides on the drawing below

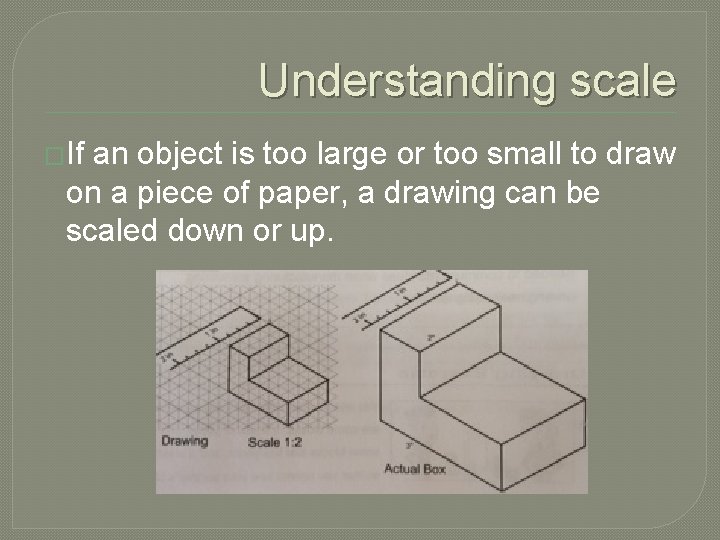
Understanding scale �If an object is too large or too small to draw on a piece of paper, a drawing can be scaled down or up.

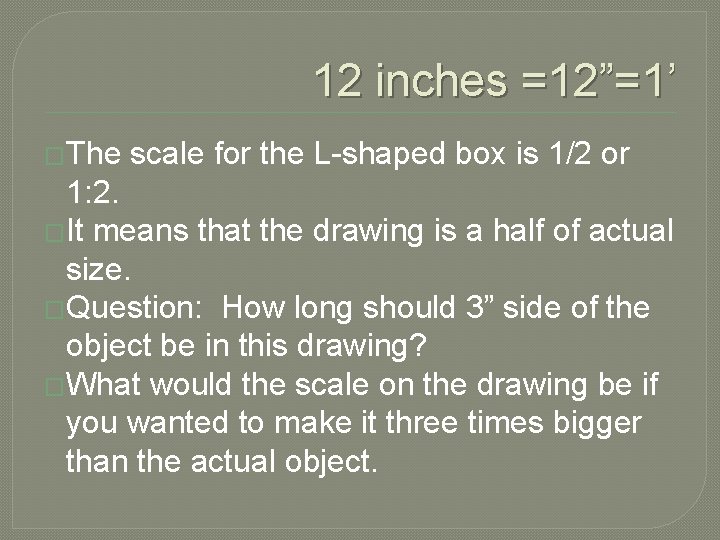
12 inches =12”=1’ �The scale for the L-shaped box is 1/2 or 1: 2. �It means that the drawing is a half of actual size. �Question: How long should 3” side of the object be in this drawing? �What would the scale on the drawing be if you wanted to make it three times bigger than the actual object.

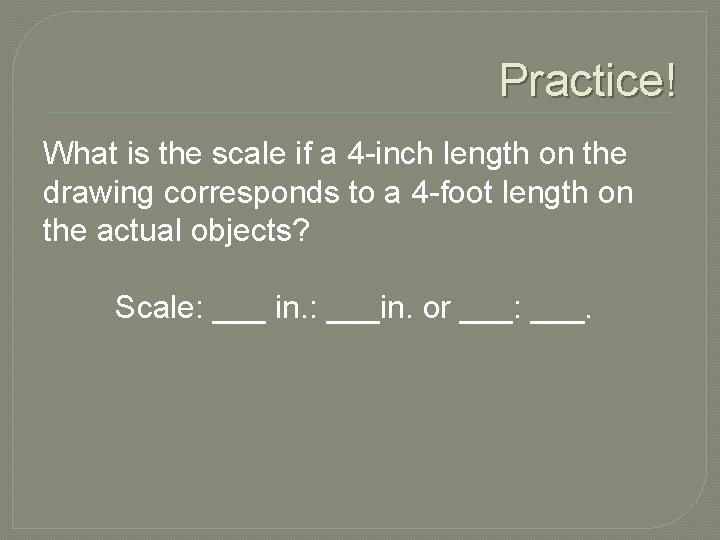
Practice! What is the scale if a 4 -inch length on the drawing corresponds to a 4 -foot length on the actual objects? Scale: ___ in. : ___in. or ___: ___.

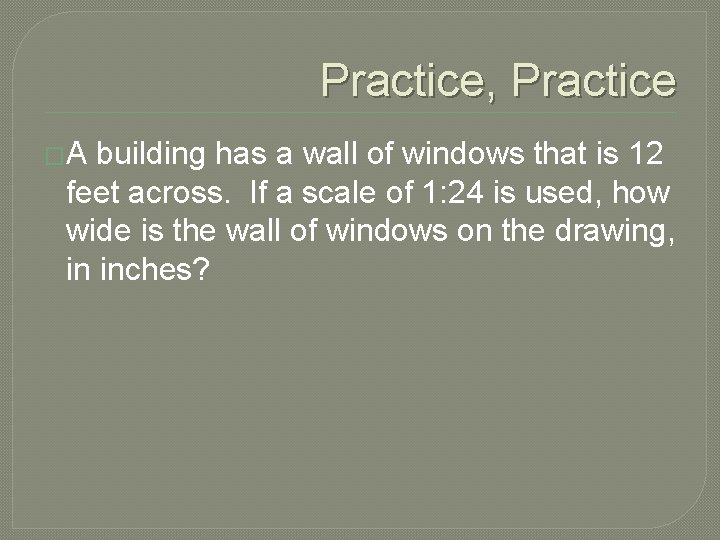
Practice, Practice �A building has a wall of windows that is 12 feet across. If a scale of 1: 24 is used, how wide is the wall of windows on the drawing, in inches?

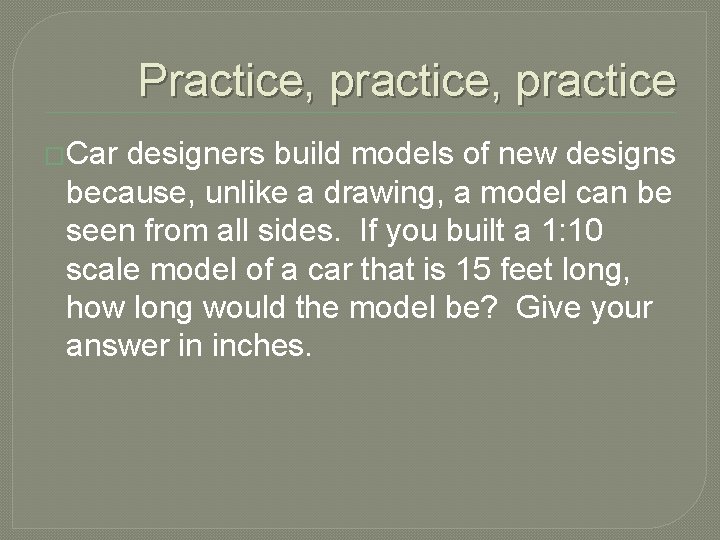
Practice, practice �Car designers build models of new designs because, unlike a drawing, a model can be seen from all sides. If you built a 1: 10 scale model of a car that is 15 feet long, how long would the model be? Give your answer in inches.

Last one! �In you are a carpenter following a 1: 20 blueprint for a house and you measure on wall on the blueprint to be 8 inches long, how long should you build the wall for the house? Give your answer in inches.

Oh, actually one more �If you discovered that the architect who made the blueprint made a mistake, and the scale should really have been 1: 25, how would you need to change the length of the wall of the house?

Four types of drawings �Orthographic drawing �Oblique drawing �Isometric drawing �Perspective drawing

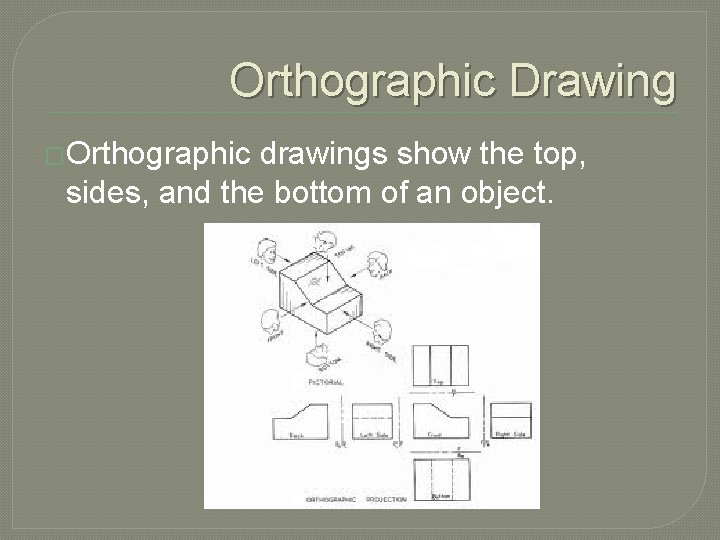
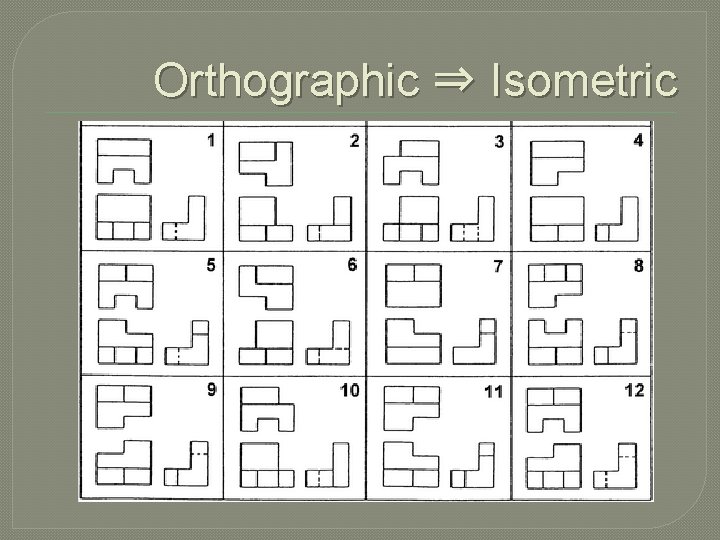
Orthographic Drawing �Orthographic drawings show the top, sides, and the bottom of an object.

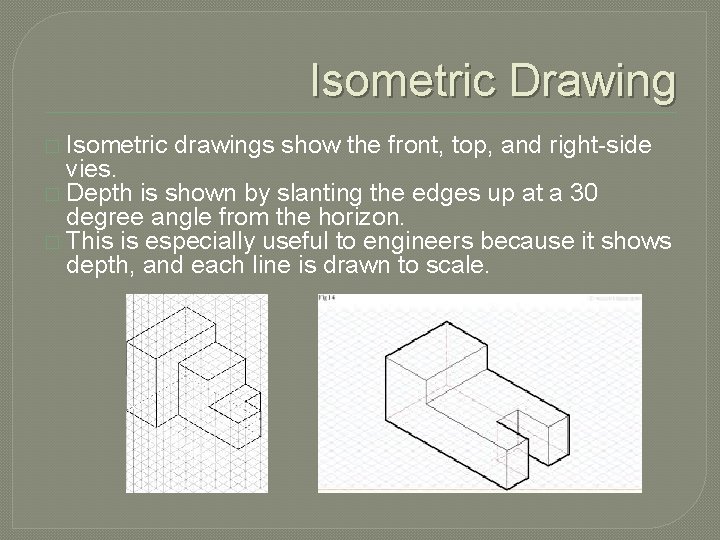
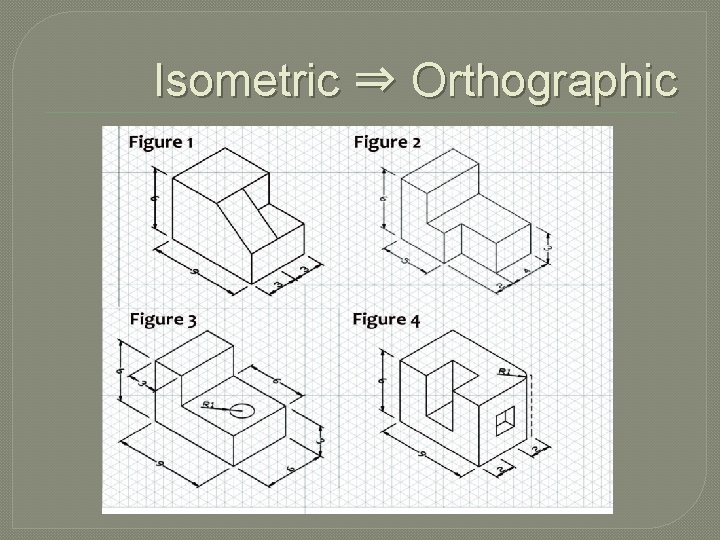
Isometric Drawing � Isometric drawings show the front, top, and right-side vies. � Depth is shown by slanting the edges up at a 30 degree angle from the horizon. � This is especially useful to engineers because it shows depth, and each line is drawn to scale.

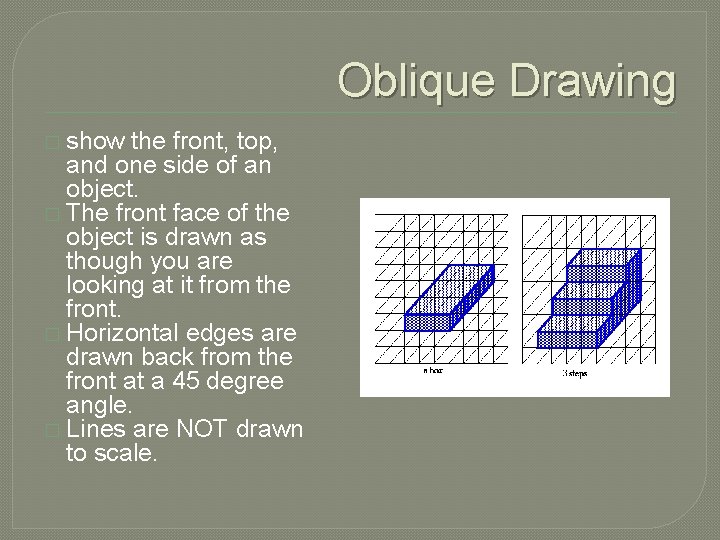
Oblique Drawing � show the front, top, and one side of an object. � The front face of the object is drawn as though you are looking at it from the front. � Horizontal edges are drawn back from the front at a 45 degree angle. � Lines are NOT drawn to scale.

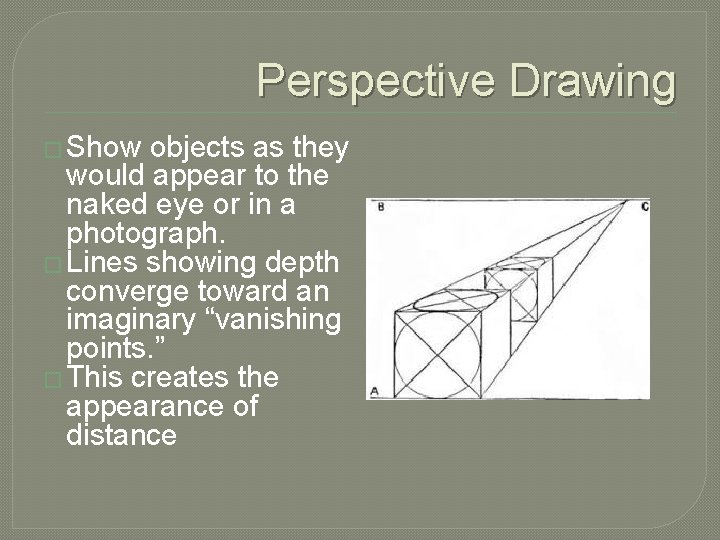
Perspective Drawing � Show objects as they would appear to the naked eye or in a photograph. � Lines showing depth converge toward an imaginary “vanishing points. ” � This creates the appearance of distance

Artists and architects �Like oblique and perspective drawings because they make it easy to picture what buildings and other three-dimensional objects look like in the real world. �Engineers don’t like them. Why do you think that they prefer isometric and orthographic, but not perspective? ?

Isometric and Orthographic �Isometric and orthographic drawings are used for manufacturing drawings. �Why do you think that is?

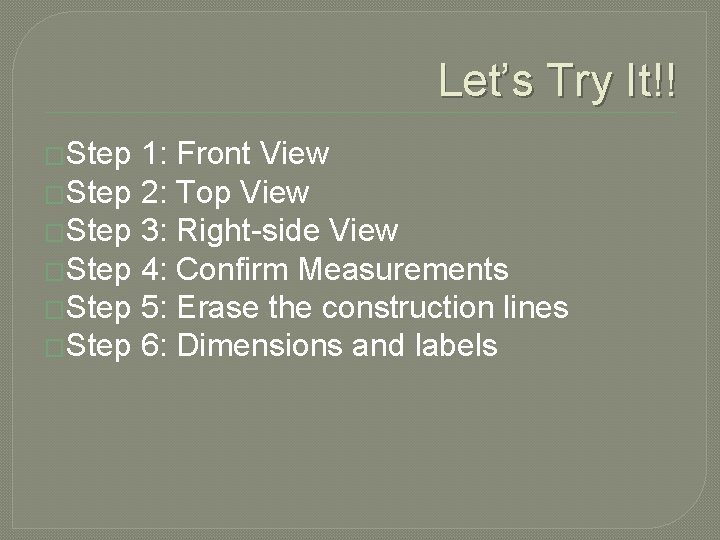
Let’s Try It!! �Step 1: Front View �Step 2: Top View �Step 3: Right-side View �Step 4: Confirm Measurements �Step 5: Erase the construction lines �Step 6: Dimensions and labels

Isometric ⇒ Orthographic

Orthographic ⇒ Isometric

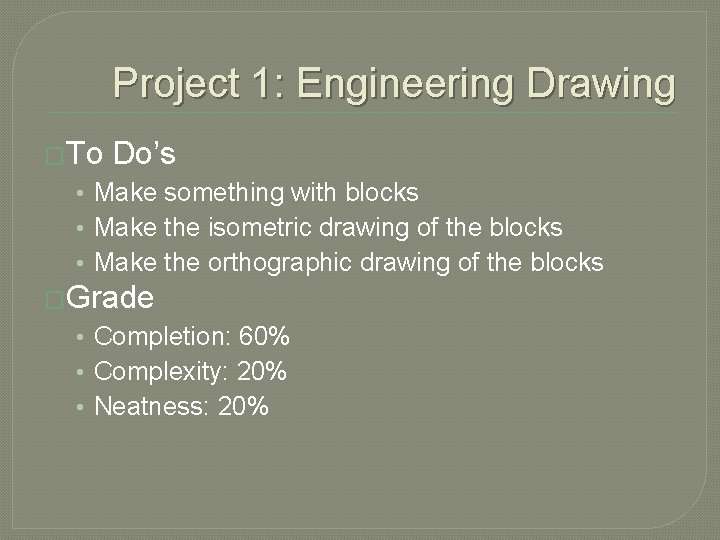
Project 1: Engineering Drawing �To Do’s • Make something with blocks • Make the isometric drawing of the blocks • Make the orthographic drawing of the blocks �Grade • Completion: 60% • Complexity: 20% • Neatness: 20%

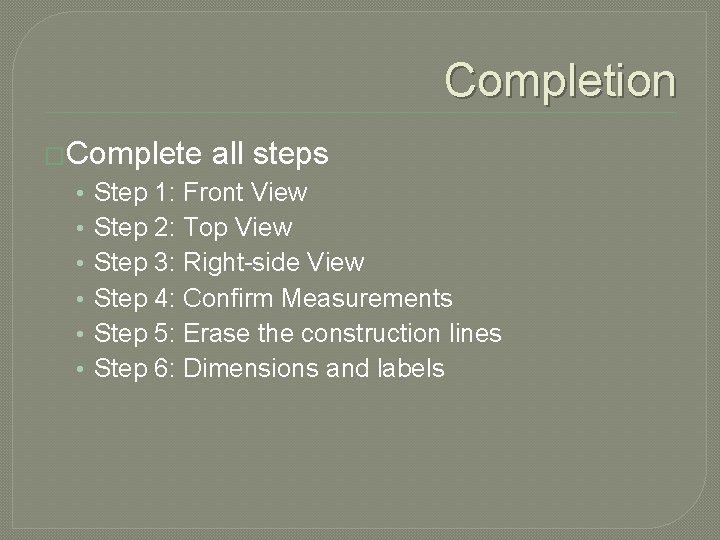
Completion �Complete all steps • • • Step 1: Front View Step 2: Top View Step 3: Right-side View Step 4: Confirm Measurements Step 5: Erase the construction lines Step 6: Dimensions and labels

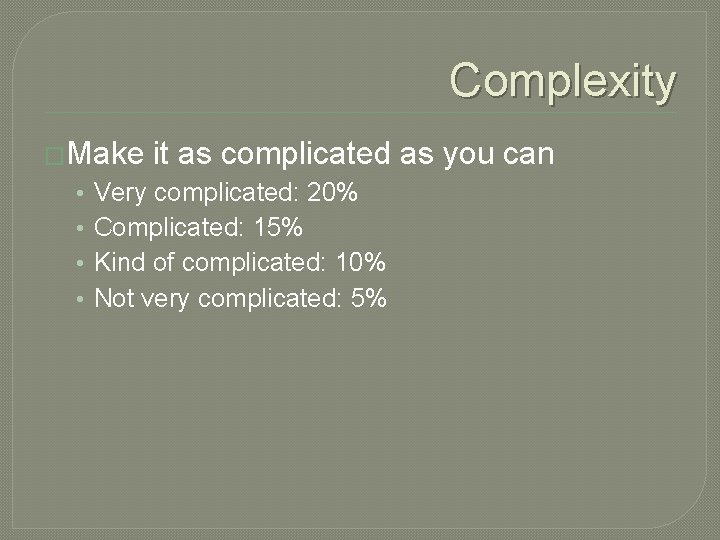
Complexity �Make it as complicated as you can • • Very complicated: 20% Complicated: 15% Kind of complicated: 10% Not very complicated: 5%

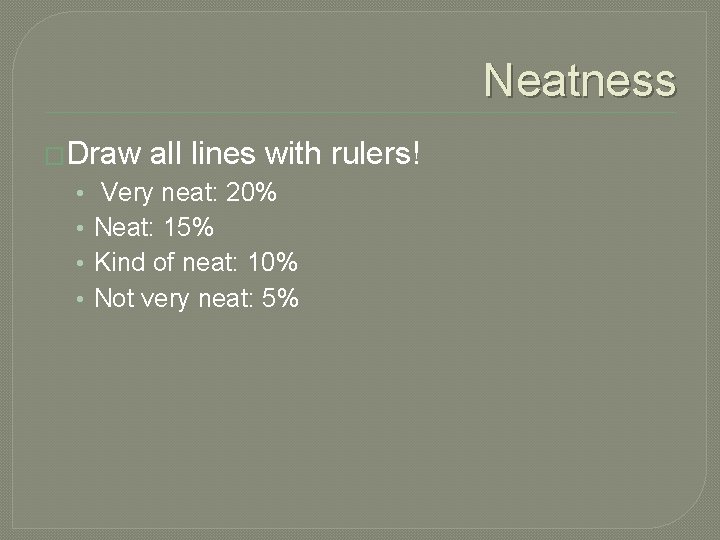
Neatness �Draw all lines with rulers! • • Very neat: 20% Neat: 15% Kind of neat: 10% Not very neat: 5%