Engineering drawing Every language has its own rules

- Slides: 13

Engineering drawing • Every language has its own rules of grammar. • Rules of grammar : Lines, lettering, and dimensioning

Dimensioning It is a specification of the size and shape of a part or assembly. The important information on a drawing is the dimension and tolerance of all of its features. Every drawing showing the true shape of an object must supply its exact length, breadth, height, sizes and positions of holes, grooves etc. supplying this information on a drawing is called dimensioning.

Dimension line : Dimension line is a thin continuous line. It is terminated by arrowheads touching the outlines extension line Extension An line : continuous line drawn in extension of an outline. Arrowhead dimension line. Its pointed end touches an outline or extension line. The size of an arrowhead should be proportional to the thickness of the outline. : Leader an arrow head or a dot. The arrowhead touches the outer line where the dot is placed within the outer line. The other end is terminated in a horizontal line. Leader is never drawn vertical or horizontal of curved. It is drawn at a convenient angle of not less than 30 0 to the line to which it touches

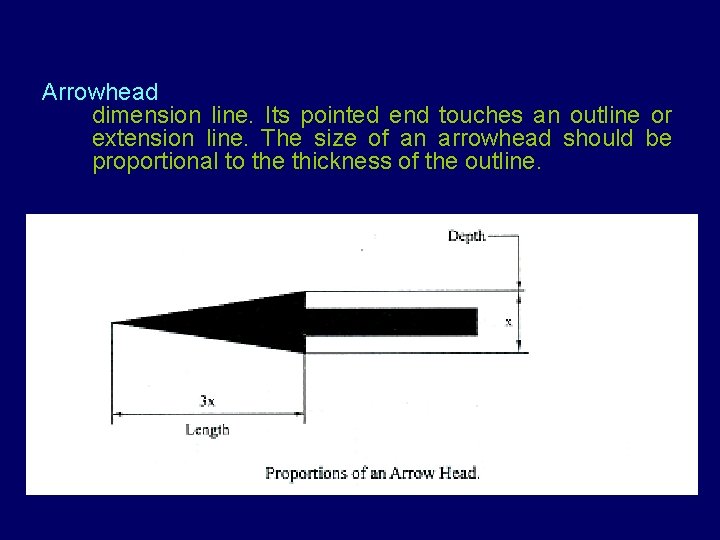
Arrowhead dimension line. Its pointed end touches an outline or extension line. The size of an arrowhead should be proportional to the thickness of the outline.

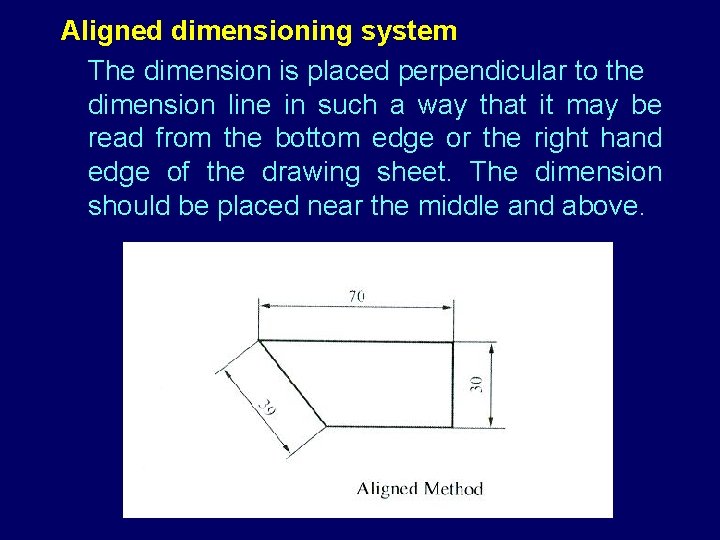
Aligned dimensioning system The dimension is placed perpendicular to the dimension line in such a way that it may be read from the bottom edge or the right hand edge of the drawing sheet. The dimension should be placed near the middle and above.

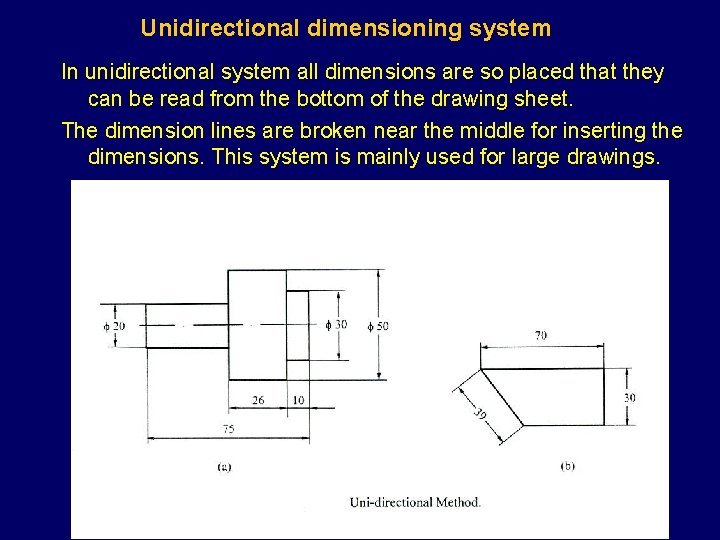
Unidirectional dimensioning system In unidirectional system all dimensions are so placed that they can be read from the bottom of the drawing sheet. The dimension lines are broken near the middle for inserting the dimensions. This system is mainly used for large drawings.

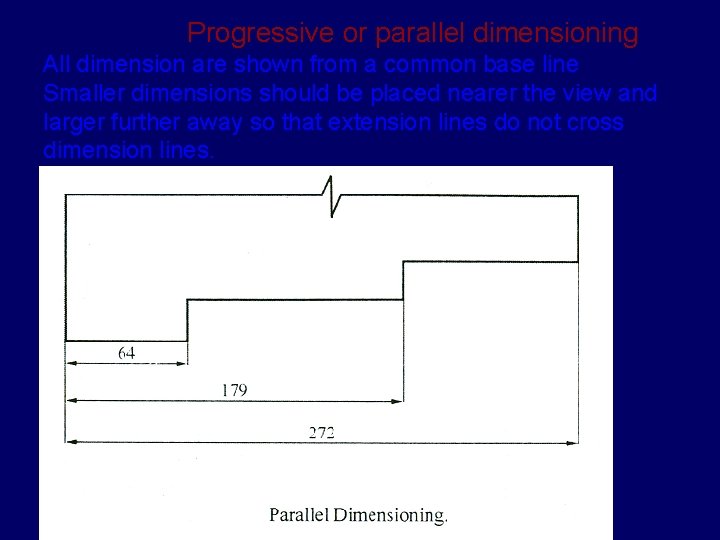
Progressive or parallel dimensioning All dimension are shown from a common base line Smaller dimensions should be placed nearer the view and larger further away so that extension lines do not cross dimension lines.

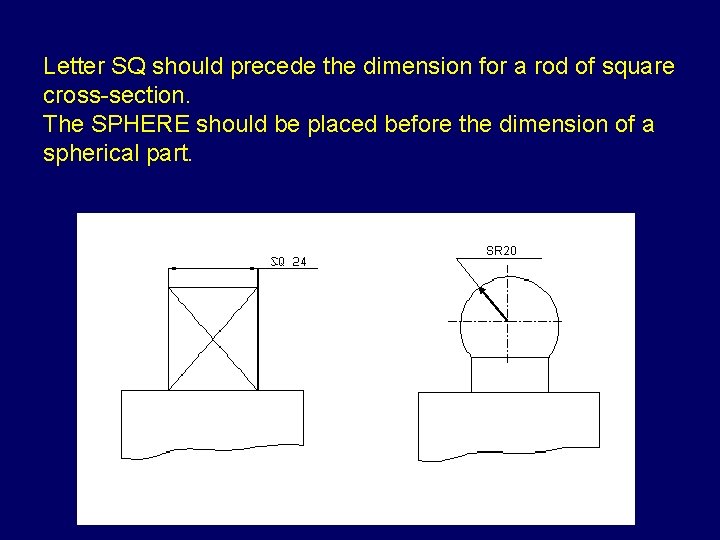
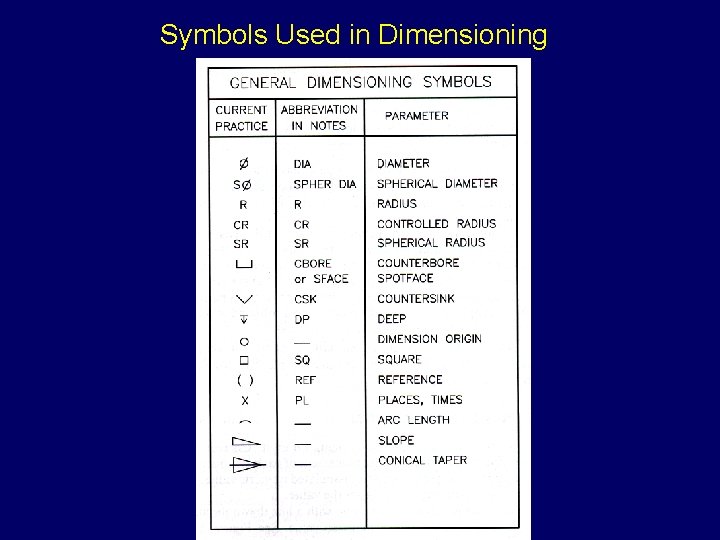
Letter SQ should precede the dimension for a rod of square cross-section. The SPHERE should be placed before the dimension of a spherical part. SR 20

Symbols Used in Dimensioning

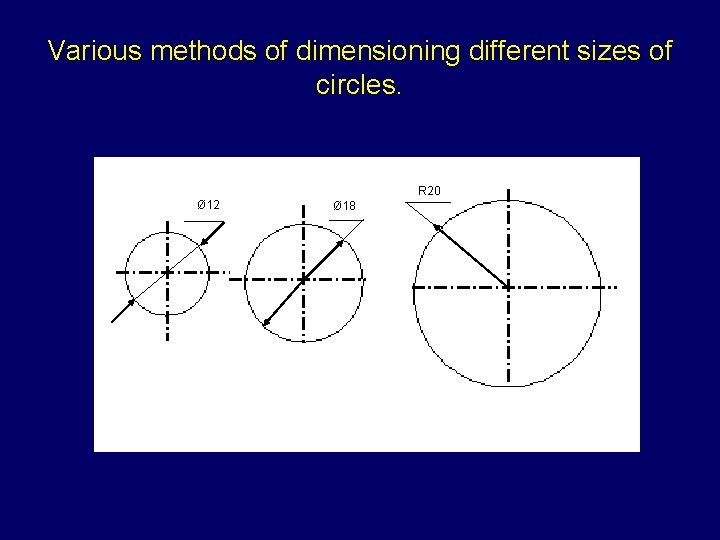
Various methods of dimensioning different sizes of circles. R 20 Ø 12 Ø 18

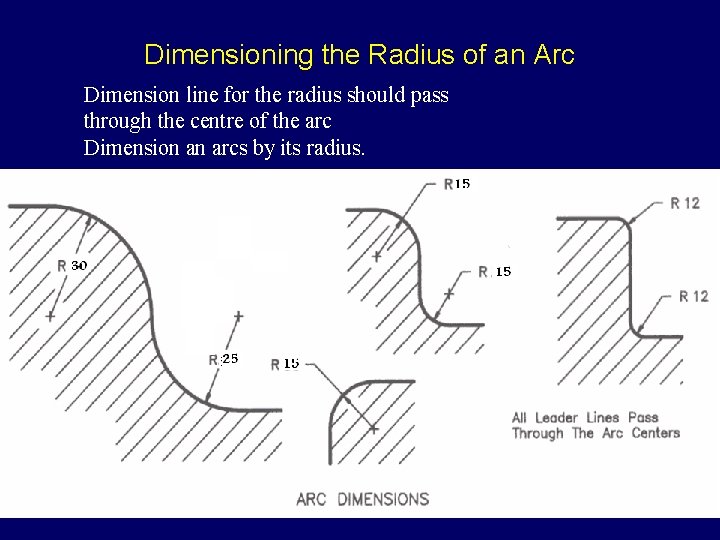
Dimensioning the Radius of an Arc Dimension line for the radius should pass through the centre of the arc Dimension an arcs by its radius.

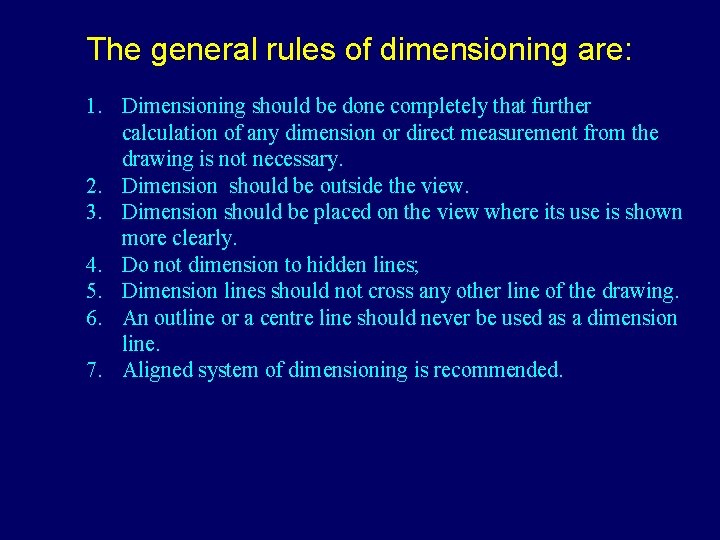
The general rules of dimensioning are: 1. Dimensioning should be done completely that further calculation of any dimension or direct measurement from the drawing is not necessary. 2. Dimension should be outside the view. 3. Dimension should be placed on the view where its use is shown more clearly. 4. Do not dimension to hidden lines; 5. Dimension lines should not cross any other line of the drawing. 6. An outline or a centre line should never be used as a dimension line. 7. Aligned system of dimensioning is recommended.
