Engi 1504 Graphics Lecture 4 More on visualization
- Slides: 18

Engi 1504 – Graphics Lecture 4: More on visualization l Review of isometrics l Adjacent and similar areas l Projection studies and assignment 4 Course: Engineering Graphics 1504 Memorial University of Newfoundland Sheet 1

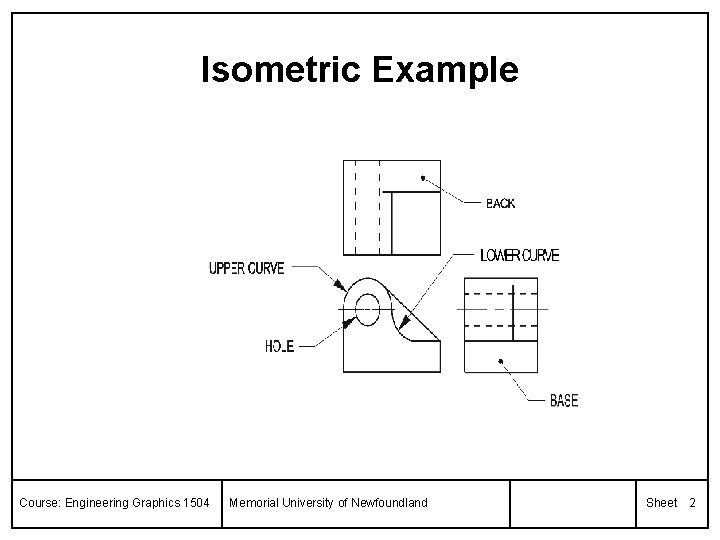
Isometric Example Course: Engineering Graphics 1504 Memorial University of Newfoundland Sheet 2

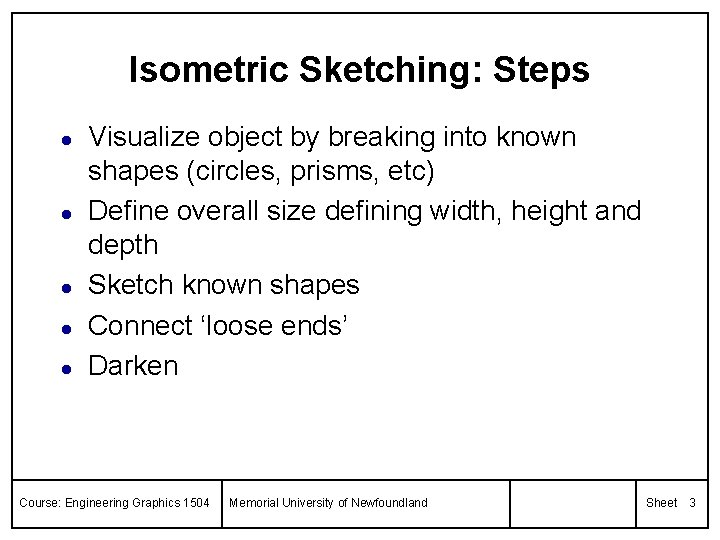
Isometric Sketching: Steps l l l Visualize object by breaking into known shapes (circles, prisms, etc) Define overall size defining width, height and depth Sketch known shapes Connect ‘loose ends’ Darken Course: Engineering Graphics 1504 Memorial University of Newfoundland Sheet 3

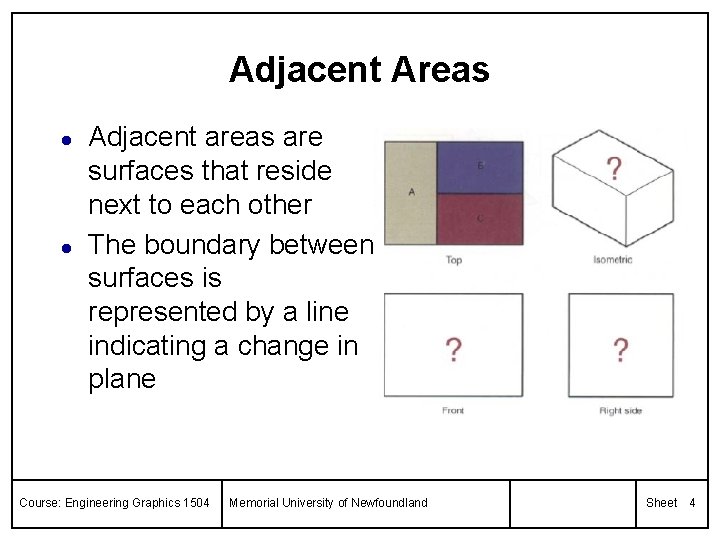
Adjacent Areas l l Adjacent areas are surfaces that reside next to each other The boundary between surfaces is represented by a line indicating a change in plane Course: Engineering Graphics 1504 Memorial University of Newfoundland Sheet 4

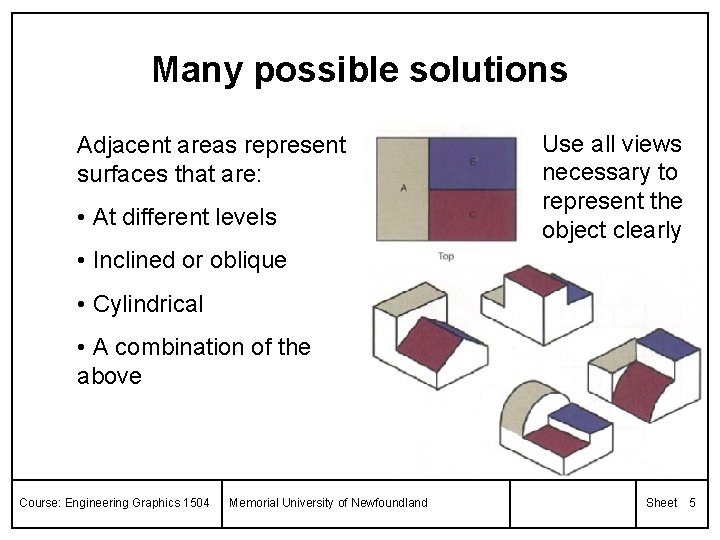
Many possible solutions Adjacent areas represent surfaces that are: • At different levels Use all views necessary to represent the object clearly • Inclined or oblique • Cylindrical • A combination of the above Course: Engineering Graphics 1504 Memorial University of Newfoundland Sheet 5

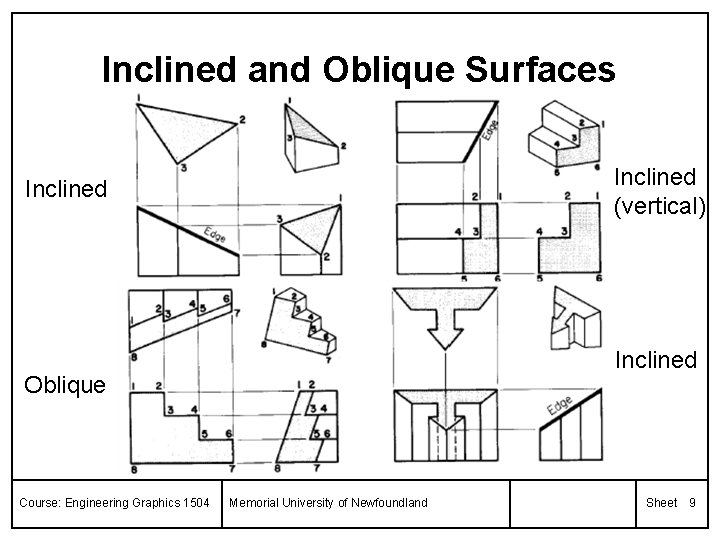
Similar Areas l l A surface always appears as either a line or as an area When a surface appears as an area it may be true size or distorted. – Only angles and lengths of sides are changed, the number of sides and their sequence are unaffected Course: Engineering Graphics 1504 Memorial University of Newfoundland Sheet 6

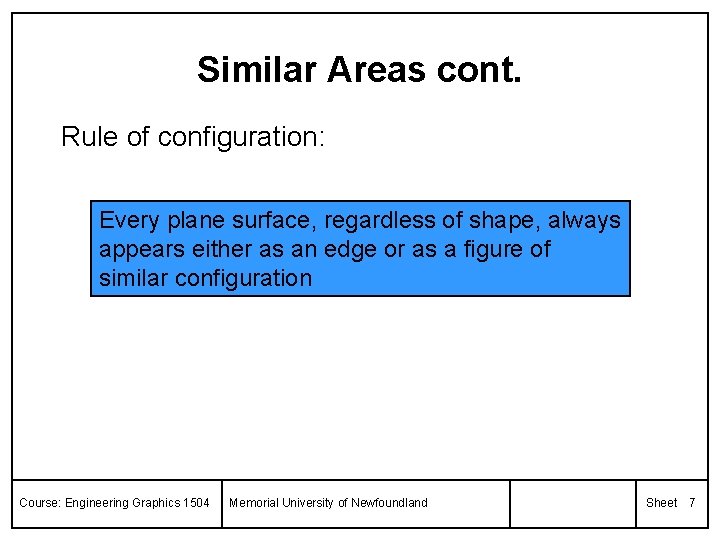
Similar Areas cont. Rule of configuration: Every plane surface, regardless of shape, always appears either as an edge or as a figure of similar configuration Course: Engineering Graphics 1504 Memorial University of Newfoundland Sheet 7

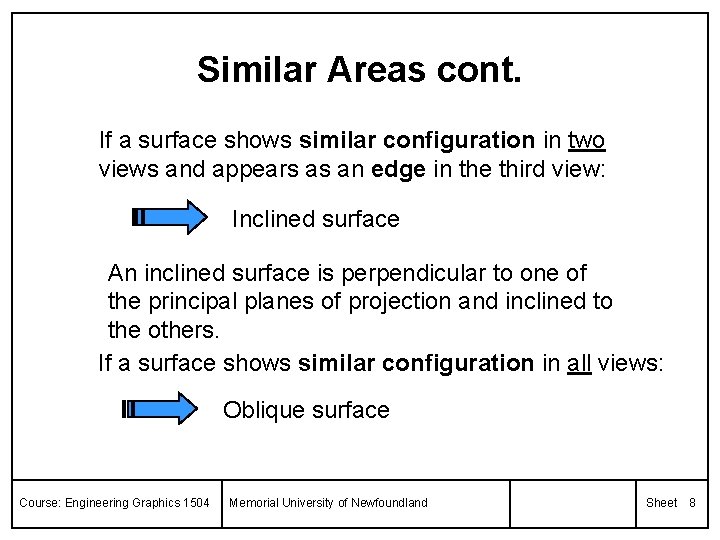
Similar Areas cont. If a surface shows similar configuration in two views and appears as an edge in the third view: Inclined surface An inclined surface is perpendicular to one of the principal planes of projection and inclined to the others. If a surface shows similar configuration in all views: Oblique surface Course: Engineering Graphics 1504 Memorial University of Newfoundland Sheet 8

Inclined and Oblique Surfaces Inclined (vertical) Inclined Oblique Course: Engineering Graphics 1504 Memorial University of Newfoundland Sheet 9

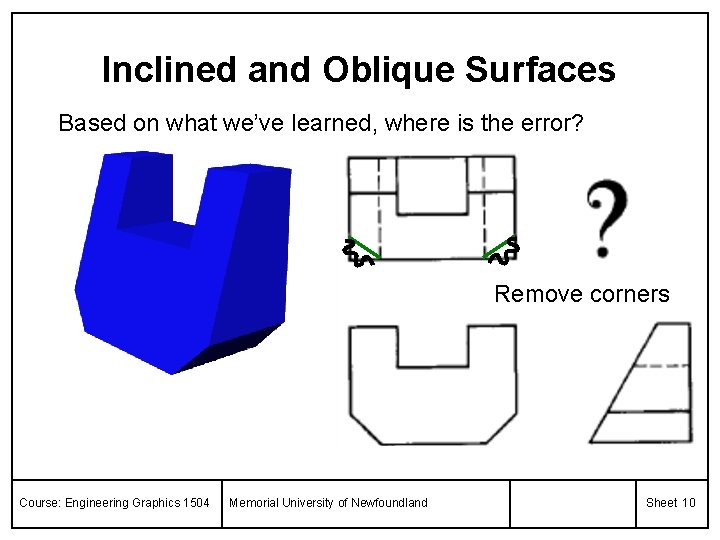
Inclined and Oblique Surfaces Based on what we’ve learned, where is the error? Remove corners Course: Engineering Graphics 1504 Memorial University of Newfoundland Sheet 10

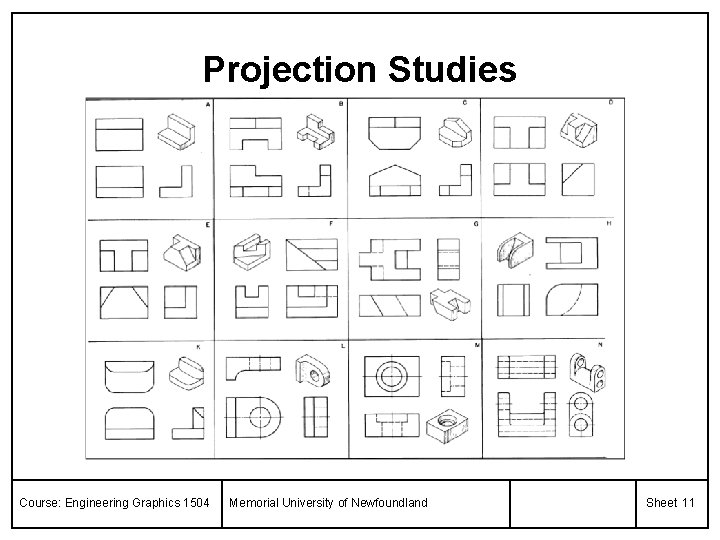
Projection Studies Course: Engineering Graphics 1504 Memorial University of Newfoundland Sheet 11

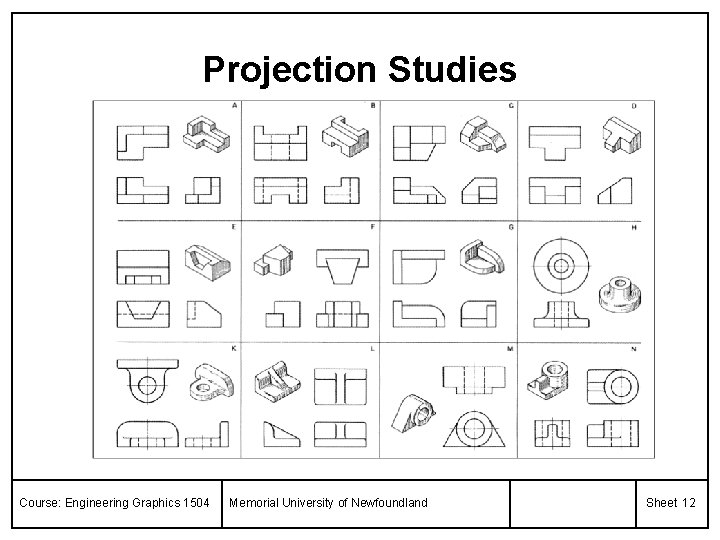
Projection Studies Course: Engineering Graphics 1504 Memorial University of Newfoundland Sheet 12

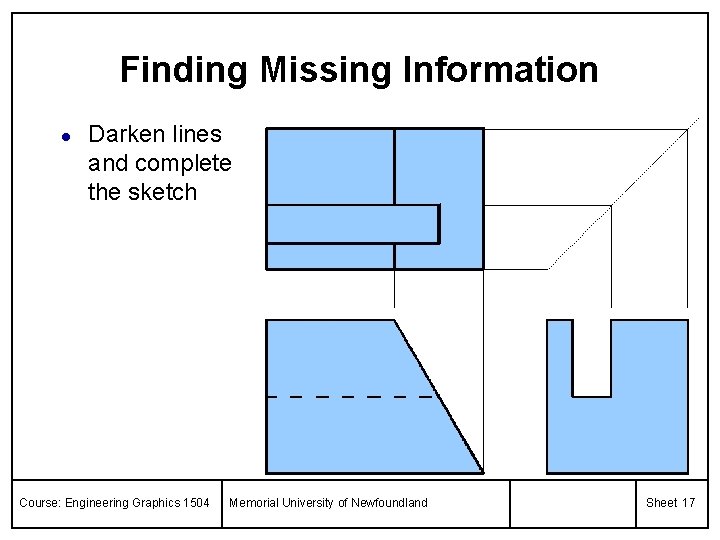
Finding Missing Information l l Today’s assignment is to complete the views of an object that are missing some information. Let’s looks at Example 2. 8 in the text. Course: Engineering Graphics 1504 Memorial University of Newfoundland Sheet 13

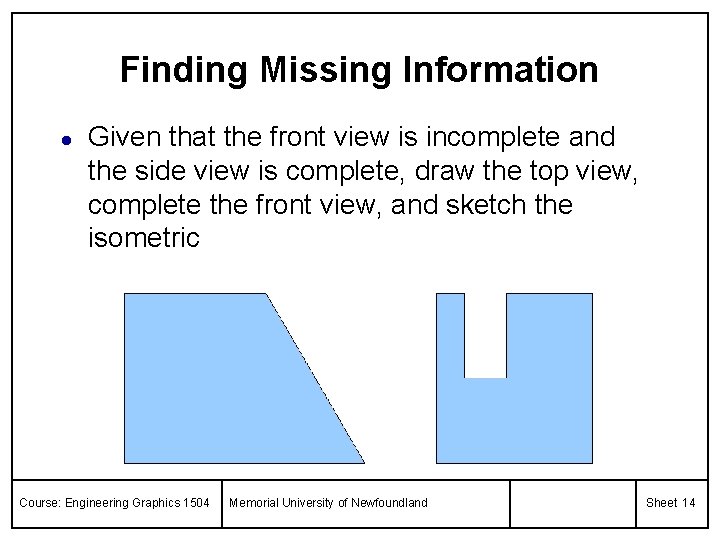
Finding Missing Information l Given that the front view is incomplete and the side view is complete, draw the top view, complete the front view, and sketch the isometric Course: Engineering Graphics 1504 Memorial University of Newfoundland Sheet 14

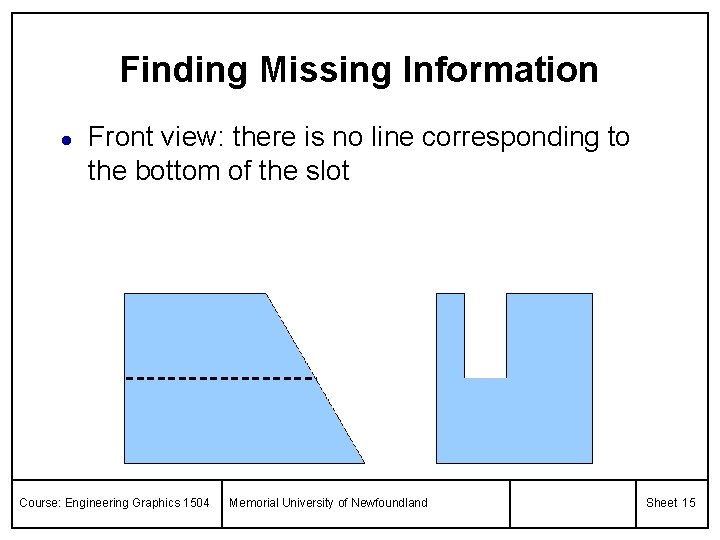
Finding Missing Information l Front view: there is no line corresponding to the bottom of the slot Course: Engineering Graphics 1504 Memorial University of Newfoundland Sheet 15

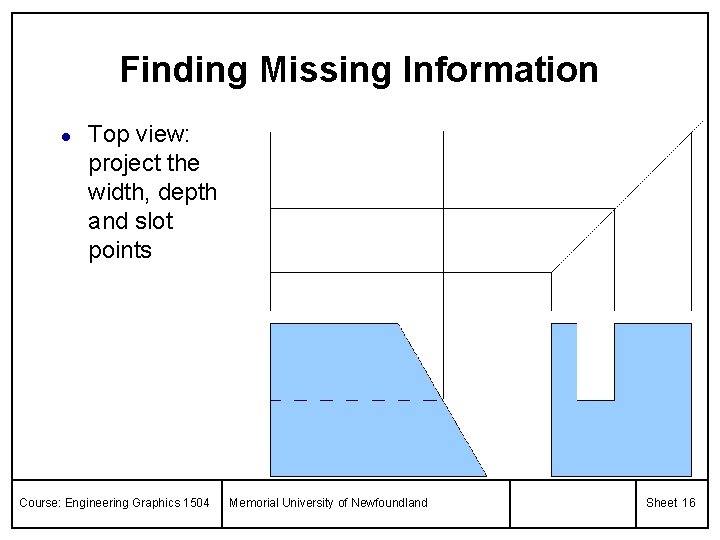
Finding Missing Information l Top view: project the width, depth and slot points Course: Engineering Graphics 1504 Memorial University of Newfoundland Sheet 16

Finding Missing Information l Darken lines and complete the sketch Course: Engineering Graphics 1504 Memorial University of Newfoundland Sheet 17

Class Assignment 4 Sketch the missing view (or missing lines) and an isometric for Questions 104 and 106 in workbook. Notes: • the missing views must be completed using your drawing instruments • the isometric must be done freehand Course: Engineering Graphics 1504 Memorial University of Newfoundland Sheet 18