
Emergency Wound Care And Suturing Louis Morales Jr


- Slides: 24
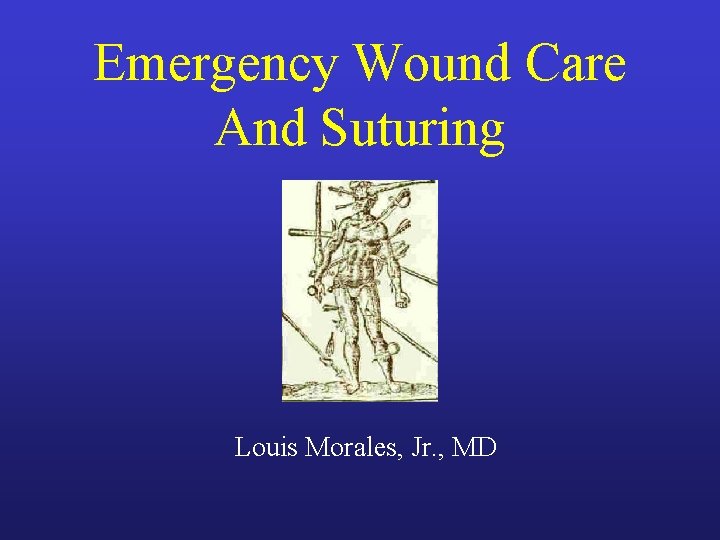
Emergency Wound Care And Suturing Louis Morales, Jr. , MD
Objectives • Care of wounds • Methods in optimizing final wound closure • Suture techniques, knot tying
Why Learn to Suture
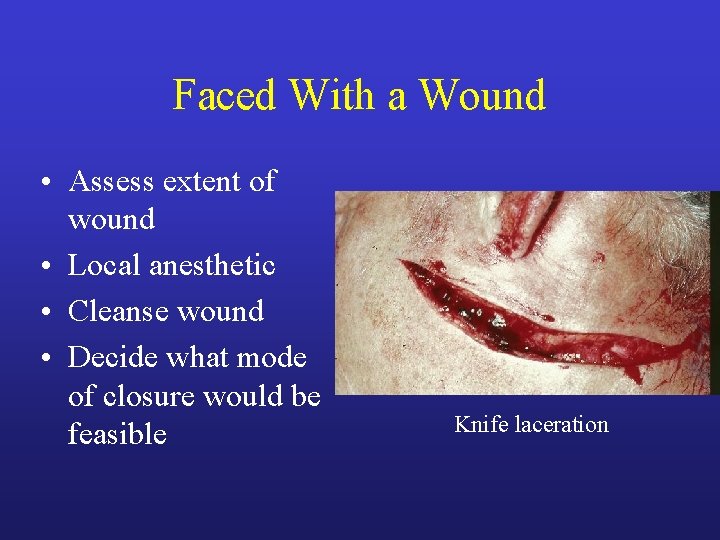
Faced With a Wound • Assess extent of wound • Local anesthetic • Cleanse wound • Decide what mode of closure would be feasible Knife laceration
Treating Wounds • • • Assess wound – dirty vs clean Dirty – falling into manure, human bite, etc. Debridement – remove debris Soap and water okay but rinse well Wound cleansing – Betadine or Prepodyne Hydrogen Peroxide initially but not long term
Modes of Wound Closure • • Sutures Steri-Strips (Butterfly tape) Skin Stapler Skin adhesive (glue)
Suture Wound Closure • Necessary Instruments – forceps, needle holder, hemostat, sutures) • Local anesthetic – Lidocaine with epi • Gauze dressings, Ace bandage, etc. • Meds: Narcotics, antibiotics, epinephrine, ointment
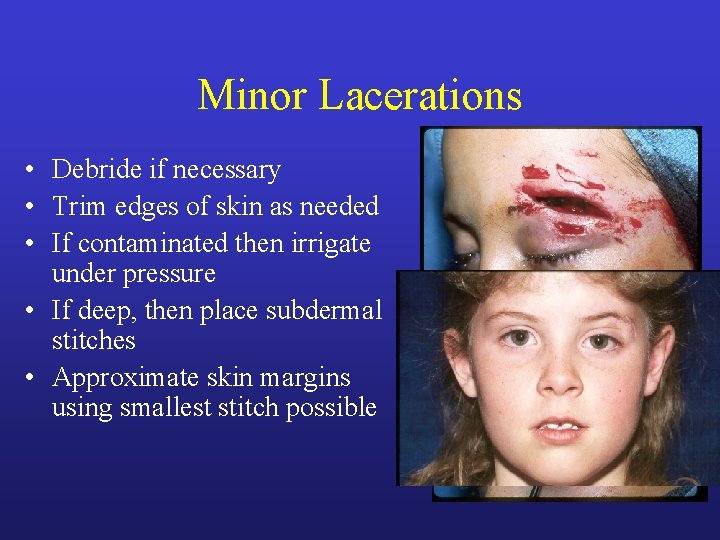
Minor Lacerations • Debride if necessary • Trim edges of skin as needed • If contaminated then irrigate under pressure • If deep, then place subdermal stitches • Approximate skin margins using smallest stitch possible
Bites • Debride as necessary • Interrupted permanent stitches as infection is a possibility • Antibiotics for Cat bites and Human bites • If seen late, may have to heal by secondary intention
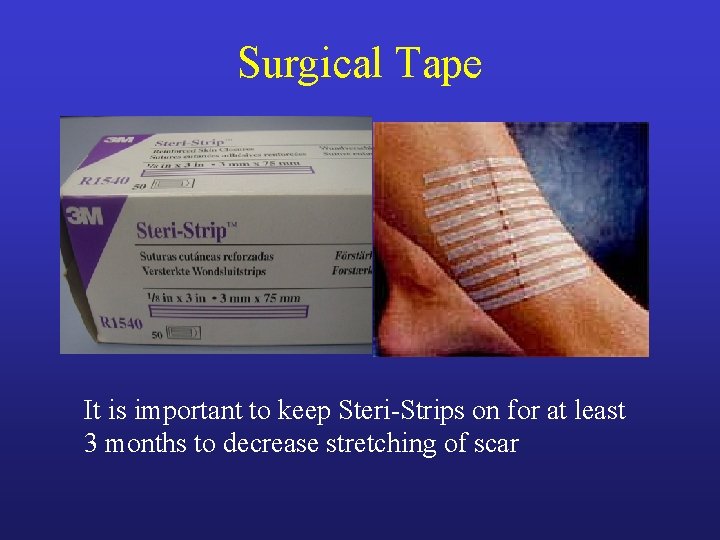
Post Repair Care • Stitches should be removed from skin within 5 -10 days depending on area • Use immobilization or Steri-Strips for 3 months • If Skin staples used must remove sooner
Principles of Wound Closure • • Gently handle tissues Take small tissue “bites” Lightly approximate tissues Use smallest suture possible
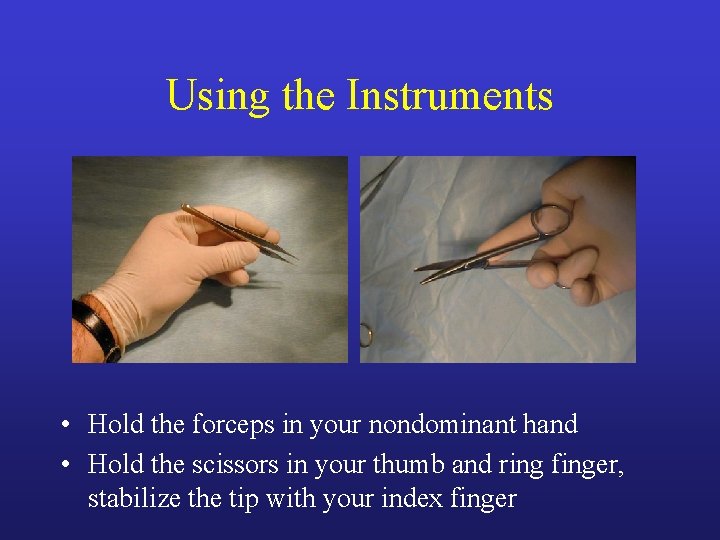
Using the Instruments • Hold the forceps in your nondominant hand • Hold the scissors in your thumb and ring finger, stabilize the tip with your index finger
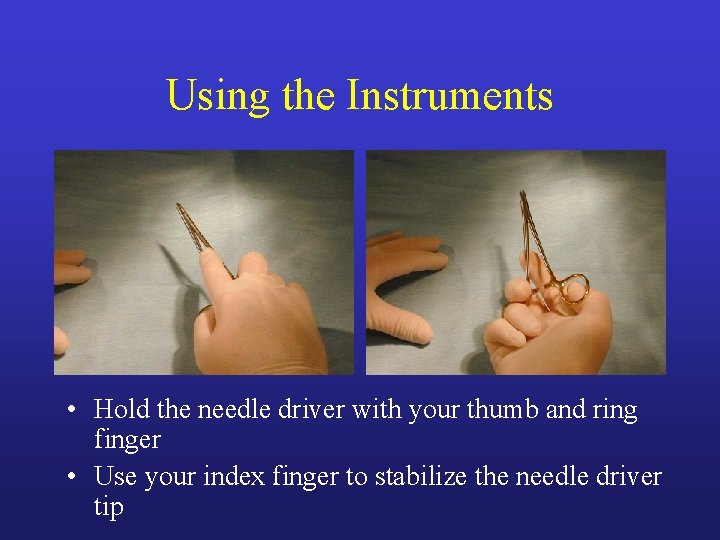
Using the Instruments • Hold the needle driver with your thumb and ring finger • Use your index finger to stabilize the needle driver tip
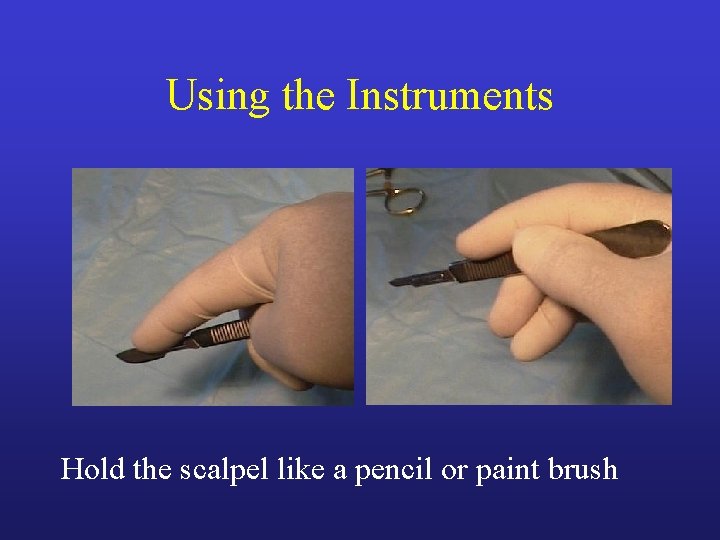
Using the Instruments Hold the scalpel like a pencil or paint brush
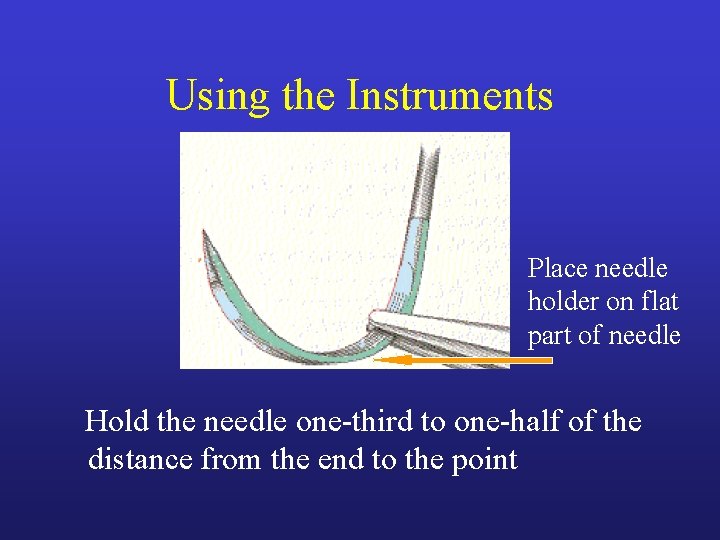
Using the Instruments Place needle holder on flat part of needle Hold the needle one-third to one-half of the distance from the end to the point
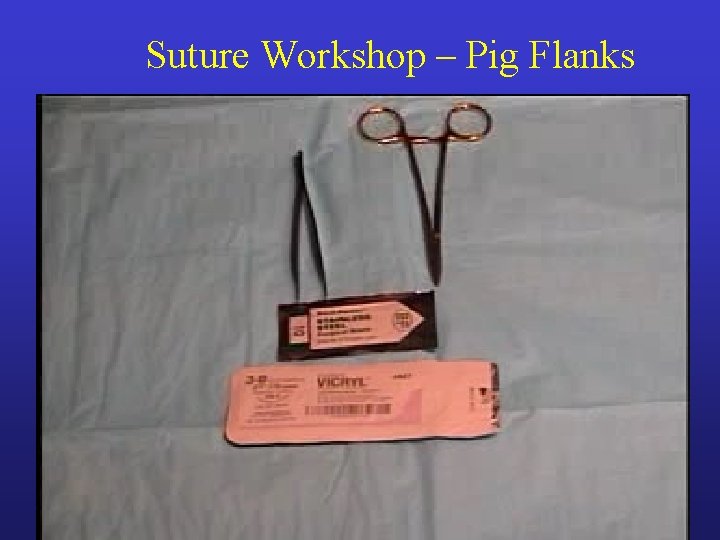
Suture Workshop – Pig Flanks
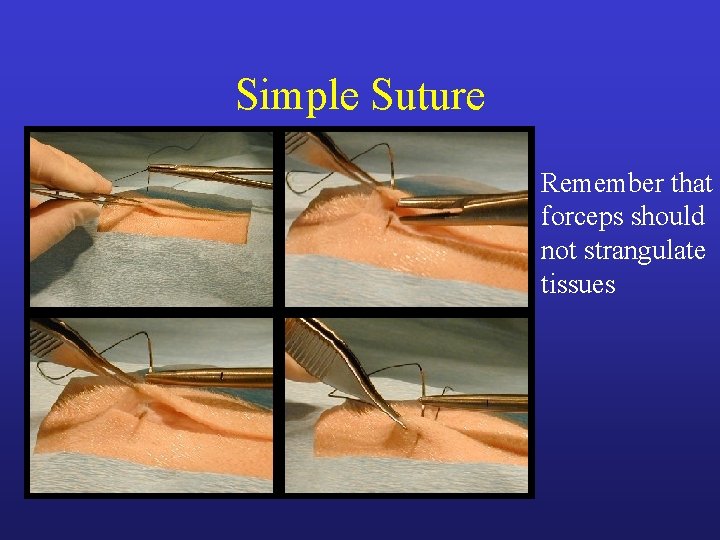
Simple Suture Remember that forceps should not strangulate tissues
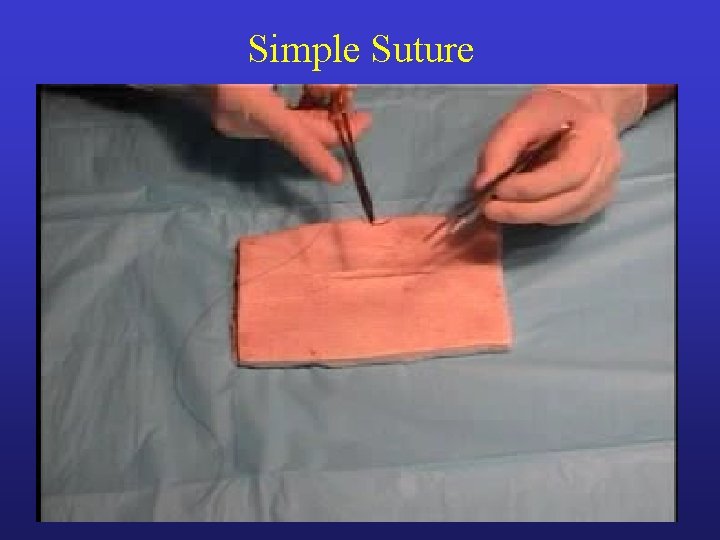
Simple Suture
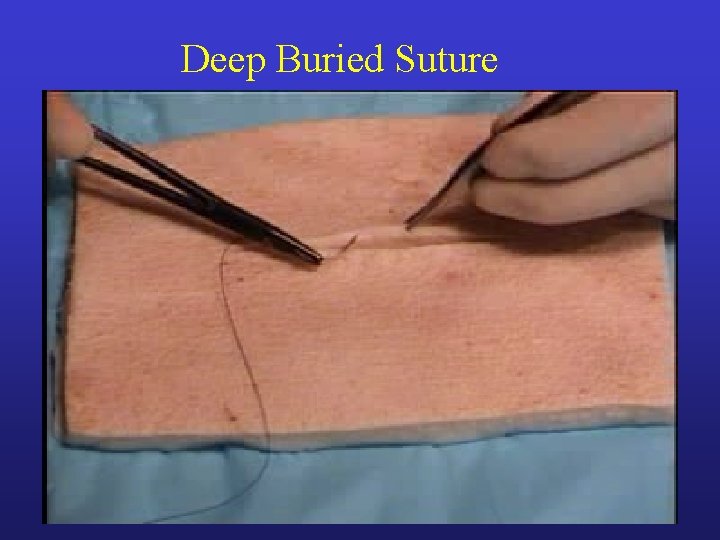
Deep Buried Suture
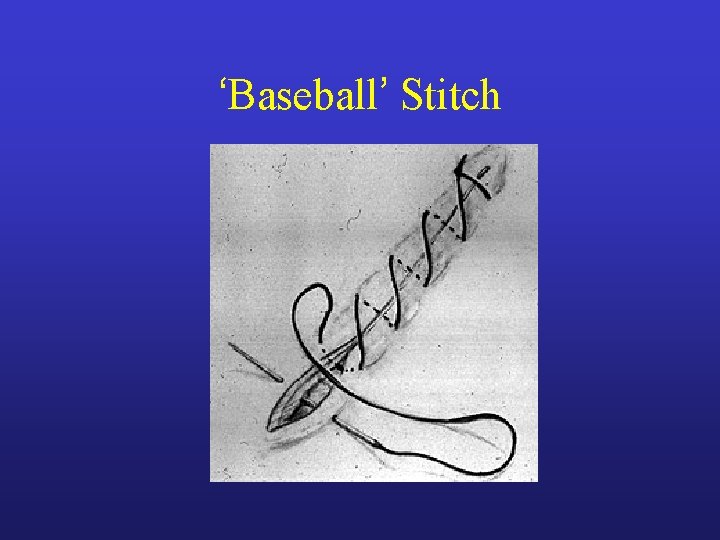
‘Baseball’ Stitch
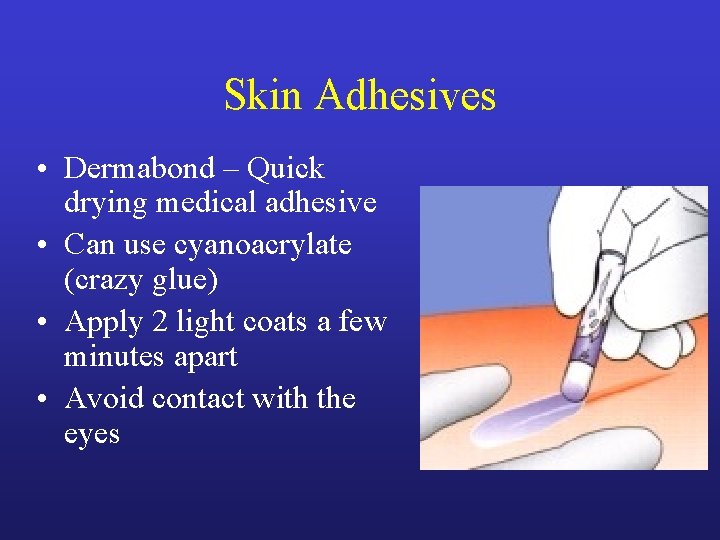
Skin Adhesives • Dermabond – Quick drying medical adhesive • Can use cyanoacrylate (crazy glue) • Apply 2 light coats a few minutes apart • Avoid contact with the eyes
Surgical Tape It is important to keep Steri-Strips on for at least 3 months to decrease stretching of scar
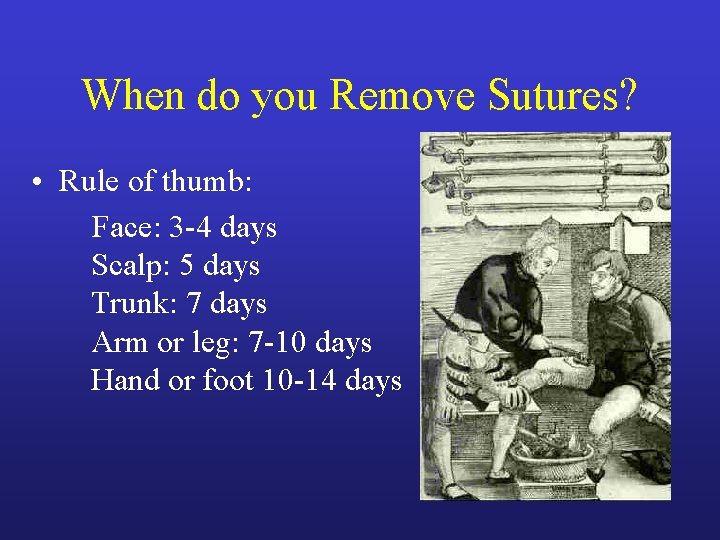
When do you Remove Sutures? • Rule of thumb: Face: 3 -4 days Scalp: 5 days Trunk: 7 days Arm or leg: 7 -10 days Hand or foot 10 -14 days
Summary – What’s in Your Pack • Instruments for suturing – basic – hemostat, needle holder, forceps with teeth, scissors • Sutures • Local anesthetic – injection, spray, gel • Steri-strips • Skin glue – cyanoacrylate