
Emergency Evacuations School Transportation Unit 2020 1 Definitions



- Slides: 47
Emergency Evacuations School Transportation Unit 2020 1
Definitions Emergency 1. an unforeseen combination of circumstances or the resulting state that calls for immediate action 2. an urgent need for assistance or relief Evacuation 1. the action of evacuating a person or a place. An unforeseen combination of circumstances that calls for immediate action to evacuate a school bus. 2
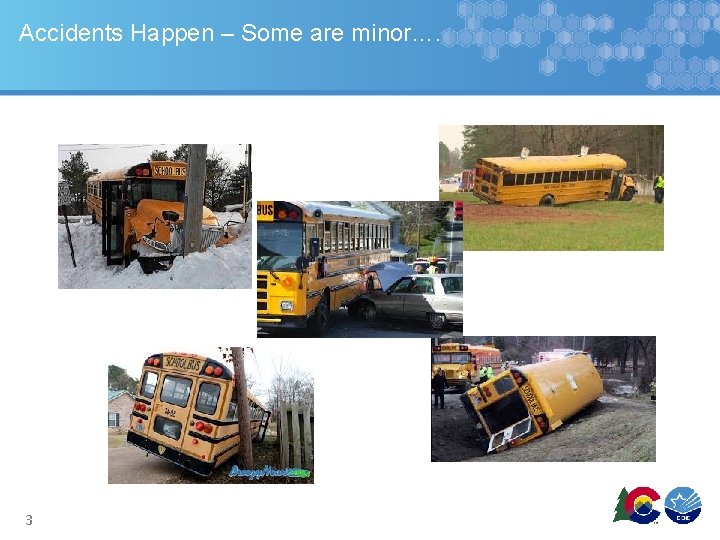
Accidents Happen – Some are minor…. 3
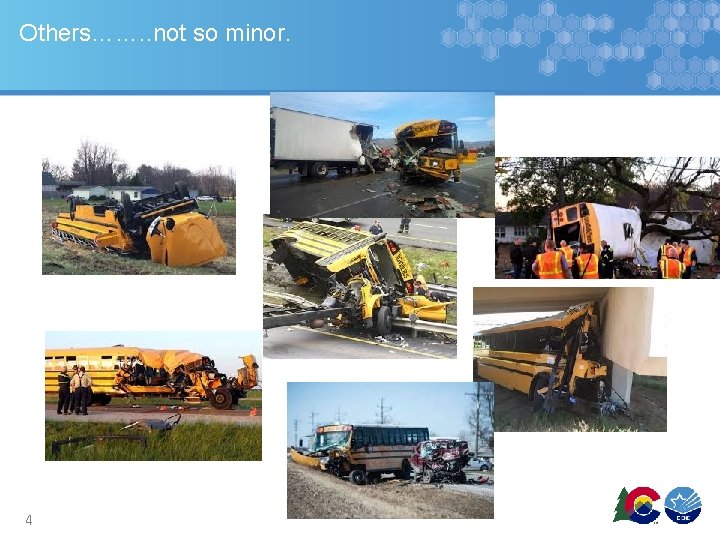
Others……. . not so minor. 4
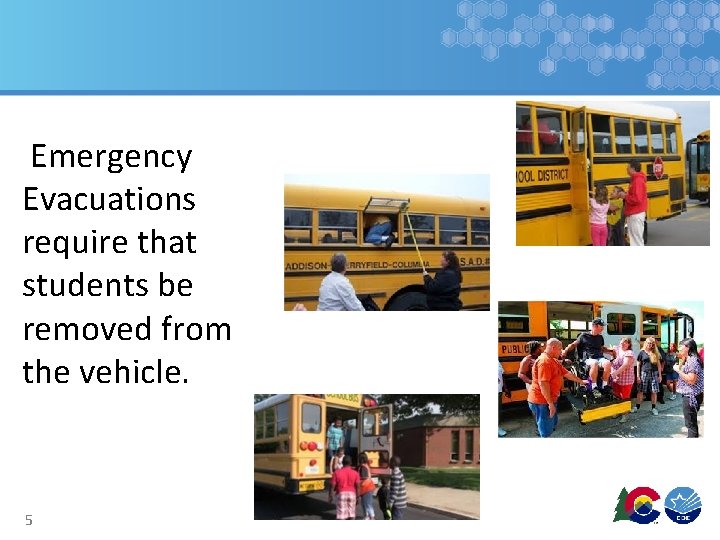
Emergency Evacuations require that students be removed from the vehicle. 5
What can we do as school bus drivers? Plan Ahead!! 6
If you don’t…… it may look like this! Plan Ah e d 7 a
CDL Manual States An emergency can happen to anyone, anytime, anywhere. It could be a crash, a stalled school bus on a railroad-highway crossing or in a highspeed intersection, an electrical fire in the engine compartment, a medical emergency to a student on the school bus, etc. Knowing what to do in an emergency–before, during and after an evacuation–can mean the difference between life and death. 8
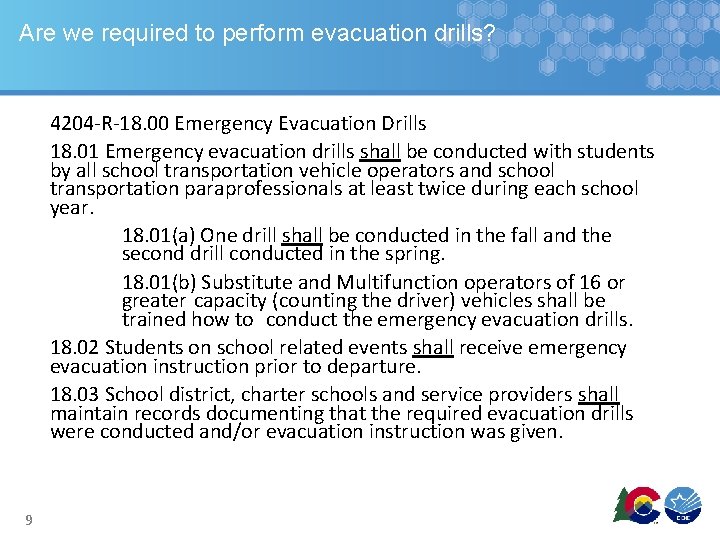
Are we required to perform evacuation drills? 4204 -R-18. 00 Emergency Evacuation Drills 18. 01 Emergency evacuation drills shall be conducted with students by all school transportation vehicle operators and school transportation paraprofessionals at least twice during each school year. 18. 01(a) One drill shall be conducted in the fall and the second drill conducted in the spring. 18. 01(b) Substitute and Multifunction operators of 16 or greater capacity (counting the driver) vehicles shall be trained how to conduct the emergency evacuation drills. 18. 02 Students on school related events shall receive emergency evacuation instruction prior to departure. 18. 03 School district, charter schools and service providers shall maintain records documenting that the required evacuation drills were conducted and/or evacuation instruction was given. 9
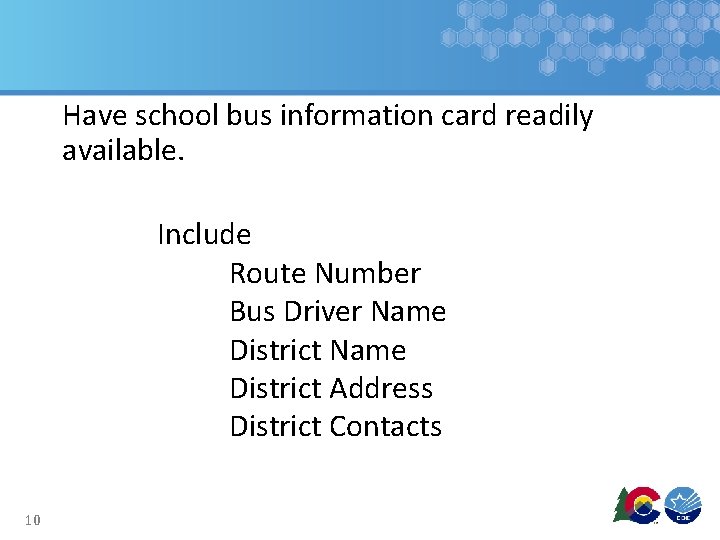
Have school bus information card readily available. Include Route Number Bus Driver Name District Address District Contacts 10
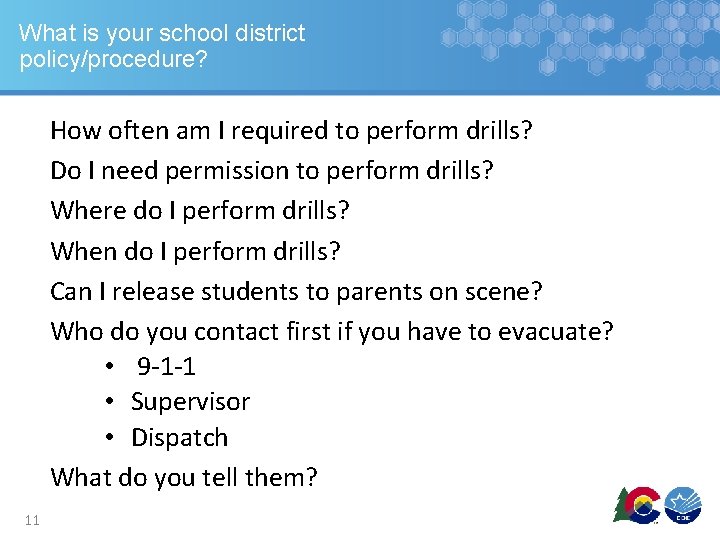
What is your school district policy/procedure? How often am I required to perform drills? Do I need permission to perform drills? Where do I perform drills? When do I perform drills? Can I release students to parents on scene? Who do you contact first if you have to evacuate? • 9 -1 -1 • Supervisor • Dispatch What do you tell them? 11
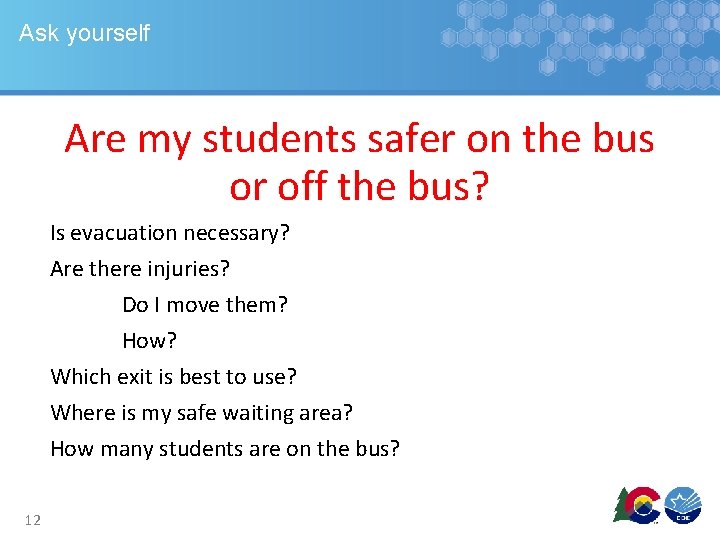
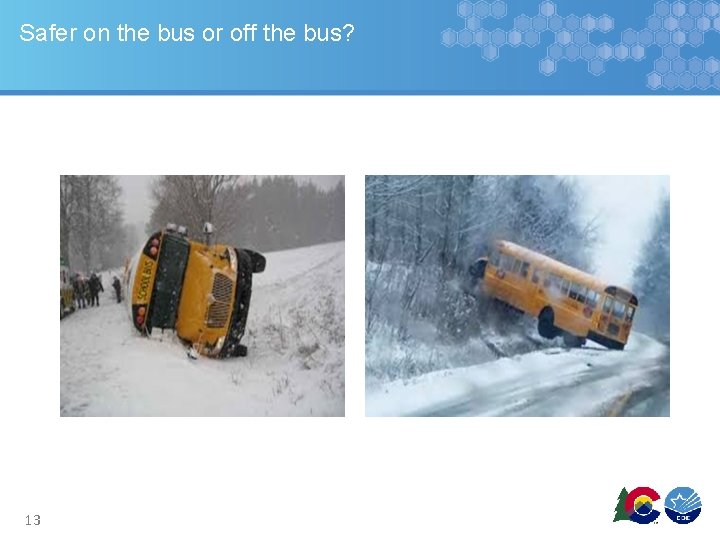
Ask yourself Are my students safer on the bus or off the bus? Is evacuation necessary? Are there injuries? Do I move them? How? Which exit is best to use? Where is my safe waiting area? How many students are on the bus? 12
Safer on the bus or off the bus? 13
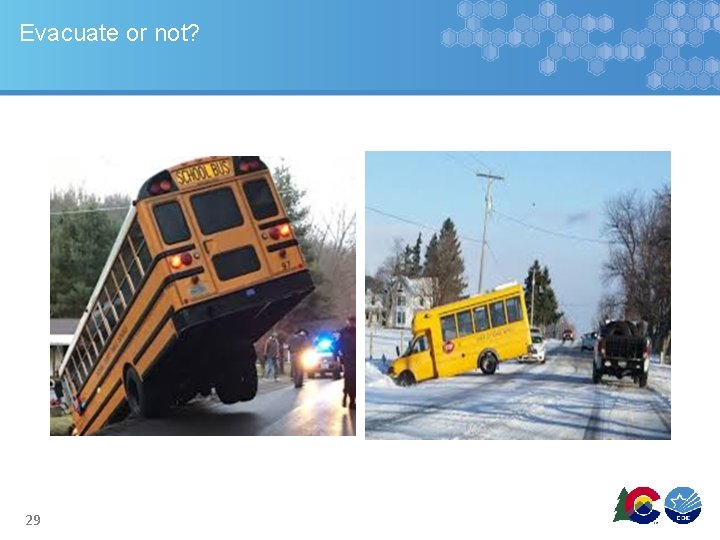
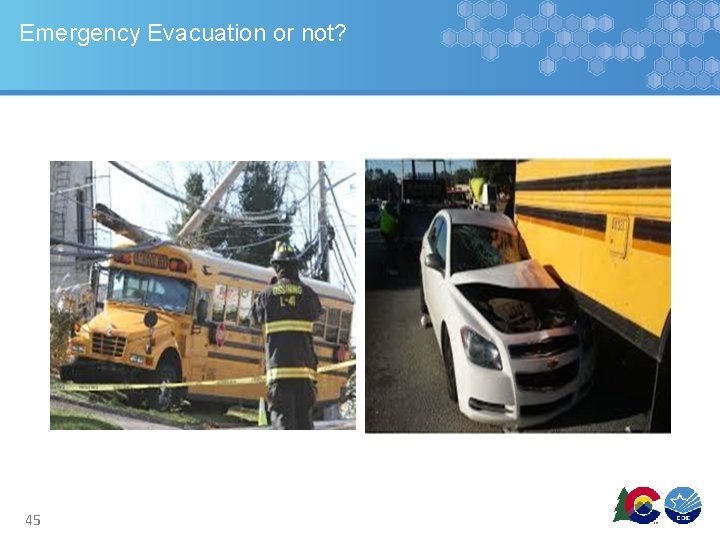
In the majority of emergency situations, the bus is the safest place for the passengers unless extenuating circumstances warrant evacuation from the bus. 14
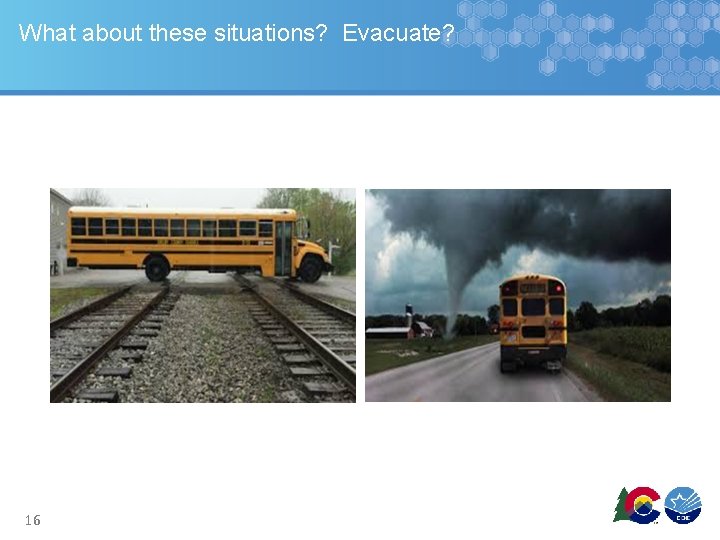
Always evacuate if The bus is on fire or there is a threat of a fire. The bus is stalled on or adjacent to a railroadhighway crossing. The position of the bus may change and increase the danger There is an imminent danger of collision There is a need to quickly evacuate because of a hazardous materials spill. 15
What about these situations? Evacuate? 16
In most cases, the front door evacuation is the safest. The fastest evacuation is a combination of front door and rear/side door. The side door/window evacuation is the most difficult 17
Helpers Identify Student Helpers BEFORE an emergency occurs. Teach the Student Helper how to help you. 18
Performing Drills Set the park brake Put transmission in neutral(automatic), or park if so equipped Turn off engine (do you have communication if your bus is turned off? ) Turn on 4 -way hazard lamps 19
Front Door 20
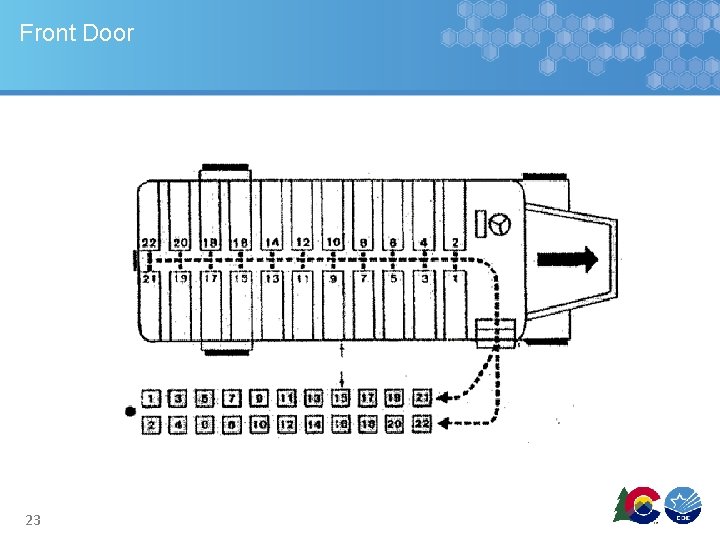
Front Door Notify the proper authorities and school administrators as soon as possible. Driver should stand face students. Get students’ attention - speak clearly and concisely. Announce - “Remain seated, emergency evacuation, front door. ” Tell students the location of the safe waiting area, at least 100 feet or more from the bus and roadway. All belongings are to be left on the bus. Students should be supervised, if possible. 21
Evacuate the bus by dismissing students. Driver should move backwards down the aisle, dismissing the student's row by row. If possible, give the first aid kit(s) to the first two responsible students exiting the bus. Do not impede the flow of the students exiting. Begin at the front of the bus, starting at the right side; alternate side-to-side, row by row, until students have exited the bus. Check each seat as you move back to the front of the bus to make sure all students have evacuated the bus. Account for all students. Render first aid if necessary. 22
Front Door 23
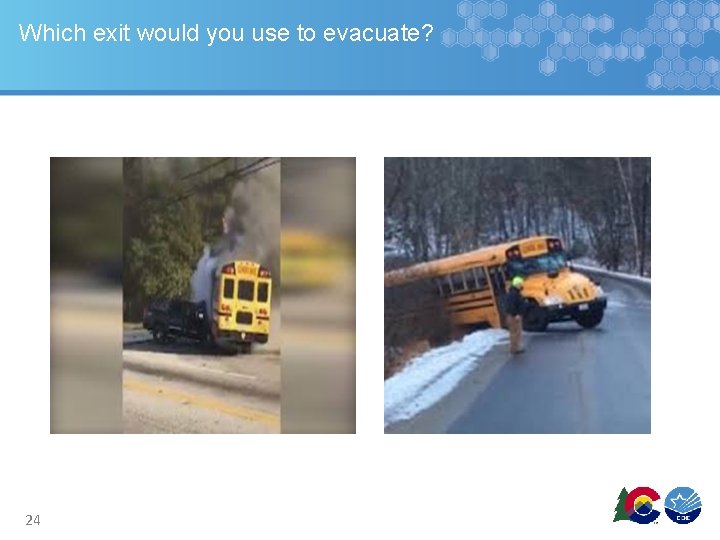
Which exit would you use to evacuate? 24
Rear Door 25
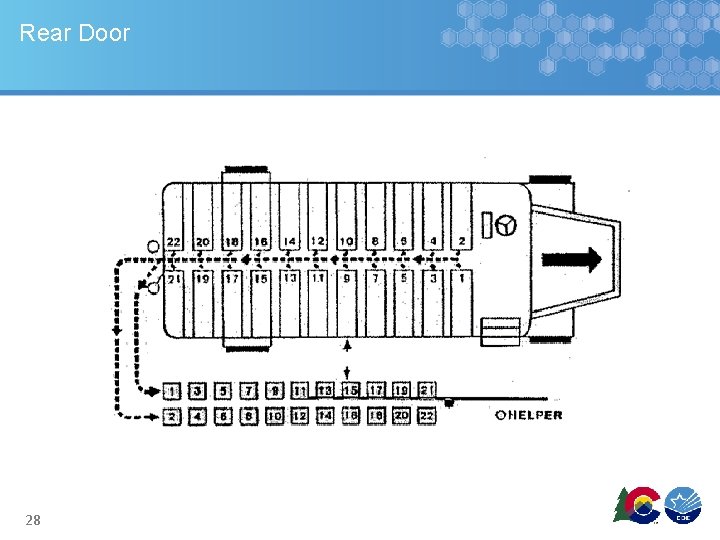
Rear Door Notify proper authorities and school administrators as soon as possible. Announce, “Remain seated, emergency evacuation, rear door. ” Tell students the location of the safe waiting area. All belongings are to be left on the bus. Assign two (2) “helpers” to assist students. Have them “sit” on the floor at the emergency door and “scoot” out of the door onto the ground. One helper is positioned with their back to the emergency door, so door will not swing against the students. The other helper is positioned on the other side of door area. Helpers need to hold a hand open, palm upward and extended for the student to place his/her hand on it. The other hand will support the upper part of the arm of the student to minimize the possibility of the student falling forward. Evacuate the bus by dismissing students. Driver will move backwards from rear row of seats, dismissing students' row by row. 26
Begin at the back row and continue to the front; alternate side -to-side, row-by-row, until students have exited the bus. If possible, give the first aid kit(s) to the last two responsible students when they are out of the bus. Students should sit at the rear door, and then scoot through the door onto the ground with the helper assistance. Students should walk to the safe waiting area. Check all seats for students as you move towards the back of the bus. Have the helpers “assist” you out of the rear of the bus. Account for all students. Render first aid as necessary. 27
Rear Door 28
Evacuate or not? 29
Side Door Split 30
Other Side Door – Same as rear with the following exceptions: Begin at the seat nearest the exit, approximately 6 th from the rear. Work to the rear alternating side-to-side, then return to seat immediately in front of the rear side exit and work to the front alternating side to side. Front and Rear – Driver will not be able to dismiss the rows. Front and Side – Begin at the seat nearest the side exit, work to the rear alternating side-to-side. Use a helper to evacuate front door students. 31
Special Needs 32
Special Needs Know your students’ needs and disabilities. Talk to staff and parents about how their special needs student might react during a drill Written plan maintained with route sheet – highly confidential. The order in which you evacuate students is an important consideration. If an evacuation becomes necessary, it is quicker and easier to first evacuate ambulatory students. Next, you should evacuate wheelchair students. However, if your ambulatory students have behavioral disorders, do not evacuate them first unless they are accompanied by an aid or the driver. Which riders must NOT be removed from wheelchair, specialized seat or CSRS or need specialized equipment removed with them. 33
Special needs Speed may become particularly important during an evacuation. And make sure you don’t ignore your own personal safety when evacuating students off the bus. When lifting, kneeling or carrying students, you should use proper body mechanics. You should always lift with your legs and not your back. When kneeling, do so in a manner that will not require over stretching. Over stretching could strain your back. 34
Most Common Techniques One-Person Lift Two Person Lift Blanket Drag Wheelchair drop Lift Down 35
General Lifting Guidelines NEVER lift anyone more than half your weight • Ask for help if you are unsure Test your lifting ability with a small movement that can be stopped. • If the student weighs too much, use another method Process • • Clear the path to the exit Tell the student exactly what you are going to do before you do it If necessary, cut the seat belt and other positioning straps Stand balanced with your feet shoulder width apart • • 36 Face the student Face the direction you want to go, if possible
Process - continued Get a good grip on the student or the students clothing; use your palms, not just your fingers Squat down but keep your heels off the floor Get as close to the student as you can Lift gradually (without jerking) using your leg abdominal, and buttock muscles Keep the student as close to you as possible Keep your chin tucked in to keep a relatively straight back and neckline Once you are standing, change directions be pointing your feet in the direction you want to go and turning your whole body Avoid twisting at your waist while carrying a student Take small steps, keeping the student close to your body. With student with poor muscle control • • 37 Curl the student as much as possible to keep the student’s arms and legs from flopping Support the student’s head and neck
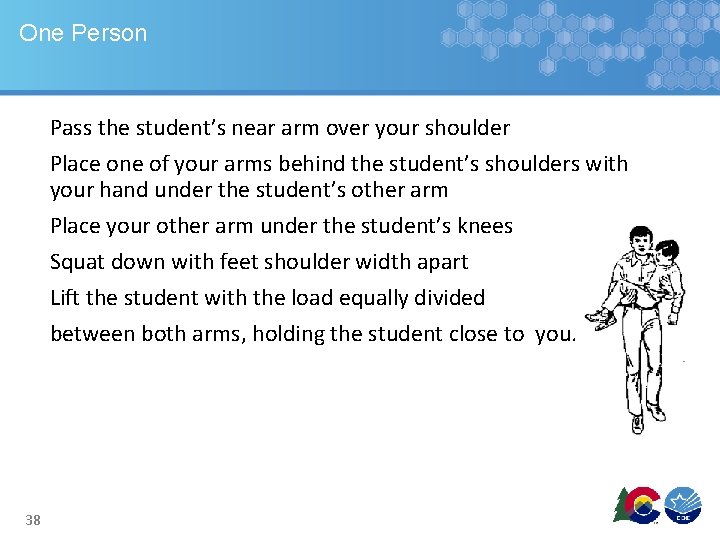
One Person Pass the student’s near arm over your shoulder Place one of your arms behind the student’s shoulders with your hand under the student’s other arm Place your other arm under the student’s knees Squat down with feet shoulder width apart Lift the student with the load equally divided between both arms, holding the student close to you. 38
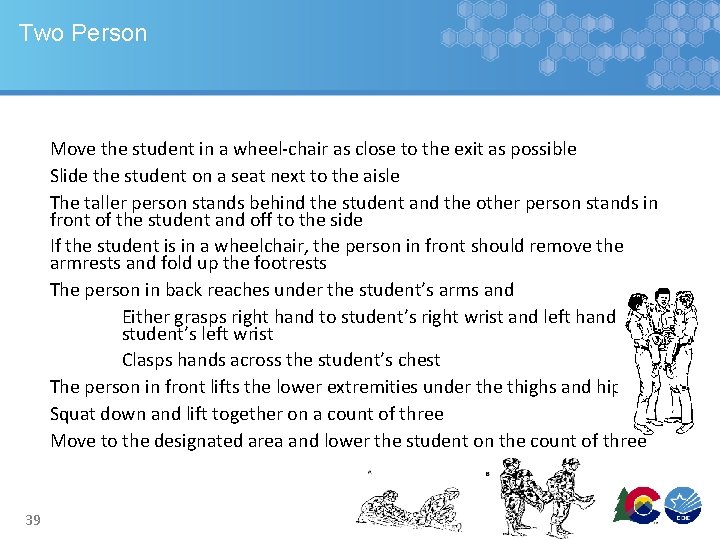
Two Person Move the student in a wheel-chair as close to the exit as possible Slide the student on a seat next to the aisle The taller person stands behind the student and the other person stands in front of the student and off to the side If the student is in a wheelchair, the person in front should remove the armrests and fold up the footrests The person in back reaches under the student’s arms and Either grasps right hand to student’s right wrist and left hand to student’s left wrist Clasps hands across the student’s chest The person in front lifts the lower extremities under the thighs and hips Squat down and lift together on a count of three Move to the designated area and lower the student on the count of three 39
Blanket Drag Using a blanket reduces stress on the student’s body and the chance of injury The blanket drag is also a way to move heavier students or fragile students who might be hurt by lifting However, the blanket drag is not a good choice for students who are medically fragile. Fold a blanket in half and place on the floor next to the student Lower the student’s legs onto the blanket first, then the head Place the student with his head toward the exit Wrap the blanket around the student to prevent arms and legs from being caught on obstacles Grasp the blanket near the student’s head and drag the student to the exit 40
Lift Door Practice manually operating the lift door Another option: Lower the lift approximately ½ way down and you can use it as a step-down evacuation step-down wheelchair evacuation 41
Car Seats 42
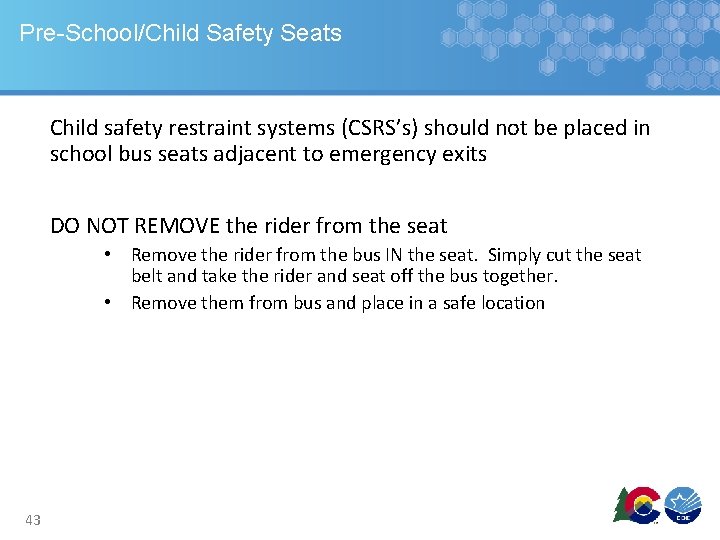
Pre-School/Child Safety Seats Child safety restraint systems (CSRS’s) should not be placed in school bus seats adjacent to emergency exits DO NOT REMOVE the rider from the seat • Remove the rider from the bus IN the seat. Simply cut the seat belt and take the rider and seat off the bus together. • Remove them from bus and place in a safe location 43
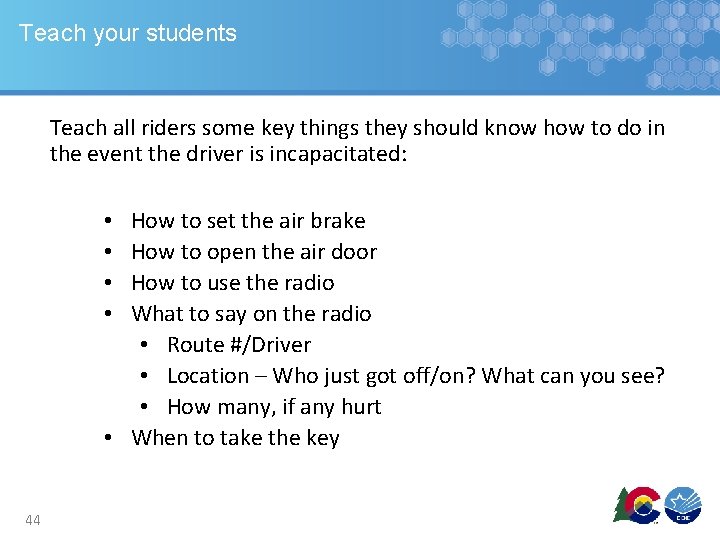
Teach your students Teach all riders some key things they should know how to do in the event the driver is incapacitated: How to set the air brake How to open the air door How to use the radio What to say on the radio • Route #/Driver • Location – Who just got off/on? What can you see? • How many, if any hurt • When to take the key • • 44
Emergency Evacuation or not? 45
You make the call!! Are your students safer on the bus or off the bus? 46
Questions? 47