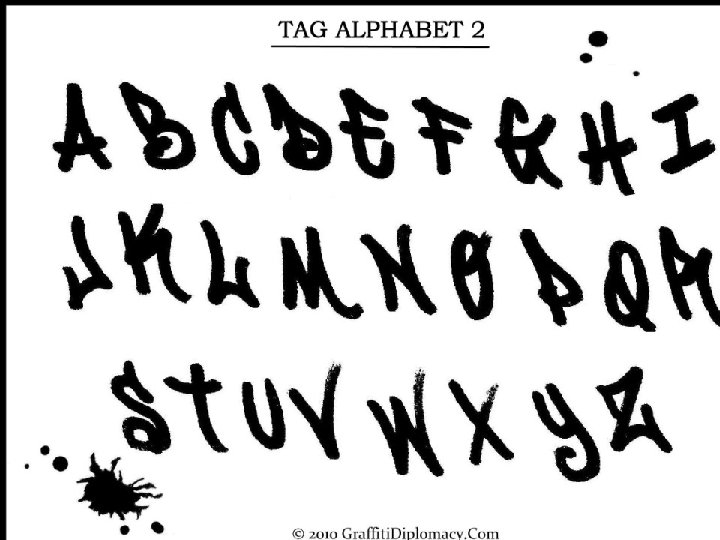
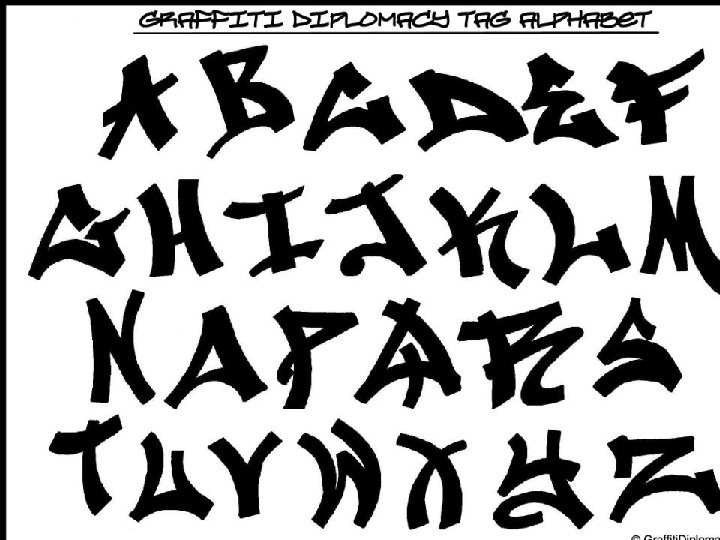
Elements of the Tag Letter Textthe actual letters


- Slides: 37
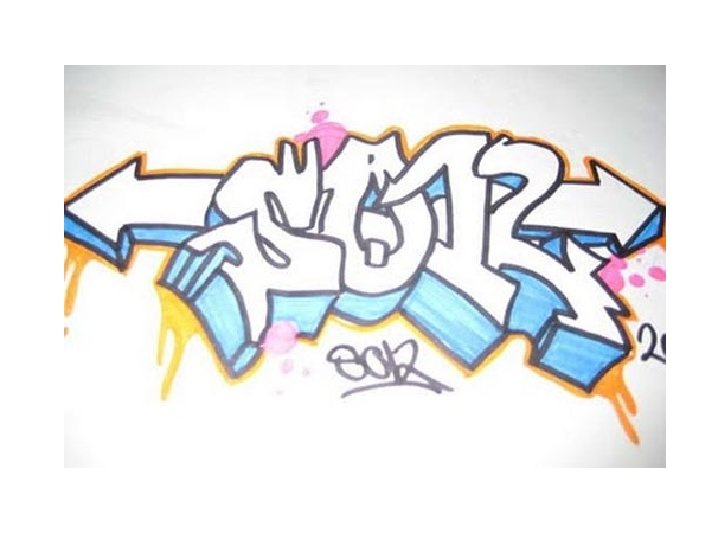
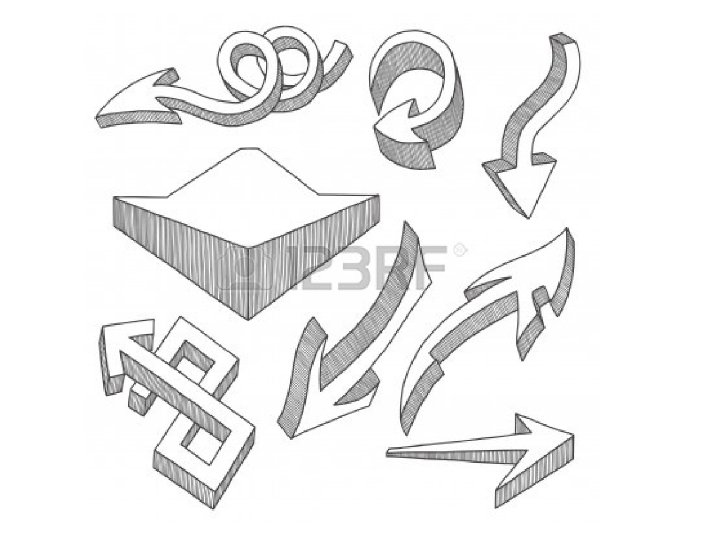
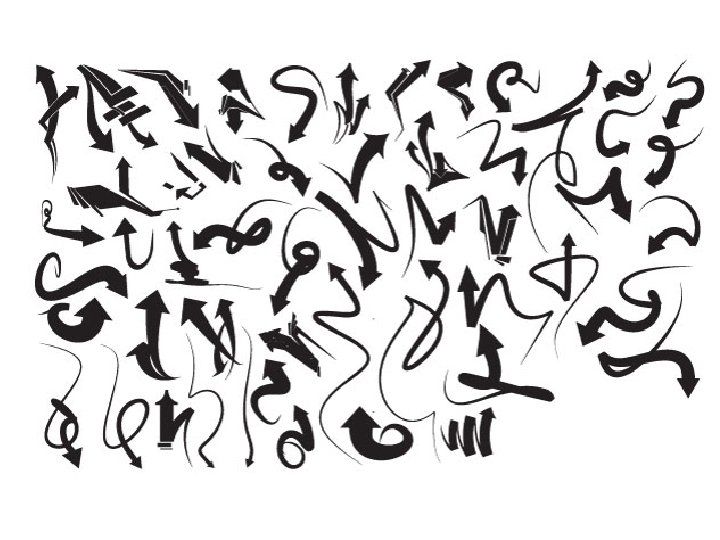
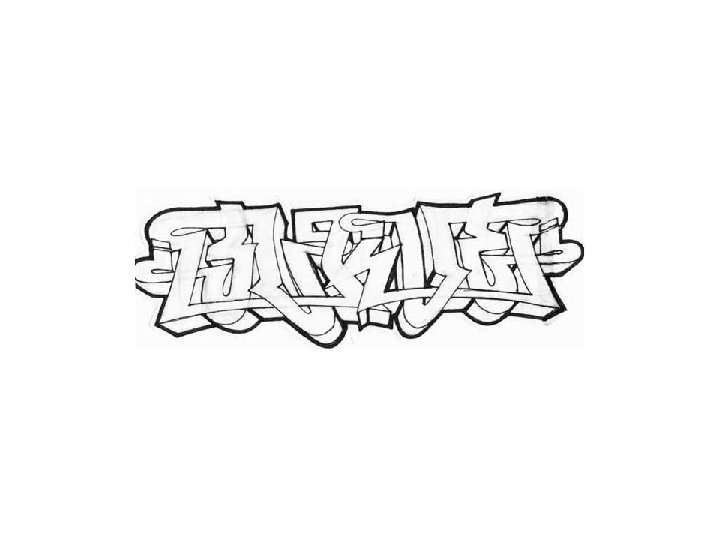
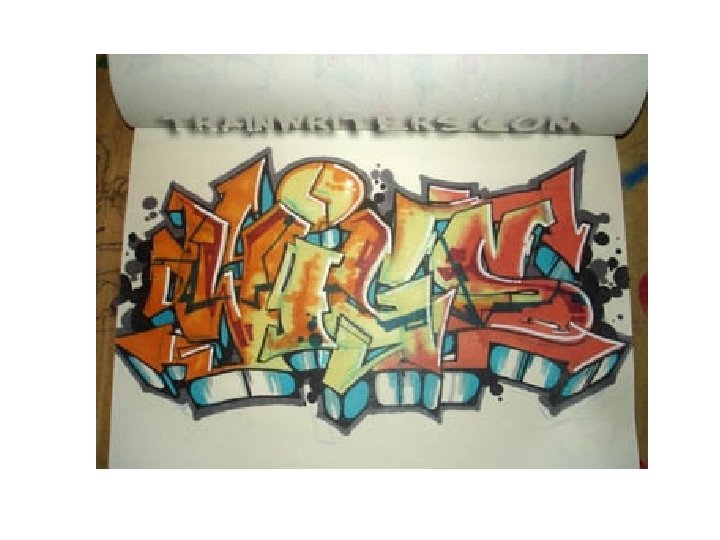
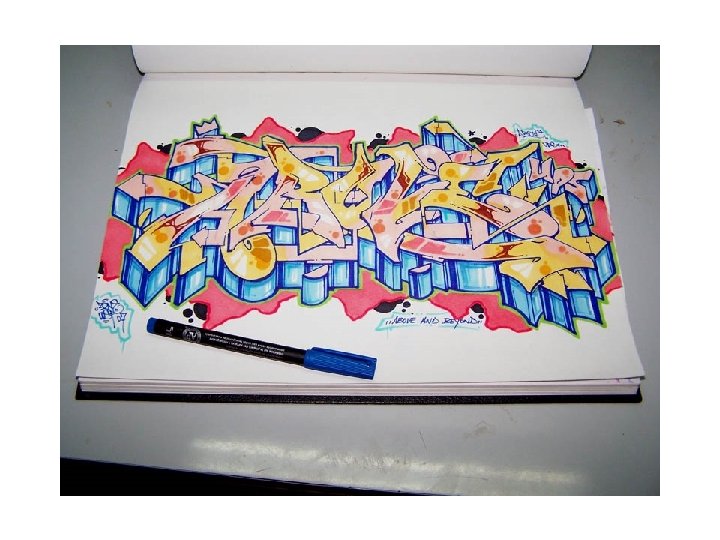
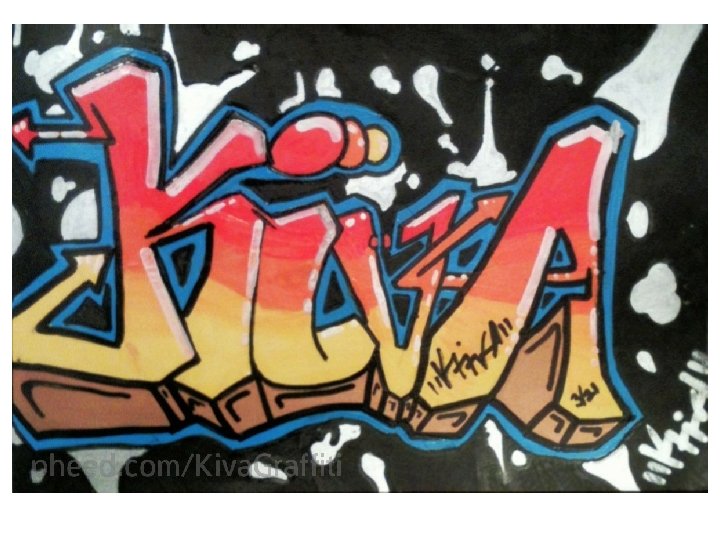
Elements of the Tag • Letter Text-the actual letters in the name • Arrows-any kind of marks that point or provide a sense of direction • Flourishes-added swirls, appendages or expressions building onto the letter structures • Symbols-separate marks and expressions such as the king’s crown or hearts
Styles • • • Bubble Letters Block Letters Semi-Wildstyle 3 -D Wildstyle Abstracts
STEP 1. Draw a T lightly in pencil. STEP 2. Now draw an outline all around it. The outline should be the same distance all the way around the letter. STEP 3. Draw several more outlines until you get it to the size you want. STEP 4. Erase the inside lines. STEP 5. Make sure it looks soft and bubbly with no sharp corners or edges. If you'd like your bubble letter to look even puffier, draw circles on the ends of the letter. STEP 6. Now go over the entire outline with a black marker (Sharpies are best because they do not smear) and erase all of the pencil lines.
1. 2. 3. 4. 5. 6. Draw the letters, B A D , lightly with a pencil Now draw circular bubble shapes around the lines. On the curved lines in B & D, break your circular shapes into segments. Draw around the outside and inside edges with a dark marker Erase the pencil lines. Add little lines inside to make the letters more rounded and bubbly Redraw the letters close together, overlapping the edges. Use tracing paper if needed. Add 3 -D, a force field and a highlight for a finishing touch.
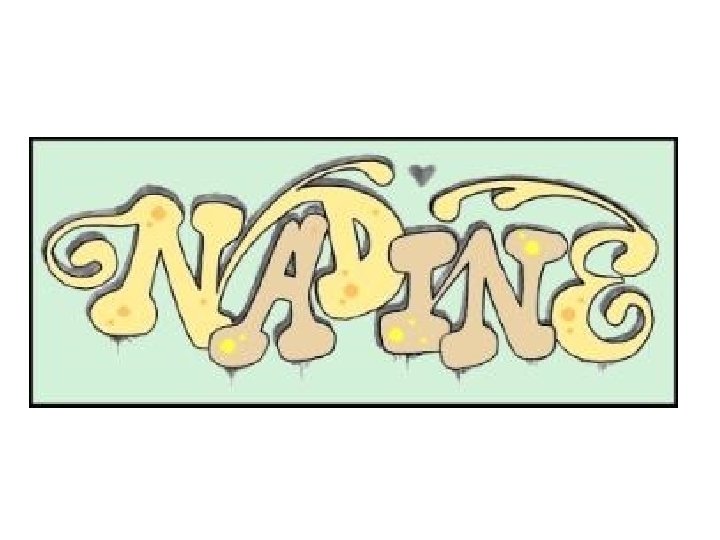
Choosing a Name • Don’t make the name too long-ideally it should be short and to the point (6 or less) • How does it sound? What image are you trying to evoke? DOZE CRASH REVOK • How does it look when written? Consider changing or dropping some of the letters to make it work better.
It’s more than just your name. It’s more than just your tag. It’s your identity; it’s your brand!
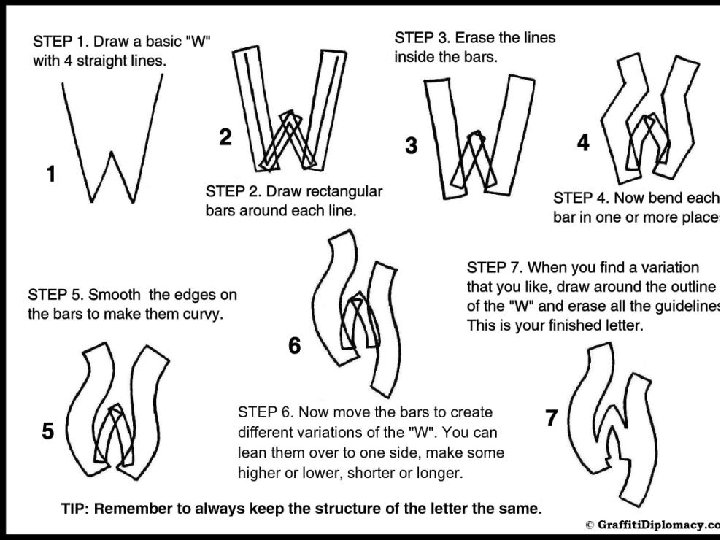
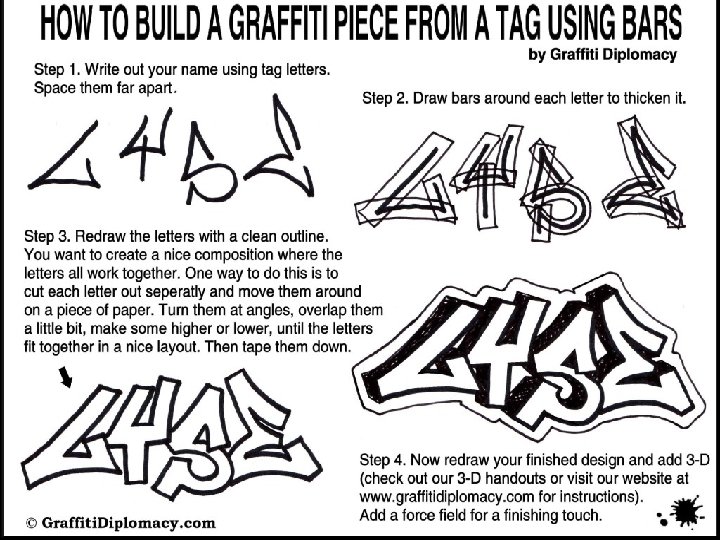
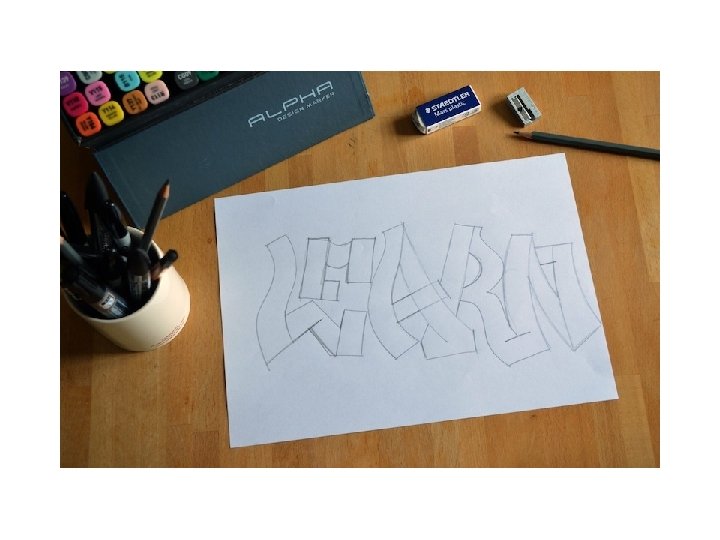
STEP 1. Draw out your name or word on a piece of paper with a pencil. Make some letters higher and some lower to give your drawing some style. Leave spaces between the letters so you have room to build them up.
STEP 2. Draw rectangular bars around the strokes of each letter to fatten it up. Add some curly flourishes on some of the letters along the tops.
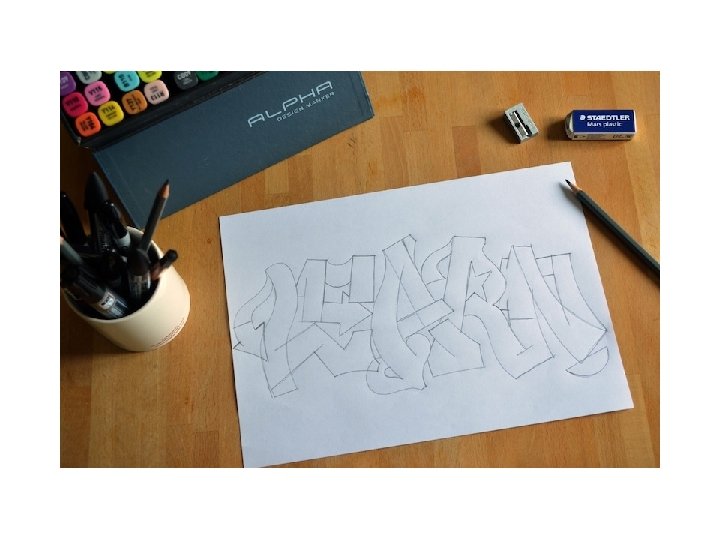
STEP 3. Erase the original letters inside the bars. Begin to round off the corners of the letters. Fatten up the curly flourishes. Connect some of the letters ("D" to the letter "N“, "I" to the second letter "N“).
STEP 4. Redraw the letters with all the connections and details in place. Make the letters soft, rounded and bubbly.
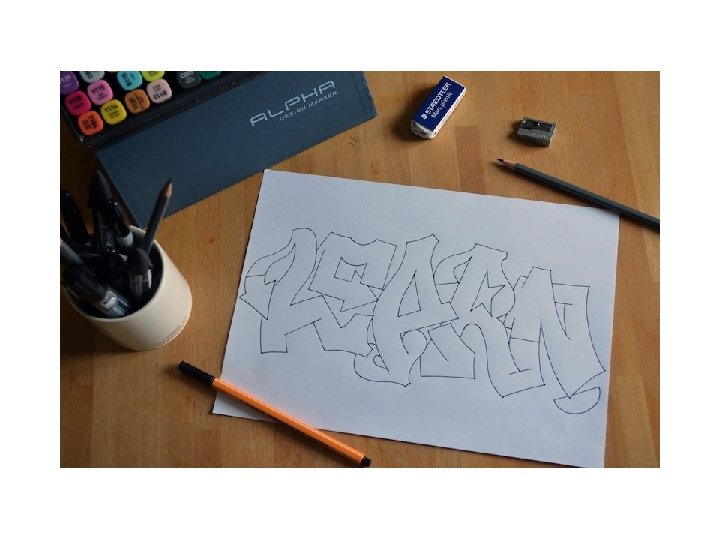
STEP 5. Add 3 -D using a light grey magic marker or a pencil. Add some little drips and a symbol or embellishment (heart). Now you are ready to add decorations or patterns inside the letters.
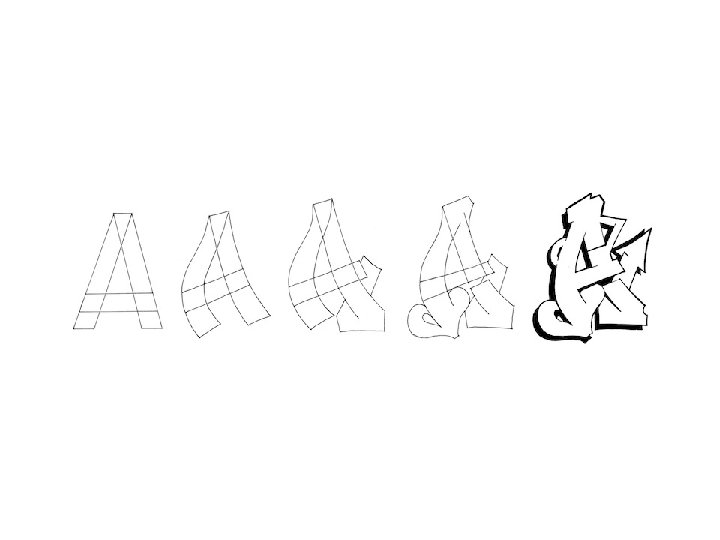
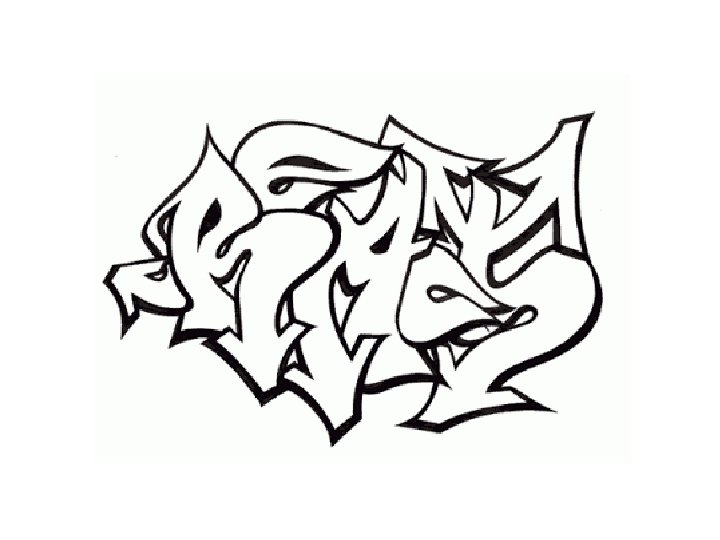
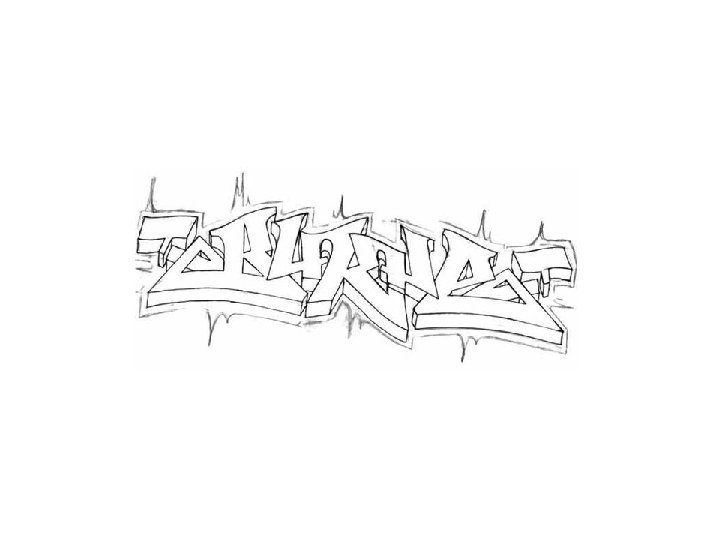
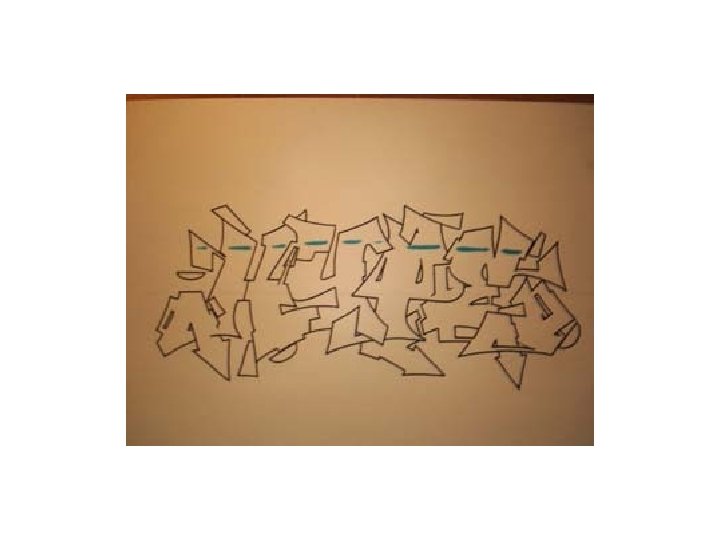
WILDSTYLE
Letter Components • Overlaps-can bring some of the drop shadow over the letter • Extensions-stretch a regular portion of the letter • Connections-can overlap, go over, go under, or pass through. Purpose is to connect two disparate letter pieces • Flourishes- piece of mass that comes from the main body from the serif. It can end with bits or add arrows to the tips