Drawing 6 Drawings represented in presentations are for


 it is UNACCEPTABLE to hand in your drawing")

- Slides: 20
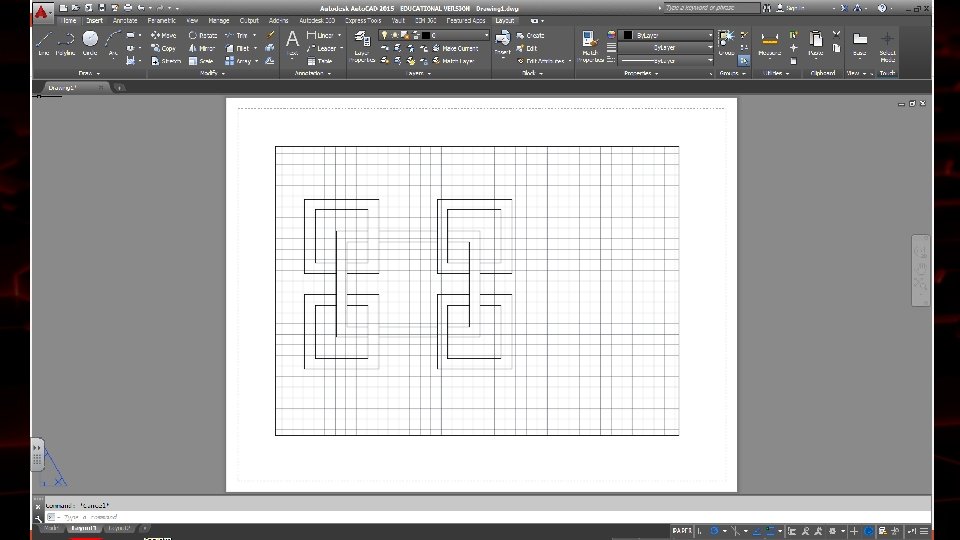
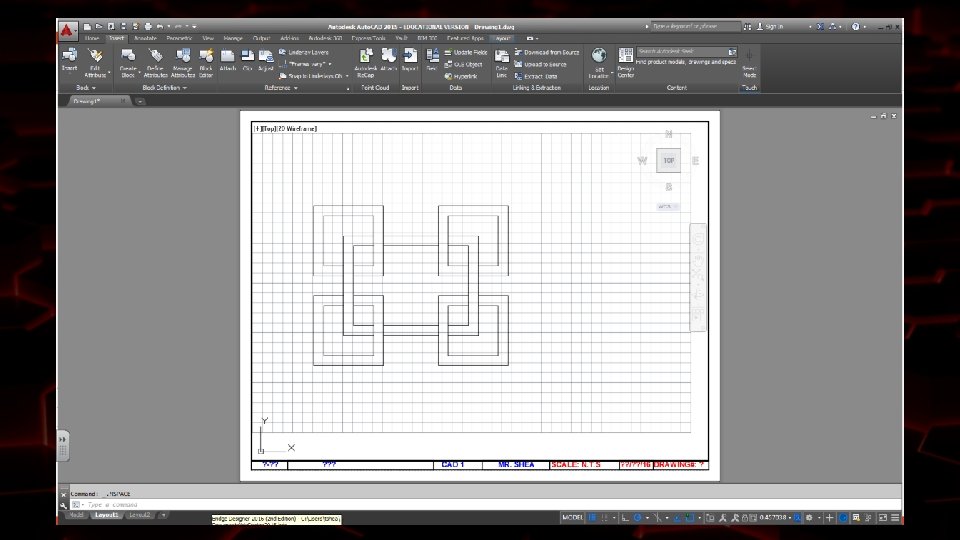
Drawing 6 Drawings represented in presentations are for reference only. Because they are pictures of the drawings you will use as reference, lines may appear cooked or skewed. Always refer to the class handouts when recreating drawings.
Drawing 7 Drawings represented in presentations are for reference only. Because they are pictures of the drawings you will use as reference, lines may appear cooked or skewed. Always refer to the class handouts when recreating drawings.
Welcome! CAD 1 – DO NOW Discuss with your tablemates what information should go in the Titleblock of an architect’s drawing? What information should go on our class drawings? Write what you come up with in your Do Now. Each table will be called upon to give one piece of information. If another table steals your answer, have a backup or two ready.
How to Correctly Insert Titleblocks into CAD drawings CAD I Mr. Shea Room 303
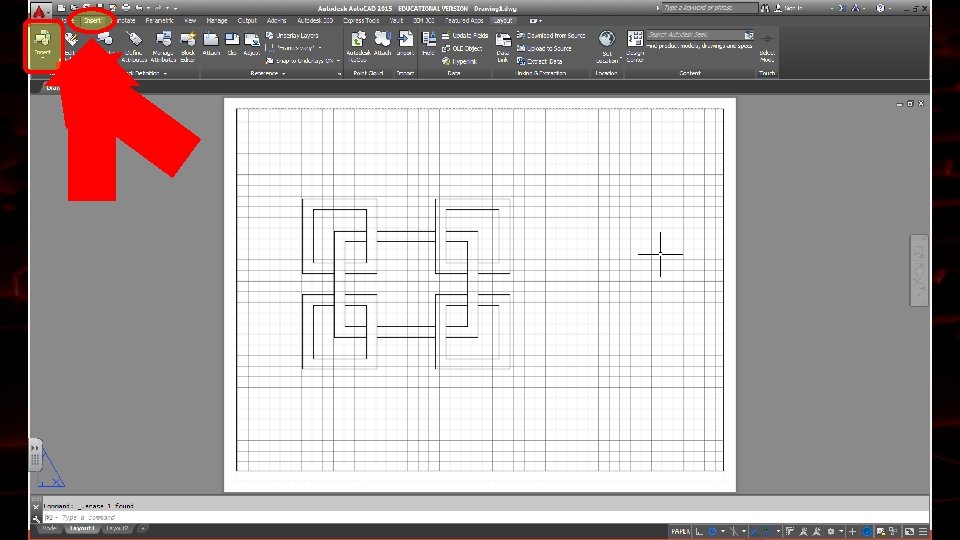
INSERTING A TITLEBLOCK 1. Click on the Layout tab at the bottom of your Workspace 2. Click on the Insert Tab at the top of the screen 3. Click on the BROWSE button 4. Browse to X: CAD and select WE - TB – 2016. dwg 5. Make sure the Insertion Point is 0, 0, 0 6. Make sure the Scale is 1, 1, 1 7. Click the OK button
INSERTING A TITLEBLOCK 1. Click on the Layout tab at the bottom of your Workspace 2. Click on the Insert Tab at the top of the screen the INSERT button (or type INSERT) 3. Click on the BROWSE button 4. Browse to X: CAD and select WE - TB – 2016. dwg 5. Make sure the Insertion Point is 0, 0, 0 6. Make sure the Scale is 1, 1, 1 7. Click the OK button
INSERTING A TITLEBLOCK 1. Click on the Layout tab at the bottom of your Workspace 2. Click on the Insert Tab at the top of the screen the INSERT button (or type INSERT) 3. Click on the BROWSE button 4. Browse to X: CAD and select WE - TB – 2016. dwg 5. Make sure the Insertion Point is 0, 0, 0 6. Make sure the Scale is 1, 1, 1 7. Click the OK button
INSERTING A TITLEBLOCK 1. Click on the Layout tab at the bottom of your Workspace 2. Click on the Insert Tab at the top of the screen the INSERT button (or type INSERT) 3. Click on the BROWSE button 4. Browse to X: CAD and select WE - TB – 2016. dwg 5. Make sure the Insertion Point is 0, 0, 0 6. Make sure the Scale is 1, 1, 1 7. Click the OK button
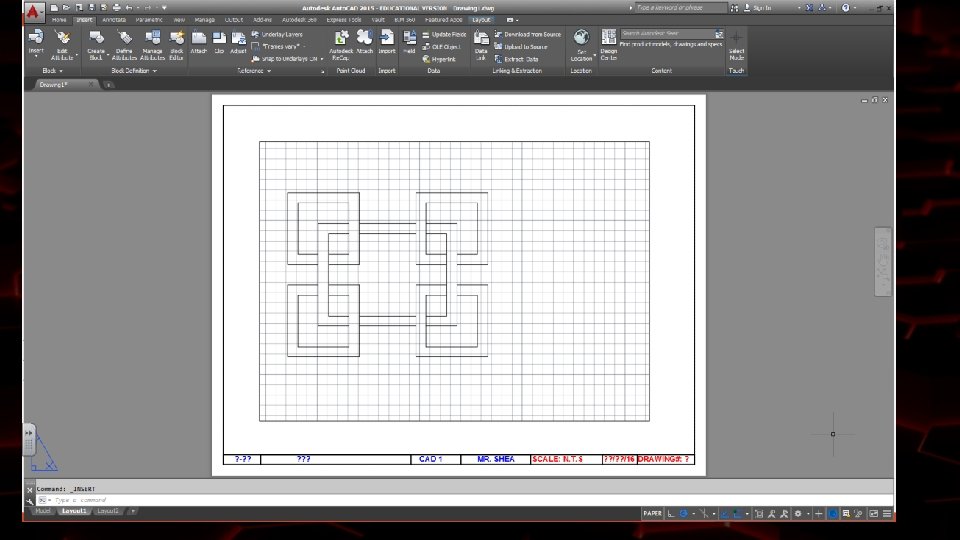
INSERTING A TITLEBLOCK 6. Make sure the Insertion Point is 0, 0, 0 7. Make sure the Scale is 1, 1, 1 8. Click the OK button
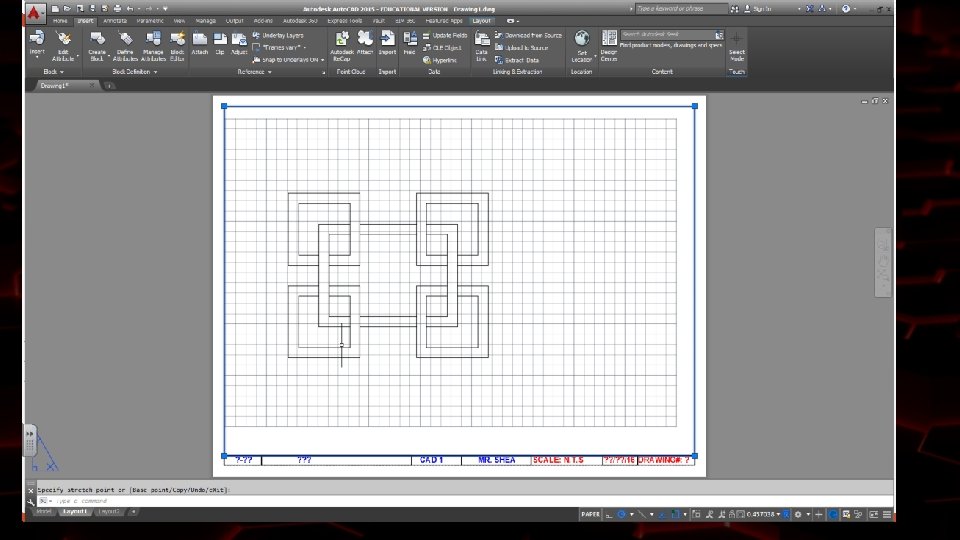
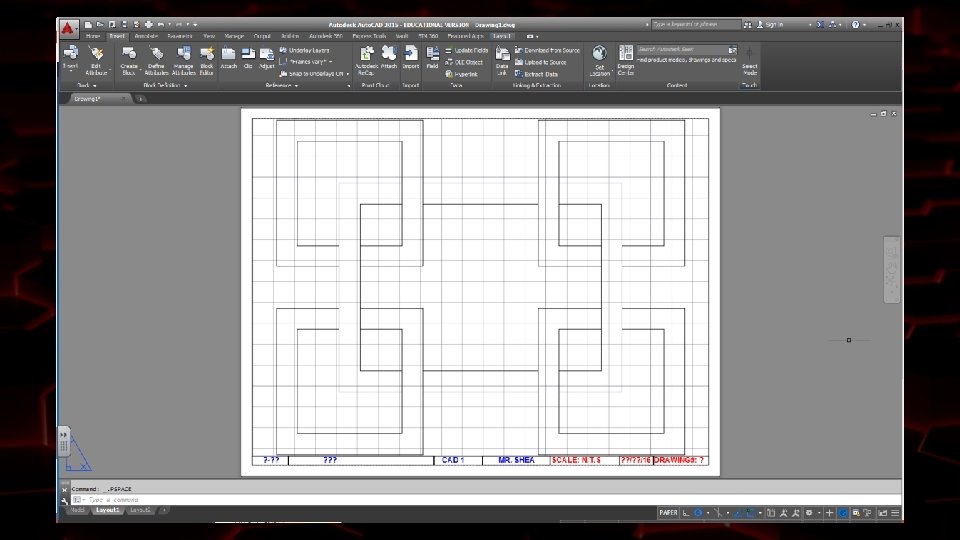
INSERTING A TITLEBLOCK 9. Stretch the viewport to the drawing area of the Titleblock. 10. Click on the PAPER tab next to the Drawing Aid toolbar to work within the Viewport. 11. Zoom Extents (Z + [Enter] + E +[Enter]) 12. Click on the MODEL tab to go back into Paper space 13. Print the drawing using the same procedure as before.
INSERTING A TITLEBLOCK 9. Stretch the viewport to the drawing area of the Titleblock. 10. Click on the PAPER tab next to the Drawing Aid toolbar to work within the Viewport. 11. Zoom Extents (Z + [Enter] + E +[Enter]) 12. Click on the MODEL tab to go back into Paper space 13. Print the drawing using the same procedure as before.
INSERTING A TITLEBLOCK 9. Stretch the viewport to the drawing area of the Titleblock. 10. Click on the PAPER tab next to the Drawing Aid toolbar to work within the Viewport. 11. Zoom Extents (Z + [Enter] + E +[Enter]) 12. Click on the MODEL tab to go back into Paper space 13. Print the drawing using the same procedure as before.
Going forward, (Drawing 8 and after) it is UNACCEPTABLE to hand in your drawing without the appropriate titleblock. Points will be deducted.
Drawing 8 Drawings represented in presentations are for reference only. Because they are pictures of the drawings you will use as reference, lines may appear cooked or skewed. Always refer to the class handouts when recreating drawings.