Digital Images Copyright William Rowan 2007 Objective By

Digital Images © Copyright William Rowan 2007

Objective By the end of this you will be able to: • Capture images using a range of media (i. e. Cameras, scanners, screen capture, Internet) Image source: Microsoft Clipart Online

Screen Capture • Screen capture acts as a camera that will take a picture of anything that is on the screen of your computer Image source: http: //www. seoconsultants. com/windows/keyboard/

Screen Capture • To use Screen Capture you can press the button labelled “Print Screen” (as shown on the previous slide) • On laptops the button is labelled “Prt. Sc” • This button is usually located next to the “Pause Break” button

Screen Capture • When you press the “Print Screen” button it will take a picture of everything that is on you computer screen at that time and copy it to the clipboard • The clipboard is an invisible holding area for the copied image

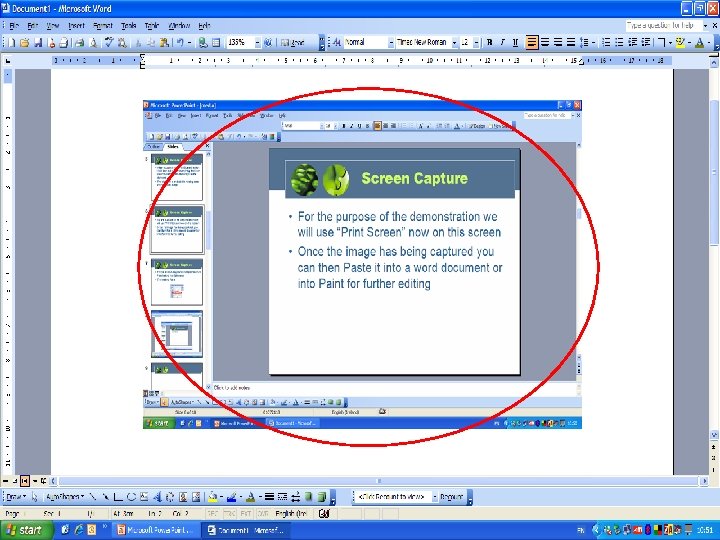
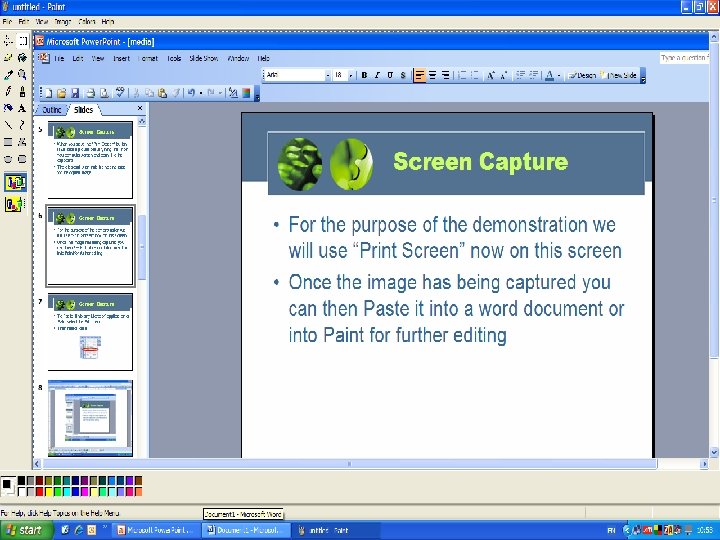
Screen Capture • For the purpose of the demonstration we will use “Print Screen” now on this screen • Once the image has being captured you can then paste it into a word document or into Paint for further editing

Screen Capture • To paste it into any Microsoft application or Paint select the “Edit” menu • Then select “Paste” or press Ctrl +V

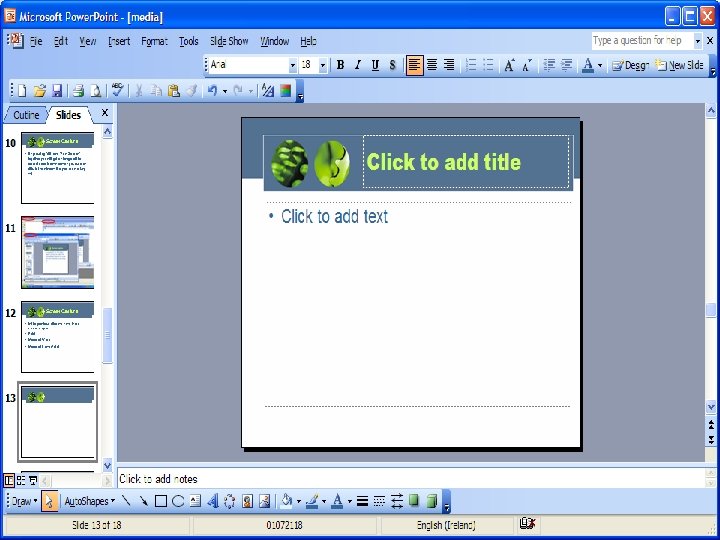
Screen Capture • By pressing “Alt” and “Print Screen” together you will get an image of the current selected window on your screen (this is the window that you are working on) Image source: http: //www. seoconsultants. com/windows/keyboard/
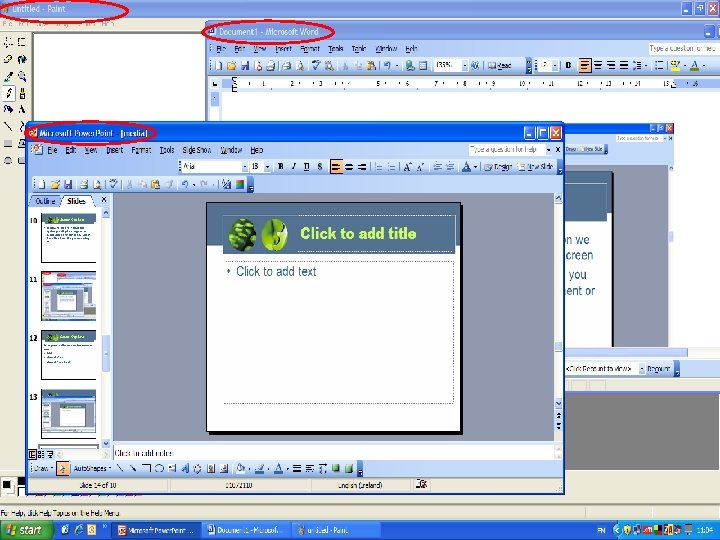

Screen Capture In the previous slide we have three windows open • Paint • Microsoft Word • Microsoft Power. Point As can be seen when we press “Print Screen” we get an image with all three windows but when “Alt” and “Print Screen” is pressed only one window is copied i. e. Power. Point

Internet • How to save an image from the Web to your computer is covered in the presentation called downloading

Internet • You don’t always need to save the image to your computer you can insert directly into an ICT package if desired

Internet How is this done? • When you find an image on a webpage that you want to insert into a Microsoft Word document for example right click on that image

Internet • Select “Copy” on the menu • This will copy the image to the computers clipboard Image source: http: //electronics. howstuffworks. com/ipod. htm

Internet • When you open up your ICT package such as Microsoft Word, Power. Point or Excel use the “Edit” Menu to paste the image into the document

Internet • On the “Edit” menu select “Paste” or • Ctrl +V

Internet

Paste Special • Another option to “Paste” is “Paste Special” • To use this select it in the “Edit” menu

Paste Special • This will open up a new dialog box which will give you options on what format you want to insert your image as

Paste Special • When you have pasted the image into the document you can “Cut” (Ctrl +X) it again and use the “Paste Special” function again • This will now give you more formats to paste your image in as opposed to the initial formats when you used “Paste Special” once

Paste Special

Scanners • A scanner is a device that will allow you to scan an image to your computer or a document Image source: http: //shop 2 udrop. us/Product. Image%5 CProdlarger 1055048. jpg Image source: http: //www. fiver. si/@upload/racunalnistvo/Scaner. jpg Image source: http: //www. bris. ac. uk/hci/images/multifn. jpg

Scanners • The scanner shown below is called a Flatbed scanner Image source: http: //www. ksoft. cz/magazin/images/scaner. jpg Image source: http: //ec 1. images-amazon. com/images/P/B 0002 ICEBS. 01. _AA 280_SCLZZZZZZZ_. jpg

Scanners • This device shown below is what we call an All in One Printer • It allows you to: – Print – Copy (like a photocopier) – Scan Image source: http: //dell. merlion. ru/data/products/peripherial/jetsublim-printers/dell-922 -photo_v 1. jpg

Scanners How to scan an image to a Document e. g. Microsoft Word? • Open up Microsoft Word • Ensure your scanner is connected to the computer

Scanners • Click on the “Insert” menu in Microsoft Word • Select “Picture” and then “From Scanner or Camera”

Scanners • The dialog box below will appear

Scanners • In the drop down menu under “Device” select the scanning device you will use to scan the image i. e. the name of the device

Scanners • There are two options for Resolution • Web Quality- this is used if you are scanning your image to be used on a website or for a presentation • Print Quality- if you are planning on printing the image for a report then this is the option that should be selected

Scanners • Click “Insert” and the scanner will scan the image into the document • Once the image is scanned into the document you can edit it e. g. crop, rotate

Digital Cameras Image source: http: //www. haimei. com/digital_camera/images/mini-digital-camera-he 513 -size. jpg Image source: http: //www. aeonity. com/images/store/free-digital-camera-3. jpg Image source: http: //www. fototeo. ro/images/olympus-camedia-c 310 -. jpg Image source: http: //www. image-acquire. com/images/l 4. jpg

Digital Cameras • A digital camera is one that does not contain a film • Instead of the film there is a memory card to which the pictures are stored Image source: http: //photography. qj. net/uploads/articles_module/60712/memorycard_qjgenth. jpg

Digital Cameras Advantages: • Images stored on card and can then be transferred to your computer • Once the images are viewed or transferred to the computer they can be deleted and the card can be reused

Digital Cameras When you are taking a picture consider the following: • Have plenty of light • Use a tripod of necessary • Keep it simple Image source: http: //www. alkenmrs. com/digital-photography/digital-camera-tripod. jpg

Digital Cameras • Chose an appropriate background

Digital Cameras • Use an infinite horizon

Digital Cameras

Digital Cameras The rule of thirds • The area surrounded by the circular points is the area of focus and interest for the viewer

Digital Cameras

Digital Cameras Transferring the images to the computer • For this you will need one of the following: Card reader USB cable Image source: http: //www. planet. nl/upload/774904_340_1075738812741 -cardreader. jpg Image source: http: //ec 3. images-amazon. com/images/P/B 0000 XK 7 IW. 01 -A 1 Z 3 I 81 XEZYGWA. _AA 193_SCLZZZZZZZ_. jpg

Digital Cameras Card Reader • The card reader is connected to your computer • Insert the memory card from the camera into the slot • Note the Card reader may be connected to your computer by a USB lead or it may be integrated into the computer it self

Digital Cameras Card Slots Image source: http: //www. lexar. com/photokina/Multi_Card_reader. jpg

Digital Cameras USB cable • With the USB cable one end is connected to the camera and other to the computer Connected to camera Image source: http: //i 24. ebayimg. com/05/i/08/2 a/97/3 b_1_b. JPG

Digital Cameras • To download the pictures from the card reader or the camera you need to connect the USB lead to the USB port on your computer Image source: http: //i 24. ebayimg. com/05/i/08/2 a/97/3 b_1_b. JPG

Digital Cameras • If your card reader is integrated into your computer or laptop just insert the card into the slot as you would with a card reader

Digital Cameras • When the card reader or camera is connected the following dialog box will appear

Digital Cameras • This gives you a list of possible options that you can do • To transfer the images to your computer select “Open folder to view files” • This will open the new window

Digital Cameras

Digital Cameras • In this there is a folder called DCIM which is common to all digital camera memory cards • Open this folder

Digital Cameras • Inside in this folder is another folder • Its name is usually associated with the card/ camera type

Digital Cameras • This folder contains all the images stored on your card • You can view these images in different ways by selecting the “View” menu and then selecting the appropriate view

Digital Cameras • To copy these images to your computer you can copy the folder as described in the presentation : “file_management_and_organisation” • Once this is done you can delete the images that you no longer require

Digital Cameras • Before you remove the card or USB lead you must complete the necessary steps to do so: • Double click on the “Safely Remove Hardware” icon at the bottom right of your task bar

Digital Cameras • A new dialog box appears with the names of the devices that you have connected to your computer • To remove/ eject it simply click on the name of the device and click “Stop” • In the next dialog box that appears click on “OK”

Digital Cameras

Digital Cameras • Once the device is safe to remove you will see the following notice appear • Once this appears you now remove the device

Now you try! • In groups of three/ four create a brochure using the title of “Sporting facilities in my school” • You should try and include as many images as possible in the brochure and you should also try to use the four methods of digital images discussed in this presentation
- Slides: 61