Destructive Examination Testing Destructive Examination Destructive Examination renders


- Slides: 33

Destructive Examination & Testing

Destructive Examination • Destructive Examination renders the weld or material unfit for further service.

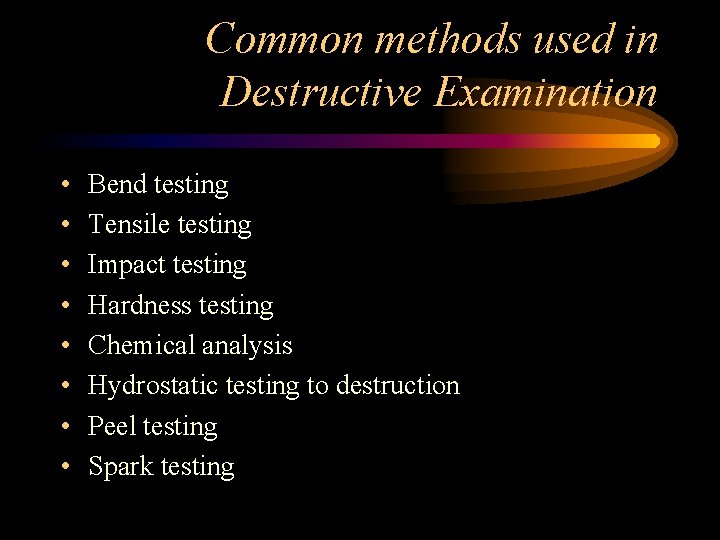
Common methods used in Destructive Examination • • Bend testing Tensile testing Impact testing Hardness testing Chemical analysis Hydrostatic testing to destruction Peel testing Spark testing

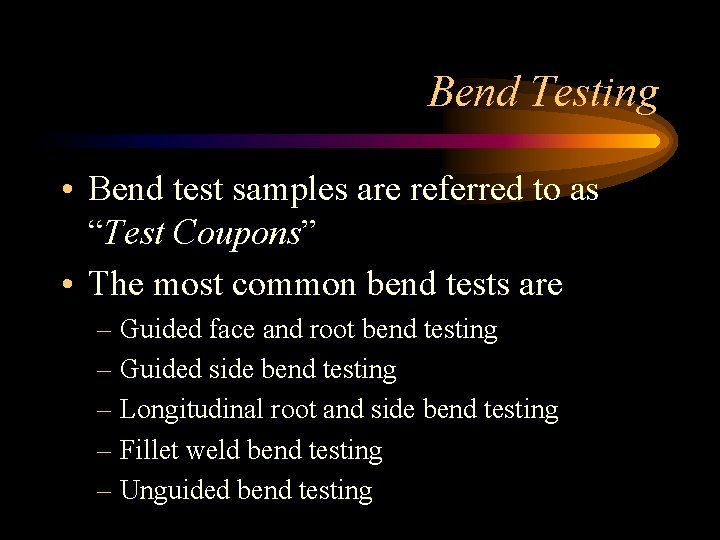
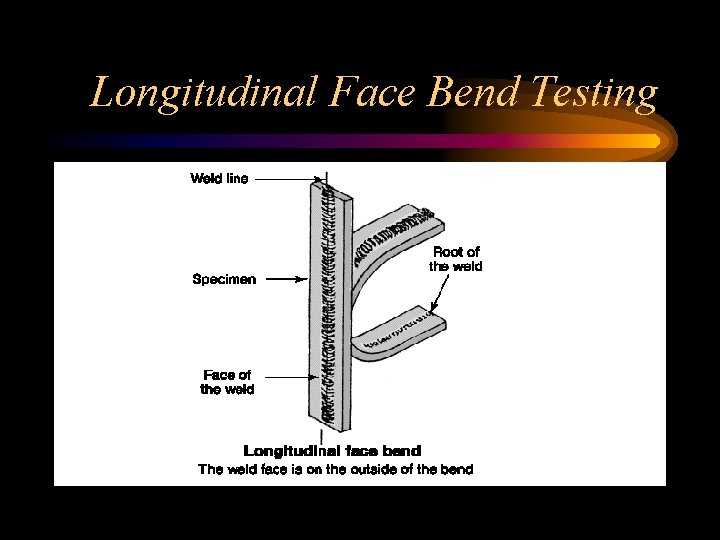
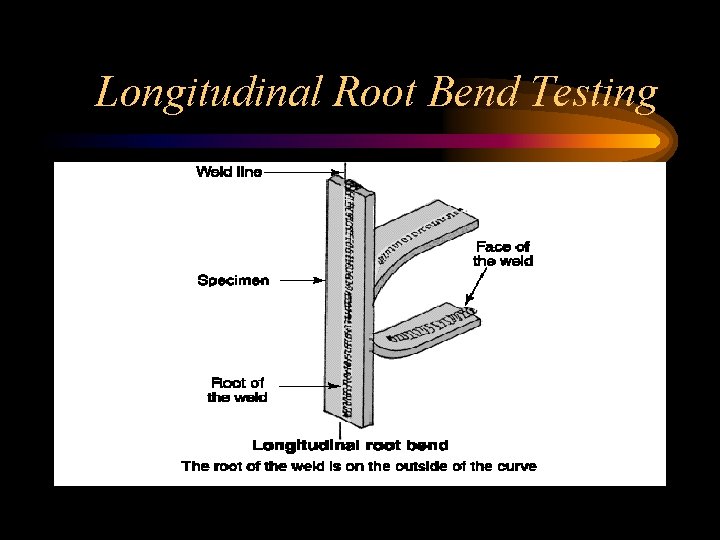
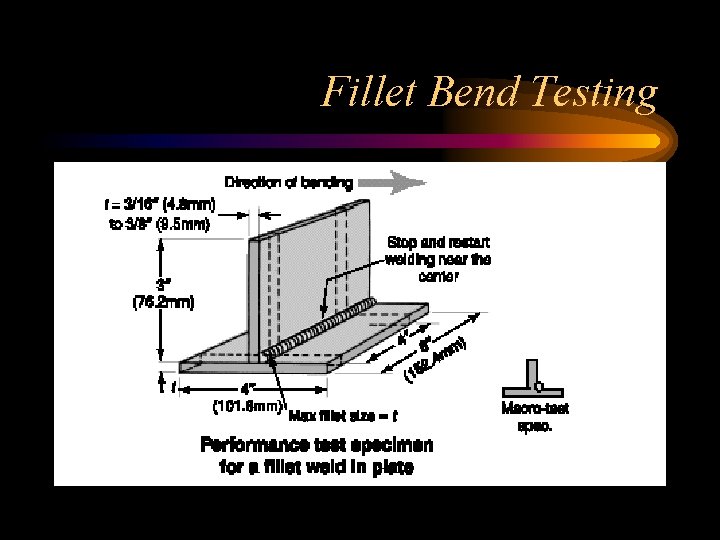
Bend Testing • Bend test samples are referred to as “Test Coupons” • The most common bend tests are – Guided face and root bend testing – Guided side bend testing – Longitudinal root and side bend testing – Fillet weld bend testing – Unguided bend testing

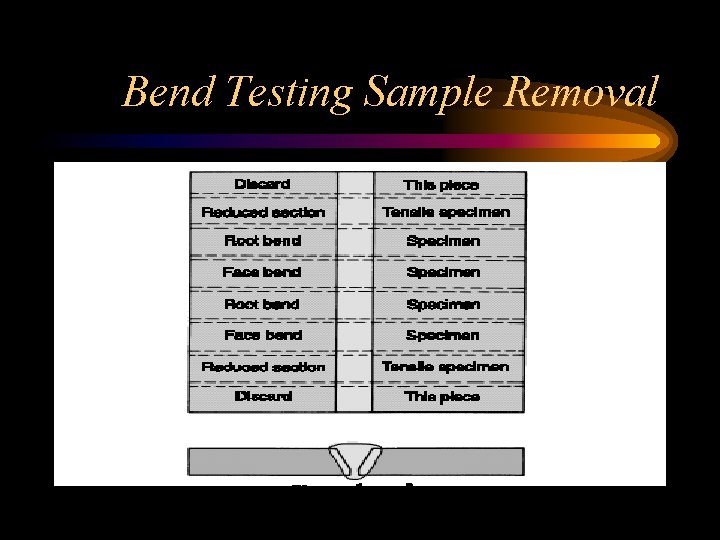
Bend Testing Sample Removal

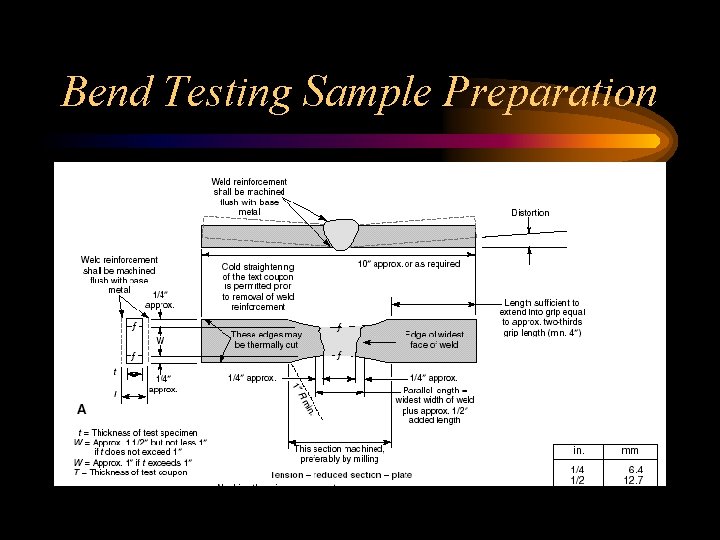
Bend Testing Sample Preparation

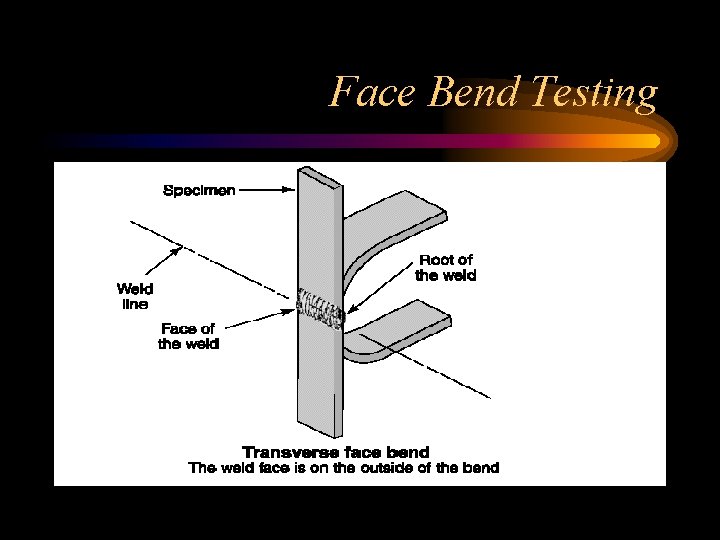
Face Bend Testing

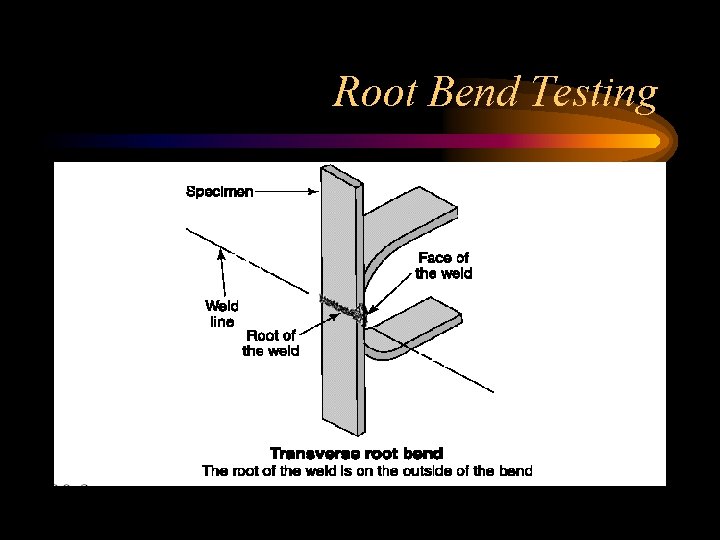
Root Bend Testing

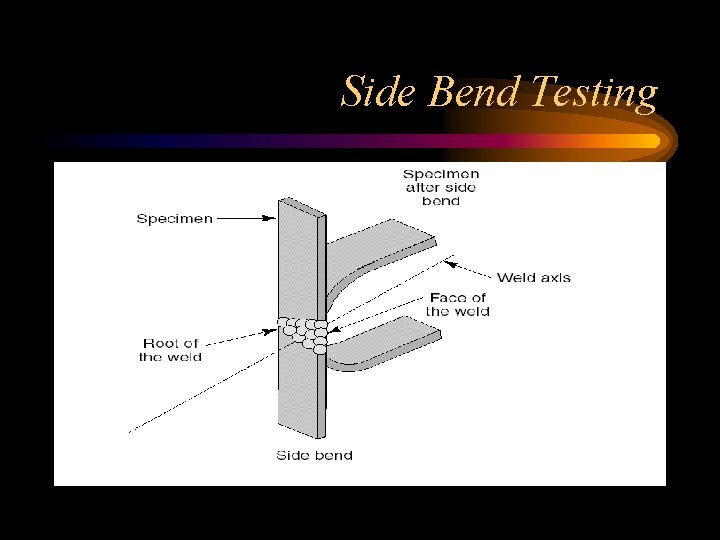
Side Bend Testing

Longitudinal Face Bend Testing

Longitudinal Root Bend Testing

Fillet Bend Testing

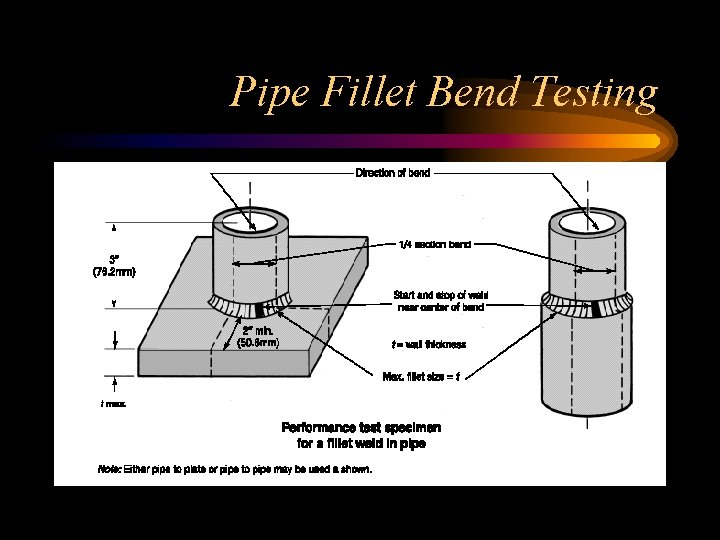
Pipe Fillet Bend Testing

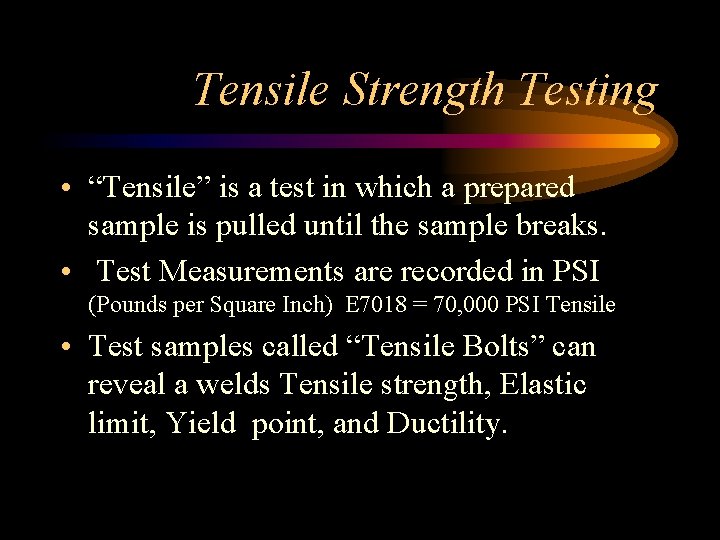
Tensile Strength Testing • “Tensile” is a test in which a prepared sample is pulled until the sample breaks. • Test Measurements are recorded in PSI (Pounds per Square Inch) E 7018 = 70, 000 PSI Tensile • Test samples called “Tensile Bolts” can reveal a welds Tensile strength, Elastic limit, Yield point, and Ductility.

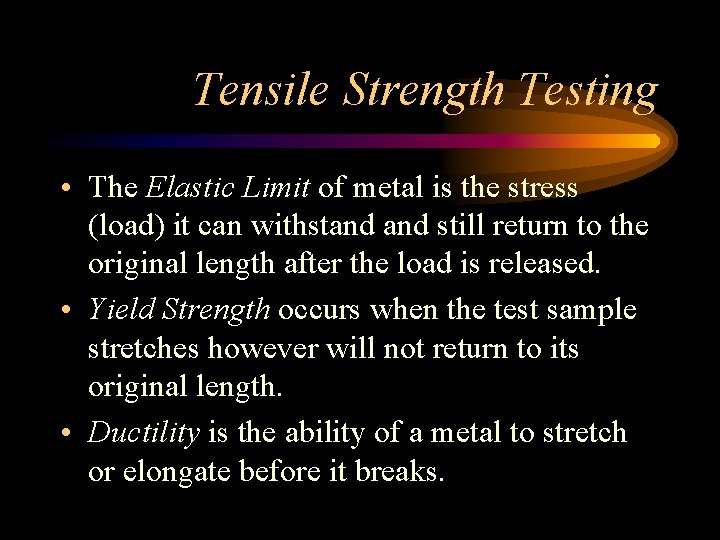
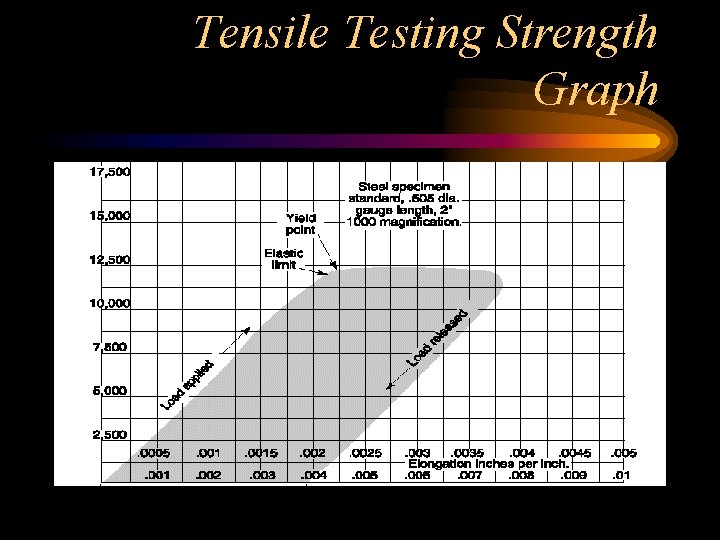
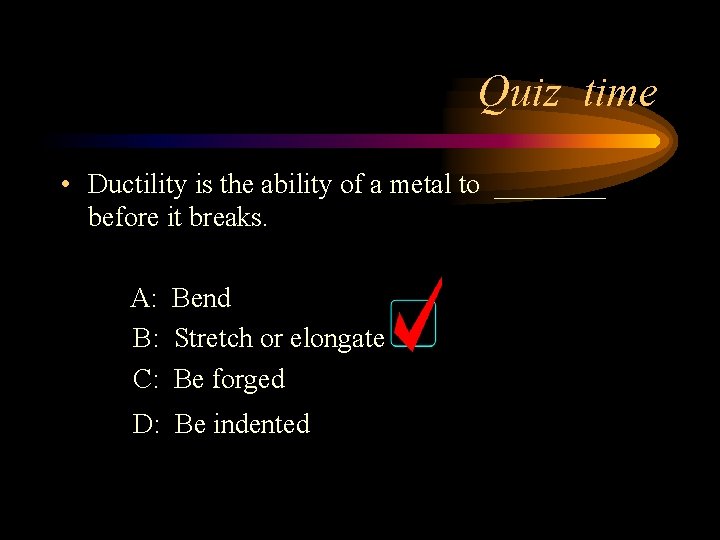
Tensile Strength Testing • The Elastic Limit of metal is the stress (load) it can withstand still return to the original length after the load is released. • Yield Strength occurs when the test sample stretches however will not return to its original length. • Ductility is the ability of a metal to stretch or elongate before it breaks.

Tensile Testing Strength Graph

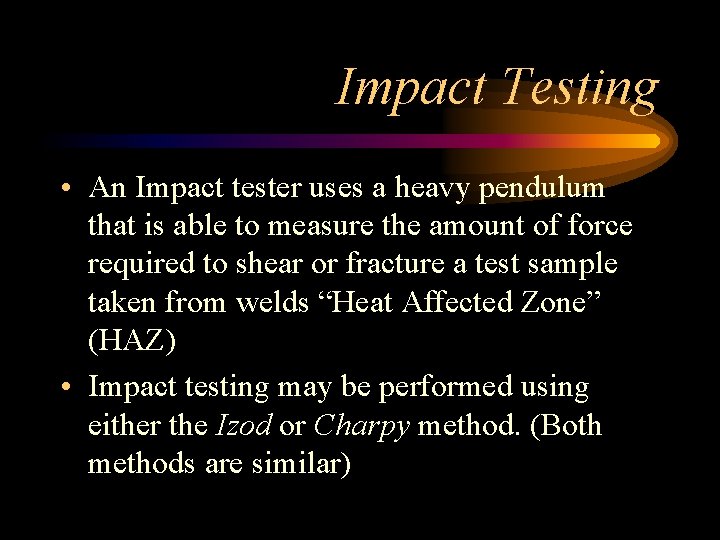
Impact Testing • An Impact tester uses a heavy pendulum that is able to measure the amount of force required to shear or fracture a test sample taken from welds “Heat Affected Zone” (HAZ) • Impact testing may be performed using either the Izod or Charpy method. (Both methods are similar)

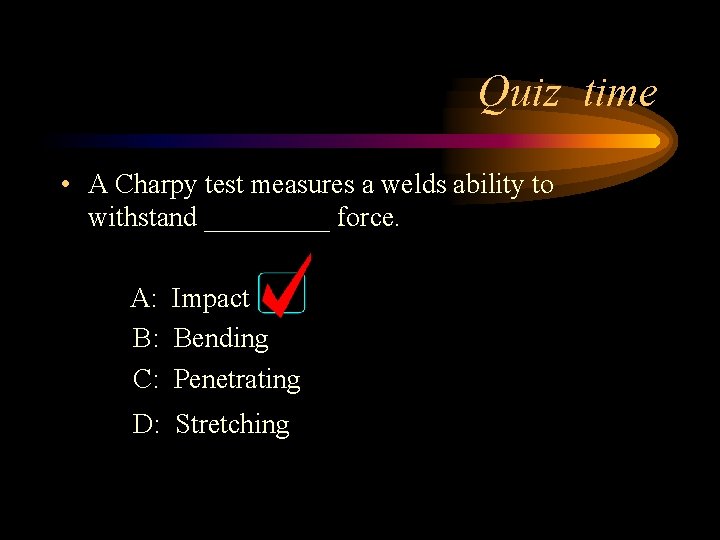
Impact Testing • A Charpy or Izod test measures the welds ability to withstand an Impact force. • Low Charpy test readings indicate brittle weld metal • Higher Charpy readings indicate the samples toughness.

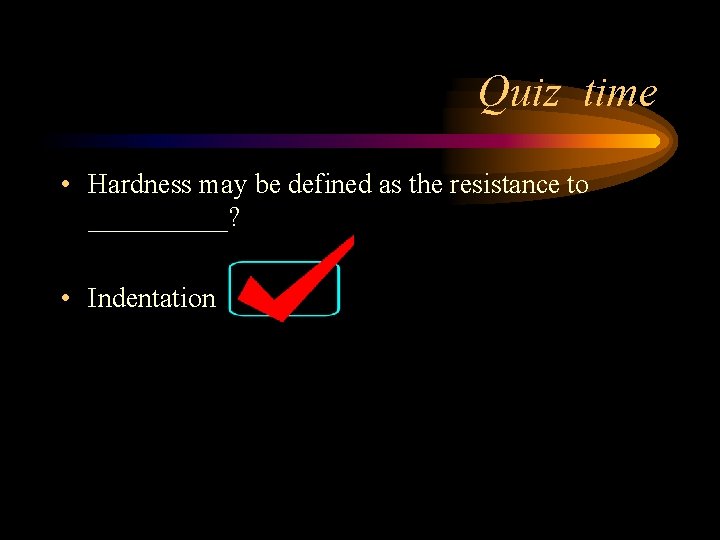
Hardness testing • Hardness may be defined as the resistance to permanent indentation. • Three common hardness measuring tests are – Rockwell test – Scleroscope test – Brinell – Microhardness test

Hardness testing • The Rockwell testing machine operates somewhat like a press, using a indenter to penetrate the surface of the test sample. • The depth of the indentation determines the materials hardness on a scale of 0 -100

Hardness testing • The Sceleroscpoe testing machine measures the amount “bounce” that a diamond tip hammer rebounds off the test sample after being dropped. • The Brinell method presses the “indenter” into a sample for a given period of time. • The ability for the sample to resist indentation determines hardness.

Hardness testing • Microhardness testers allow you to measure a materials hardness while leaving the least amount of damage possible on the metals surface. • After the indenter is used a powerful microscope is used to determine the amount of indentation into the components surface.

Chemical Analysis • Chemical analysis is used in metallurgical laboratories to determine the metals grain and crystalline structures. • Samples are then place under a high power microscope to view the results. • This is referred to as “Metalography”

Hydrostatic Testing to Destruction • Pressure testing or leak testing can be performed with either gasses or liquids. • When this pressure exceeds the limitations of the structures design it will rupture under force. • This rupture will allow engineers to understand the welds weakest areas.

Peel testing • Lap joints may be tested to destruction using a Peel test. • Peel testing is most commonly used to check the strength of resistance spot welds or stud weld • Spot weld peel tests are considered successful when the spot weld nugget is torn out of the test sample pieces in tact.

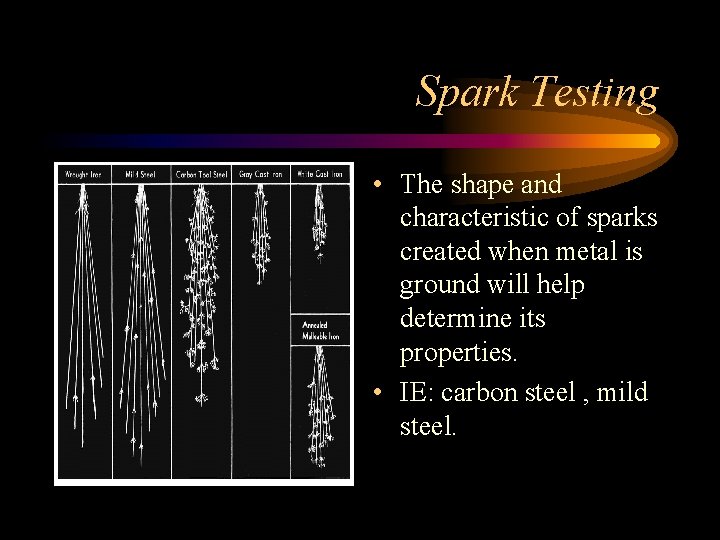
Spark Testing • The shape and characteristic of sparks created when metal is ground will help determine its properties. • IE: carbon steel , mild steel.

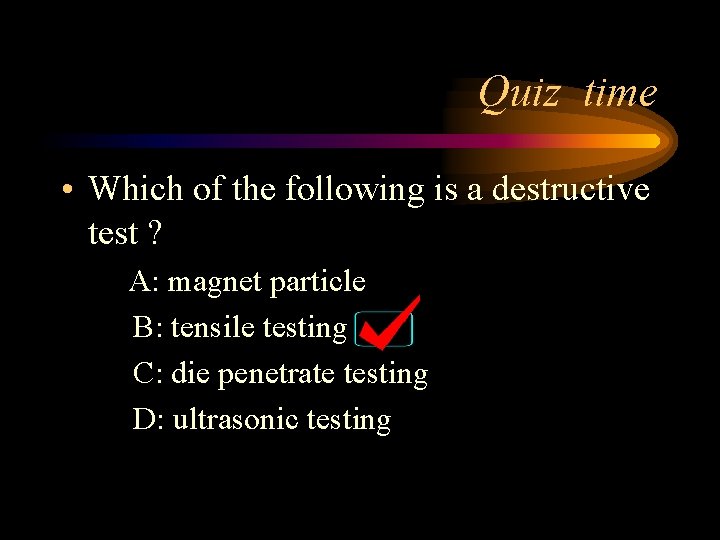
Quiz time • Which of the following is a destructive test ? A: magnet particle B: tensile testing C: die penetrate testing D: ultrasonic testing

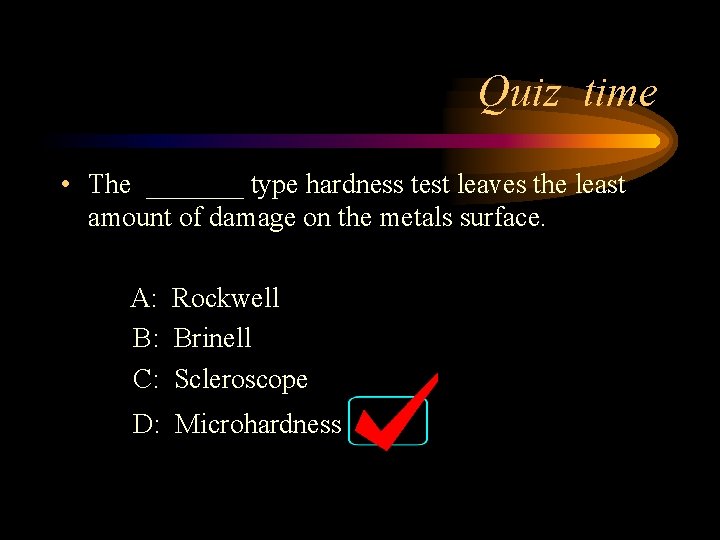
Quiz time • The _______ type hardness test leaves the least amount of damage on the metals surface. A: Rockwell B: Brinell C: Scleroscope D: Microhardness

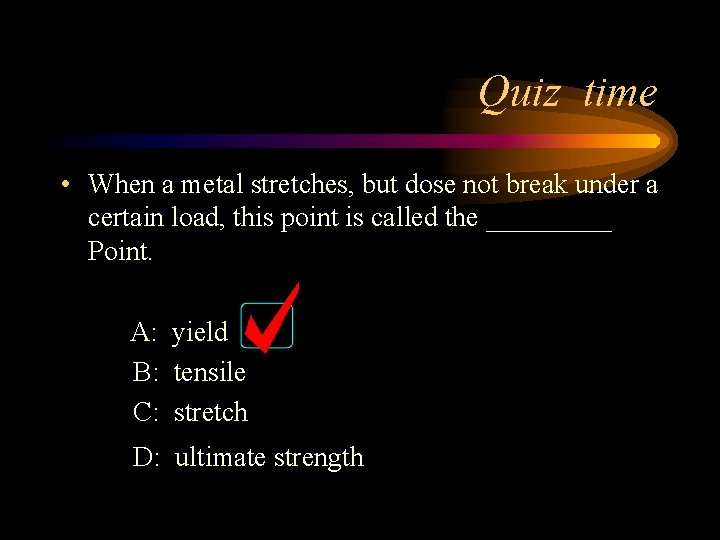
Quiz time • When a metal stretches, but dose not break under a certain load, this point is called the _____ Point. A: yield B: tensile C: stretch D: ultimate strength

Quiz time • Ductility is the ability of a metal to ____ before it breaks. A: Bend B: Stretch or elongate C: Be forged D: Be indented

Quiz time • A Charpy test measures a welds ability to withstand _____ force. A: Impact B: Bending C: Penetrating D: Stretching

Quiz time • Hardness may be defined as the resistance to _____? • Indentation

Modern Welding York County School of Technology