Converting 2 D to 3 D drawings Drawing


- Slides: 49
Converting 2 D to 3 D drawings Drawing products you want to design in 3 D can be a difficult. A strategy that can help with this is called oblique drawing. Illustrations by A. King
Converting 2 D to 3 D drawings A few key things to consider when drawing from 2 D to 3 D using the oblique method. 0 degrees 1. All horizontal lines need 90 degrees to be at 90 degrees 2. All vertical lines need to be at 0 degrees. 3. All lines going back (receding) to give the appearance of depth need to be at 45 degrees
Converting 2 D to 3 D drawings In this unit of work there a number of tasks to help you draw your ideas from 2 D to 3 D using oblique drawing. It also aims to help to develop your ideas in 3 D format. Task 1 – simple 2 D shapes to 3 D in oblique format. Task 2 – shaping simple 2 D to 3 D ideas in oblique format. Task 3, 4, &5 – refining drawing skills in oblique techniques.
Task 1 - to make a simple object from 2 D to 3 D format. To enable you to draw your ideas in 3 D we are going to start with simple shapes and as you develop you skills and confidence more complex outlines. A box – 2 D In the next slides we are going to draw a 3 D box using 2 D Design programme- task 1
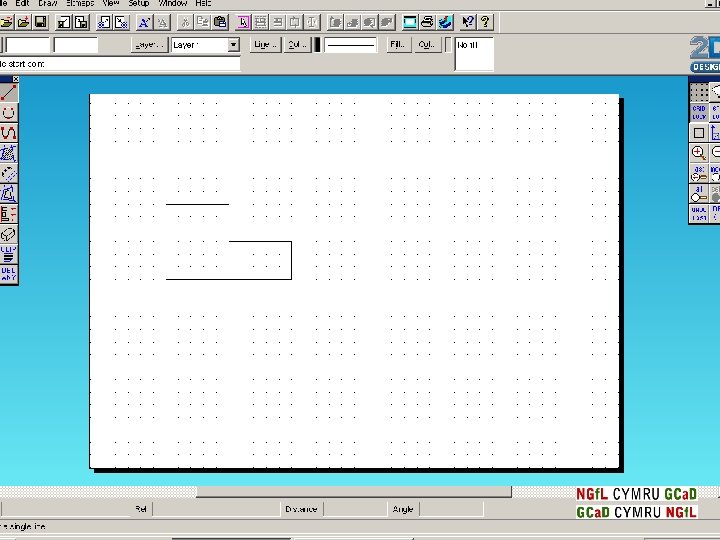
Draw a horizontal line at 90 degrees
Draw a vertical line at 0 degrees
Another horizontal line at 90 degrees
Close the 2 D box by drawing another vertical line at 0 degrees
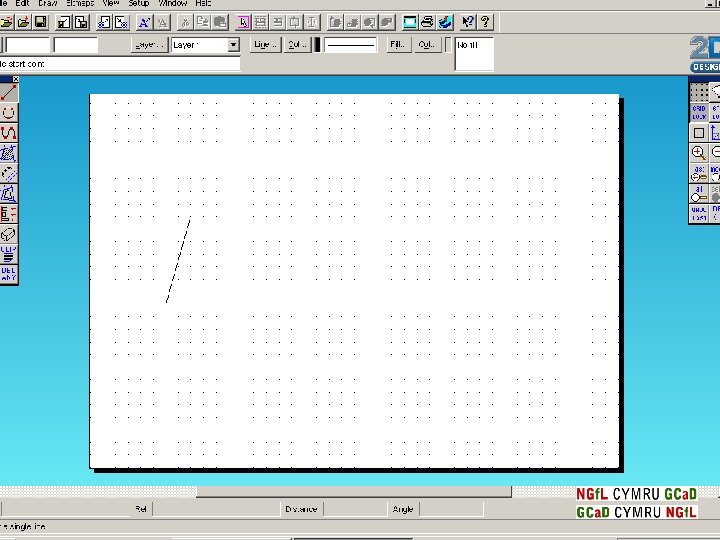
To give the box depth draw a line at the base at 45 degrees
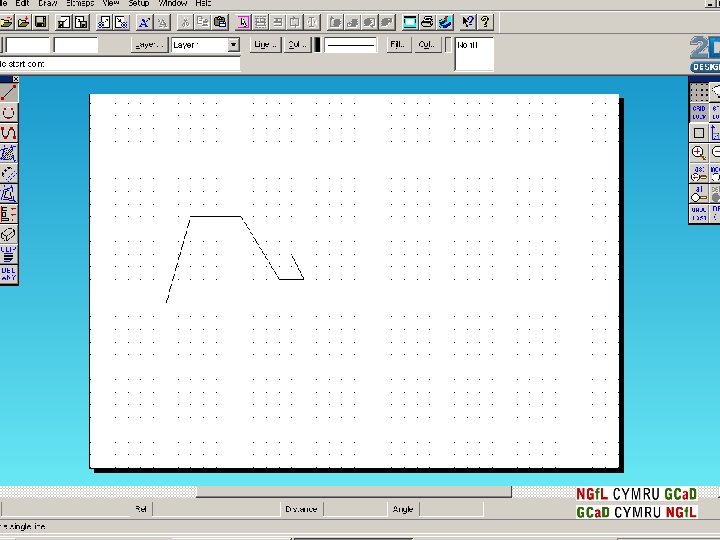
Draw another a line at the top at 45 degrees
Draw another a line at the top at 45 degrees on the other side.
Draw a horizontal line at the back to complete the box.
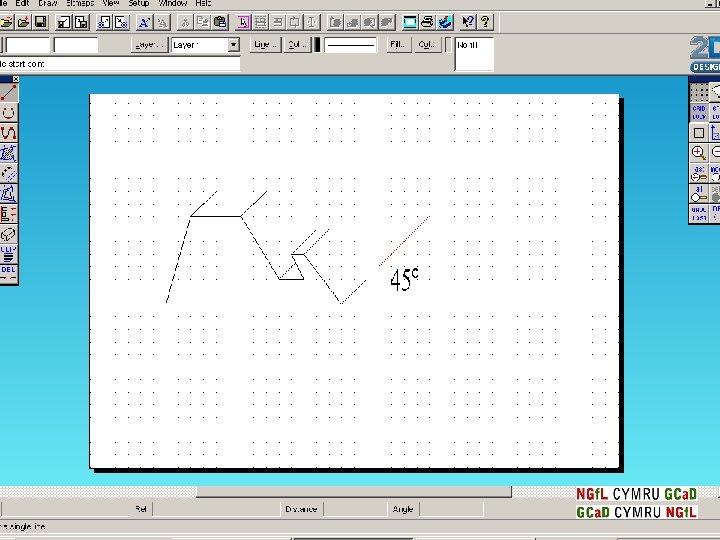
Oblique Drawing 45° Completed box in oblique format
In the next tasks we are going to apply the oblique drawing technique to other shapes. The next task is to start drawing design features for a product to hold a mobile phone holder. Illustrations by A. King
Task 2 – starting to apply design features to the mobile phone holder. Start to thinking about You canand now, how begin to where to store the phone your – remove a develop idea further, Start with a section. vertical, Lets look at. Use furthering your once you are comfortable 3 D box horizontal lines drawing skillslines insimple theand next task drawing using the oblique at 45 degrees. drawing method.
Draw a horizontal line at 90 degrees
Draw a vertical line at 0 degrees
What kind of line is drawn here?
What kind of line is drawn here?
What kind of line is drawn here?
Draw further lines at 45 degrees
Draw in the horizontal lines.
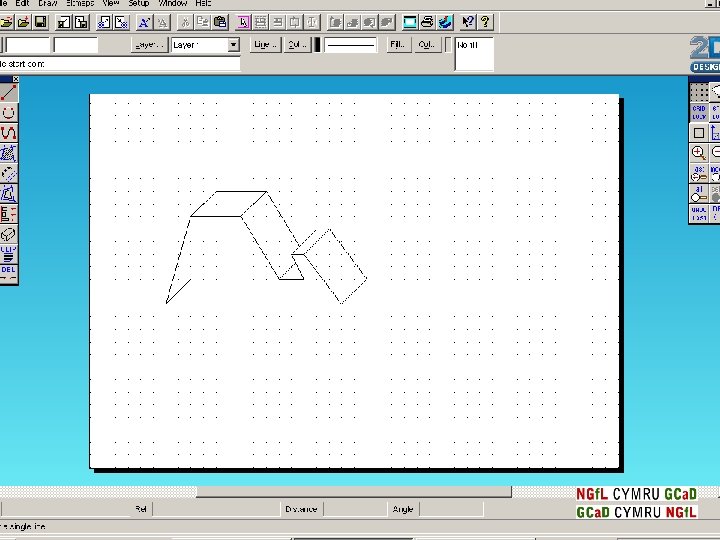
Task 3 – developing oblique drawing skills further to help you draw the design features of the mobile phone holder. Lets look at further ways to convert 2 D line drawing into 3 D shapes
Can you convert this 2 D shape to a 3 D Oblique drawing?
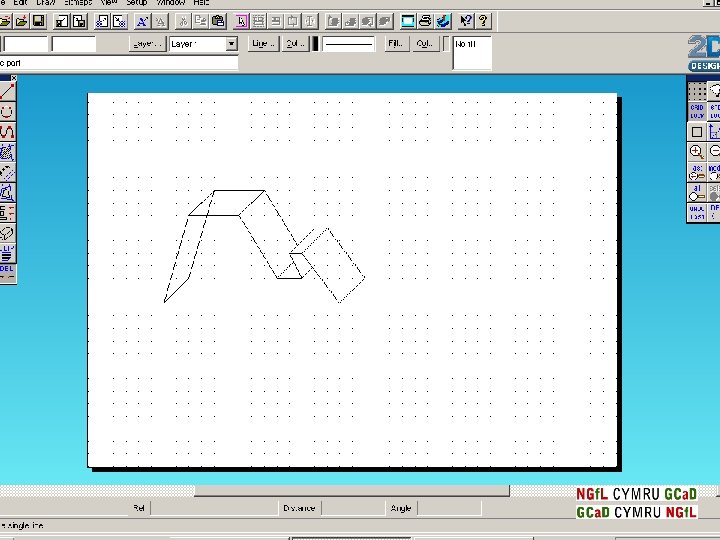
• draw lines at 45 degrees to give your depth or 3 D in the object. • draw horizontal line to complete the drawing.
Add shading added to produce a 3 D effect.
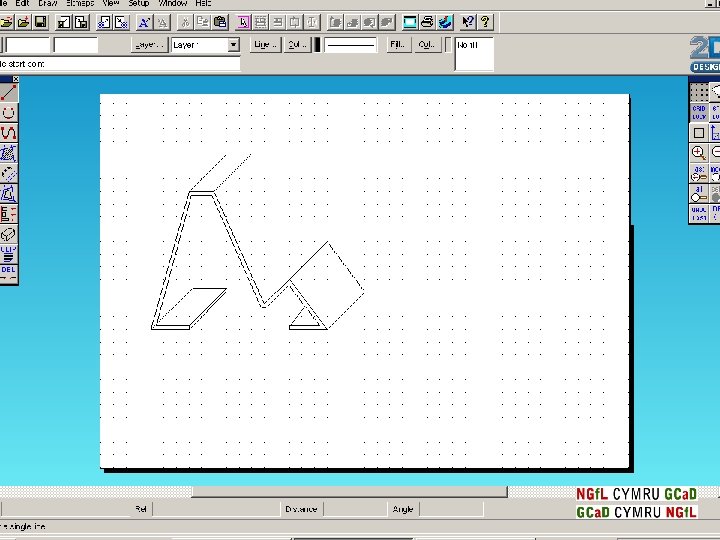
Task 4 - can you draw this idea in oblique for a mobile phone holder? or follow the steps on the next slides.
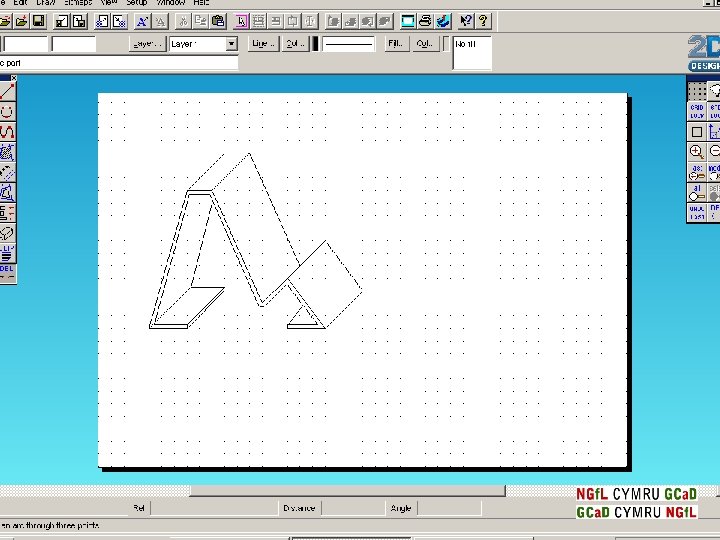
Add colour and shading to enhance the 3 D effect.
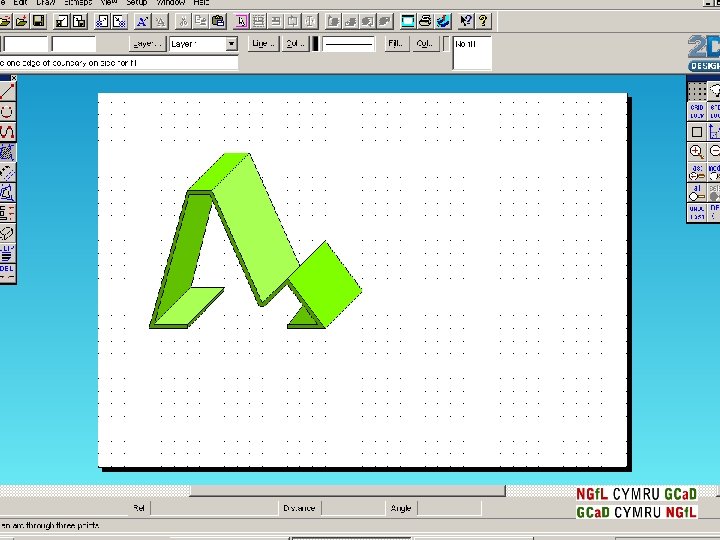
Task 5 – can you improve the design of this mobile phone holder? Draw a range of ideas, try to be innovative but remember it must be functional too.
A recap of the oblique technique