Computing 3 D Modelling Sketch Up Year One


- Slides: 16
Computing 3 D Modelling: Sketch. Up Year One Computing | Year 5 | 3 D Modelling: Sketch. Up | Detail | Lesson 2
• I can add detail to 3 D drawings. • I can use the measure tool to draw shapes. • I can use inference points to draw lines and shapes.
This week we will be adding detail to the outside of a house using some tools from the last lesson and some new tools. Watch the video Getting Started with Sketch. Up Part 2.
You can use the dimensions box in the bottom right hand corner to draw shapes the exact size you want. The dimensions box in the corner shows the dimensions of the object being drawn. Click to start drawing the rectangle. Type 10, 20 to draw a rectangle of 10 m x 20 m. Dimensions 10, 20
Here is the rectangle of size 10 m x 20 m. Use Zoom Extents to show the whole rectangle.
Create a second rectangle adjoining the first, which is 10 m x 10 m.
Use the eraser to delete the line between the two rectangles that you have drawn.
Use the Push/Pull tool to create a 3 D shape. Click to start, then type 8, press <enter> and the shape will appear at a height of 8 m.
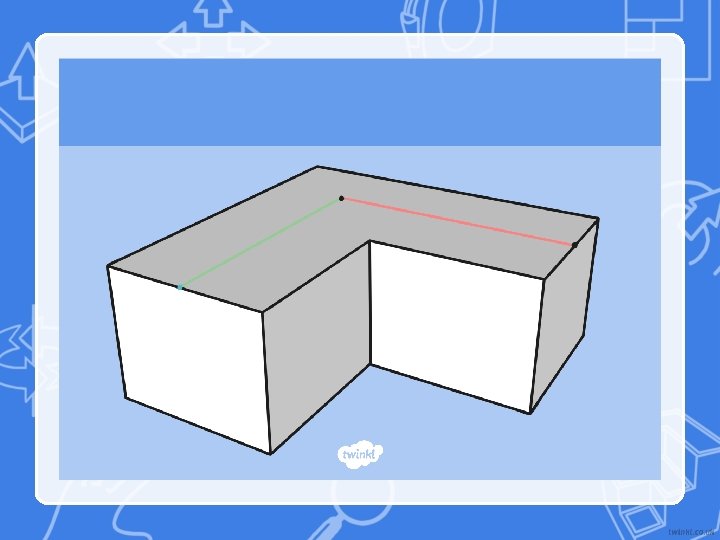
Using the Line tool, click to start a line at the midpoint of the front left top edge. Hover the midpoint of the front right top edge to create an inference point.
Holding the <ctrl> key, select both lines that need to be pulled to create the roof.
Using the Move tool, click on the join and pull up vertically.
Remember click to start drawing the shape and click to end the shape (don’t drag).
Share your 3 D drawing with a partner. What detail would you like your partner to teach you?
• I can add detail to 3 D drawings. • I can use the measure tool to draw shapes. • I can use inference points to draw lines and shapes.