Communicating across disciplines BLUEPRINT READING Introduction Blueprint in

Communicating across disciplines: BLUEPRINT READING
Introduction Blueprint (in construction)- composite of several plans assembled into a set of drawings Transmits as much info. about a project that can be placed on a 2 D view.
Introduction Blueprint reading – finding and interpreting info. placed on prints Lines Notes Symbols Schedules Transmitted to builders, engineers, craftspeople, designers, etc.
Standards American National Standards Institute (ANSI) International Organization for Standardization (ISO) Sheet sizes A size = smallest B size = C size = D size = largest
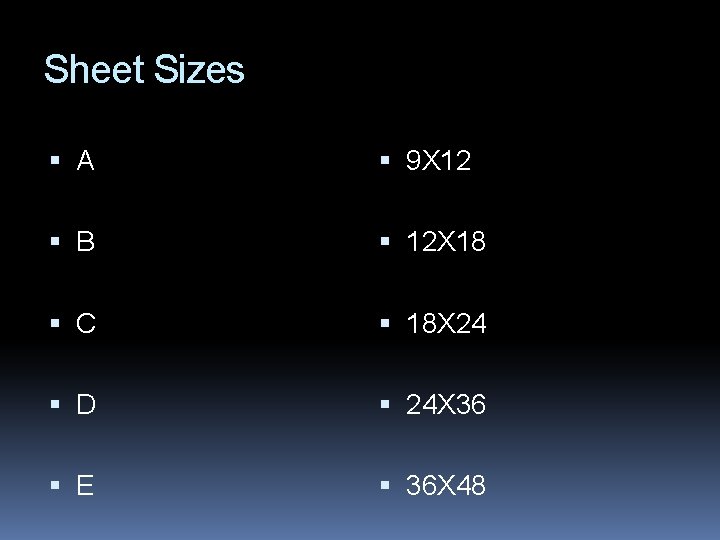
Sheet Sizes A 9 X 12 B 12 X 18 C 18 X 24 D 24 X 36 E 36 X 48
A Universal Language General Blueprint reading process: 1. Review plot plan 2. Scan architectural drawings 3. Review foundation plan 4. Review wall construction and materials used 5. Review plumbing, mechanical, and electrical 6. Check for revisions 7. Review specifications
A Universal Language Computer-aided drafting and design (CADD) has largely replaced mechanical drafting Advantages: Move, mirror, copy, rotate with ease Enlarge or reduce elements Make multiple copies Change units of measure of dimensions Change font style and size
A Universal Language Types of construction drawings: Preliminary drawings Preliminary sketches that provide a basis for communication; many alterations Presentation drawings Selling tools; proposed building is presented in an attractive setting for promotion
A Universal Language Types of construction drawings: Working drawings – serve many functions 1. means for receiving a building permit 2. competitive bidding 3. instructions for construction 4. material take-offs 5. permanent record for future use 6. form basis of contract
A Universal Language Types of construction drawings: Shop/assembly drawings Identify each component and show they fit together; size, shape, material, provisions; show details
A Universal Language Title Blocks Bottom right hand corner Name of company or org. Title of drawing Drawing number Scale Signature of drafter Drawing or sheet identification Other info. as required
A Universal Language Revision Block Drawing changes are identified and recorded Usually located on the right side of the print All revisions noted Scale Graphic representation is usually drawn to a proportion of the actual size 1/8” = 1’ is common Do not take measurements from the drawing. Use the scale.
Blueprint Scale Architectural Engineering
Architectural Scale Uses the U. S. Customary System or Standard Scale Blueprints are drawn with a particular length set to equal one foot Scales can range from 1/8 inch to 3 inches equal to 1 foot.
Engineering Scale Uses scale ratio that is a multiple of 10 Blue print can utilize either Metric or Standard System Measurements in a standard scale will be in feet and decimal parts of a foot.
English – Metric Conversions Some blueprints use a English unit scale with metric conversions This type of print is know as dual-dimensioning
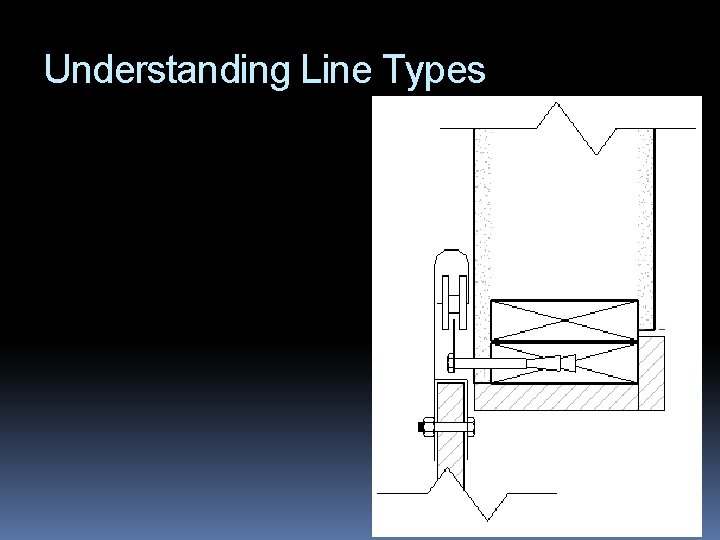
Understanding Line Types Alphabet of lines Universal language of technician, architect, & engineer Basis of all construction drawings Many different line types, thicknesses, and applications
Understanding Line Types Object lines Also known as visible lines Thick, solid lines used to define shape and size Continuous, prominent lines representing edges of surfaces Definite contrast between these lines and secondary lines _______________
Understanding Line Types Hidden lines “dashed lines” Medium, uniformly sized broken lines; evenly spaced dashes Used to show hidden surfaces (like hanging cabinets in a kitchen, backside of a part, etc. ) _____ _____
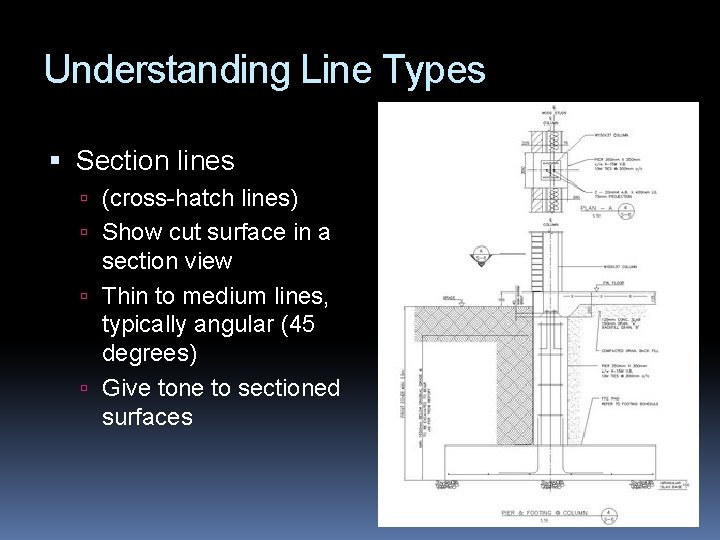
Understanding Line Types Section lines (cross-hatch lines) Show cut surface in a section view Thin to medium lines, typically angular (45 degrees) Give tone to sectioned surfaces
Understanding Line Types Center lines Light (thin) broken lines alternating long and short dashes Identify centers of symmetrical objects Colum, wall, window, etc. _____ __ _____
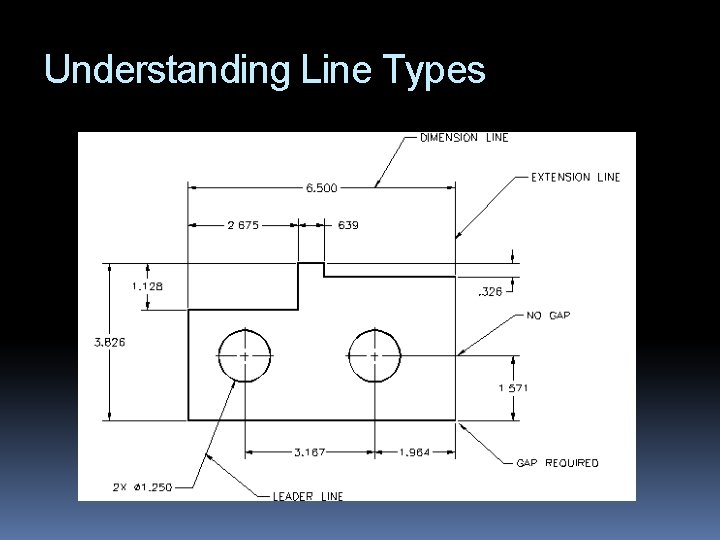
Understanding Line Types Extension lines Used in dimensioning to show size Thin, dark, solid lines Extend from an object at exact location between which dimensions are placed
Understanding Line Types
Understanding Line Types Dimension lines Solid lines used to indicate length From one extension to the next, representing distance between extension lines Further info. is given by dimensions Usually end with arrows
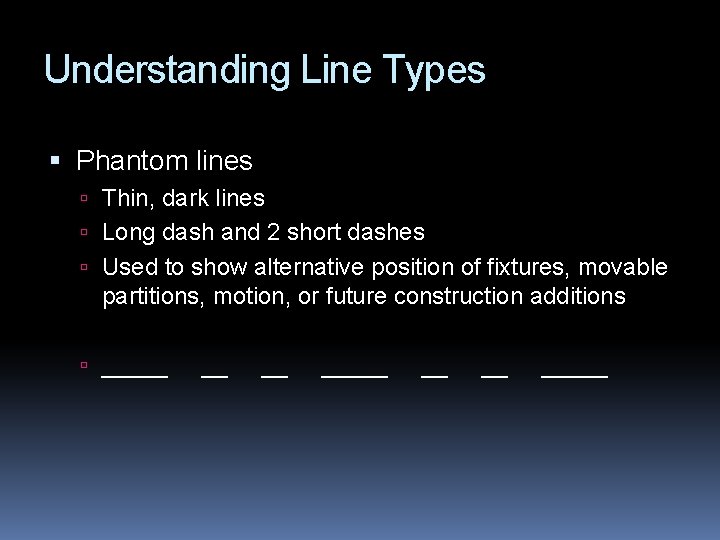
Understanding Line Types Phantom lines Thin, dark lines Long dash and 2 short dashes Used to show alternative position of fixtures, movable partitions, motion, or future construction additions _____ _____
Understanding Line Types Leader lines and arrowheads Fine lines terminating in arrowheads (usually) Relate notes or callout to a feature Often drawn at an angle
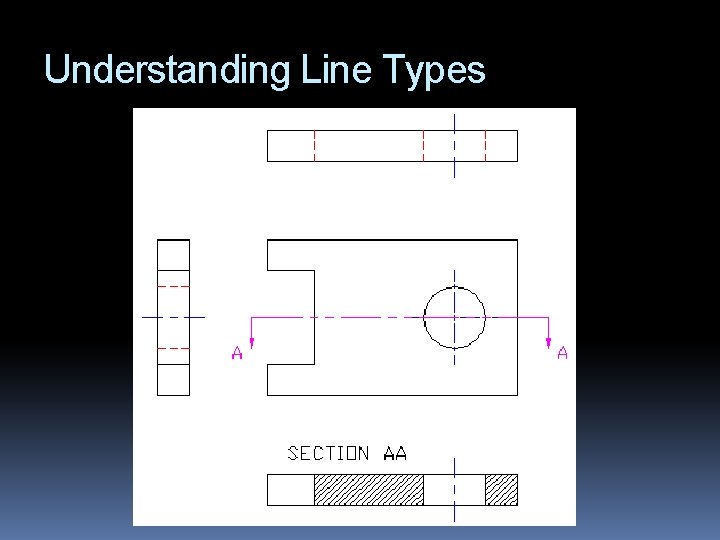
Understanding Line Types Cutting-plane and Viewing-plane lines Very prominent broken lines used to show the location of cutting planes for sectional views Arrows indicate direction in which section is observed
Understanding Line Types
Understanding Line Types Break lines Show a break or termination of a partial view Eliminate unimportant portions of details Long break lines Short break lines
Understanding Line Types
Understanding Line Types Contour lines Delineate variations in elevation Or show the exact position of a border or boundry Level = few contour lines Property lines Define boundaries of a property Heavier than other lines
Understanding Dimensions Using an architect’s scale: 2 scales on each usable surface One read left to right, one right to left A scale is usually half or double the scale its paired with 1/8” scale: 1/8” = 1’ of actual size ¼” scale: ¼” = 1’ of actual size Etc.
Layout of Construction Drawings Cover sheet 1 st sheet Index Total square footage List of abbreviations and/or graphic symbols
Layout of Construction Drawings Site Plan (plot plan) Scale drawing of a property that shows size and configuration Includes size & location of man-made features: buildings, driveways, walkways Determines placement of the structure as it sits in reference to the boundaries
Layout of Construction Drawings Topography Map Highlight surface conditions Changes in site’s elevation: slopes, hills, valleys, etc. Shown by contour lines
Layout of Construction Drawings Utility Plans Show locations of water, gas, sanitary sewer, and electric utilities Show existing underground utilities
Layout of Construction Drawings Landscaping & Irrigation Plan Final stages Shows location of various plantings, ground cover, lawns, benches, garden areas, fences Noted with abbreviations Show quantity
Layout of Construction Drawings Plans View from above (bird’s eye view) Floor plan most common Identify and define the use of space Locations and sizes of: rooms, doors, windows, stairs, elevators, means of egress
Layout of Construction Drawings Elevations Flat, two dimensional views with only height and width obvious Exterior elevations provide a pictorial view of exterior walls of a structure and show material used, location of windows and doors, roof slopes 4 elevations normally required (front, rear, right, left)
Layout of Construction Drawings Mechanical Drawings Size, type, and layout of duct work HVAC unit types, quantities, and location Electrical, water, or gas connections Ventilation and exhaust fans Connection to existing systems
Layout of Construction Drawings Plumbing Drawings Lines and symbols representing all piping Fixture schedule Sizes for all piping Water heater information Natural gas lines
Layout of Construction Drawings Electrical Drawings Type and location of outlet Size and type of conduits Volts of switches, wiring, and circuitry Lamps and model numbers of light fixtures Emergency lighting and exit signs
Schedules Organized method of presenting lists of materials i. e. doors, windows, plumbing, electrical fixtures, etc. Help keep drawings un-cluttered Location, size, material, & other info.
Specifications Describe materials & installation methods Construction Specifications Institute (CSI) Complete, accurate, unambiguous General conditions scope of work quality of materials standards of workmanship protection of finished work
Building Codes Govern construction of buildings to provide occupants a safe & healthy environment Define minimum standards for new construction & major renovations International Code Council (ICC) Working to uniform codes
- Slides: 45