Collecting fingerprints Step 1 Locating fingerprints Locating a


- Slides: 9
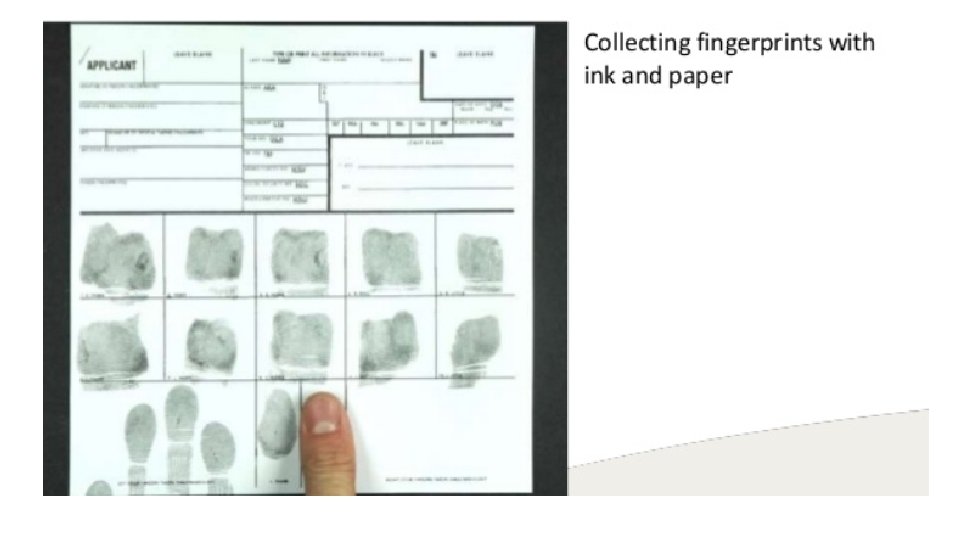
Collecting fingerprints
Step 1: Locating fingerprints • Locating a fingerprint often requires a vigilant and calculated search. However, in circumstances where the print is visible to the naked eye, finding a fingerprint is relatively easy. The more intricate searches take place when the print is present on a surface but not visible. The type of fingerprint left behind usually determines the amount of time and effort investigators must put into locating the print
Types of Fingerprints • Patent prints are easy to locate since they are visible to the naked eye. Patent prints occur when someone has a substance on their fingers such as grease, paint, blood, or ink that leaves a visible print on a surface. • Plastic prints are also easy to locate but are less common than patent prints since they occur when someone touches an object such as wax, butter, or soap and leaves a three-dimensional impression of the finger on the object. • Latent prints are the most common type of print and take the most effort to locate since they are invisible. Latent prints occur when someone touches any porous or nonporous surface. The natural oils and residue on fingers leave a deposit on surfaces which mirror the ridges that are present on the individual’s finger.
Non- porous surfaces A powder technique is usually used to identify latent prints on nonporous surfaces such as glass, marble, metal, plastic, and finished wood. When powder is distributed on the surface, it adheres to the residue deposited from the finger’s touch, allowing investigators to find the print.
Porous surfaces Iodine fuming takes place in a fuming chamber. The process works by heating up solid crystal iodine which creates vapors that adhere to the oily residue of print, producing a brown coloured print. The print fades quickly after the fuming takes place and therefore must be photographed quickly. Silver nitrate, when exposed to latent prints, reacts with the chloride of the salt molecules found in print residue, forming silver chloride. When exposed to ultraviolet light, silver chloride turns black or brown, making the print visible. Ninhydrin is more commonly used by spraying the surface with a ninhydrin solution, which reacts with the amino acids in the print’s residue to create a bluish print.
Step 2: Photographing the print After the print is located, it is vital that it is photographed before it is lifted. A photograph captures where the print was located in comparison to other objects and captures the orientation of the print. Photographing the print’s location at the crime scene also guards against tampering of evidence.
Step 3: Lifting the fingerprint • “Lifting a fingerprint” means to make a permanent impression of the fingerprint. Lifting a print can be accomplished on either flat surfaces or round surfaces. Lifting a print usually involves a rubber tape with an adhesive surface which is applied to the fingerprint, leaving an imprint on the tape.
Step 4: Comparing the fingerprint The final step involves a close examination of the characteristics of the fingerprints. The fingerprint examination process utilizes the ACE-V method which stands for Analysis, Comparison, Evaluation and Verification to compare a print collected from a crime scene to a set of known prints. A system called the Automated Fingerprint Identification System (AFIS) was created to find a match to the print using a computer database.