Collagraphy Portraits Collagraphy Collagraphy was introduced in 1955


- Slides: 14
Collagraphy Portraits
Collagraphy • Collagraphy was introduced in 1955 by Glen Alps and is a printmaking process in which materials are applied to a rigid substrate. The word is derived from the Greek word koll or kolla, meaning glue, and graph, meaning the activity of drawing. (Glue Drawing) • Collagraph is a basic method of printmaking using a board with collaged materials glued onto it to form a relief surface with a variety of textures. • A very creative and experimental form of printmaking, collagraph prints can be made with many different materials, including cardboard, wool, string, fabric, leaves, masking tape and more.
Process Glue a cut stencil of a portrait, face or cartoon character onto greyboard. The printmaking term for the greyboard surface is called a “plate. ” (Remember, prints will be made in reverse) Some ideas for materials to use: - Cut or rip shapes from cardboard, Textured paper, Fabric, felt, burlap or canvas, Craft foam shapes, Wool or string, Leaves, seeds, small twigs and other organic materials, Straw, Gesso to create a variety of brush strokes and paint-like textures, Sand, Sawdust, Rice.
Drawing 1: Begin with a pencil drawing of a face. This can be a real person, an imaginary person or cartoon character. Choose a felt pen to draw over your pencil lines, simplifying the drawing to create a stencil of your image.
Inking your drawing 2: Draw over the pencil lines to create a simplified line drawing. This will allow you to cut your stencil more easily, cutting away the white areas and leaving the black lines, which will be your stencil.
Stencil 3: Cut away the back ground, so you are only left with the figure. 4: Place the figure onto the greyboard to ensure it fits in the space. 5: Draw an outline around your figure so you know where to place the glue for the stencil pieces.
Stencil 6: Cut out all the areas drawn with the felt pen and re-arrange on top of your plate. 7: When ready to glue, remove the pieces and fill the area of the figure with glue, inside the outline you drew earlier.
Glue the stencil
Cover with PVA glue ready for textures. . . 8: Cover the background area around the figure with PVA, preparing for some texture. 9: You can use a variety of materials for textures. Here I have some non-slip material, an old net curtain and some shredded paper. I also have sawdust.
Textures 10: I sprinkle sawdust over the background covered in glue, like glitter. When covered I shake off the excess and brush back into the bag.
Texture for suit jacket 11: I hold the net curtain over the suit area, drawing an outline where the suit jacket is with a felt pen. I cut and glue into place.
Inking for printing 12: A variety of colours are produced with printing ink. Using a stencil brush I add these inks to the printing plate. 13: Using a folded piece of cloth, I spread these colours around the plate, so they mix into one another. 14: I also use a roller to cover the raised stencil with a colour.
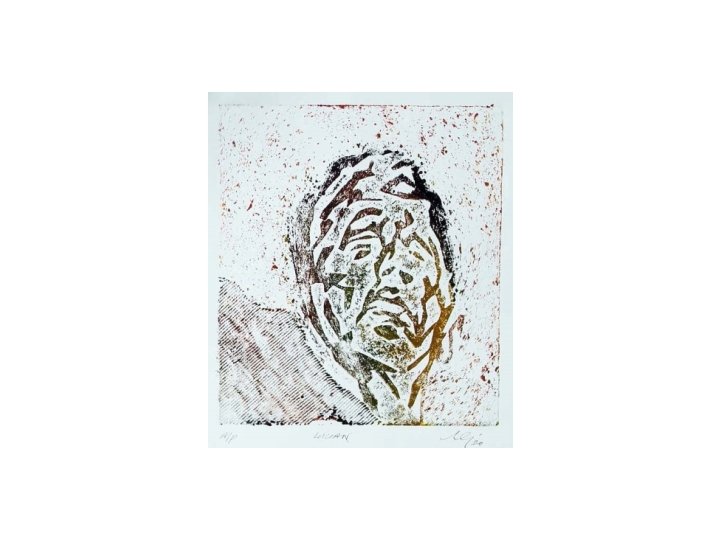
Printing 15: The inked plate is laid flat onto the table top. 16: A piece of paper is carefully placed on top. 17: I hold the paper in place, whilst using my left hand to rub the back of the paper, picking up ink from the plate. 18: I use a roller to add some additional pressure.