CO 2 Car Wheel Tutorial Using Autodesk Inventor


. Make any other changes you would like to")
- Slides: 16
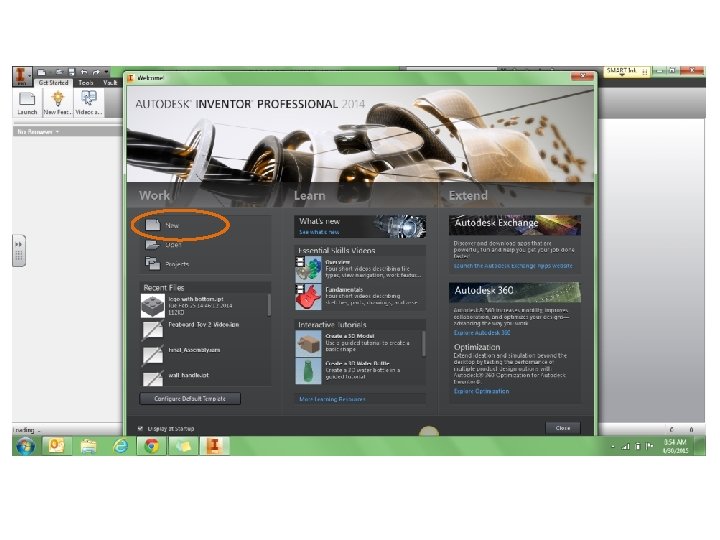
CO 2 Car Wheel Tutorial • Using Autodesk Inventor – Start menu • All programs – Autodesk » Inventor
Reminders • Ctrl Z = undo • Click on the cube in the top right corner of screen to view shape from a different angle • Use the magnifying glass to zoom in or out of screen (“zoom all” will fit the shape in the screen)
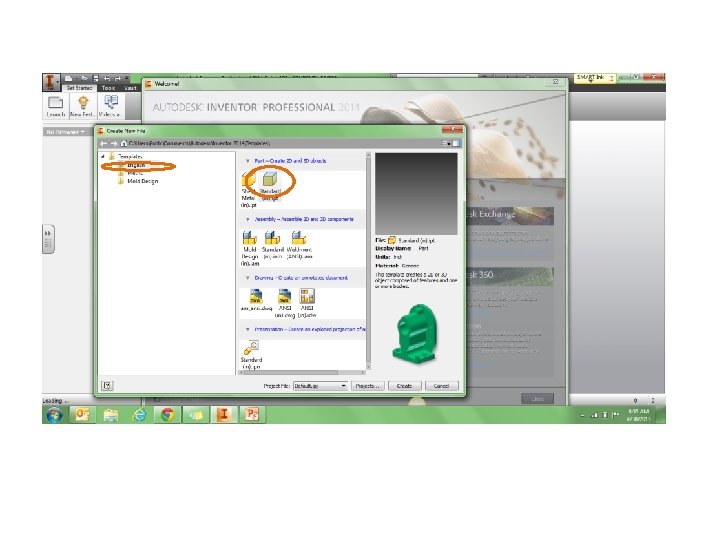
Select “Create 2 D sketch”
Pick the plane you want to draw your 2 D sketch in
Once you pick a plane, it will only let you see 2 dimensions (looks like graph paper), you want to draw something. This time select “line”.
Draw a shape that looks like a backwards L, with the same dimensions as located below Start where your two axes intersect. When your mouse is over this point a green circle should appear. Click and let go on the green dot. Start to move in the direction you want to make your first line, and a measurement will appear (it should have a blue background), type in the length your want the line to be and this number should replace what is written in blue box. Click enter. To undo click CTRL Z. to get out of line function click esc.
Select the “ green check mark” (top right corner of screen to finish the sketch and it will put your 2 D sketch back in a 3 D screen. Then you want to make the 2 D shape 3 D. This time we will do this by “revolving”
Select the axis you want the “L” to revolve around…in this case it will be the 0. 25 inch line and you want it to revolve a full rotation
We then want to add a hole where we will attach the axle to the wheel.
Click on the shape where you want the hole to be located. Make sure “hole” window that appears matches the on this slide Depth of hole: 0. 25, Width of hole: 0. 140625, drill point should be flat, Termination occurs at a distance.
Now customize your wheel by first creating another 2 D sketch on the flat surface of the wheel
Draw whatever you would like… if you would like something to repeat in a circular pattern. After you draw the first item, select the circular pattern. The Geometry is what you want a pattern of and the axis is what you want it to revolve around
At this point extrude the sketch you made (remember this is where you can be creative) you can extrude it slightly out of the shape or into the shape (as shown in the picture).
Click apply (on the extrusion window). Make any other changes you would like to your wheel. Remember that the all parts have to be attached together so do not cut them part. Save to your student drive when you are done. Or you can drop in my drop folder (tech ed)