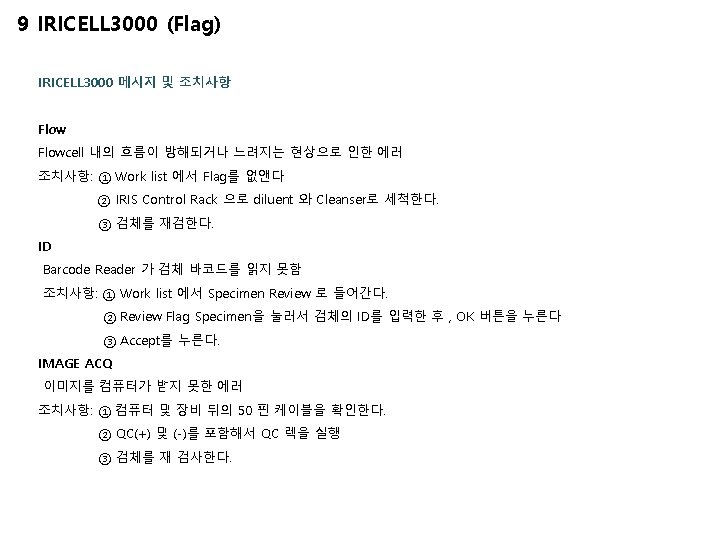
Clinical Urinalysis Analyzer Setting Manual Urine analysis Analyzer

 <신규 세팅 순서> (")
 Task Level Information")
 Setting Menu 접근법 ① Instrument ② Go")
 Setting ① Confirmation threshold *요 화학")
 3 -1. Chemistry (Velocity) QC")
 3 -4. Chemistry (Velocity) QC")
 4 -1. Chemistry (Velocity) Cal")
 4 -4. Chemistry (Velocity) Cal")
 5 -1. Chemistry (Velocity)")
 5 -4. Chemistry (Velocity)")


 ① IQ Calibrator Material")


- Slides: 18
Clinical Urinalysis Analyzer Setting Manual
Urine analysis Analyzer Setting <신규 세팅 순서> ( Velocity ) <신규 세팅 순서> ( IQ 200 ) 1. Analytes Reportable Values 입력 2. Control Range 등록 2. FOCUS 실시 3. Velocity Strip 3. IQ Calibration, QC 실시 4. Ichem Calibration 실시, QC 실시
1. IRICELL 3000 ( Ichem Velocity + IQ 200 Sprint ) Task Level Information Area Calibration, QC , LIS 등 장비 컨디션 확인 Screen Level Functions Are Velocity QC 등록, 검사 관련 세팅, Manual Order등 Information Pane 알람 정보 메세지 IQ 200 Status Area 요 침사 장비 상태 표현 Stand by, Measure, Error Chemistry System Status Area 요 화학 장비 상태 표현 Stand by, Measure, Error
2. Ichem Velocity Setting 1. Chemistry (Velocity) Setting Menu 접근법 ① Instrument ② Go off line ③ Setting 2. Chemistry (Velocity) Setting Chemistry 클릭 2 -1. Chemistry (Velocity) Setting 원하는 Chemistry 항목 선택 후 Edit 클릭
2. Ichem Velocity Setting 2 -2. Chemistry (Velocity) Setting ① Confirmation threshold *요 화학 검사결과 조건에 부합할 경우 Auto-release 되지 않으며 Review 검토하도록 설정 (No threshold 선택 시 비활성화) ② Abnormal threshold *검사결과 조건에 부합될 경우 “H” flag 와 Red Color 결과 값으로 표현 (No threshold 선택 시 비활성화) →Edit Map 클릭 ※ Confirmation threshold 기능은 Velocity 단독 모델 기능 2 -3. Chemistry (Velocity) Setting * Reportable Value 세팅 ① Input, Output 입력 ② Add클릭 (IRIS Velocity Setting Guide 자료 참조) ③ Reportable Value 입력 후 Ok 클릭
3. i. Chem Velocity Setting (QC 등록, Strip 장착) 3 -1. Chemistry (Velocity) QC Setting ① Instrument ② Go off line ③ Settings 클릭 ④ Consumables 클릭 3 -2. Chemistry (Velocity) QC Setting Chemistry QC 클릭 3 -3. Chemistry (Velocity) QC Setting ① Ichem Velocity Strip 유효기간을 등록함 ② Next 클릭
3. i. Chem Velocity Setting (QC 등록, Strip 장착) 3 -4. Chemistry (Velocity) QC Setting ① Velocity Control CA Range 등록 ② Next ③ Control CB Range 등록 ④ Next ⑤ Control CC Range 등록 ⑥ OK 클릭 3 -5. Chemistry (Velocity) Strip 장착 ① Strip Loader 오른쪽 돌려 잠금 해제 ② Chemistry Strip 장착 ③ Strip Loader 장착 후 왼쪽 돌려 잠금
4. i. Chem Velocity Cal Check ( Strip ) 4 -1. Chemistry (Velocity) Cal Check Strip Cal Check 사용 전에 Strip provider Module내 Chemistry Strip 제거 4 -2. Chemistry (Velocity) Cal Check Strip Cal Check (Strip) ① Instrument ② Maintenance 클릭 ③ Reflectance Check 클릭 4 -3. Chemistry (Velocity) QC Setting ① Ichem Velocity Strip 유효기간을 등록함 ② Next 클릭
4. i. Chem Velocity Cal Check ( Strip ) 4 -4. Chemistry (Velocity) Cal Check Strip Step 1 -6 단계까지 설명에 맞춰서 진행 4 -5. Chemistry (Velocity) Cal Check Strip Result : PASS or Fail 여부 확인
5. i. Chem Velocity Cal Check ( CGM, QC ) 5 -1. Chemistry (Velocity) Cal Check Strip ① Blue Rack 사용하여 각 포지션에 맞게 Cal Check 장착 (1번, 4번, 8번 Position은 Barcode ② Velocity Rack 장착 위치하여 검사 실시 5 -2. Chemistry (Velocity) QC ① Position 8 : RED CA Position 9 : Blue CB Position 10 : Yellow CC 장착 ② Velocity Rack 장착 후 검사 진행 5 -3. Chemistry (Velocity) QC 냉장보관
5. i. Chem Velocity Cal Check ( CGM, QC ) 5 -4. Chemistry (Velocity) QC QC Statistics 클릭 5. 5. Chemistry (Velocity) QC CA, CB, CC 클릭하여 각 항목 허용 범위에 이상 유무 확인
6. IQ 200 Setting 6 -1. IQ 200 Setting Menu 접근법 ① Instrument ② Go off line ③ Settings 클릭 6 -2. IQ 200 Setting Formed Particles 클릭 6 -3. IQ 200 Setting 원하는 Chemistry 항목 선택 후 Edit 클릭
6. IQ 200 Setting 6 -4. IQ 200 Setting ① Units 설정 (/ul , /LPF , /HPF) ② Grade 사용 여부 체크 Edit Grades 클릭 6 -5. IQ 200 Setting Grade 세팅 >, Grade 입력→Add클릭 (IRIS IQ 200 Customer Guide Setting 자료 참조) Reportable Value 입력 후 Ok 클릭 6 -6. IQ 200 Setting (Auto-Release PVR) ① Auto-Release *체크 시, 조건에 부합되지 않는 경우 LIS 자동 보고 조건에 부합되는 경우 Review ② Particle Verification Range *RBC, SQEP, WBC Minimum , Maximum 범위Review ※ 3개 제외한 나머지 항목 Abnormal 수치 Review
7. IQ 200 Calibration 7 -1. IQ 200 Calibration (그림교체하자) ① IQ Calibrator Material 강하게 Mixing한 후 사용 ② IQ Cal Rack 1 -10 Calibrator Material 장착 후 1번 Position Tube에 Barcord 장착 검사 진행 7 -2. IQ 200 Calibration REF 결과 1. 4 – 2. 7 (PASS) , 1. 8 - 2. 2 (Recommend)
8. IQ 200 QC 8 -1. IQ 200 QC ① IQ Focus, Positive Control 강하게 Mixing ② QC Rack 5번 Position Focus , 6번 Positive Control 7번 Negative Control 장착 ※ Focus , Positive , Negative Control Barcode 부착 8 -2. IQ 200 QC ① QC Statistics 클릭 ② PC, NC 허용 범위 이상유무 확인