Chapter 7 Advanced Sketching and Constraining Techniques Chapter


- Slides: 26

Chapter 7 Advanced Sketching and Constraining Techniques

Chapter 7 - Objectives • After completing this chapter, you will be able to – – – Use construction geometry to help constrain sketches Create and constrain an ellipse Create a 2 D spline Create a pattern of sketch geometry Share a sketch Utilize both the symmetry constraint and mirror tool Slice the graphics window Sketch on another parts face Change the display of dimensions Create relationships between dimensions Create parameters Create a part that is driven from a Microsoft Excel spreadsheet

Construction Geometry • Construction Geometry – Reduce the number of constraints and dimensions that are required to fully constrain a sketch – Example. . • circle inside a hexagon can drive the size of the hexagon – Can be constrained and dimensioned – Not seen in the part – Editing – Line style – Color of the image

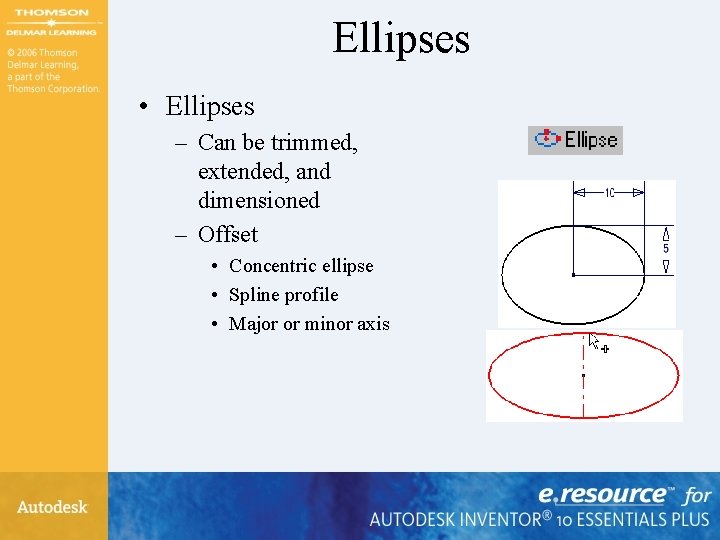
Ellipses • Ellipses – Can be trimmed, extended, and dimensioned – Offset • Concentric ellipse • Spline profile • Major or minor axis

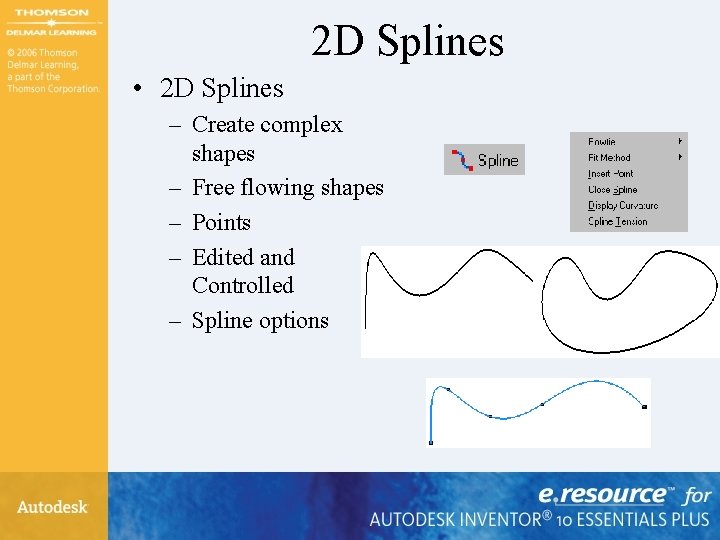
2 D Splines • 2 D Splines – Create complex shapes – Free flowing shapes – Points – Edited and Controlled – Spline options

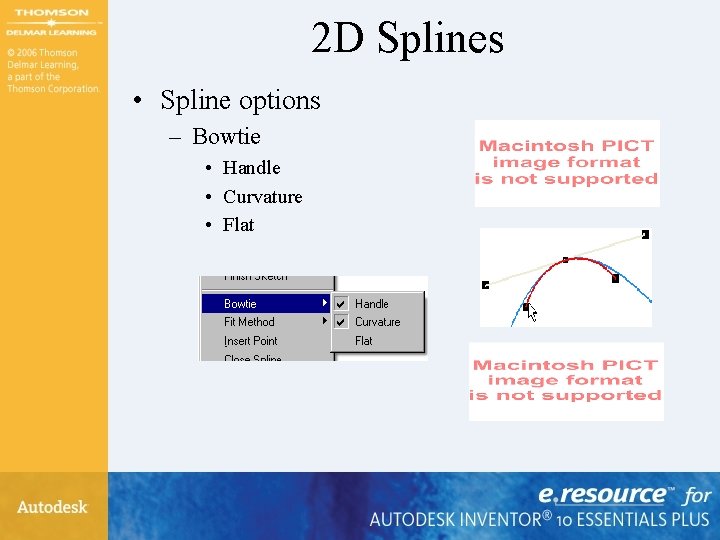
2 D Splines • Spline options – Bowtie • Handle • Curvature • Flat

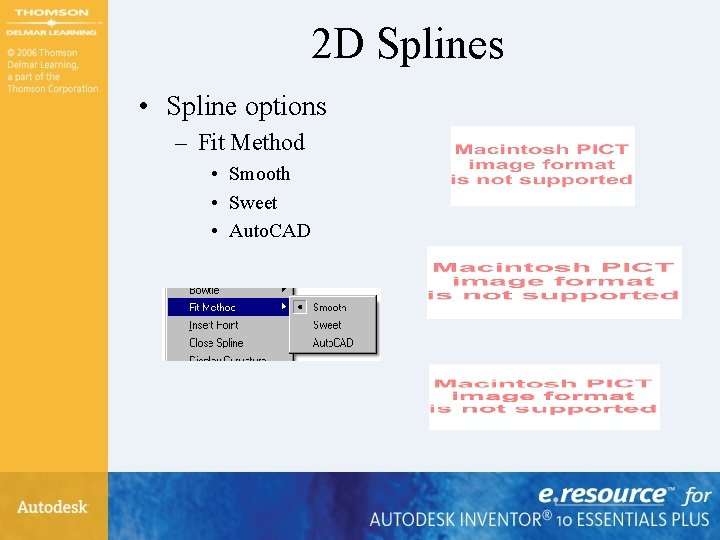
2 D Splines • Spline options – Fit Method • Smooth • Sweet • Auto. CAD

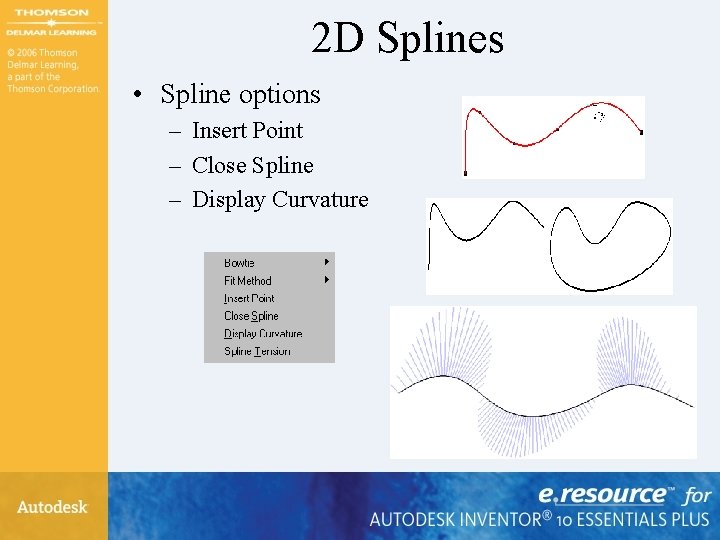
2 D Splines • Spline options – Insert Point – Close Spline – Display Curvature

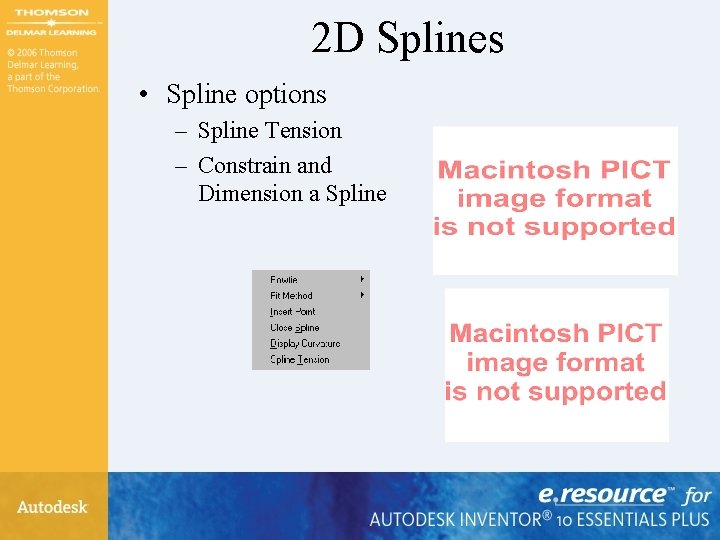
2 D Splines • Spline options – Spline Tension – Constrain and Dimension a Spline

Exercise 7 -1 • Complex Sketching

Pattern Sketches • Pattern Sketches – Instead of creating multiple sketches – Rectangular or Polar – Occurrences or Elements – Rectangular & Circular Pattern dialog box • Suppress • Associative • Fitted – Occurrences or Elements

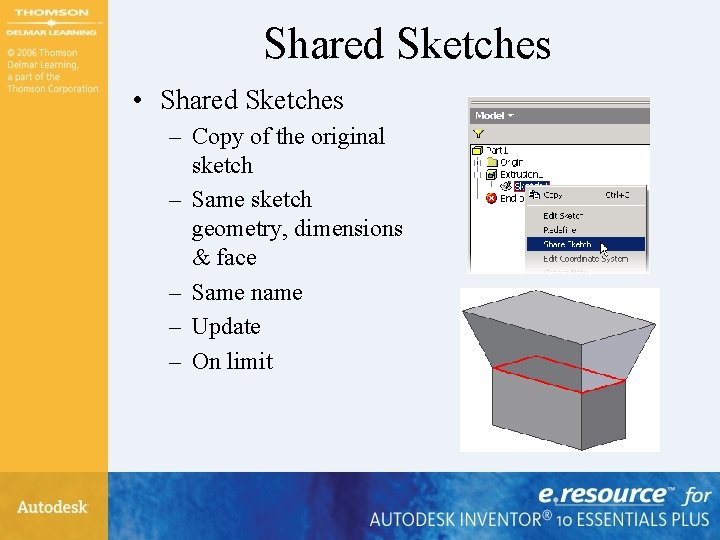
Shared Sketches • Shared Sketches – Copy of the original sketch – Same sketch geometry, dimensions & face – Same name – Update – On limit

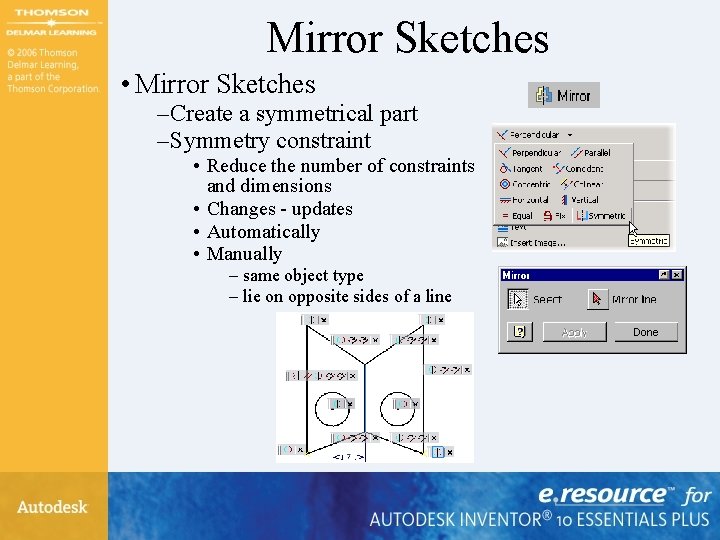
Mirror Sketches • Mirror Sketches – Create a symmetrical part – Symmetry constraint • Reduce the number of constraints and dimensions • Changes - updates • Automatically • Manually – same object type – lie on opposite sides of a line

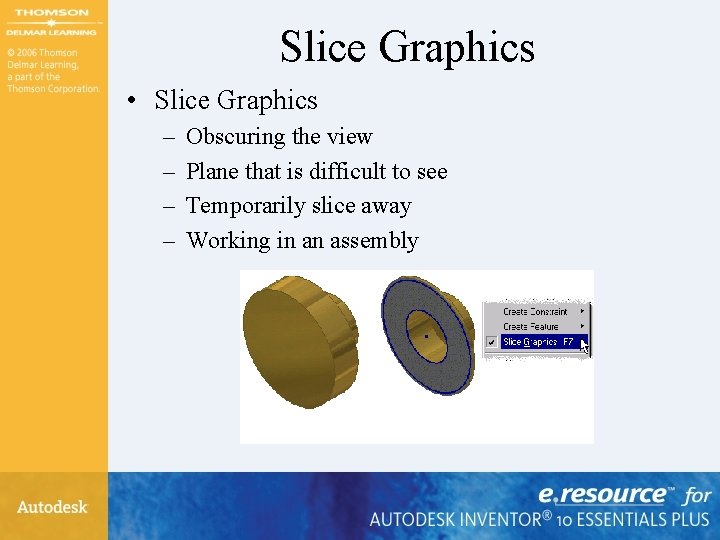
Slice Graphics • Slice Graphics – – Obscuring the view Plane that is difficult to see Temporarily slice away Working in an assembly

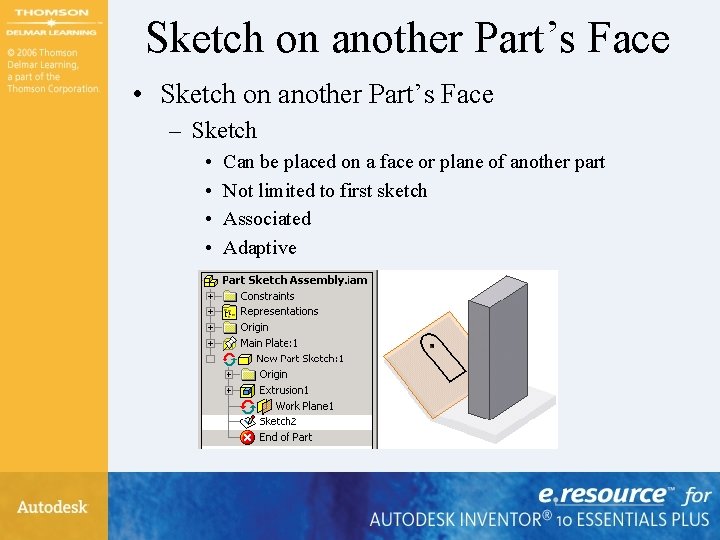
Sketch on another Part’s Face • Sketch on another Part’s Face – Sketch • • Can be placed on a face or plane of another part Not limited to first sketch Associated Adaptive

Exercise 7 -2 • Projecting Edges and Sketching On Another Part’s Face

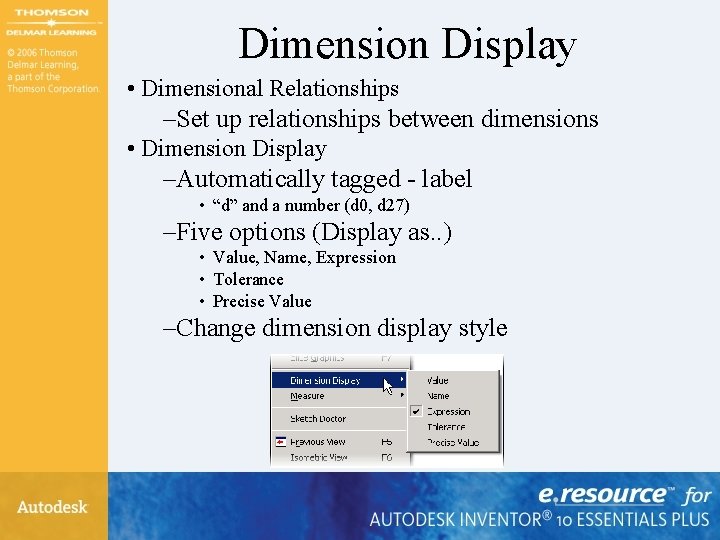
Dimension Display • Dimensional Relationships –Set up relationships between dimensions • Dimension Display –Automatically tagged - label • “d” and a number (d 0, d 27) –Five options (Display as. . ) • Value, Name, Expression • Tolerance • Precise Value –Change dimension display style

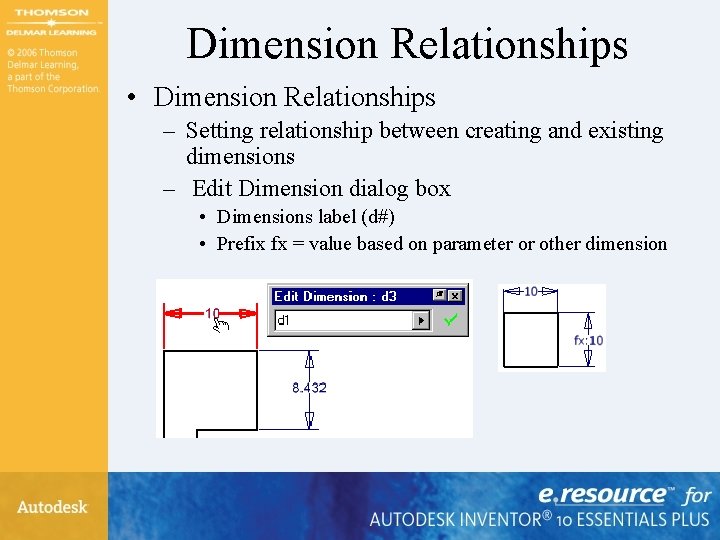
Dimension Relationships • Dimension Relationships – Setting relationship between creating and existing dimensions – Edit Dimension dialog box • Dimensions label (d#) • Prefix fx = value based on parameter or other dimension

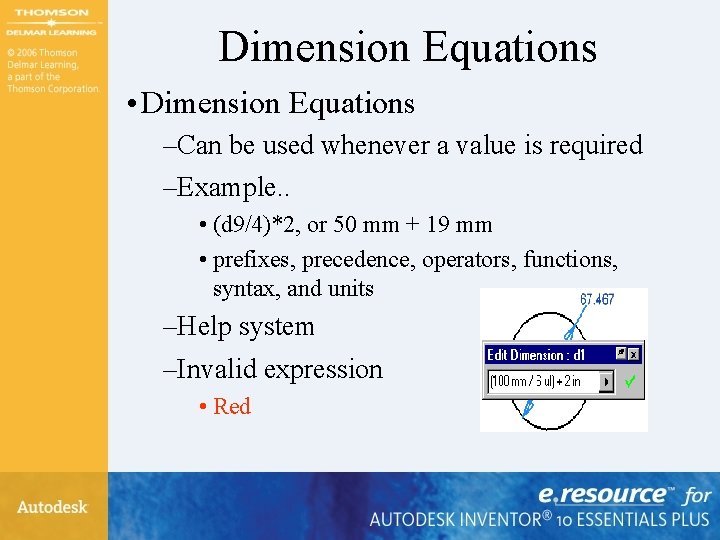
Dimension Equations • Dimension Equations –Can be used whenever a value is required –Example. . • (d 9/4)*2, or 50 mm + 19 mm • prefixes, precedence, operators, functions, syntax, and units –Help system –Invalid expression • Red

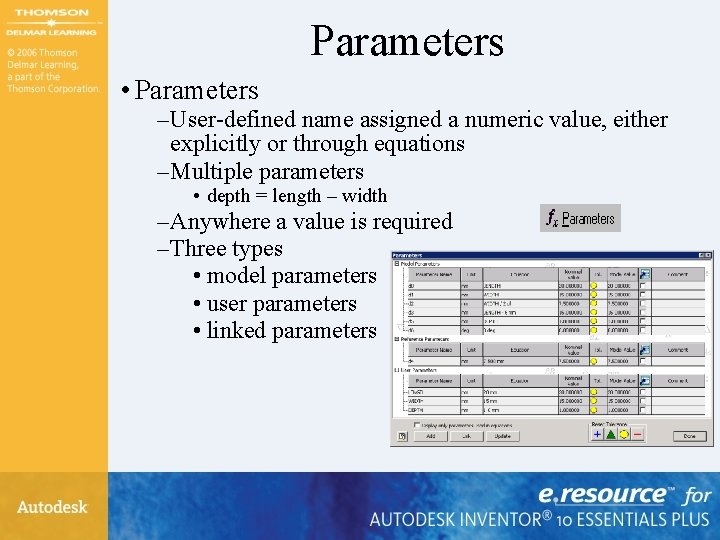
Parameters • Parameters – User-defined name assigned a numeric value, either explicitly or through equations – Multiple parameters • depth = length – width – Anywhere a value is required – Three types • model parameters • user parameters • linked parameters

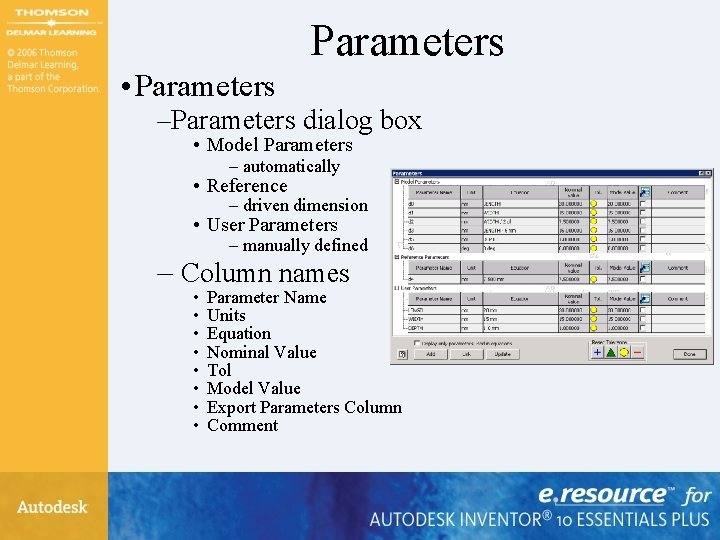
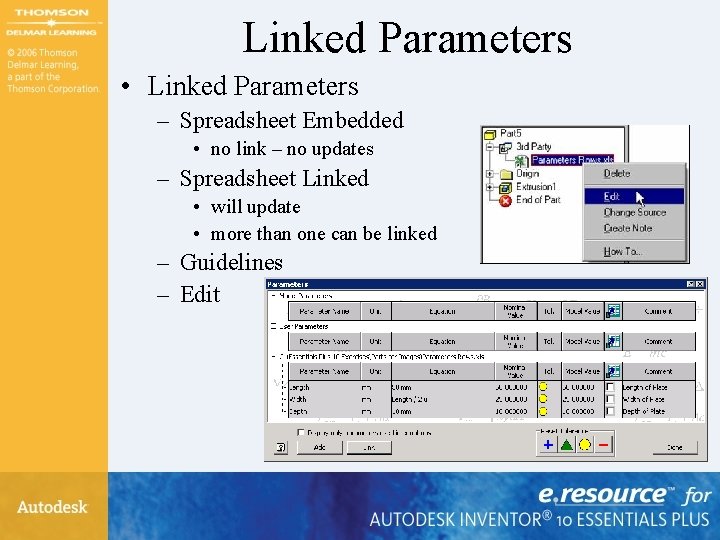
Parameters • Parameters –Parameters dialog box • Model Parameters – automatically • Reference – driven dimension • User Parameters – manually defined – Column names • • Parameter Name Units Equation Nominal Value Tol Model Value Export Parameters Column Comment

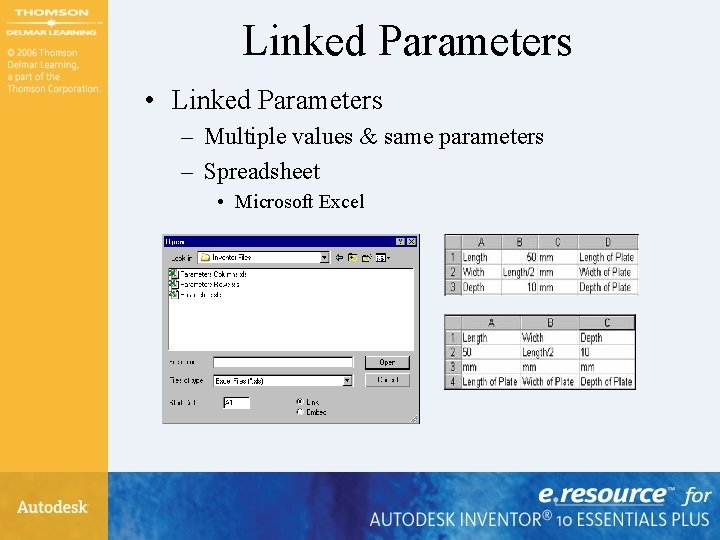
Linked Parameters • Linked Parameters – Multiple values & same parameters – Spreadsheet • Microsoft Excel

Linked Parameters • Linked Parameters – Spreadsheet Embedded • no link – no updates – Spreadsheet Linked • will update • more than one can be linked – Guidelines – Edit

Exercise 7 -3 • Auto Dimension, Relationships and Parameters

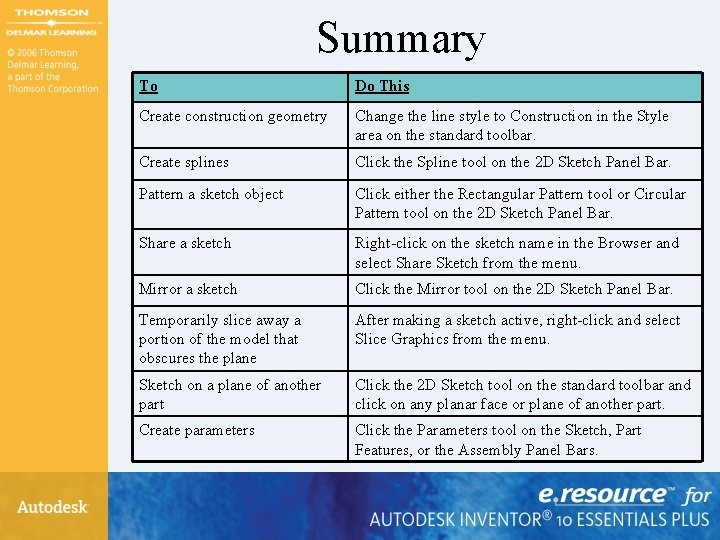
Summary To Do This Create construction geometry Change the line style to Construction in the Style area on the standard toolbar. Create splines Click the Spline tool on the 2 D Sketch Panel Bar. Pattern a sketch object Click either the Rectangular Pattern tool or Circular Pattern tool on the 2 D Sketch Panel Bar. Share a sketch Right-click on the sketch name in the Browser and select Share Sketch from the menu. Mirror a sketch Click the Mirror tool on the 2 D Sketch Panel Bar. Temporarily slice away a portion of the model that obscures the plane After making a sketch active, right-click and select Slice Graphics from the menu. Sketch on a plane of another part Click the 2 D Sketch tool on the standard toolbar and click on any planar face or plane of another part. Create parameters Click the Parameters tool on the Sketch, Part Features, or the Assembly Panel Bars.

Applying Your Skills • Skill Exercise 7 -1