CERAMIC HANDBUILDING TECHNIQUES SLAB CONSTRUCTION Slabs are basically

CERAMIC HAND-BUILDING TECHNIQUES

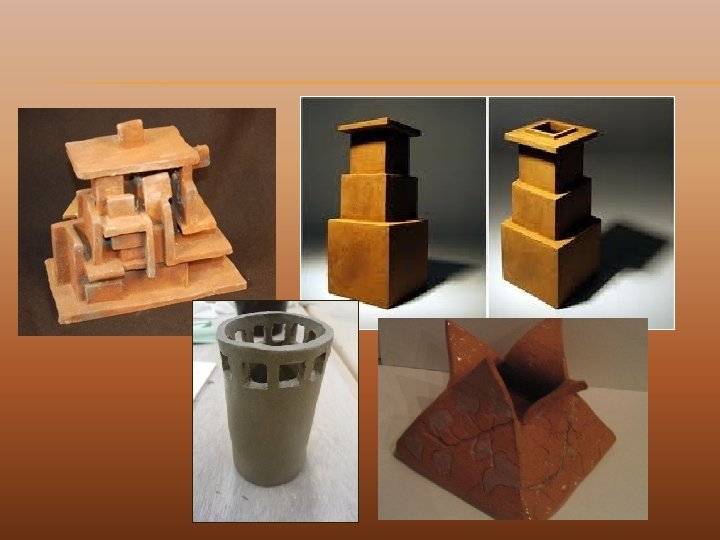
SLAB CONSTRUCTION � Slabs are basically flat pancakes attached to one another. � Slabs can be made by using; �A slab roller � A rolling pin � Your hands (think mud pies from back in the day. )

1. SQUISH IT Roll out your slab using a slab roller or rolling pin. For smaller slabs you can use your hands! Important! Make your slab with a uniformed thickness. The whole thing should be flat without high and low spots.

1. SCORE AND SLIP Score with a needle or loop. Prepare your slip. Important! Always score both pieces that you are going to attach to one another. My, what nice scores you have.

1. SNAKE IT Using a coil and a smooth tool create a reinforced edge. Important! Make sure to really press into the coil so there is not trapped air. Remember…TRAPPED AIR IS THE ENEMY! Look, he’s doing the snake.

1. SMOOTH IT Using a little slip and some nice tools (which include your fingers) smooth out the edges and clean up any snake bits that still may be around. Important! Don’t use to much slip or you will have saggy and unstable clay. Remember…A finished pot is a happy pot.

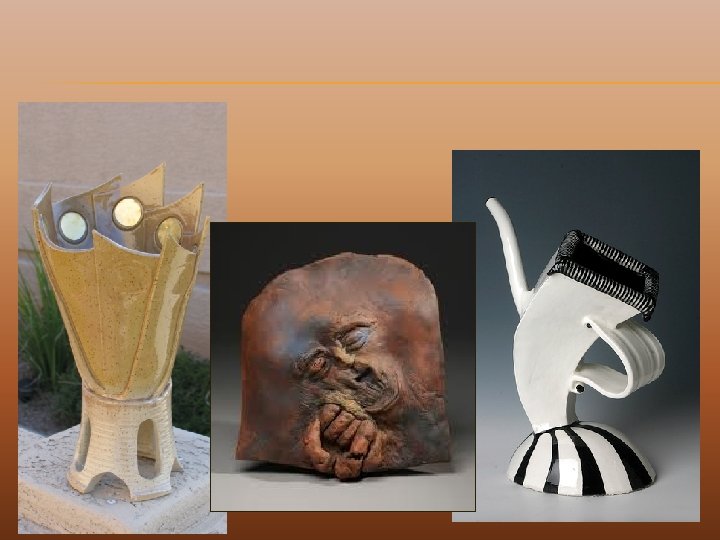
1. STYLE Now for the fun part, adding you own personal style to it. Don’t have an idea… • Think about things that have happened to you in your life. • Remember pictures you’ve seen • Try and tell a story • Use your art to “speak” a message


Step 1: • Squish it Step 2: • Score and slip it TO RECAP! What are the 5 “S” steps in making a slab constructed objects? Step 3: • Snake it Step 4: • Smooth it Step 5: • Style it Bonus step…Step 6: • Sell it and become rich and famous!
- Slides: 11