Building an 8 foot wind turbine Brent Summerville

Building an 8 -foot wind turbine Brent Summerville Appalachian State University

Research: In search of Plans • Backhome Magazine article www. backhomemagazine. com • www. otherpower. com • …derived from Hugh Piggott’s axial flux plans or “How to build a wind turbine” • Go with the source and follow plans closely

Research: Hugh Piggott Workshops in Washington, Scoraig, CAT, Edinburgh, Ghana, France, Costa Rica, Liverpool…. . This is Jay from France. He also came to a Beech Mountain workshop.

Resources: Woods Lab • Sat in on Intro to Wood Technology • Trained on techniques, tools, machinery and safety • Practice…Sanding block, cedar tool box • Last semester for Bill Hanner • Draw knife • Hand plane • Spoke shave • Lathe • Jointer • Sanders • Gluing panels • Planer • Bandsaw • Drill press • Table saw…

Resources: Metals Lab • Sat in on Intro class • Trained on techniques, tools, and machinery • Copper nameplate, dinner bell, apple butter stand • Nice working with Leo and Dave • Welding • Mill • Lathe • Plasma torch • Blacksmithing • Grinding • Tapping • Sheet metal fab • Drill press • Iron worker…


Bladecarving Basswood with termites Thickness, width, length Layout Carve with draw knife and spoke shave Sand, sand Check, carve, sand…

Jointer, planer, table saw, and belt sander to form 1 -1/2”x 6”x 52” blanks Finished length is 48”. Keep long until finished carving. Makes for a nice blade tip.

Start with a precise layout

Simple tools

Carve the taper with the drawknife Clamp and sand to keep the blades matched

Carve the twist and check the drop

Carve thickness The drawknife can remove a lot of material quickly, and it’s a good workout

The spoke shave is pleasant to work with

Carve the airfoil, keep watch on the 30% line

Bladecarving: Suck not Push Source: http: //www. graphics. cornell. edu/academic/archartpcg/spring 01/stude nts/rr 63/ROA/windworks 01. jpg

Cut to length, cut the 120 o angles, ready for the rotor hub

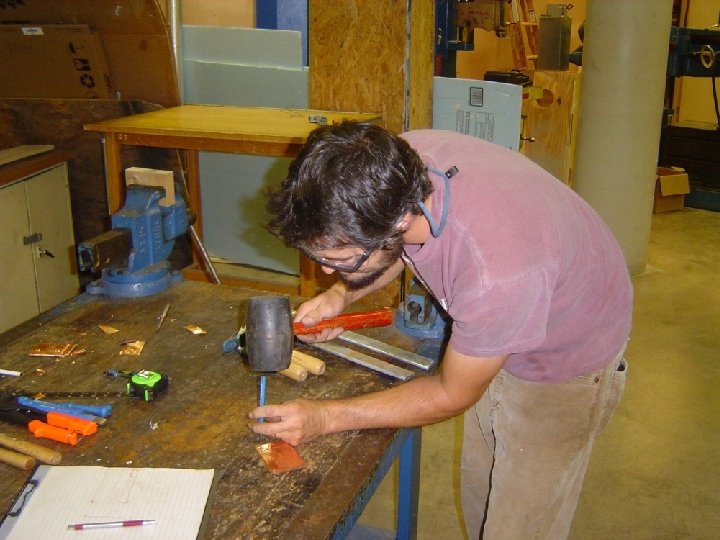
Layout holes for wood screws and studs

Drill the through holes for the ½” studs square to the hub

Sanding the hub on the lathe

Assemble the rotor, keep the tip-totip distance within ½”

After painting and re-assembly, tipto-tip was 84”, 84 -1/8”, 84 -1/4”

Decided to skip the wedges

Axial Flux Alternator: Stator Wind coils Build a mold and layout coils Solder a 3 -phase star Cast in polyester resin Cleanup casting Drill and mount

Keep em’ tight so they will fit into the mold

Clamp coils in position for soldering

Strip with knife, solder, shrink tubing

Build a mold

Fiberglass cloth for strength Mold release

Place the coils, position the three output wires in conduit, pour in polyester resin and cloth, clamp and cure

Free the stator and clean it up

Axial Flux Alternator: Rotors Buy laser-cut plates, machine the holes Cast in polyester resin Careful with those Neo magnets! Position magnets with a jig No screws needed Clean up and be careful

Flat, not flat My attempt at a rotor plate is on the right. Laser cut plate on the left.

An index hole in every plate keeps things aligned Superglue magnets to plate to avoid movement during casting

Build a mold
")
Do all three castings together and do it outside (strong smell)

Cast in Polyester resin with fiberglass cloth Checking the alternating polarity

Stator and rotors, minimal air gap
 An electrically charged particle")
Axial Flux Alternator: Magic Rectified to DC (one phase shown) An electrically charged particle moving in a magnetic field will experience a force (known as the Lorentz force) pushing it in a direction perpendicular to the magnetic field and the direction of motion: Source: http: //www. wondermagnet. com/magfaq. ht ml#q 18 Most of the electric power in the world is 3 phase. The concept was originally conceived by Nikola Tesla and was proven that 3 phase was far superior to single phase power. 3 phase power is typically 150% more efficient than single phase in the same power range. In a single phase unit the power falls to zero three times during each cycle, in 3 phase it never drops to zero. The power delivered to the load is the same at any instant. Also, in 3 phase the conductors need only be 75% the size of conductors for single phase for the same power output. source: www. windstuffnow. com/ main/3_phase_basics. htm

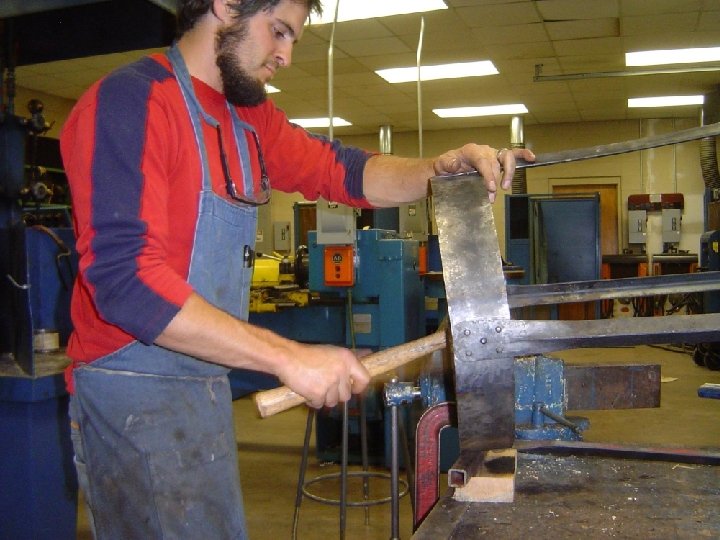
Fabricate the Alternator Mount Salvage steel Make strong welds Visit a junkyard Machine holes Prep steel, fabricate Clean, prime, paint

Plasma torch…upping the embodied energy

The angle grinder cleans up ugly welds The type disc with flexible sanding flaps works nicely for finishing and smoothing

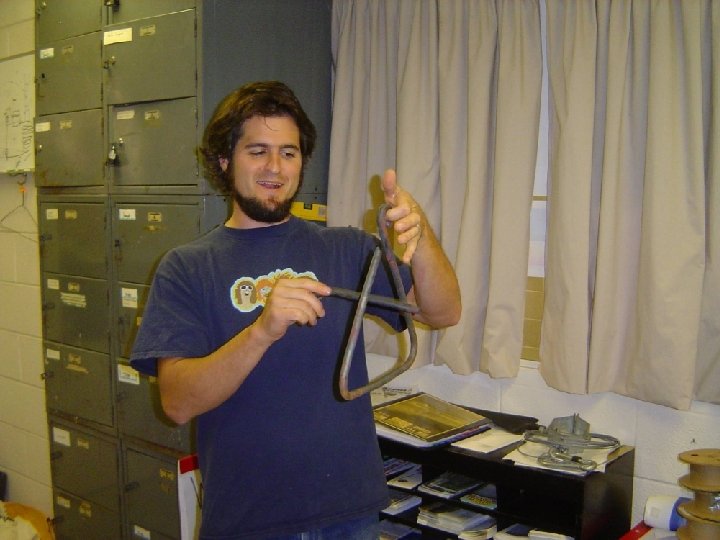
Fabricate the Tail Cool ideas Vintage Jacobs whale tail My version

Assembly • Too much time in Kerr Scott • Moved the operation home for final assembly • Wife and dogs were happy • Stand borrowed from Whisper 200 demo

Assembly: Tower adapter

Assembly: Alternator Bracket

Assembly: Hub

Assembly: Back Rotor

Assembly: Stator

Assembly: Front Rotor and J-Box

Assembly: Tail

Assembly: Ready for Blades

Costs • Minimum for a new 1 k. W turbine is about $1700 • My cost = $836

Conclusion • Well done plans • Slight customization – No wedges – Wiring details – Nose cone • Lots of work • Use of magic – Lift – Electricity • Economical • To do next: controller and tower

Questions?
- Slides: 58