Buffering Strategies in ATM Switches Carey Williamson Department
Buffering Strategies in ATM Switches Carey Williamson Department of Computer Science University of Calgary 1
Introduction l Up to now, we have assumed bufferless switches and bufferless switch fabrics l When contention occurs, cells are dropped l Not practical to do this! 2

Alternatives l Buffering – a cell that cannot be transmitted on its desired path or port right now can wait in a buffer to try again later – several possibilities: input buffering, output buffering, crosspoint (internal) buffering, combination thereof 3
Alternatives (Cont’d) l Recirculation – a cell that cannot be transmitted on its desired path or port right now is sent back to the input ports using a recirculation line to try again in the next time slot (with higher priority) – hopefully will get through next time 4
Alternatives (Cont’d) l Deflection routing – a cell that cannot be transmitted on its desired path or port right now is sent out “another” (available) port instead, in the hope that it will find an alternate path to its destination – example: tandem banyan 5
Alternatives (Cont’d) l Redundant paths – design a switch fabric with multiple possible paths from each input port to each output port (e. g. , Benes) – greater freedom for path selection – flexible, adaptive, less contention – works well with deflection routing 6
Buffering Issues l There are three main factors that affect the performance of switch buffering strategies l Buffer location l Buffer size l Buffer management strategy 7
Buffer Location l Several choices l Input buffering l Output buffering l Internal buffering l Combination of the above 8

Input Buffering l In the event of output port contention (which can be detected ahead of time at the input ports), let one of the contending cells (chosen at random) go ahead, and hold the other(s) at the input ports l Others try to go through the switch fabric the next chance they get 9

Input Buffering (Cont’d) l Can be a poor choice! l Input buffering suffers from the Head of the Line (HOL) blocking problem l Can significantly degrade the performance of the switch 10
HOL Blocking Problem l The cell at the head of the input queue cannot go because of output port contention l Because of the FCFS nature of the queue, all cells behind the head cell are also blocked from going l Even if the output port that they want is idle!!!! 11
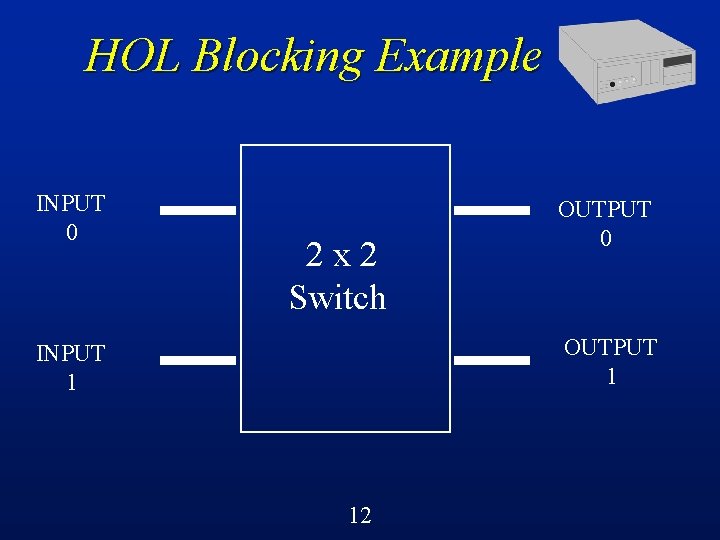
HOL Blocking Example INPUT 0 2 x 2 Switch OUTPUT 0 OUTPUT 1 INPUT 1 12

HOL Blocking Example 0 2 x 2 Switch 1 Two arrivals 13
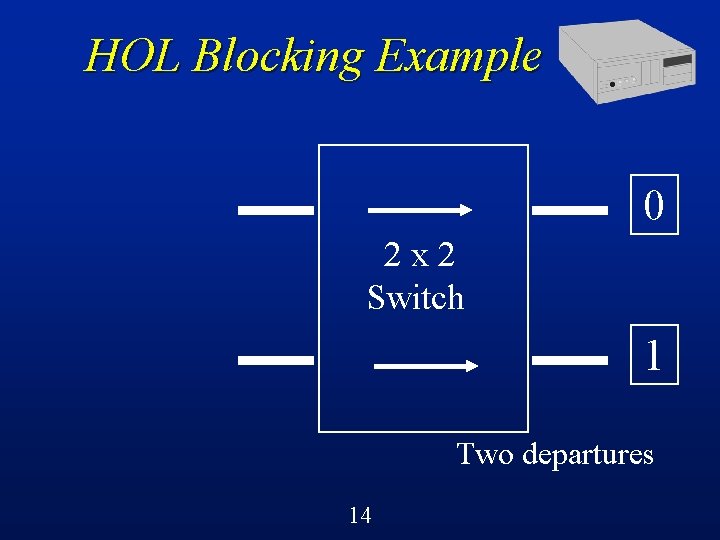
HOL Blocking Example 0 2 x 2 Switch 1 Two departures 14

HOL Blocking Example 1 2 x 2 Switch 0 Two arrivals 15
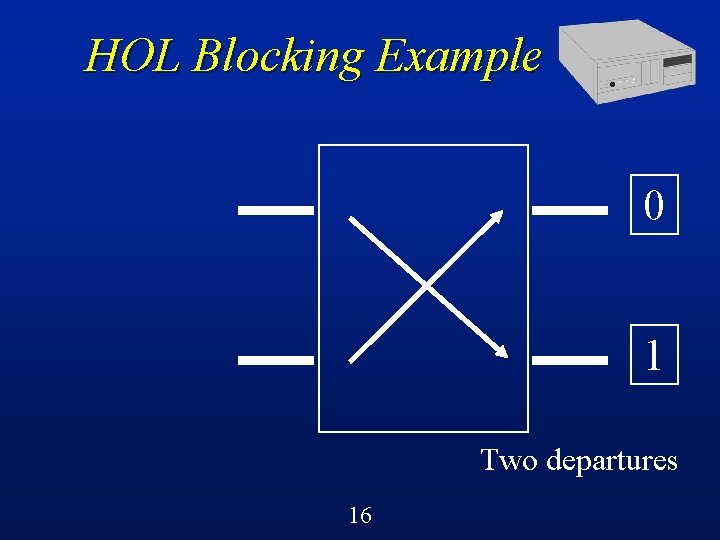
HOL Blocking Example 0 1 Two departures 16
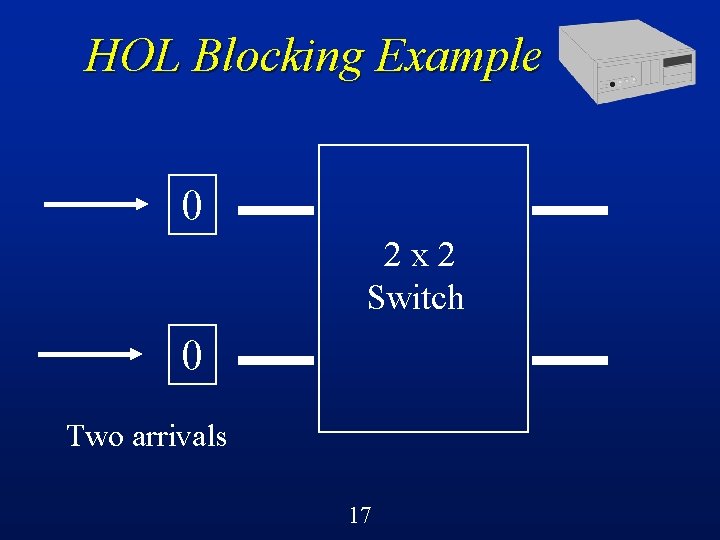
HOL Blocking Example 0 2 x 2 Switch 0 Two arrivals 17
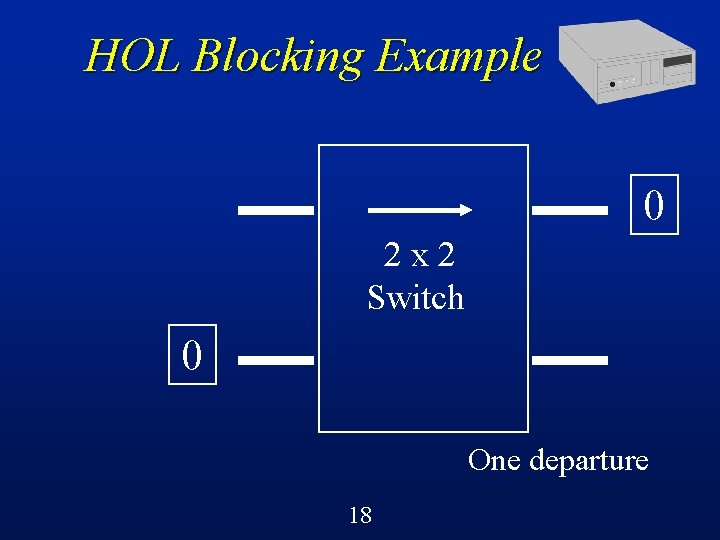
HOL Blocking Example 0 2 x 2 Switch 0 One departure 18

HOL Blocking Example 1 2 x 2 Switch 1 0 Two arrivals 19
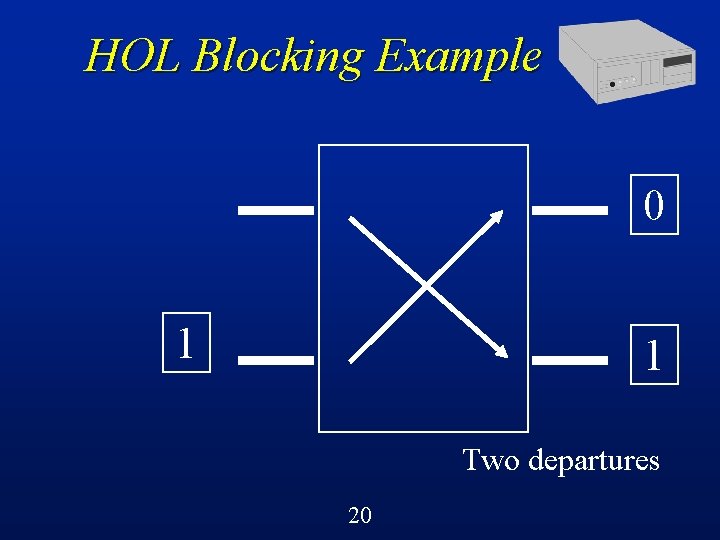
HOL Blocking Example 0 1 1 Two departures 20
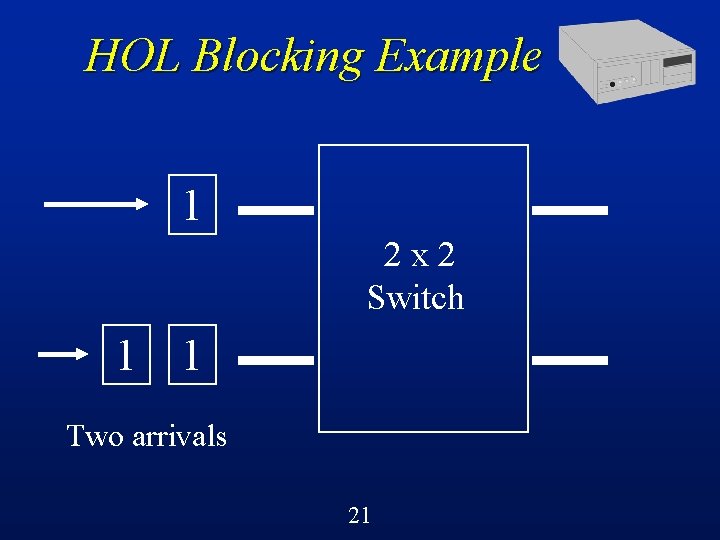
HOL Blocking Example 1 2 x 2 Switch 1 1 Two arrivals 21
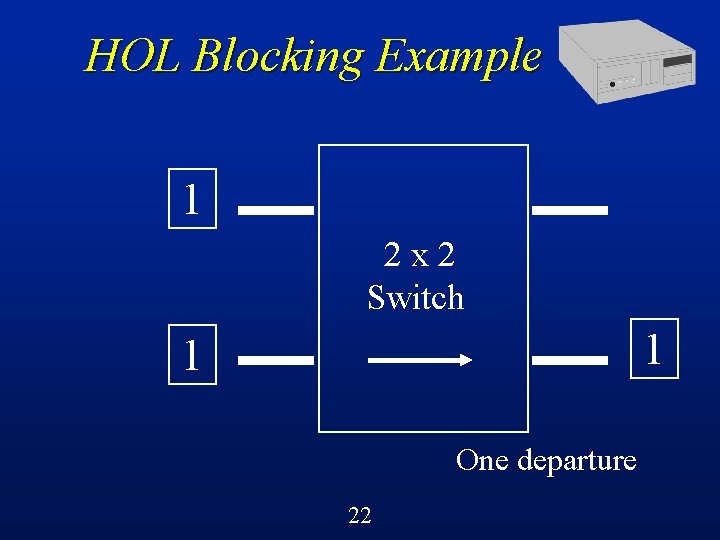
HOL Blocking Example 1 2 x 2 Switch 1 1 One departure 22
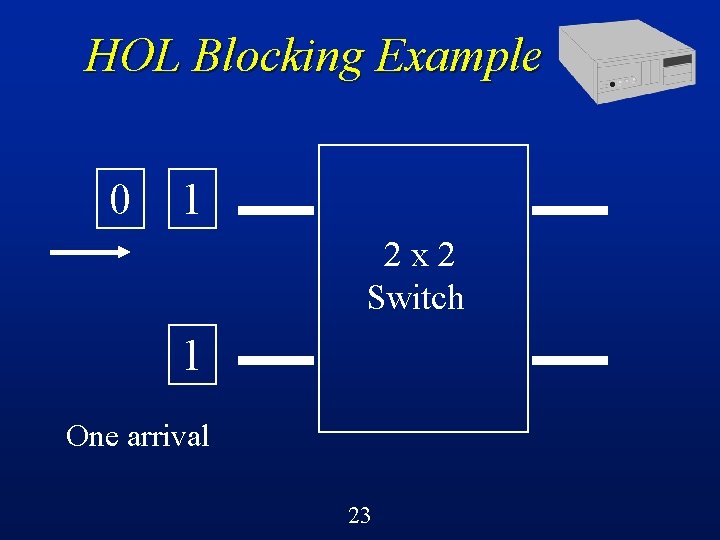
HOL Blocking Example 0 1 2 x 2 Switch 1 One arrival 23
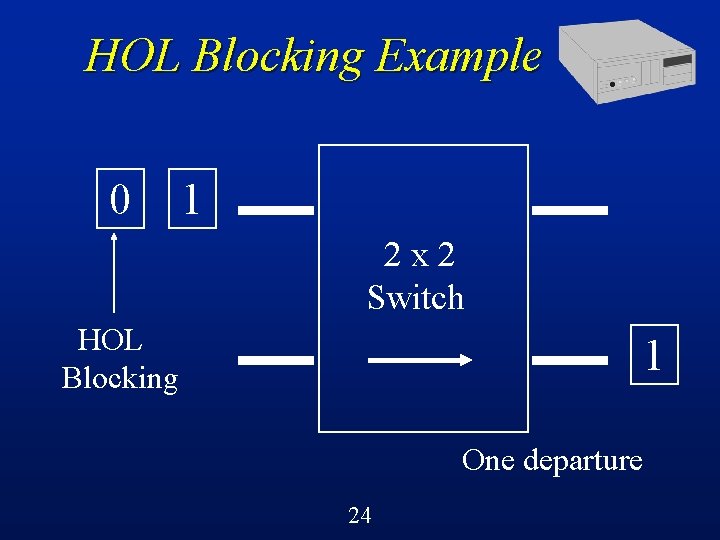
HOL Blocking Example 0 1 2 x 2 Switch HOL Blocking 1 One departure 24

HOL Blocking Example 0 1 2 x 2 Switch 0 One arrival 25
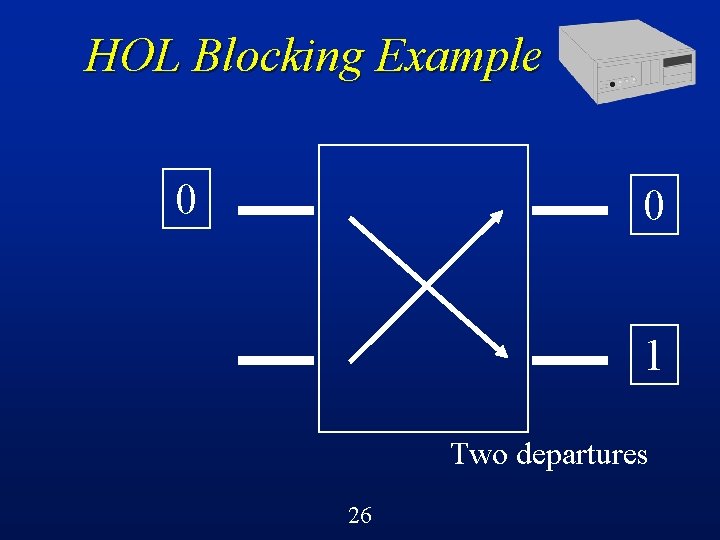
HOL Blocking Example 0 0 1 Two departures 26
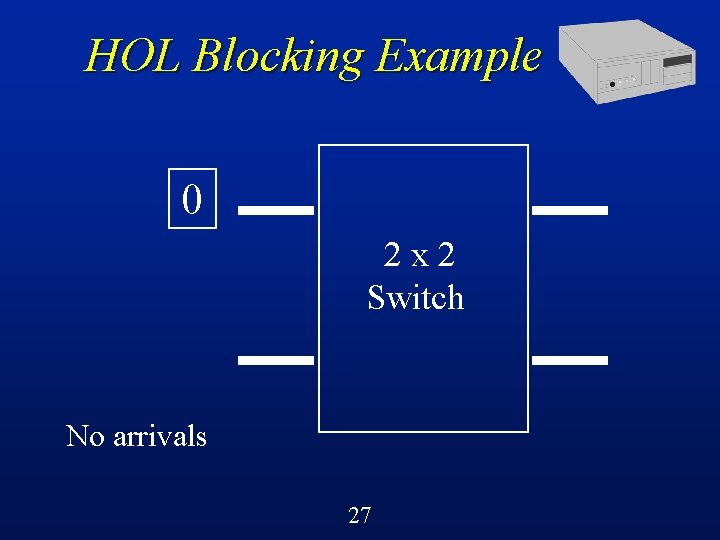
HOL Blocking Example 0 2 x 2 Switch No arrivals 27
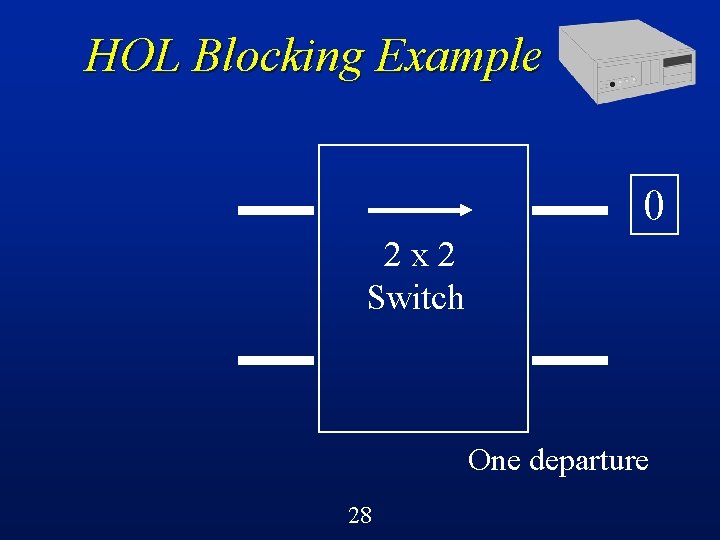
HOL Blocking Example 0 2 x 2 Switch One departure 28
HOL Blocking: Summary l Cells can end up waiting at input ports even if their desired output port is idle l How often can this happen? l For a 100% loaded 2 x 2 switch, HOL blocking happens 25% of time l Effective throughput: 0. 75 29
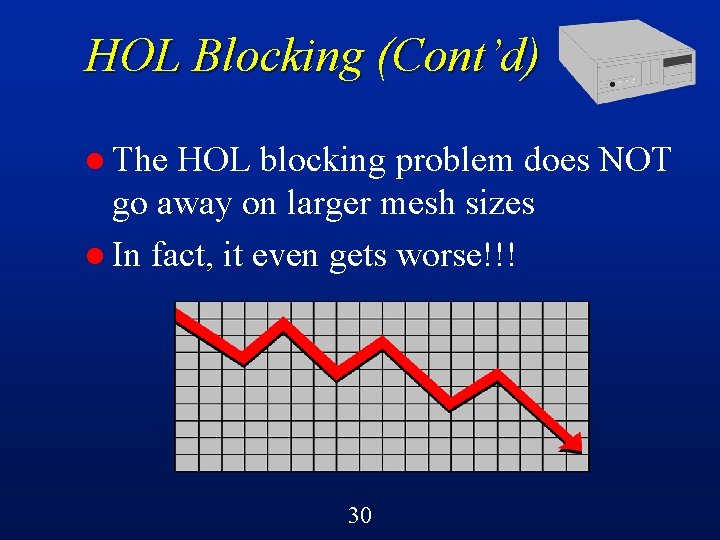
HOL Blocking (Cont’d) l The HOL blocking problem does NOT go away on larger mesh sizes l In fact, it even gets worse!!! 30
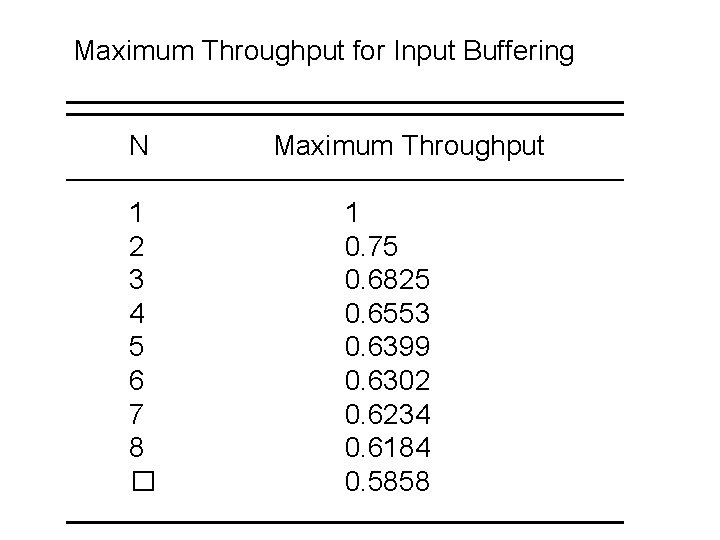
Maximum Throughput for Input Buffering N 1 2 3 4 5 6 7 8 � Maximum Throughput 1 0. 75 0. 6825 0. 6553 0. 6399 0. 6302 0. 6234 0. 6184 0. 5858
Solutions for HOL Blocking l Non-FIFO service discipline l Lookahead “windowing” schemes – e. g. , if front cell is blocked, then try the next cell, and so on – maximum lookahead W (e. g. , W=8) – called “HOL bypass” 33
Solutions for HOL Blocking (Cont’d) l Don’t use input buffering! l Use output buffering instead 34
Output Buffering l In the event of output port contention, send all the cells through the switch fabric, letting one of the contending cells (chosen at random) use the output port, but holding the other(s) in the buffers at the output ports 35
Output Buffering (Cont’d) l Main difference: cells have already gone through the switch fabric l As soon as the port is idle, the cells go out (i. e. , work conserving) l Nothing else can get in their way l Achieves maximum possible throughput 36
Buffer Sizing l Need buffer size large enough to keep cell loss below an acceptable threshold (e. g. , CLR = 0. 000001) l Purpose of buffers is to handle short term statistical fluctuations in queue length 37
Buffer Sizing (Cont’d) l Obvious fact #1: the larger the buffer size, the lower the cell loss l Obvious fact #2: the larger the buffer size, the larger the maximum possible queuing delay (and the cost of the switch!) l Tradeoff: cell loss versus cell delay (and cell delay jitter) (and cost) 38

Buffer Sizing (Cont’d) l Reality: finite buffers – e. g. , 100’s or 1000’s of cells per port l Buffers need to be large enough to handle the bursty characteristics of integrated ATM traffic l General rule of thumb: buffer size = 10 x max burst size 39
Buffer Management l In a shared memory switch, for example, there is a choice of using dedicated buffers for each port (called partitioned buffering) or using a common pool of buffers shared by all ports (called shared buffering) 40
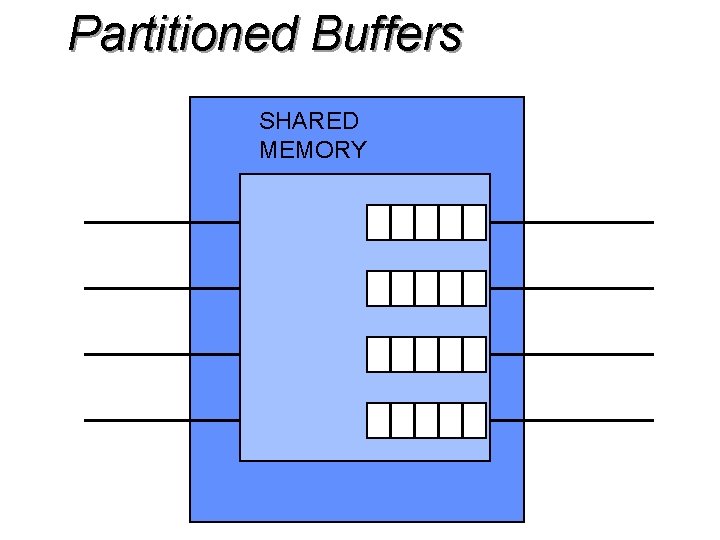
Partitioned Buffers SHARED MEMORY
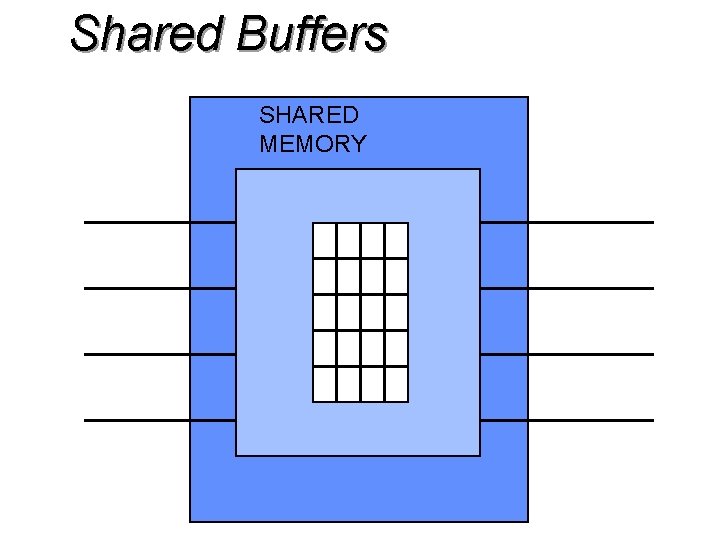
Shared Buffers SHARED MEMORY

Buffer Mgmt (Cont’d) l Shared buffering offers MUCH better cell loss performance l Partititioned is perhaps easier to design and build l Shared is more complicated to design, build, and control l Shared is superior (uniform traffic) 43
Summary l There a wide range of choices to make for buffering in ATM switches l Main issues: – buffer location – buffer size – buffer management strategy l Major impact on performance 44
- Slides: 43