
Blender Animation Relative Vertex Keys Creating Mesh Keys
Blender Animation Relative Vertex Keys
Creating Mesh Keys • We’ve discussed deforming a mesh with an armature, but what if you want to deform a mesh in other ways like have it flatten, move a mouth, blink an eye, etc. and have a way of repeating that motion whenever needed? • It’s easier to set up a slider that at one end, represents the mesh in one form, and at the other end of the slider
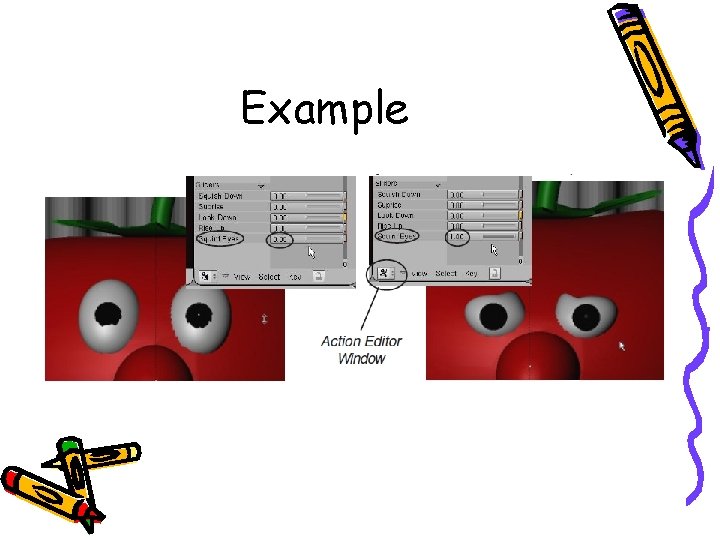
Example
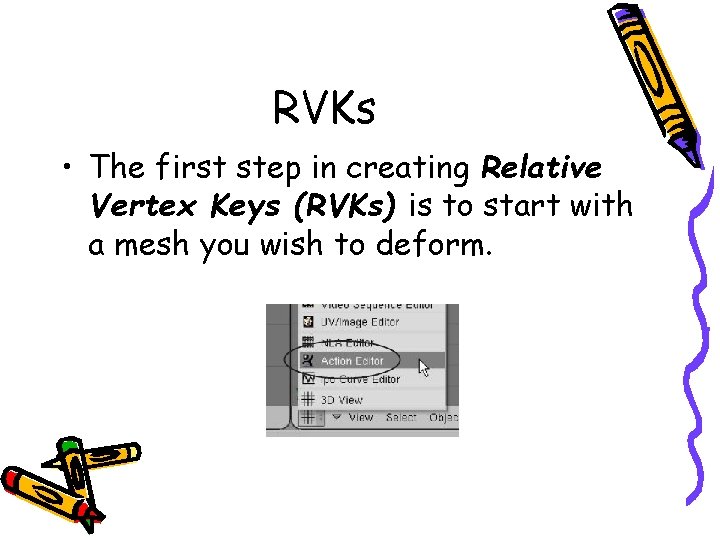
RVKs • The first step in creating Relative Vertex Keys (RVKs) is to start with a mesh you wish to deform.
RVKs • Unlike normal animation that requires you to move to different frames along the timeline, we will be creating all our different sliders and mesh deforms on frame one. • After the sliders are all created for our mesh, then we will use them in the Action Editor window along the timeline.
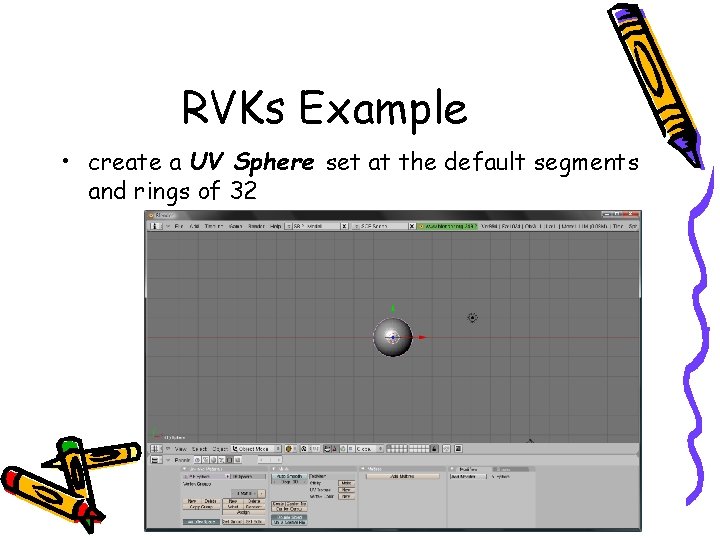
RVKs Example • create a UV Sphere set at the default segments and rings of 32
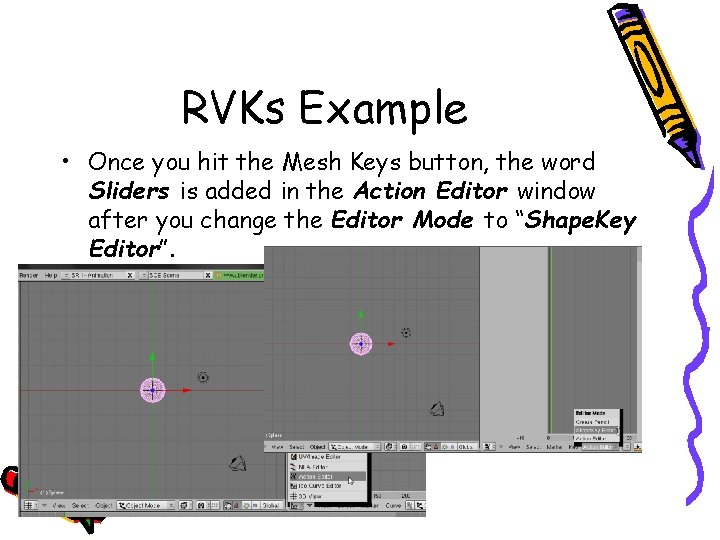
RVKs Example • Once you hit the Mesh Keys button, the word Sliders is added in the Action Editor window after you change the Editor Mode to “Shape. Key Editor”.
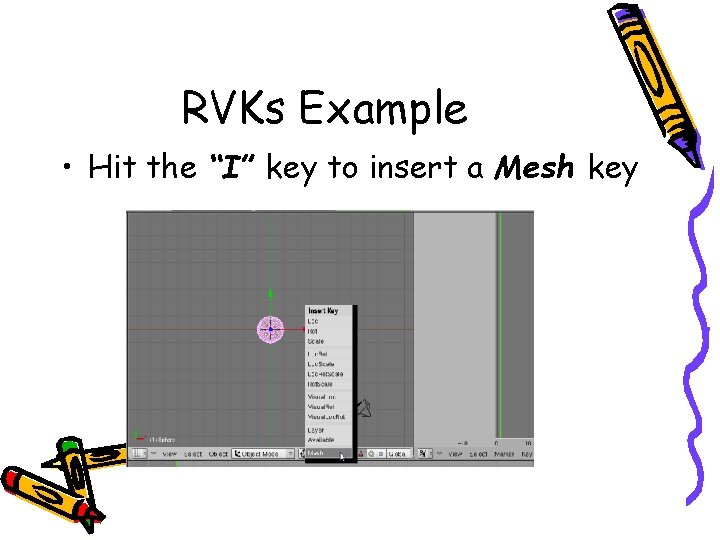
RVKs Example • Hit the “I” key to insert a Mesh key
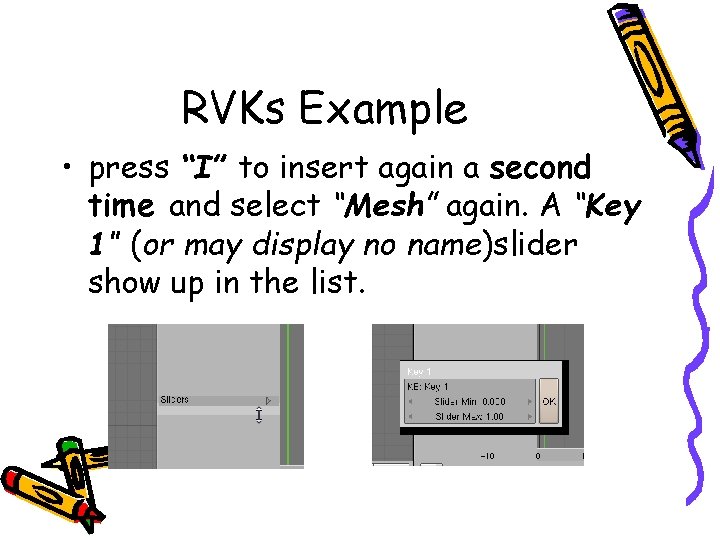
RVKs Example • press “I” to insert again a second time and select “Mesh” again. A “Key 1” (or may display no name)slider show up in the list.
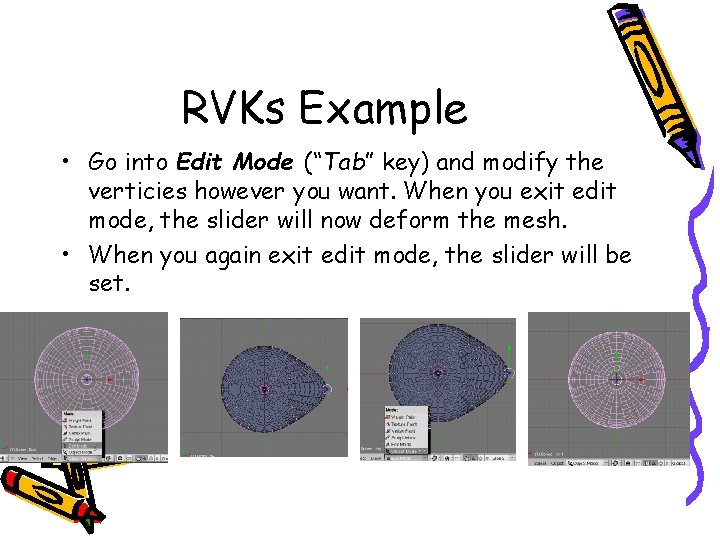
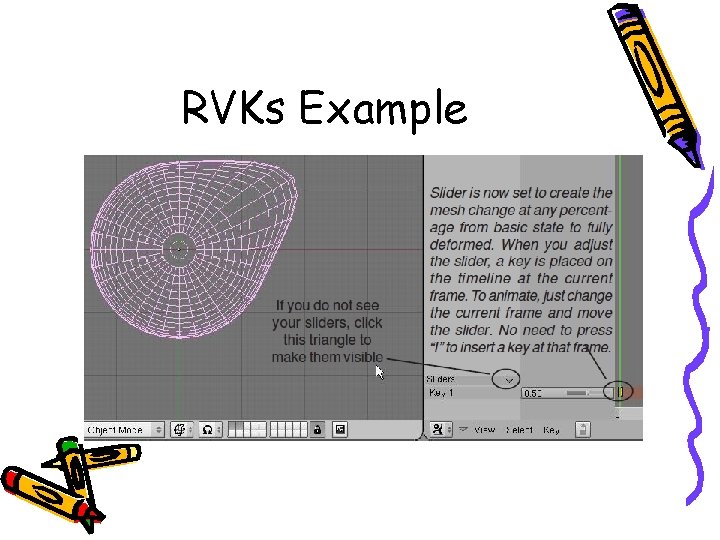
RVKs Example • Go into Edit Mode (“Tab” key) and modify the verticies however you want. When you exit edit mode, the slider will now deform the mesh. • When you again exit edit mode, the slider will be set.
RVKs Example
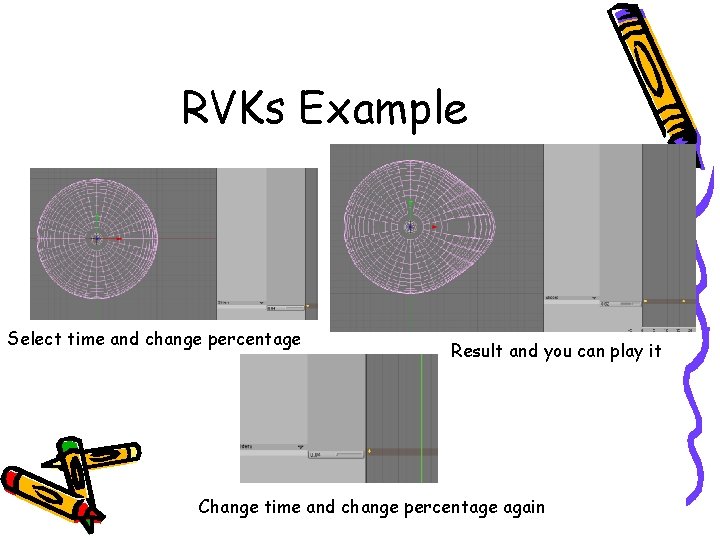
RVKs Example Select time and change percentage Result and you can play it Change time and change percentage again
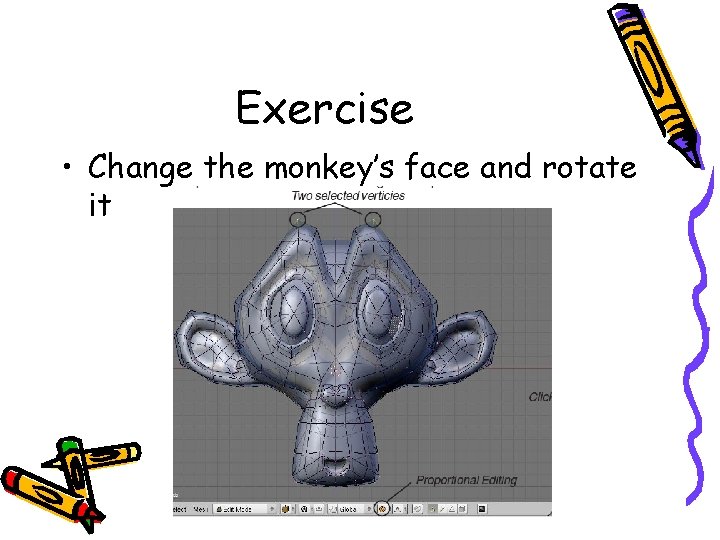
Exercise • Change the monkey’s face and rotate it
- Slides: 13