
Backyard Queen Rearing Chris Rogers Backwoods Bee Farm
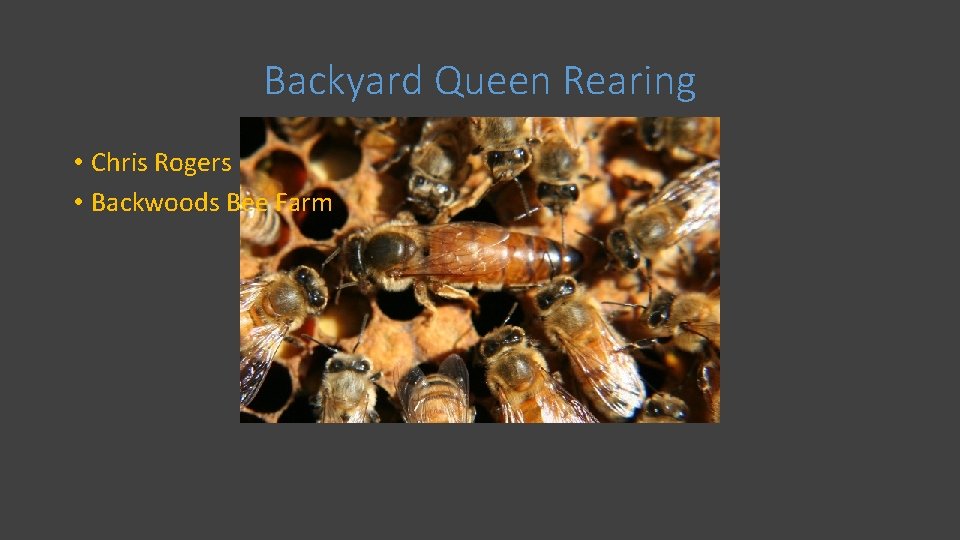
Backyard Queen Rearing • Chris Rogers • Backwoods Bee Farm
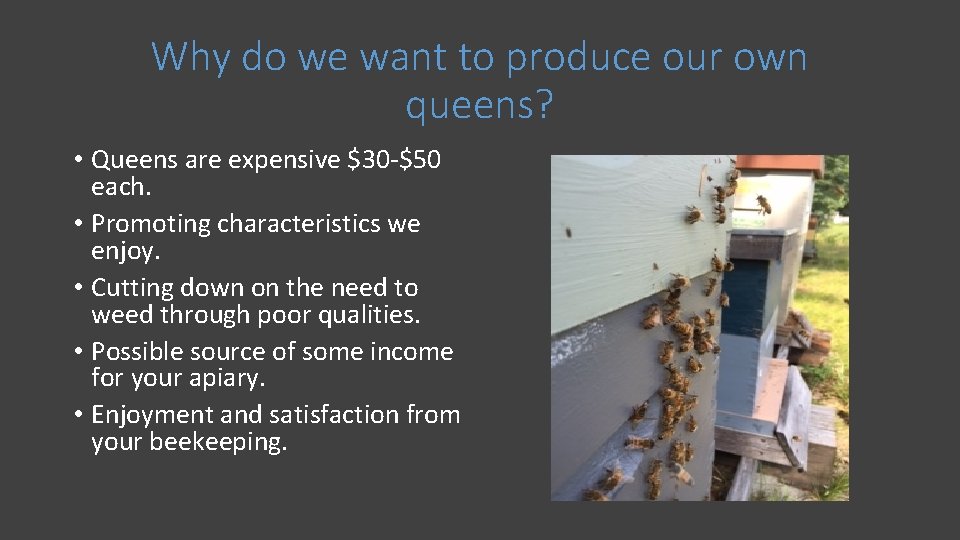
Why do we want to produce our own queens? • Queens are expensive $30 -$50 each. • Promoting characteristics we enjoy. • Cutting down on the need to weed through poor qualities. • Possible source of some income for your apiary. • Enjoyment and satisfaction from your beekeeping.
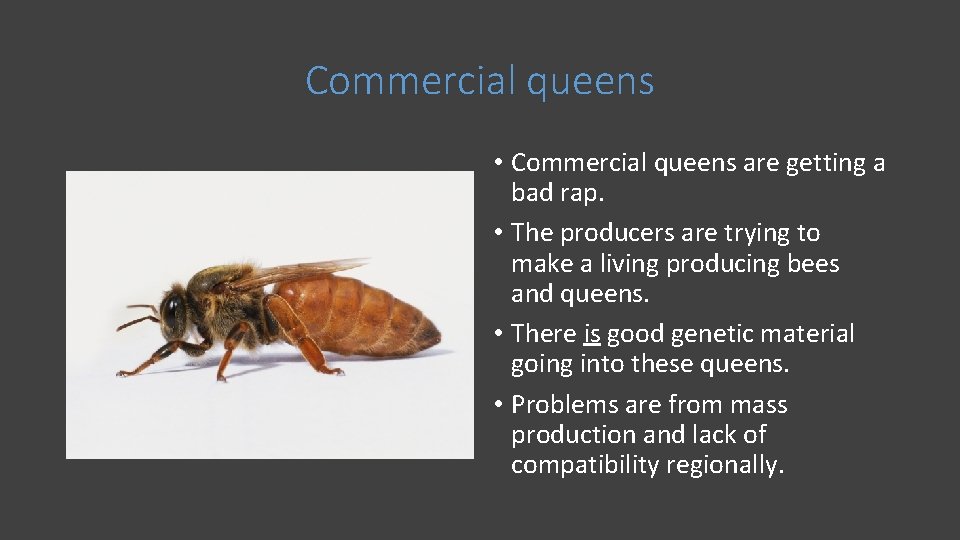
Commercial queens • Commercial queens are getting a bad rap. • The producers are trying to make a living producing bees and queens. • There is good genetic material going into these queens. • Problems are from mass production and lack of compatibility regionally.
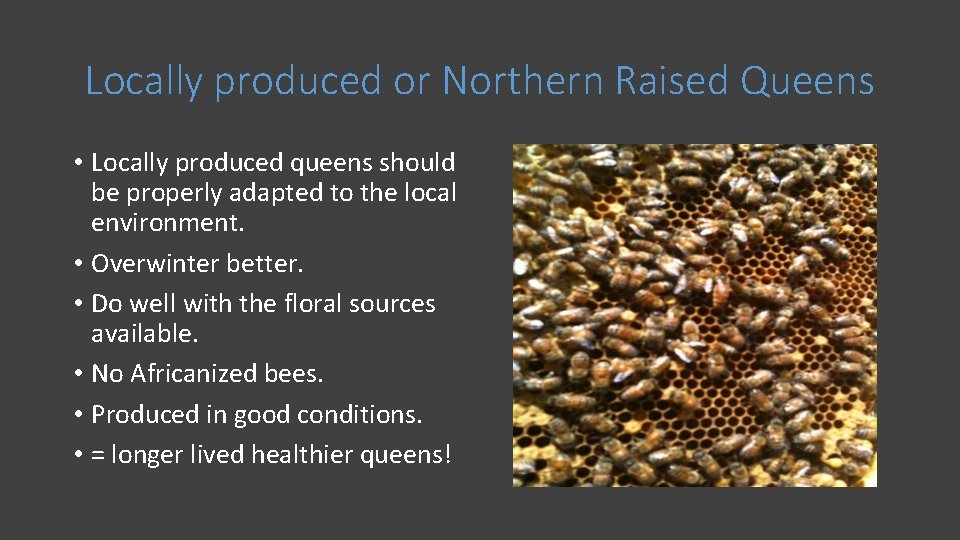
Locally produced or Northern Raised Queens • Locally produced queens should be properly adapted to the local environment. • Overwinter better. • Do well with the floral sources available. • No Africanized bees. • Produced in good conditions. • = longer lived healthier queens!
The sources of our queen production. • As hobbyists we will use the resources available to us. • We will be producing queens from hives (Queen Mothers) that perform well for us. • We are looking to produce queens from your favorite hive. • Strong, productive and workable. • Traits we are looking for. • Gentleness. • Overwintering success. • Hygienic traits. • Productivity. • These will depend on the individual beekeeper and what you like from your beekeeping experience.
Queens are only as good as the environment they are reared in! • What are the keys to good healthy queens? • Ideal rearing conditions (Think about what a hive looks like just prior to swarming). • Lots of resources. • Nectar and pollen flowing into the hive. • Lots of bees and brood. • Sexually mature drone population. • Typically good weather with daytime temps over 70 F.
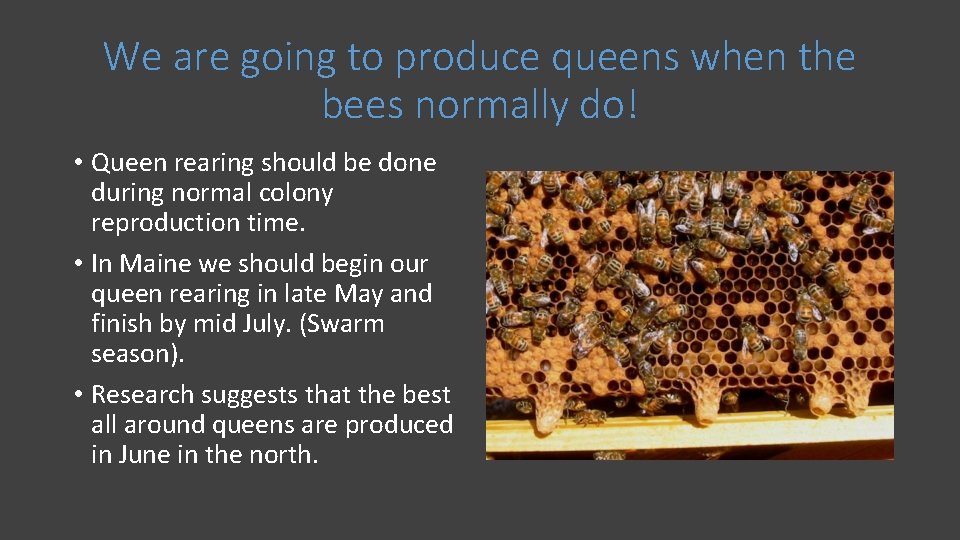
We are going to produce queens when the bees normally do! • Queen rearing should be done during normal colony reproduction time. • In Maine we should begin our queen rearing in late May and finish by mid July. (Swarm season). • Research suggests that the best all around queens are produced in June in the north.
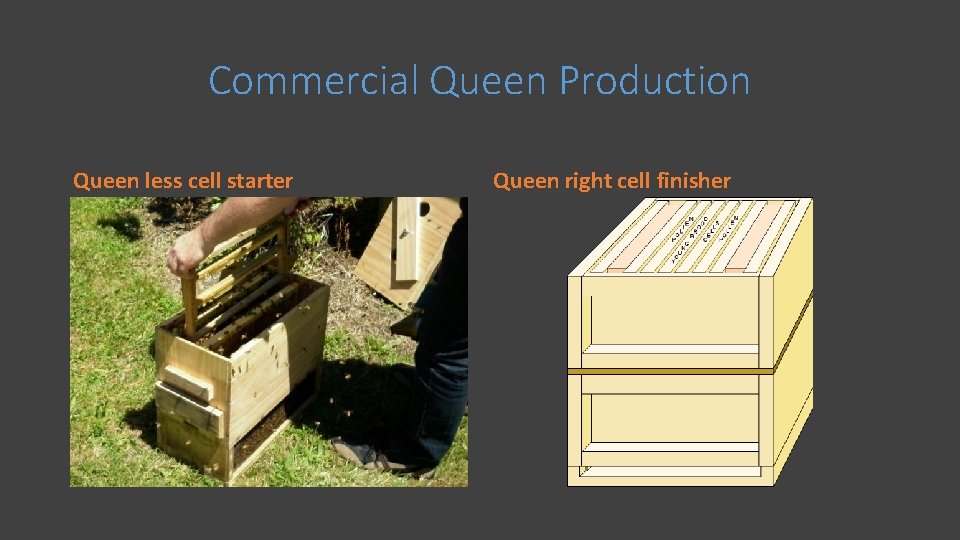
Commercial Queen Production Queen less cell starter Queen right cell finisher
Lots of hive manipulations and shaking bees • Grafted cells are placed in queenless starters. • 24 -48 hours later cells are transferred into queen right finisher. • Cells are transferred into mating nucs at the age of 14 days. • This method of queen production will produce many queens. • The queen producers are constantly restocking young bees into the cell starters. • This is not well suited to hobby beekeepers looking to produce a few good queens.
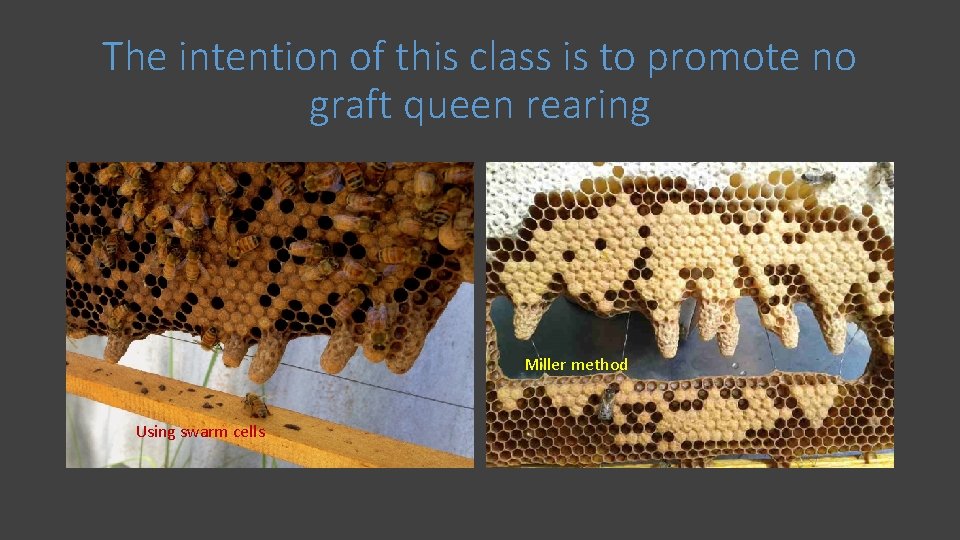
The intention of this class is to promote no graft queen rearing Miller method Using swarm cells
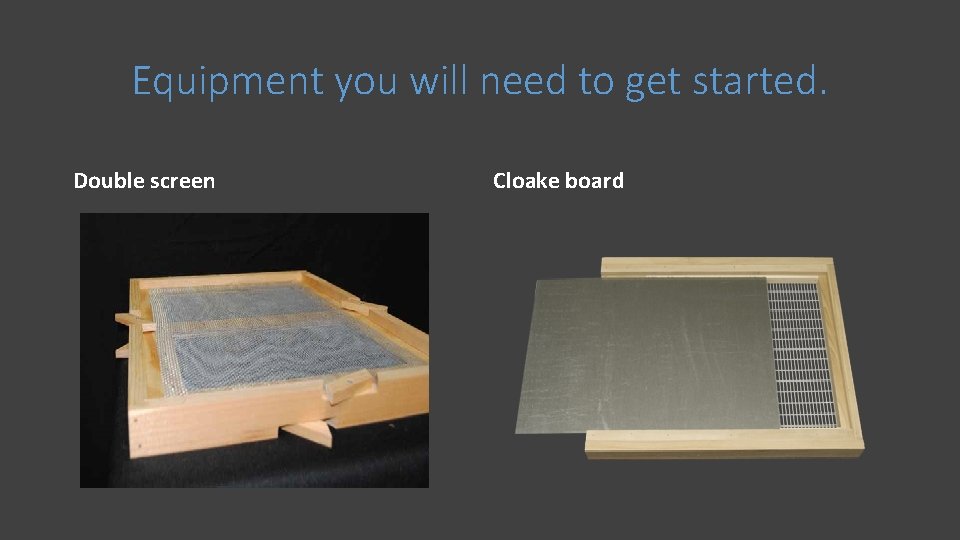
Equipment you will need to get started. Double screen Cloake board
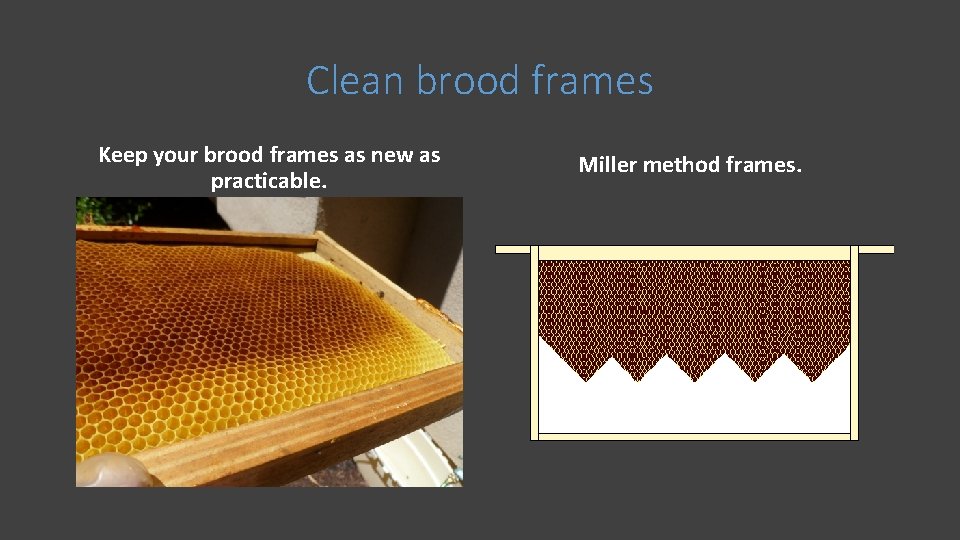
Clean brood frames Keep your brood frames as new as practicable. Miller method frames.
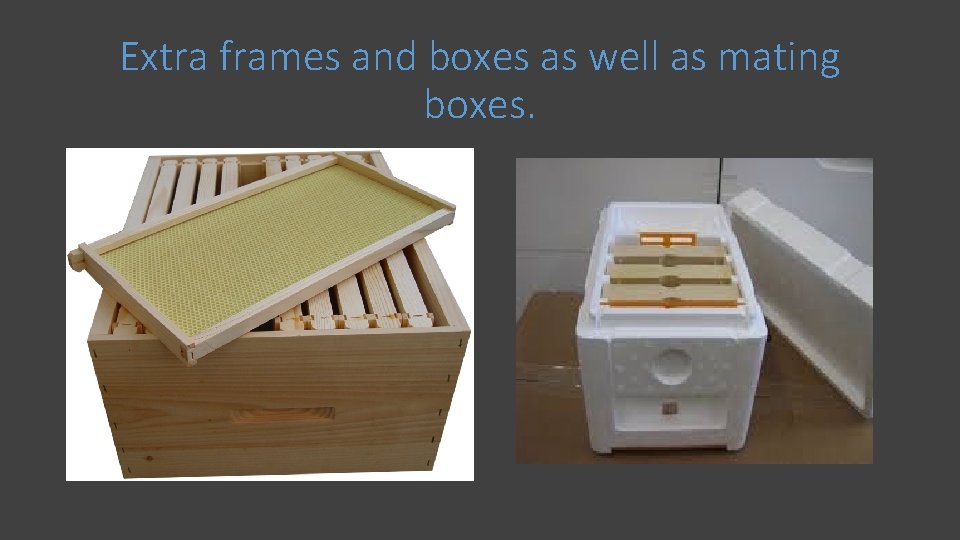
Extra frames and boxes as well as mating boxes.
Queen production using swarm cells. • Introductory queen production is • It is best if the swarm cells you usually transfer of frames with are transferring are capped or attached queen cells. nearly capped. • Put simply you will transfer at • Capped cells require minimal least 3 frames of capped brood maintenance from the bees. with adhering bees and some • Always handle queen cells resource frames into a nuc or carefully and attempt to leave hive body with 1 or 2 queen cells them in a natural upright position.
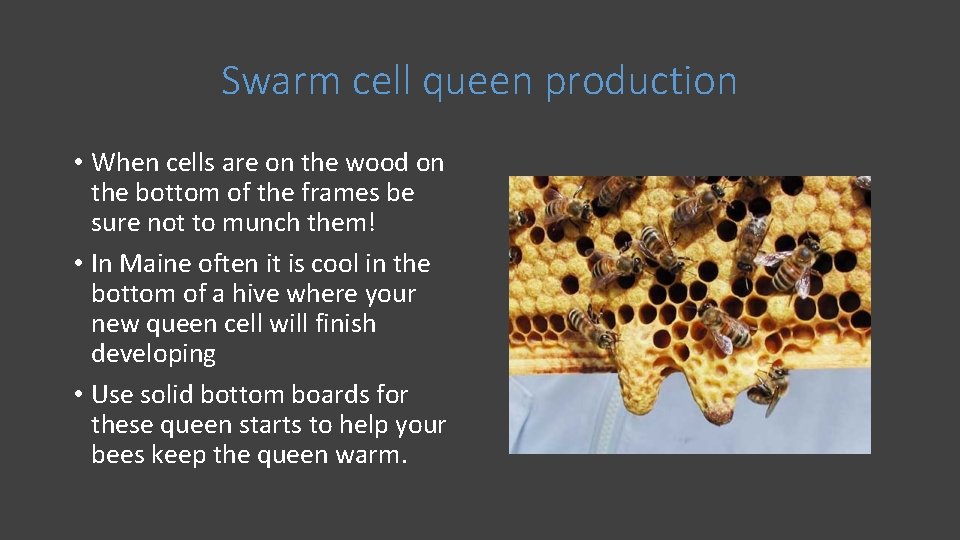
Swarm cell queen production • When cells are on the wood on the bottom of the frames be sure not to munch them! • In Maine often it is cool in the bottom of a hive where your new queen cell will finish developing • Use solid bottom boards for these queen starts to help your bees keep the queen warm.
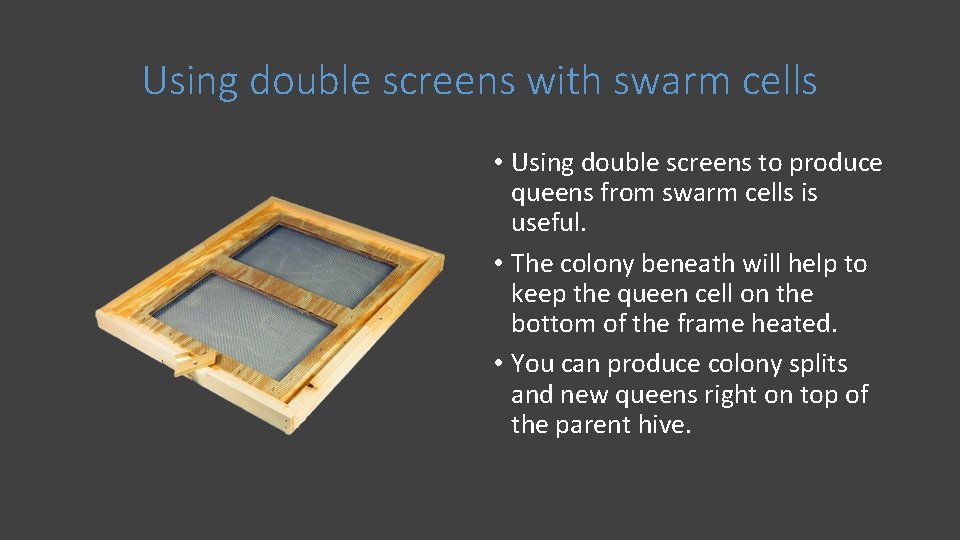
Using double screens with swarm cells • Using double screens to produce queens from swarm cells is useful. • The colony beneath will help to keep the queen cell on the bottom of the frame heated. • You can produce colony splits and new queens right on top of the parent hive.
You will need an extra box and frames. Drawn comb or whatever you have. • Find queen and confine her. • Go through the parent hive and find all the frames containing swarm cells and put them in your extra box. • Double check to make sure you missed no queen cells in parent. • Add resource frames to box with cells. • Shake some bees off frames of open brood from parent colony. • Replace frames taken from parent hive with the spares you brought with you. • Place new box containing brood, cells, resources and shaken bees above double screen with the entrance facing back. • Release your queen into the entrance of the parent hive. • Feed the split syrup if they are short on honey.
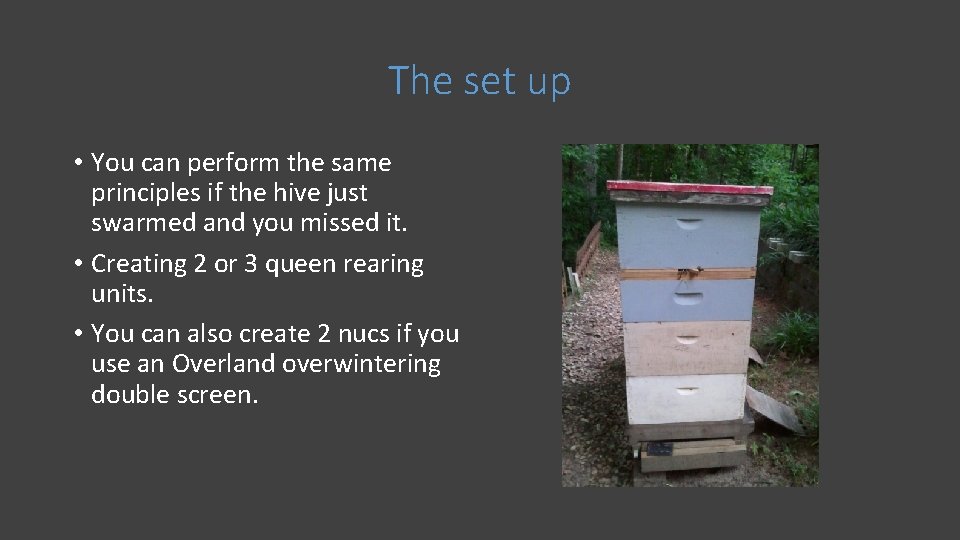
The set up • You can perform the same principles if the hive just swarmed and you missed it. • Creating 2 or 3 queen rearing units. • You can also create 2 nucs if you use an Overland overwintering double screen.
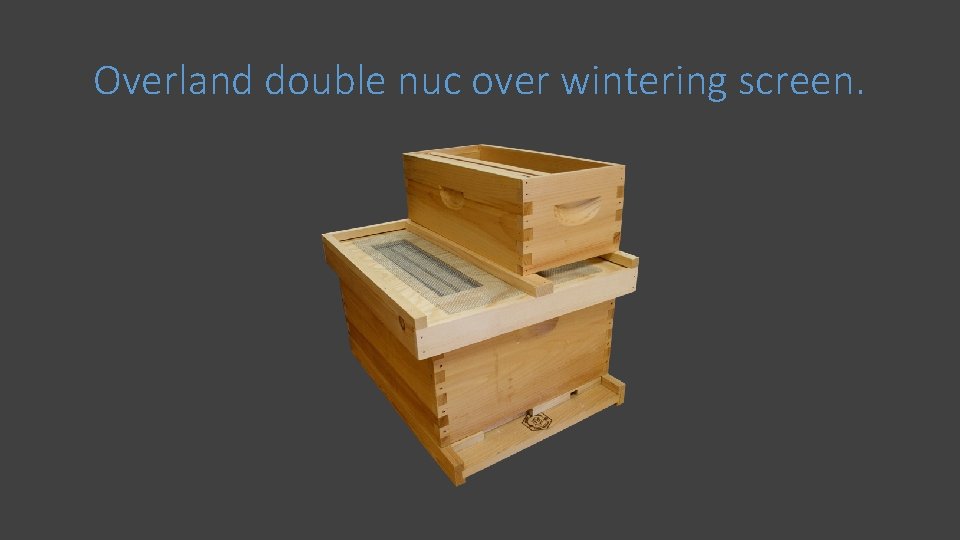
Overland double nuc over wintering screen.
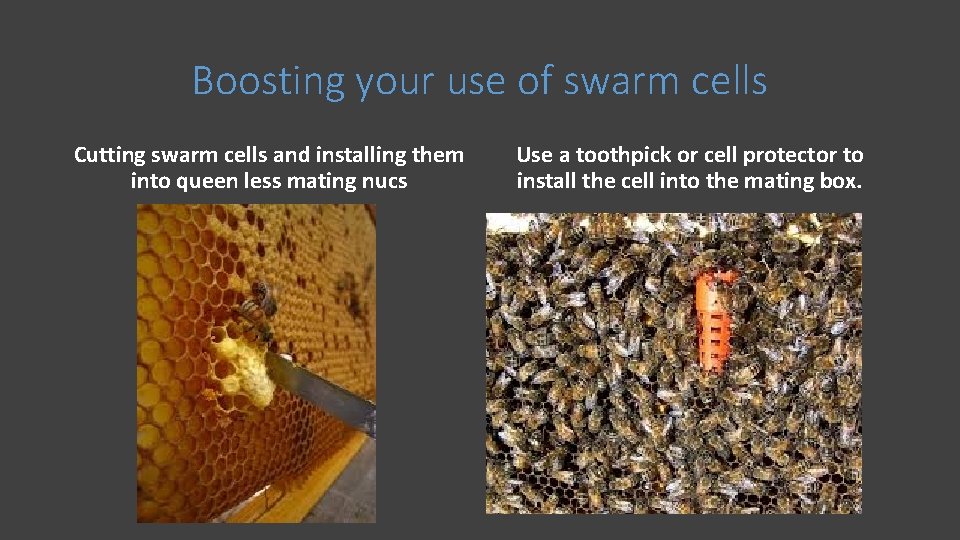
Boosting your use of swarm cells Cutting swarm cells and installing them into queen less mating nucs Use a toothpick or cell protector to install the cell into the mating box.
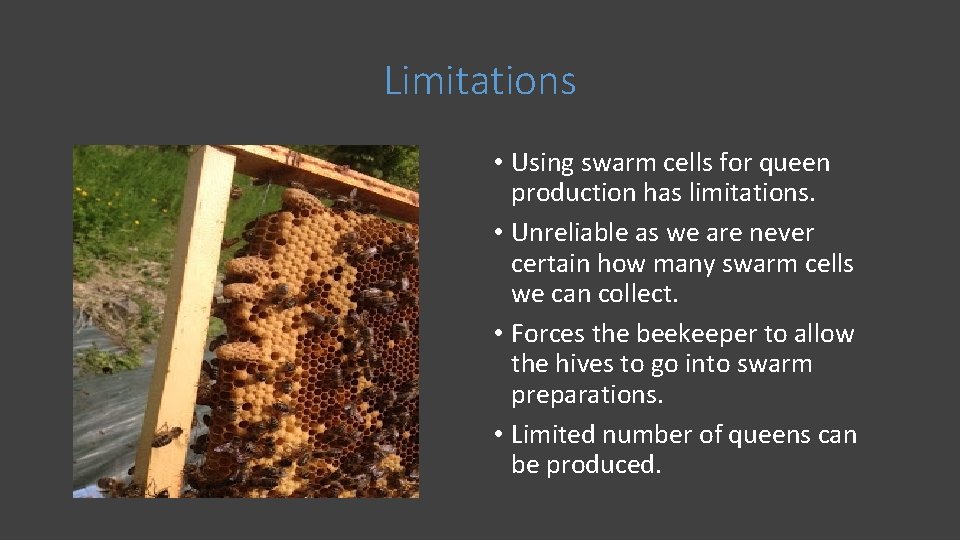
Limitations • Using swarm cells for queen production has limitations. • Unreliable as we are never certain how many swarm cells we can collect. • Forces the beekeeper to allow the hives to go into swarm preparations. • Limited number of queens can be produced.
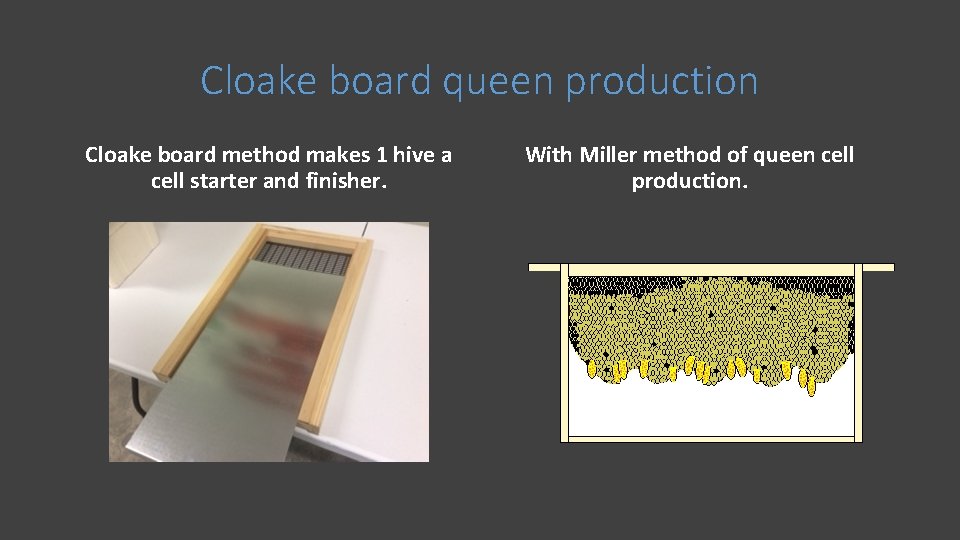
Cloake board queen production Cloake board method makes 1 hive a cell starter and finisher. With Miller method of queen cell production.
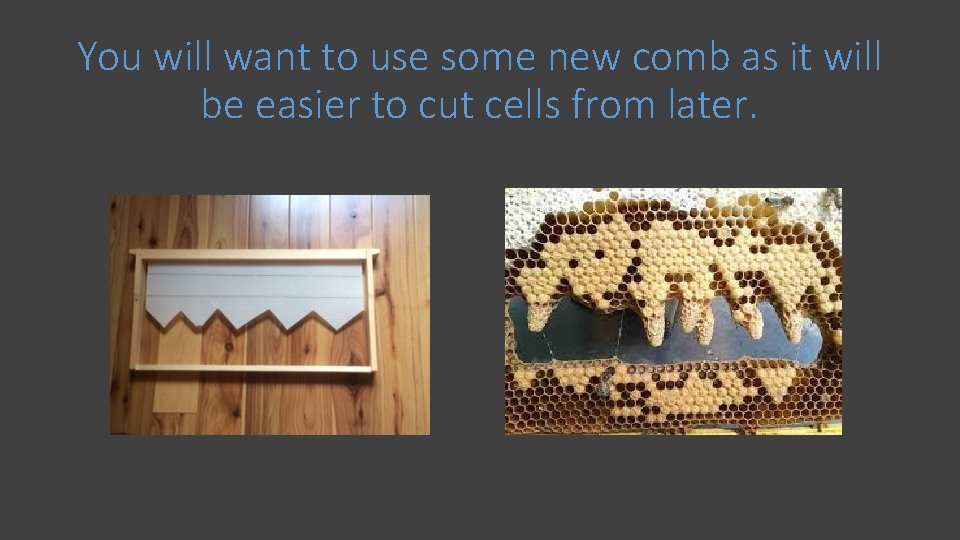
You will want to use some new comb as it will be easier to cut cells from later.
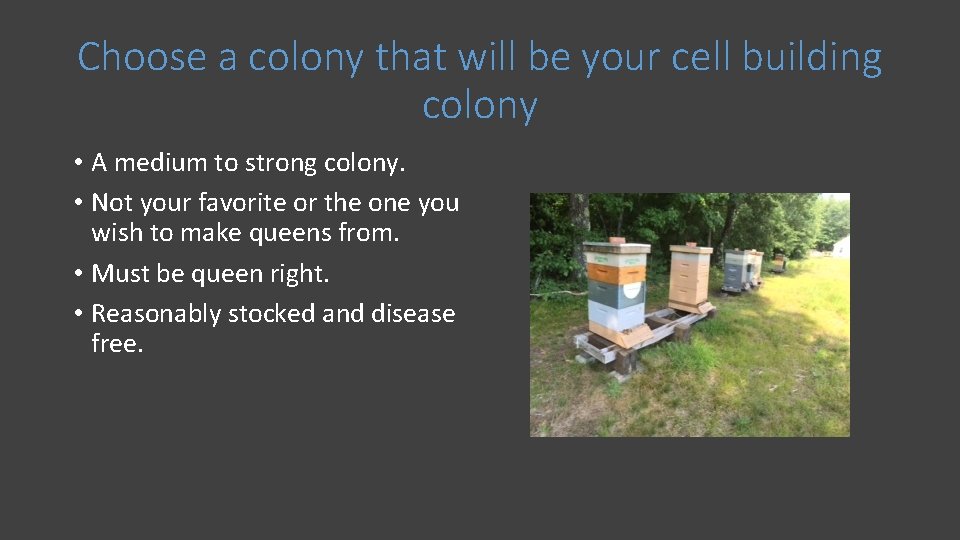
Choose a colony that will be your cell building colony • A medium to strong colony. • Not your favorite or the one you wish to make queens from. • Must be queen right. • Reasonably stocked and disease free.
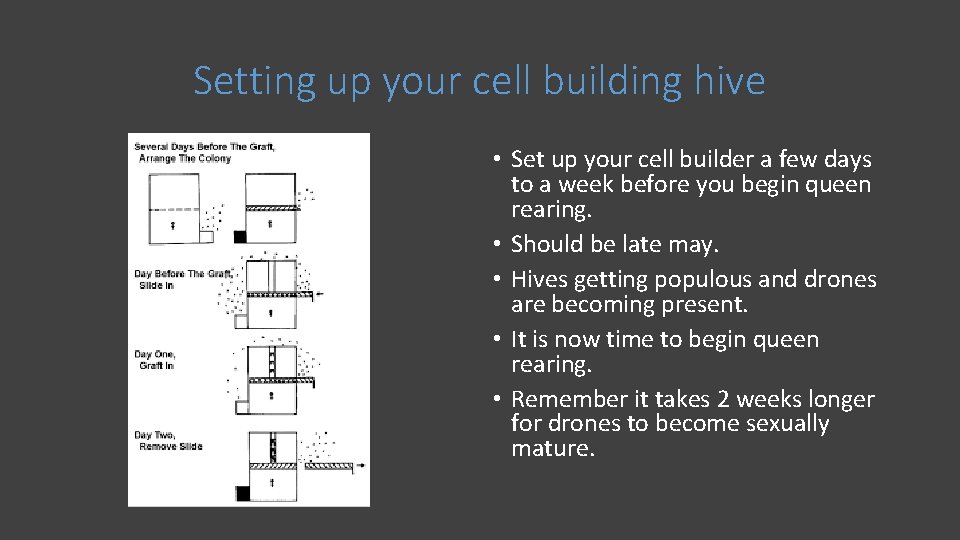
Setting up your cell building hive • Set up your cell builder a few days to a week before you begin queen rearing. • Should be late may. • Hives getting populous and drones are becoming present. • It is now time to begin queen rearing. • Remember it takes 2 weeks longer for drones to become sexually mature.
You will need an extra hive body full of frames Whatever you have • Into the extra hive body that will eventually go above the Cloake board we will put in frames as follows. (By position) 1 frame of honey 2 frame of foundation 3 frame of capped brood 4 frame capped brood 5 frame of open brood 6 frame of young open brood 7 frame with pollen 8 frame capped brood 9 frame capped brood 10 frame of space and honey • You can take frames from other hives if needed. • The frames of open brood are to attract nurse bees into the top box.
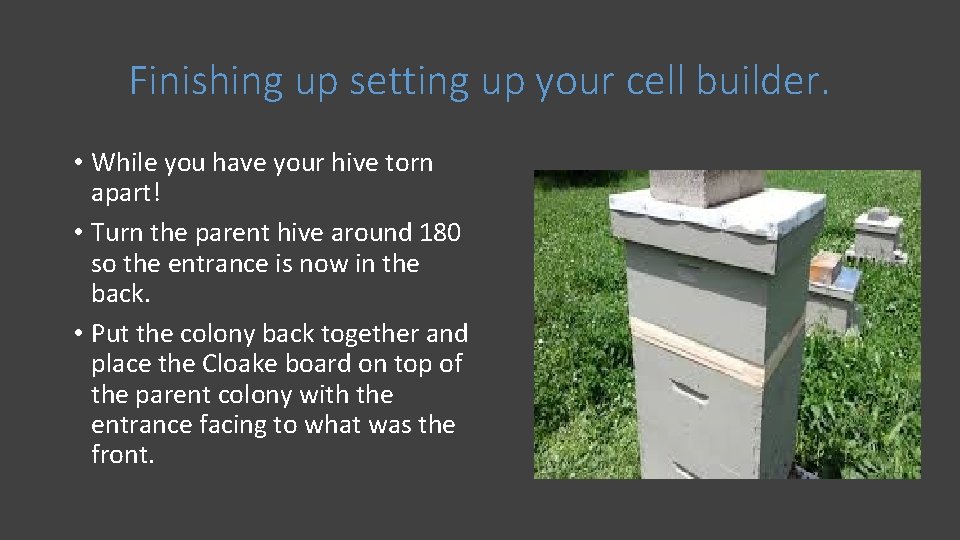
Finishing up setting up your cell builder. • While you have your hive torn apart! • Turn the parent hive around 180 so the entrance is now in the back. • Put the colony back together and place the Cloake board on top of the parent colony with the entrance facing to what was the front.
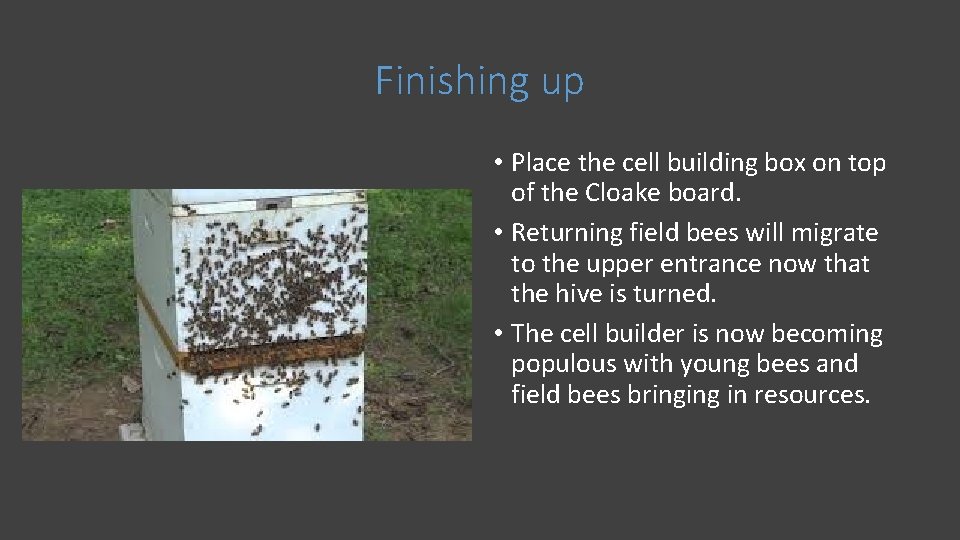
Finishing up • Place the cell building box on top of the Cloake board. • Returning field bees will migrate to the upper entrance now that the hive is turned. • The cell builder is now becoming populous with young bees and field bees bringing in resources.
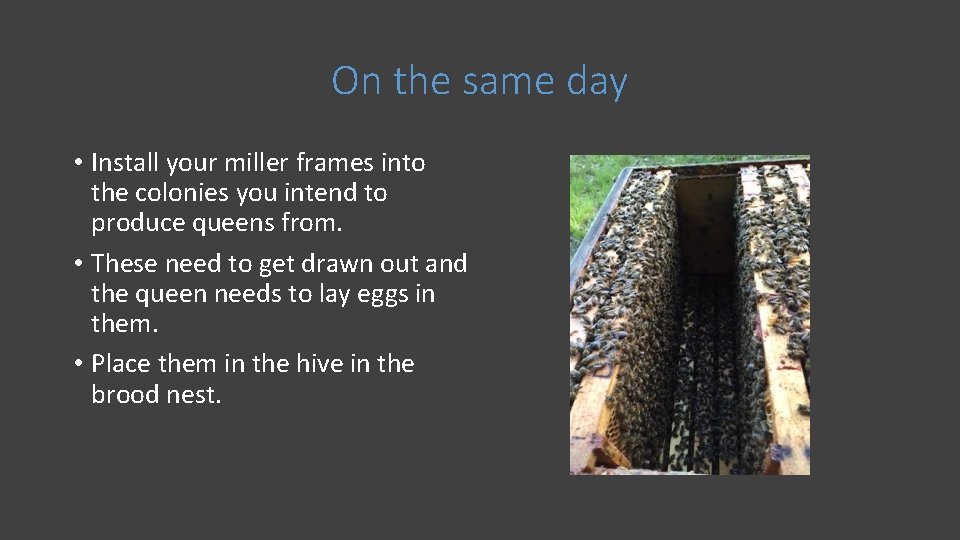
On the same day • Install your miller frames into the colonies you intend to produce queens from. • These need to get drawn out and the queen needs to lay eggs in them. • Place them in the hive in the brood nest.
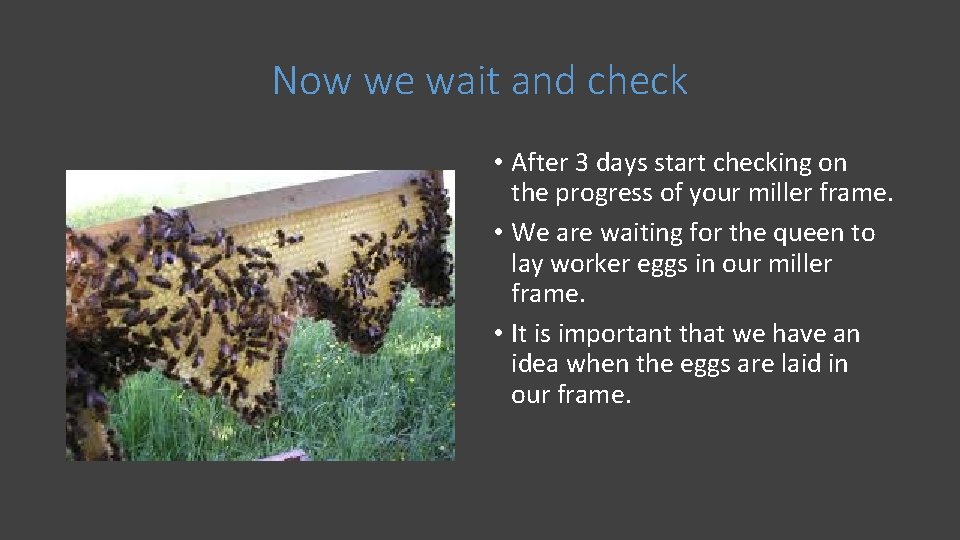
Now we wait and check • After 3 days start checking on the progress of your miller frame. • We are waiting for the queen to lay worker eggs in our miller frame. • It is important that we have an idea when the eggs are laid in our frame.
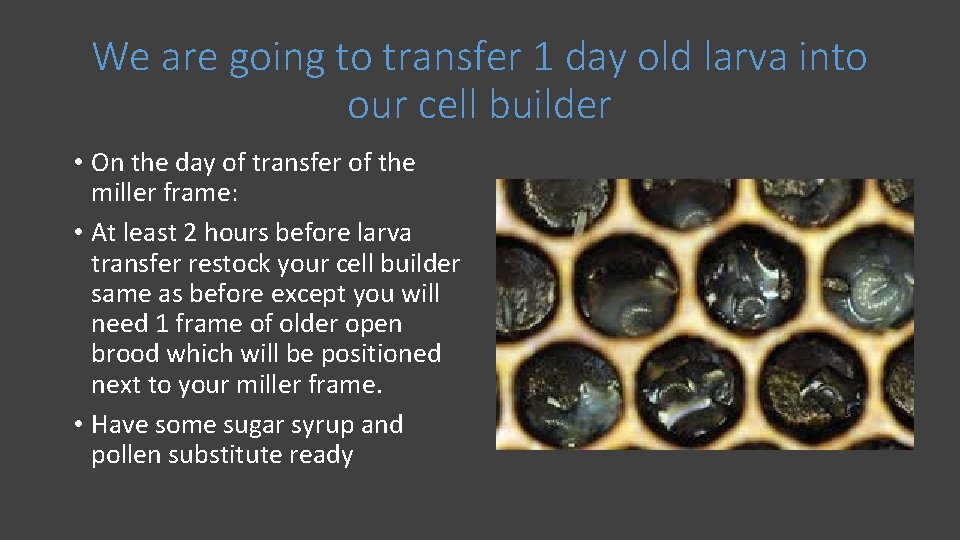
We are going to transfer 1 day old larva into our cell builder • On the day of transfer of the miller frame: • At least 2 hours before larva transfer restock your cell builder same as before except you will need 1 frame of older open brood which will be positioned next to your miller frame. • Have some sugar syrup and pollen substitute ready
Make your cell builder queenless. • At least an hour before inserting your miller frame place the slide in your Cloake board. • Remember this is not an exact science but you do want the cell builder to be queenless for a period before installing your frame of larva. • Now we will go to the mother hive and get our miller frame. • Look the frame over and know where the youngest larva are located on the frame. (take a picture). • If your bees put drone comb on the bottom of the comb you will want to trim this back.
Tweaking your Miller frame • You can trim back the comb to the proper age larva. • You can use the break the bottom of the cell method. • Bees want to build queen cells on the edge of the comb. • The only time bees build cells in the face of the comb is during supercedure. • When bees make queen cells on the face of the comb they will chew out the bottom edge of the cell. • This facilitates downward positioning of the cell and makes the base of the cell bigger. • Using this knowledge we could use any brood frame containing the proper age larva!
Place your frame of larva into your cell builder. • Place frame of larva into position 4 or 6 in your cell builder. • Position your frame of open brood next to the larva frame on one side and a frame of pollen (if you have it) on the other side. • Place a pollen substitute patty on top of the frames adjacent to the miller frame. (not directly on top) • Place syrup feeder on the cell builder. (bottle, frame feeder) • Close up the hive. • Make out a queen rearing calendar. • Relax and enjoy. • This is fun!!
Check for acceptance or takes. • 24 to 48 hour max later check on • You can destroy any unwanted your larva frame. cells now. (Bad location or queens started on larva that are • Remember where your proper too old). age larva were located or where you nicked the bottoms of some • Check the frame of open brood larval cells. you placed in cell builder for queen cells and destroy any • How did you do? found. (We don’t want loose • Normally you should find 4 to 8 queens in our cell builder. cells started.
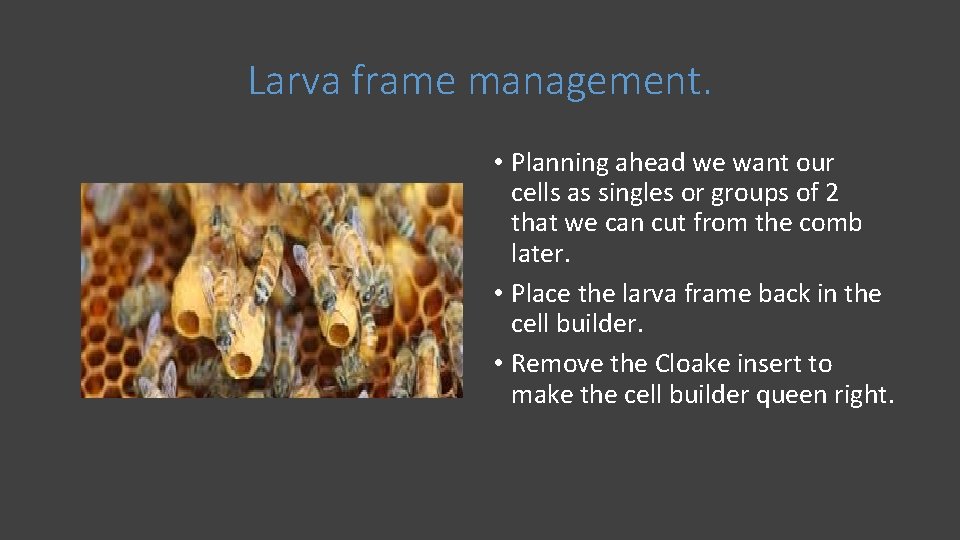
Larva frame management. • Planning ahead we want our cells as singles or groups of 2 that we can cut from the comb later. • Place the larva frame back in the cell builder. • Remove the Cloake insert to make the cell builder queen right.
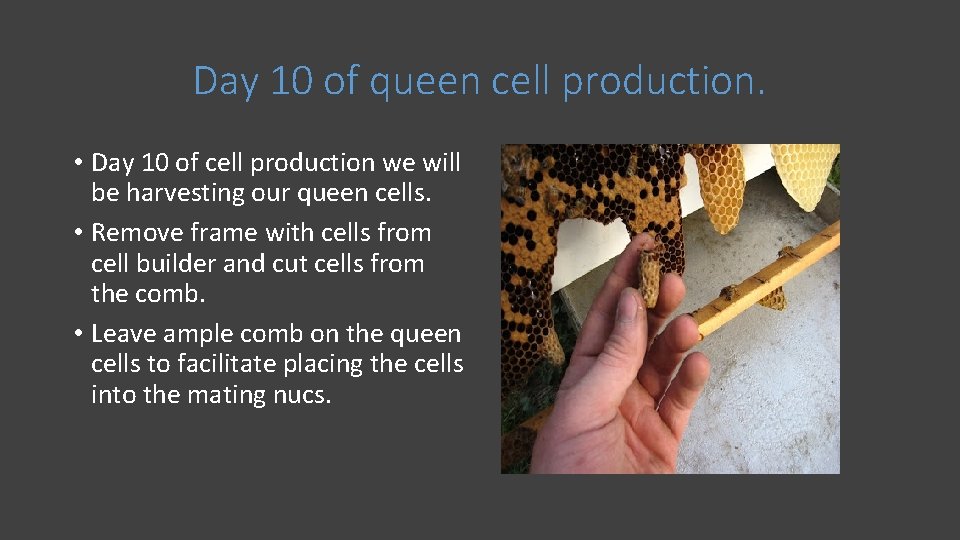
Day 10 of queen cell production. • Day 10 of cell production we will be harvesting our queen cells. • Remove frame with cells from cell builder and cut cells from the comb. • Leave ample comb on the queen cells to facilitate placing the cells into the mating nucs.
Harvesting queen cells • Don’t be stingy when cutting cells. • You and your bees worked hard to produce these queen cells, we don’t want to damage them now. • Use tooth picks or cell protectors to install the cells into the mating nucs. • Install the cells into your mating boxes and leave them alone for 2 weeks. • In 2 weeks you should have eggs. • Be patient some queens take a bit longer to get started. • If you have failure combine your mating unit with another hive and try again.
Final thoughts. • Using the Cloake board system as described you can get 3 batches of queen cells per unit. • You could push this system harder by making your Cloaked hive a starter and finisher. • This requires more work and is harder on the parent colony. • Shutting down is easy. • You could let the cell builder finish developing the cells and produce a nuc. • You could combine the cell builder to the parent hive. • You could split up the cell builder and give the resources to hives that need them.
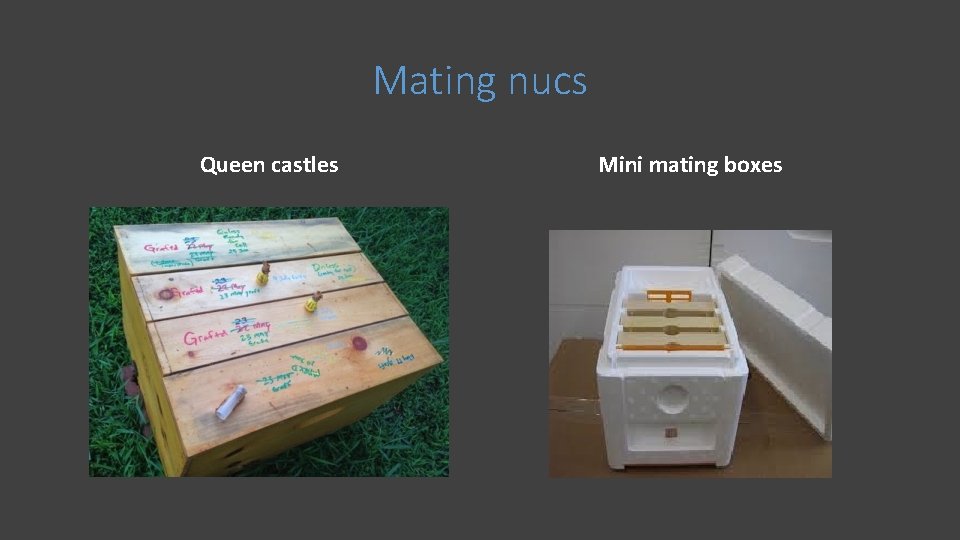
Mating nucs Queen castles Mini mating boxes
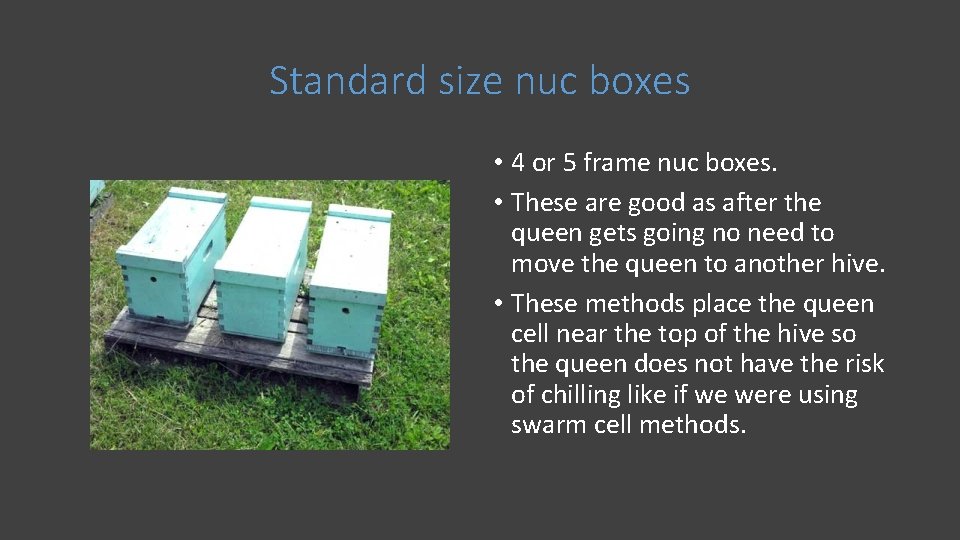
Standard size nuc boxes • 4 or 5 frame nuc boxes. • These are good as after the queen gets going no need to move the queen to another hive. • These methods place the queen cell near the top of the hive so the queen does not have the risk of chilling like if we were using swarm cell methods.
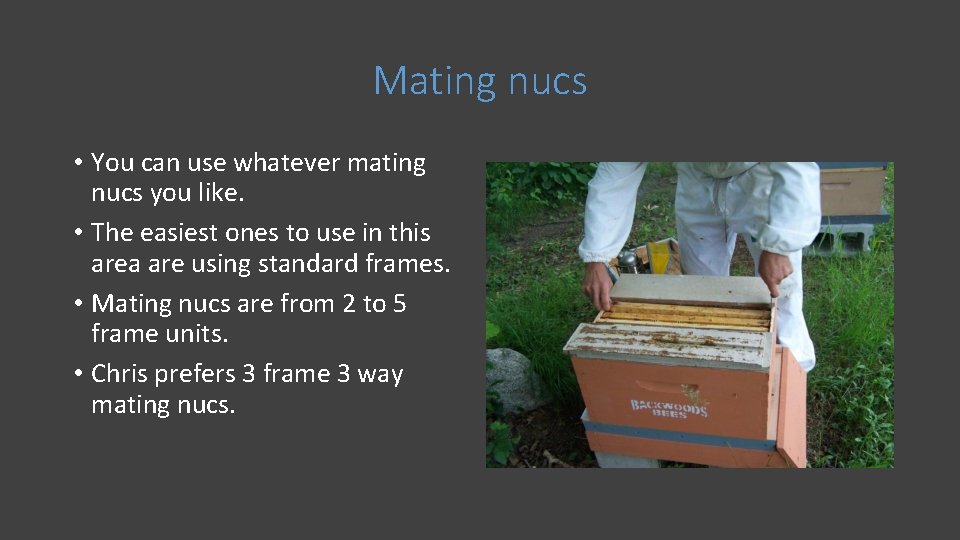
Mating nucs • You can use whatever mating nucs you like. • The easiest ones to use in this area are using standard frames. • Mating nucs are from 2 to 5 frame units. • Chris prefers 3 frame 3 way mating nucs.
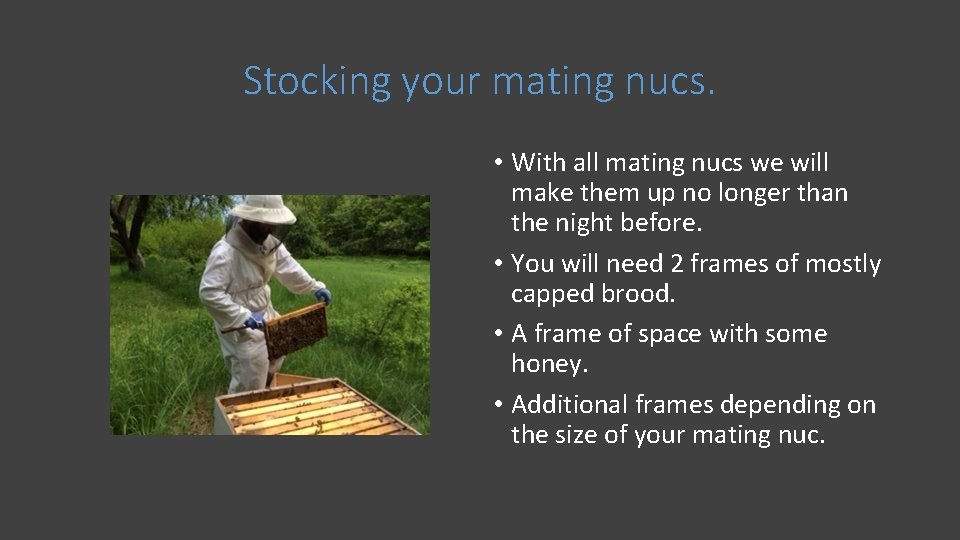
Stocking your mating nucs. • With all mating nucs we will make them up no longer than the night before. • You will need 2 frames of mostly capped brood. • A frame of space with some honey. • Additional frames depending on the size of your mating nuc.
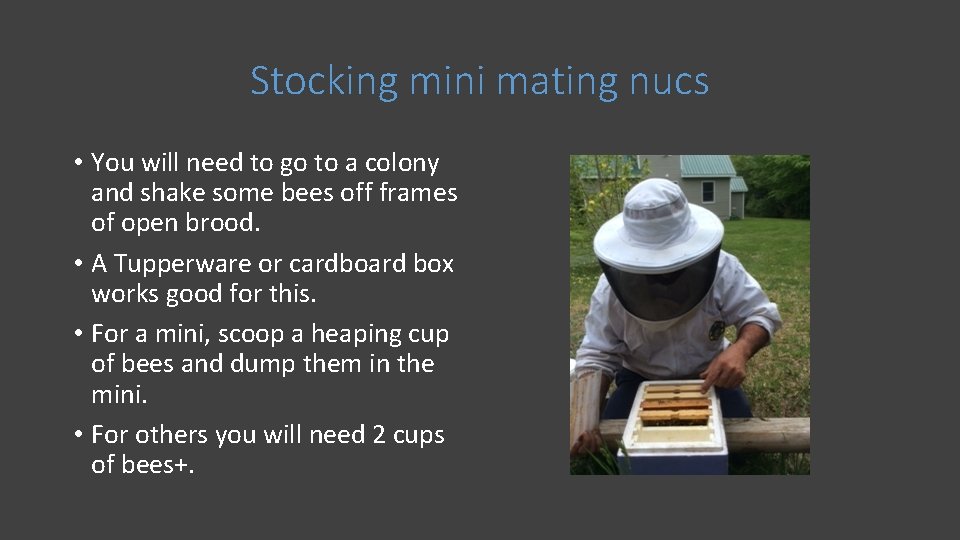
Stocking mini mating nucs • You will need to go to a colony and shake some bees off frames of open brood. • A Tupperware or cardboard box works good for this. • For a mini, scoop a heaping cup of bees and dump them in the mini. • For others you will need 2 cups of bees+.
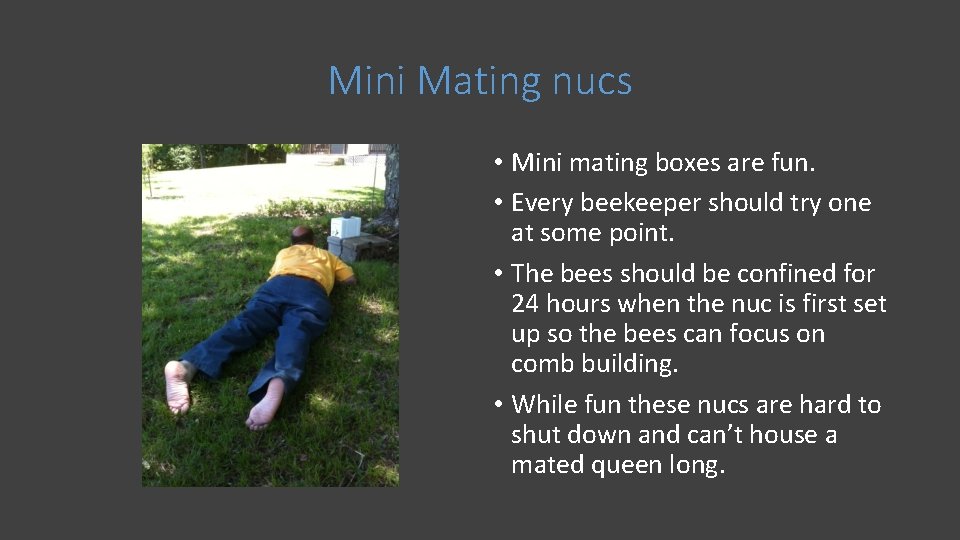
Mini Mating nucs • Mini mating boxes are fun. • Every beekeeper should try one at some point. • The bees should be confined for 24 hours when the nuc is first set up so the bees can focus on comb building. • While fun these nucs are hard to shut down and can’t house a mated queen long.
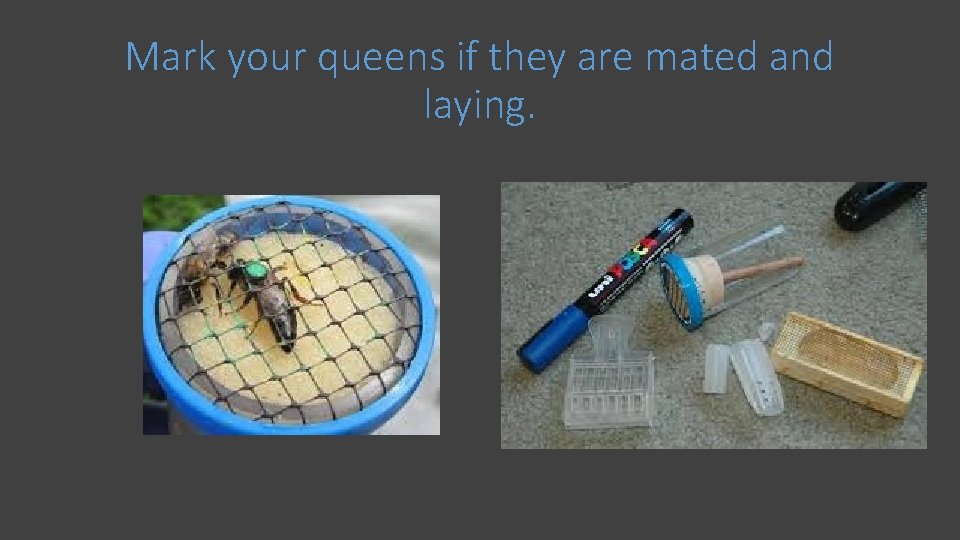
Mark your queens if they are mated and laying.
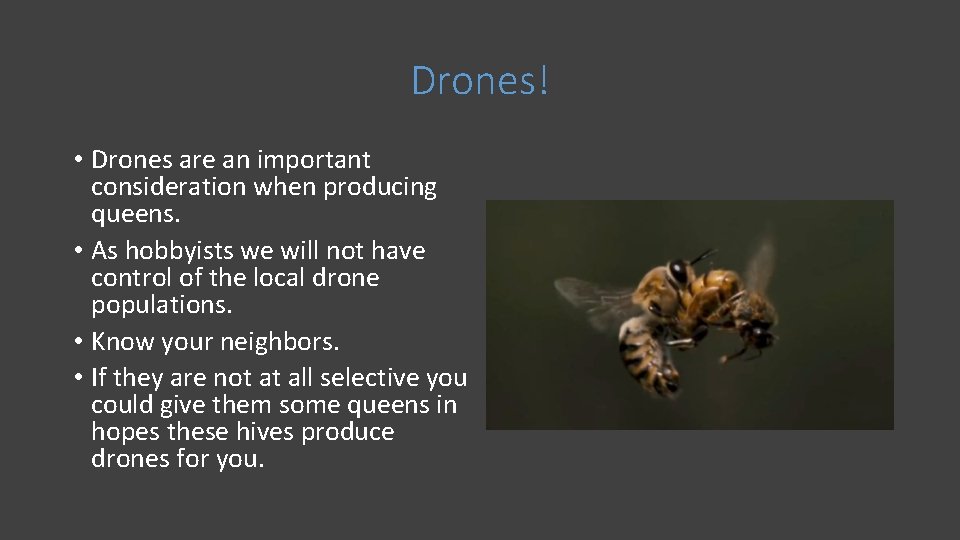
Drones! • Drones are an important consideration when producing queens. • As hobbyists we will not have control of the local drone populations. • Know your neighbors. • If they are not at all selective you could give them some queens in hopes these hives produce drones for you.
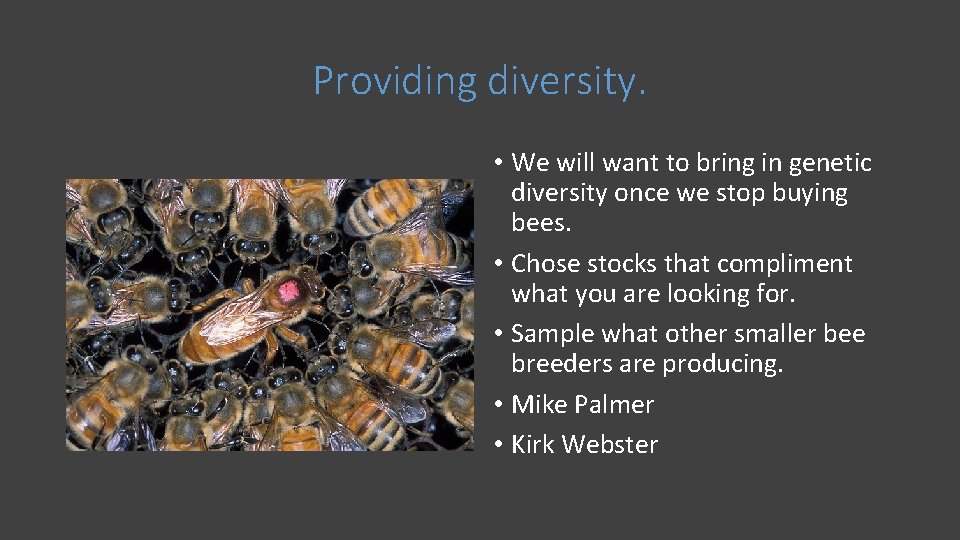
Providing diversity. • We will want to bring in genetic diversity once we stop buying bees. • Chose stocks that compliment what you are looking for. • Sample what other smaller bee breeders are producing. • Mike Palmer • Kirk Webster
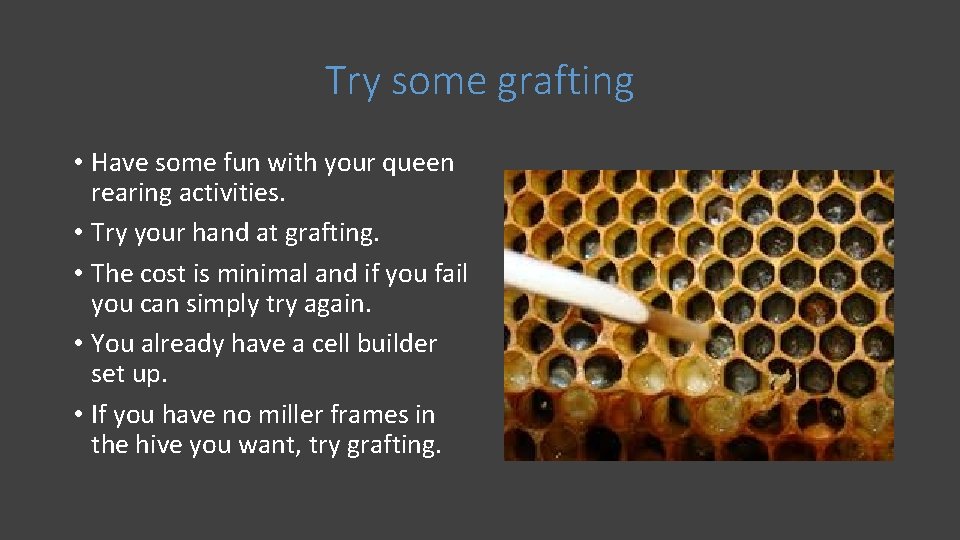
Try some grafting • Have some fun with your queen rearing activities. • Try your hand at grafting. • The cost is minimal and if you fail you can simply try again. • You already have a cell builder set up. • If you have no miller frames in the hive you want, try grafting.
Take home thoughts • Remember this is not completely • Have fun!! scientific queen rearing! • If you have some failures you • This just our hobby! can simply try again. • Go easy at first there is a lot to learn and perfect. • This system will provide at least a few good queens for the beekeeper.
- Slides: 50