Application Framework 1 Notification Manager 2 resource manager
 2. 리소스 관리자 (resource manager) 3. 레이아웃")

 개요 Notification Manager. Notification? Icon ticker. Text Notification (int icon, Char.")
 주요 기능 설명 Notification Manager. Main functions. Pending. Intent 클래스는 인텐트를")

 사용 예제 Notification Manager. Nap. Alarm. java // 잠시 후에 실행하게")
 사용 예제 Notification Manager. 실행화면.")

 Connectivity Manager. 먼저 permission 을 설정한다. 네트웍을")
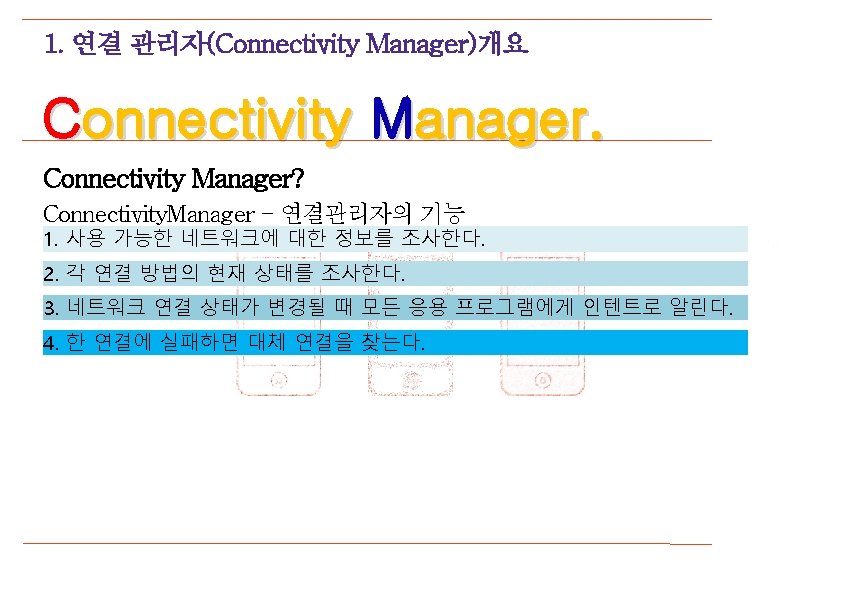
 Connectivity Manager. WIFI, 3 G 인지 구분없이")


- Slides: 23
목차 Application Framework. 1. 통지 관리자(Notification Manager) 2. 리소스 관리자 (resource manager) 3. 레이아웃 인플레이터 매니저 (Layout Inflater Manager)
Notification Manager
1. 통지관리자(Notification Manager) 개요 Notification Manager. Notification? Icon ticker. Text Notification (int icon, Char. Sequence ticker. Text, long when)
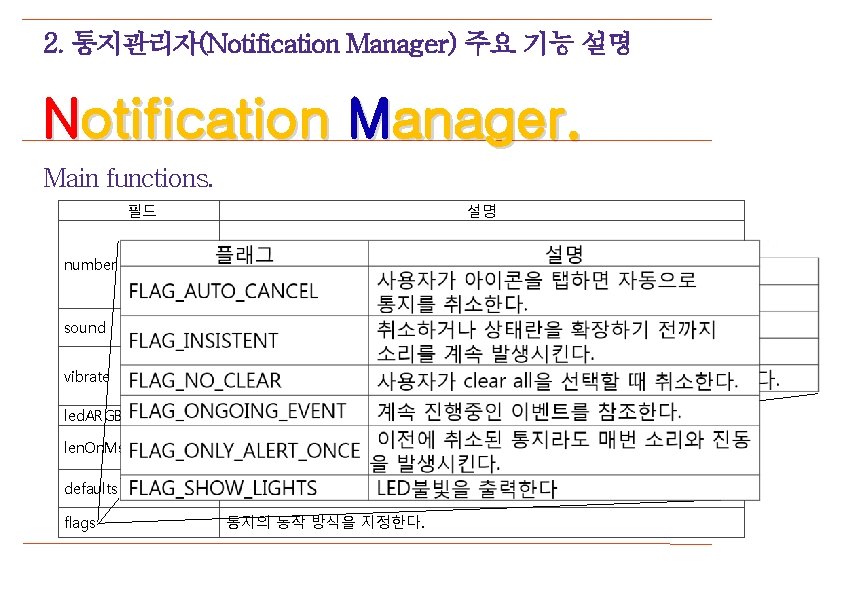
2. 통지관리자(Notification Manager) 주요 기능 설명 Notification Manager. Main functions. Pending. Intent 클래스는 인텐트를 래핑하며 다른 응용프로그램으로 전달하여 실행 권한을 준다는 점에서 보통의 인텐트와 다르다. 생성자가 따로 정의되어 있지 않으므로 아래 세개의 정적 메소드 중 하나로 생성한다. void set. Lastest. Event. Info (Context context, Char. Sequence content. Title, Char. Sequence content. Text, Pending. Intent content. Intent) Pending. Intent get. Activity (Context context, int request. Code, Intent intent, int flags) Pending. Intent get. Broadcast (Context context, int request. Code, Intent intent, int flags) Pending. Intent get. Service–(Context context, int request. Code, intent, int flags) Context 통지를 발생시킨 주체와Intent 제목 Char. Sequence content. Title – 메시지 큰글씨 intent는 사용자가 통지 객체를 탭했을 때의 동작을 지정한다. 주로 Activity를 띄우는데 이경우 인 텐트에는 FLAG_ACTIVITY_NEW_TASK 지정해야 한다. Char. Sequence content. Text 플래그를 – 메시지 텍스트 Pending. Intent content. Intent – 통지 뷰를 탭했을 때 호출할 인텐 트
3. 통지관리자(Notification Manager) 사용 예제 Notification Manager. Nap. Alarm. java // 잠시 후에 실행하게 함. ----------------------- v. post. Delayed(new Runnable() { public class Nap. Alarm extends Activity { public void run() { static final int NAPNOTI = 1; // 상단 상태란에 나타날 메시지를 지정한다. Notification. Manager m. Noti. Manager; Notification noti = new Notification(R. drawable. icon, "일어나세요", /** Called when the activity is first created. */ System. current. Time. Millis()); @Override noti. defaults |= Notification. DEFAULT_SOUND; public void on. Create(Bundle saved. Instance. State) { noti. flags |= Notification. FLAG_INSISTENT; super. on. Create(saved. Instance. State); //사용자가 통지를 탭 했을때 출력할 창을 설정한다. set. Content. View(R. layout. main); Nap. End. java Intent intent = new Intent(Nap. Alarm. this, Nap. End. class); public class extends Activity { Nap. End intent. add. Flags(Intent. FLAG_ACTIVITY_NEW_TASK); // 통지관리자를 가져온다. protected void on. Create(Bundle { Pending. Intent saved. Instance. State) content = Pending. Intent. get. Activity(Nap. Alarm. this, 0, intent, 0); m. Noti. Manager = (Notification. Manager) get. System. Service(NOTIFICATION_SERVICE); super. on. Create(saved. Instance. State); // 상태란을 확장시켰을때 보여지는 메시지 지정. set. Content. View(R. layout. napend); // 클릭했을 때 실행할 Intent 지정. = (Button)find. View. By. Id(R. id. start); Button btn noti. set. Latest. Event. Info(Nap. Alarm. this, "기상 시간", "일어나! 일할 시간이야. ", Notification. Manager nm = (Notification. Manager) get. System. Service(NOTIFICATION_SERVICE); btn. set. On. Click. Listener(new Button. On. Click. Listener() { nm. cancel(Nap. Alarm. NAPNOTI); content); public void on. Click(View v) { Toast. make. Text(Nap. Alarm. this, "안녕히 주무세요", 0). show(); Button btn = (Button)find. View. By. Id(R. id. end); m. Noti. Manager. notify(Nap. Alarm. NAPNOTI, noti); btn. set. On. Click. Listener(new Button. On. Click. Listener() {. } public void on. Click(View v) {. }, 5*1000); finish(); } }. }); } } }get. System. Service (NOTIFICATION_SERVICE)
3. 통지관리자(Notification Manager) 사용 예제 Notification Manager. 실행화면.
Connectivity Manager
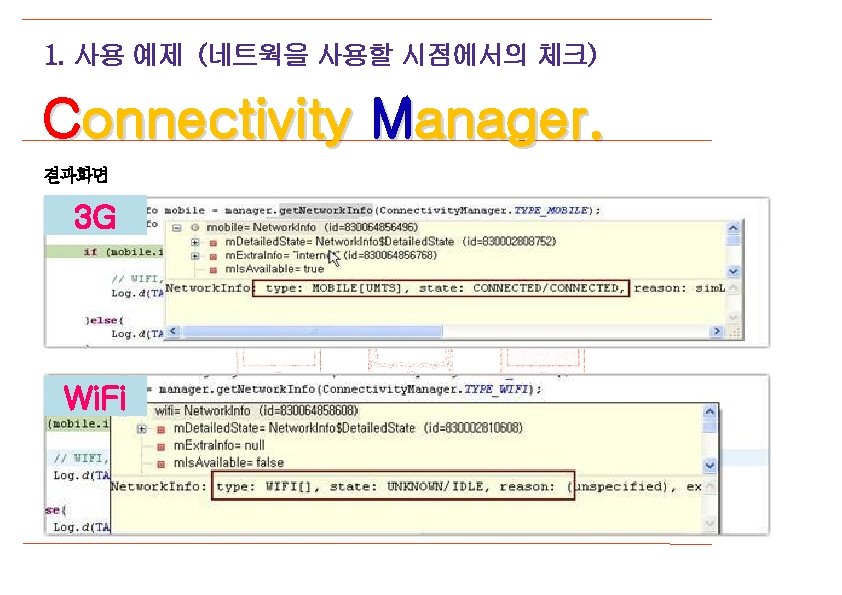
1. 사용 예제 (네트웍을 사용할 시점에서의 체크) Connectivity Manager. 먼저 permission 을 설정한다. 네트웍을 사용하기 위한 permission 은 아래와같다. 이 내용을 Android. Manifest. xml 에 추가한다. INTERNET 만 추가하면 안된다. ACCESS_NETWORK_STATE 도 추가하기 바란다. <uses-permission android: name="android. permission. INTERNET"> <uses-permission android: name="android. permission. ACCESS_NETWORK_STATE"> </uses-permission> 다음은 Connectivity. Manager 객체를 통해 WIFI 와 3 G 상태를 체크할수 있는 객체를 반환해서 상태를 체크한다 Connectivity. Manager manager = (Connectivity. Manager)context. get. System. Service(Context. CONNECTIVITY_SERVICE);
1. 사용 예제 (네트웍을 사용할 시점에서의 체크) Connectivity Manager. WIFI, 3 G 인지 구분없이 네트웍 연결상태가 제대로 되었는지에 대한 소스는 아래와 같다. is. Connectionted 함수를 써서 확인한다. //연결매니저와 3 G, wifi정보를 받아올 객체 선언 Connectivity. Manager manager = (Connectivity. Manager)context. get. System. Service(Context. CONNECTIVITY_SERVICE); Network. Info mobile = manager. get. Network. Info(Connectivity. Manager. TYPE_MOBILE); Network. Info wifi = manager. get. Network. Info(Connectivity. Manager. TYPE_WIFI); if (mobile. is. Connected() || wifi. is. Connected()){ // WIFI, 3 G 어느곳에도 연결되지 않았을때 Log. d(TAG, "Network connect success"); }else{ Log. d(TAG, "Network connect fail"); }
Layout Inflater Manager
Layout Inflater Manager. 1. 개요 2. 주요 기능 설명 3. 사용 예제
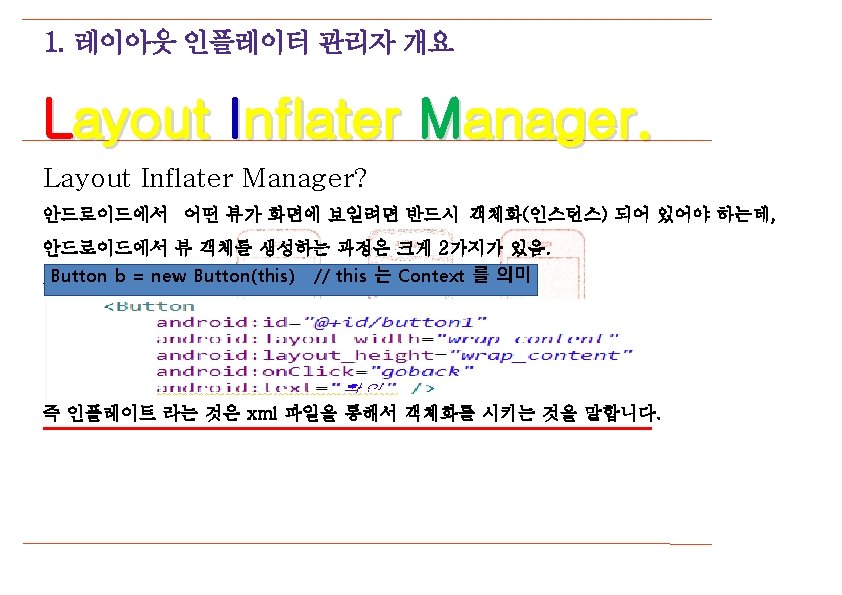
2. 레이아웃 인플레이터 관리자 주요기능 Layout Inflater Manager. 인플레이터로 기본적으로 레이아웃을 얻어오는 방식은 두가지가 있음. - Layout. Inflater inflater = (Layout. Inflater) get. System. Service(Context. LAYOUT_INFLATER_SERVICE); - Layout. Inflater inflater 2 = get. Layout. Inflater(); 각각 차이점은 inflater는 system에서 얻어 오는 방법이고, inflater 2는 Activity에서 제공하는 메소드를 이용해 얻어 오는 방법임.
2. 레이아웃 인플레이터 관리자 주요기능 Layout Inflater Manager. inflater는 View객체를 반환 해주는 4가지 메소드가 존재함. // 리소스(R. layout. xxx), root 리소스는 프로젝트/res/layout 폴더에 inflater. inflate(resource, root); 들어 있는 xml 파일을 지정 하면됨 // XMLparser, root inflater. inflate(parser, root); XMLparser는 잘 안쓰인다고 함. // 리소스(R. layout. xxx), root, attach 조건(보통 false) inflater. inflate(resource, root, attach. To. Root); root는 내가 지정한 리소스(xml 파일)이 어디에 붙을 껀지 지정하는 것임(없으면 null 넣으면됨) // XMLparser, root, attach 조건(보통 false) inflater. inflate(parser, root, attach. To. Root); attach 조건 이게 좀 복잡한데 이해 하려면 Layout. Params 이란 걸 알아야함. Layout. Params은 xml 상에서 (android: layout_width, android: layout_height) 을 code로 정의 해주는 녀석인데 이녀석에 대한 생성 기준을 어디로 설정 할 것이냐 묻는 것이다.
3. 레이아웃 인플레이터 관리자 예제 Layout Inflater Manager. show_item. xml 파일을 list라는 Linear. Layout 에다가 add 하고 싶다고 한다면? // Linear. Layout 객체 생성 Linear. Layout list = (Linear. Layout)find. View. By. Id(R. id. list); // Linear. Layout 객체 초기화 list. remove. All. Views(); // Layout. Inflater 객체 생성 Layout. Inflater inflater = get. Layout. Inflater(); // View 객체 생성 View view =inflater(R. layout. show_item, list(View를 붙일 녀석), false(붙일 조건)); // Linear. Layout 객체에 View 객체 추가 list. add(view);