Analysis of Parts with Multiple Gates Multiple Gates

- Slides: 20

Analysis of Parts with Multiple Gates

Multiple Gates § Aim – Determine optimum number and location of gates § Why do it – Use multiple gates to reduce pressure and clamp force – Control weld line locations § Overview – Review symmetrical and non-symmetrical gate locations – Molding window analysis - determines number of gates – Fill analysis § No runners - Defines final gate location § With runners – Size feed system

Multiple Gate Considerations § Filling pattern – Produce or maintain balanced filling § Over packing within the cavity – Prevent or eliminate over packing § Weld line quality & location – Position weld lines in nonsensitive areas § Air traps – Prevent air traps at converging flow front § Orientation – Unidirectional § Dimensional tolerances – Pack uniformly § Gate vestige – Lower flow rate/gate can have smaller size § Sink marks – Better packing to reduce sinks § Warpage – Possibly less warpage, better packing, unidirectional orientation

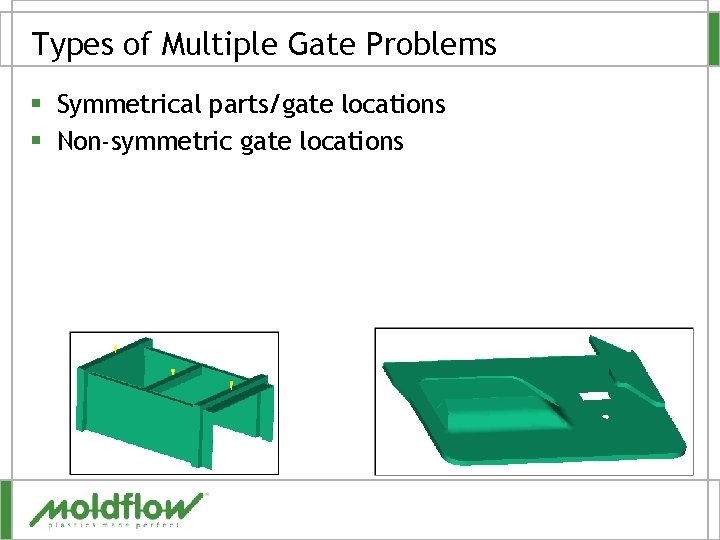
Types of Multiple Gate Problems § Symmetrical parts/gate locations § Non-symmetric gate locations

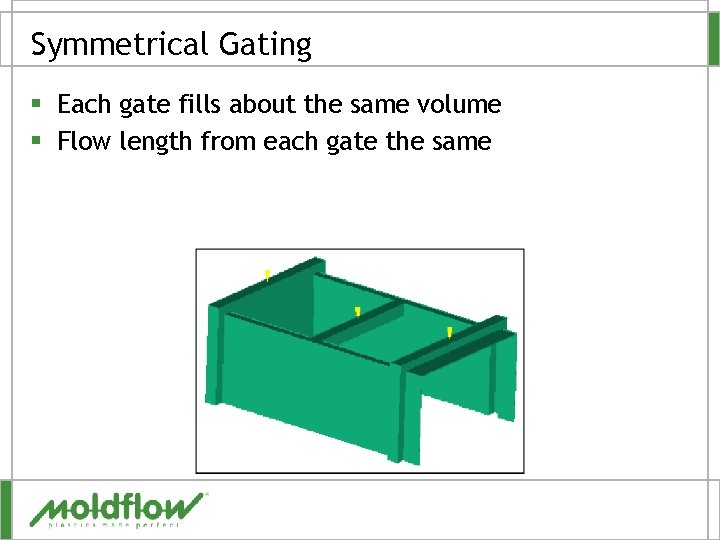
Symmetrical Gating § Each gate fills about the same volume § Flow length from each gate the same

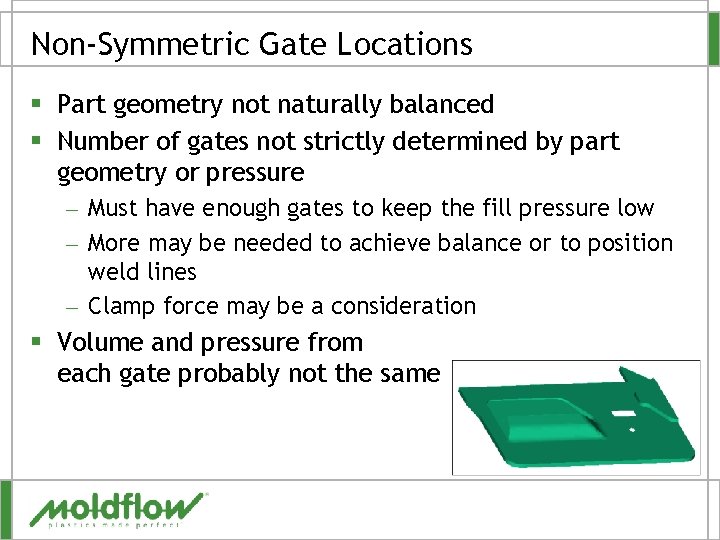
Non-Symmetric Gate Locations § Part geometry not naturally balanced § Number of gates not strictly determined by part geometry or pressure – Must have enough gates to keep the fill pressure low – More may be needed to achieve balance or to position weld lines – Clamp force may be a consideration § Volume and pressure from each gate probably not the same

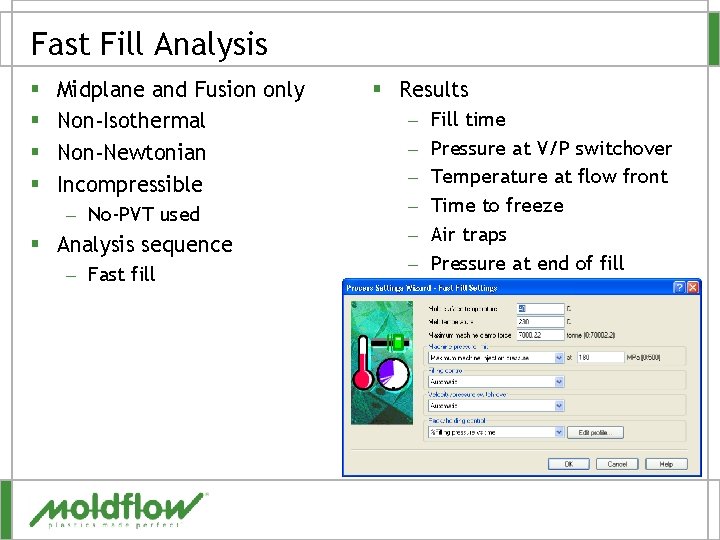
Fast Fill Analysis § § Midplane and Fusion only Non-Isothermal Non-Newtonian Incompressible – No-PVT used § Analysis sequence – Fast fill § Results – – – – Fill time Pressure at V/P switchover Temperature at flow front Time to freeze Air traps Pressure at end of fill Weld lines

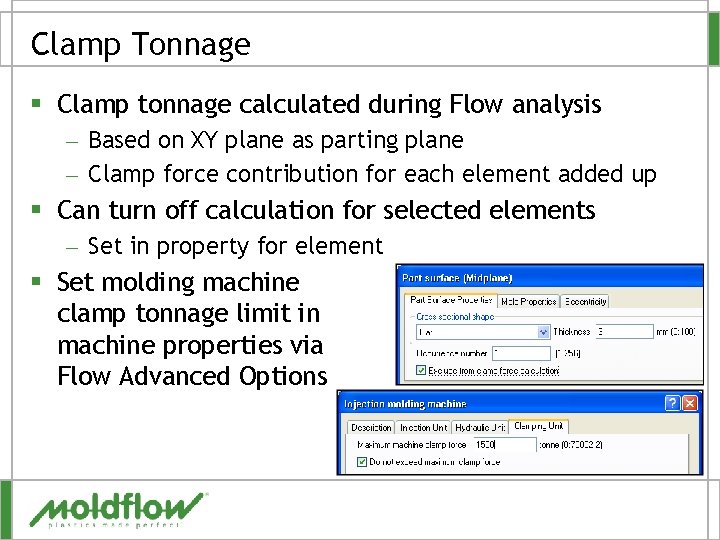
Clamp Tonnage § Clamp tonnage calculated during Flow analysis – Based on XY plane as parting plane – Clamp force contribution for each element added up § Can turn off calculation for selected elements – Set in property for element § Set molding machine clamp tonnage limit in machine properties via Flow Advanced Options

QUESTIONS?

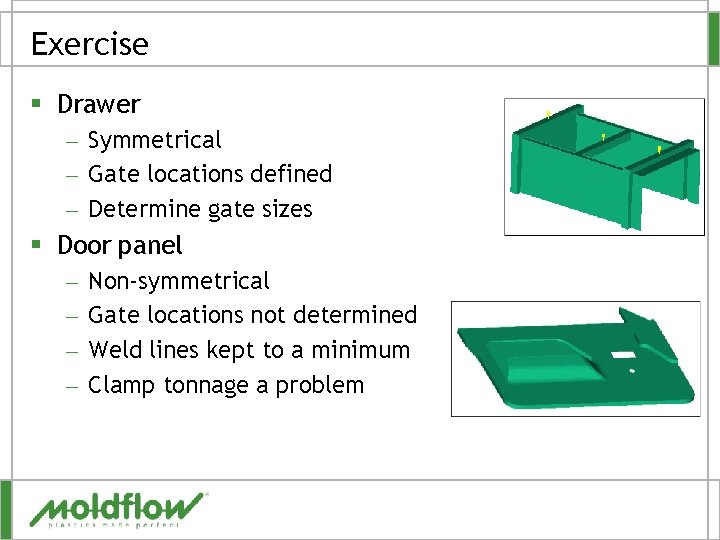
Exercise § Drawer – Symmetrical – Gate locations defined – Determine gate sizes § Door panel – – Non-symmetrical Gate locations not determined Weld lines kept to a minimum Clamp tonnage a problem

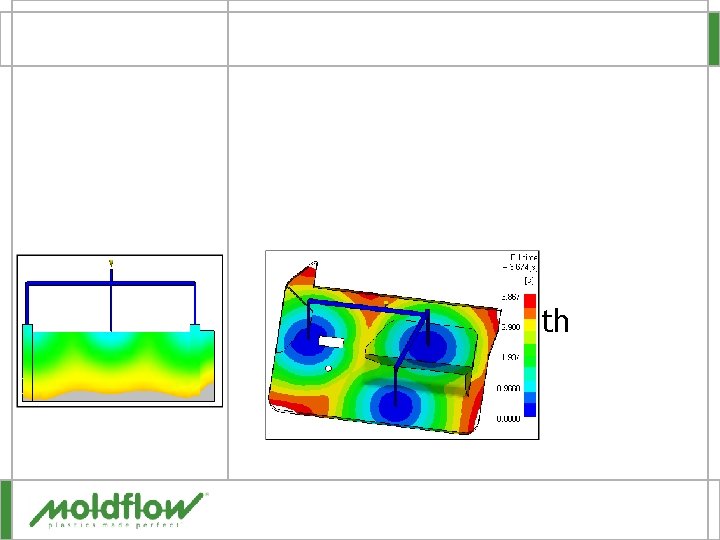
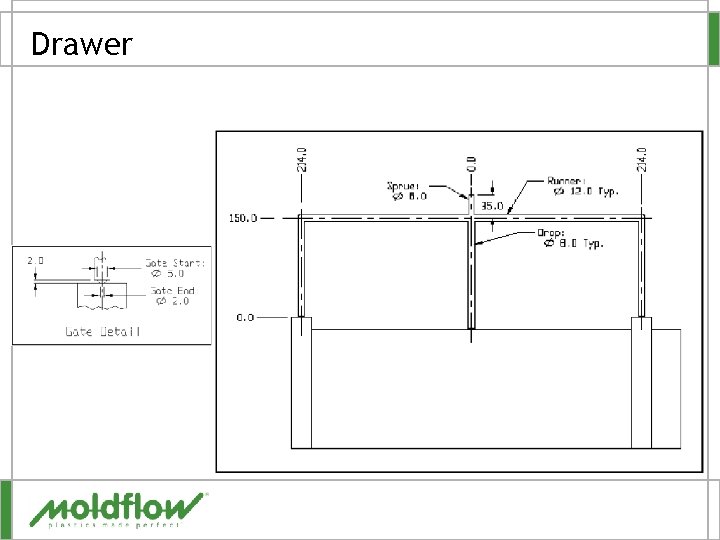
Exercise - Drawer § Run a molding window analysis on the drawer – Material Polystyrol 165 H – Decide on the processing conditions to use § Run a fill analysis on the drawer – Verify the processing conditions – Use as benchmark for runner analysis § § Use runner wizard to add the 3 hot drops per drawing Run flow analysis with hot runners Evaluate flow balance Change drop diameters in 1 mm increments to improve the balance

Drawer

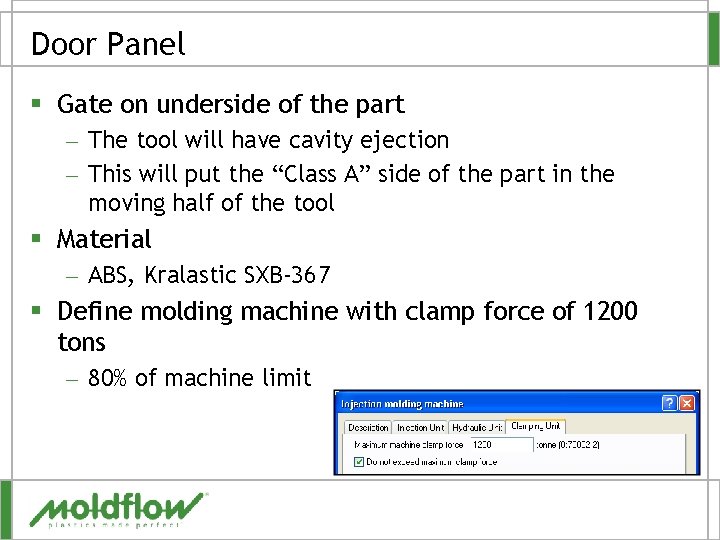
Door Panel § Gate on underside of the part – The tool will have cavity ejection – This will put the “Class A” side of the part in the moving half of the tool § Material – ABS, Kralastic SXB-367 § Define molding machine with clamp force of 1200 tons – 80% of machine limit

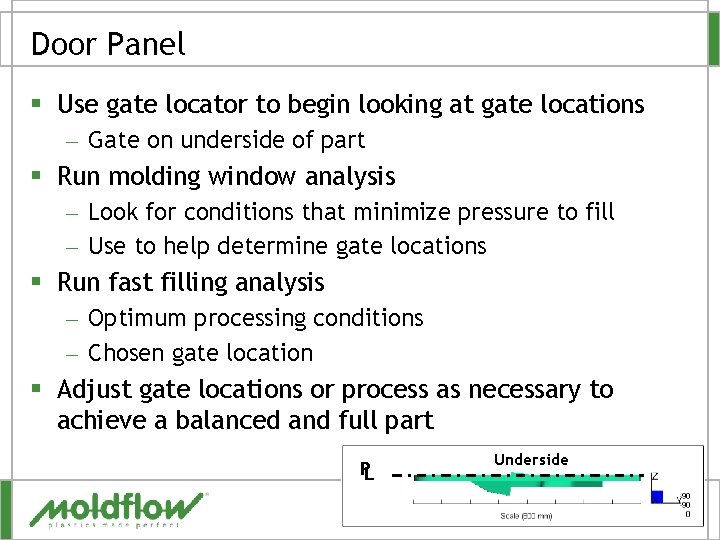
Door Panel § Use gate locator to begin looking at gate locations – Gate on underside of part § Run molding window analysis – Look for conditions that minimize pressure to fill – Use to help determine gate locations § Run fast filling analysis – Optimum processing conditions – Chosen gate location § Adjust gate locations or process as necessary to achieve a balanced and full part PL Underside

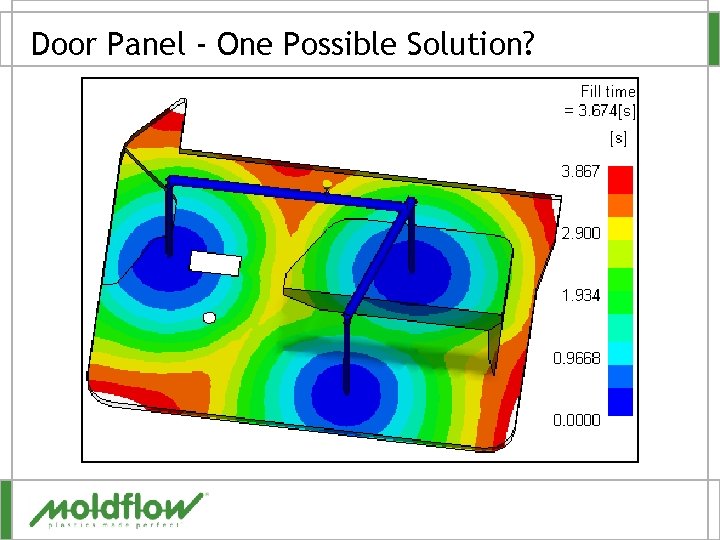
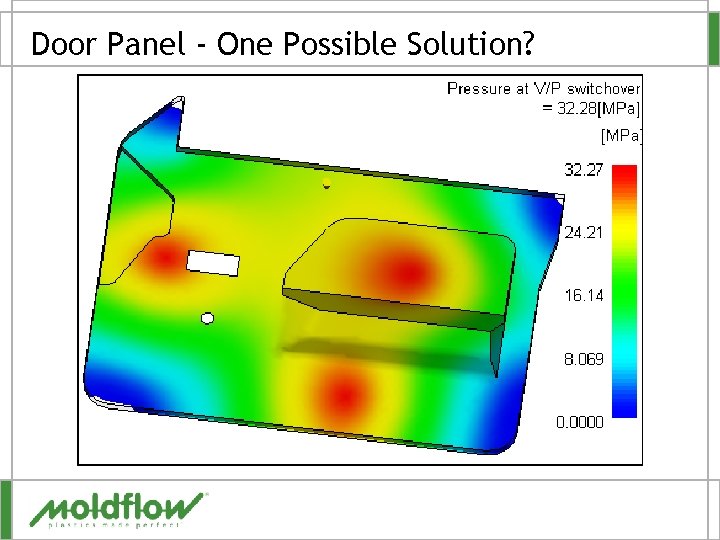
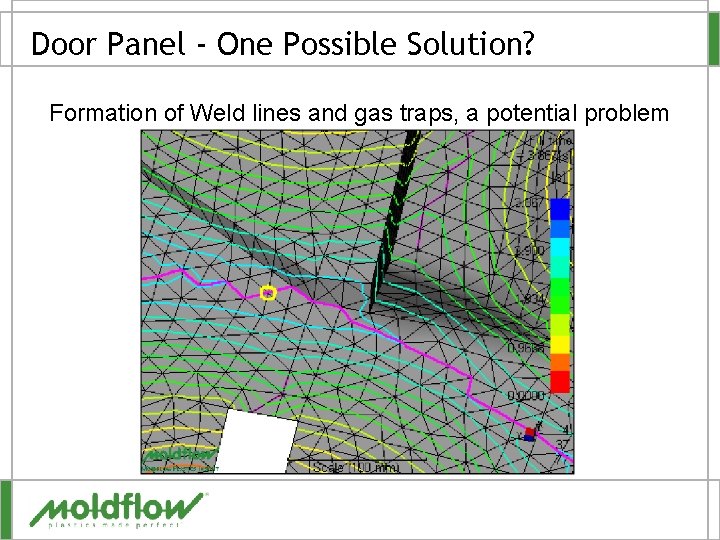
Door Panel - Results Interpretation § Review screen output – Review filling phase table – Review when the clamp tonnage was hit § Fill time – How balanced is it – What is left to fill when the clamp tonnage limit was reached § Pressure – What is overpacking? § Weld lines and gas traps – High quality?

Door Panel § Design a hot manifold system – Drop length 400 mm from underside of part – Gate length 2 mm – Locate the sprue, § Sprue diameter 12 mm, length 25 mm – Size § Gate diameter § Drop diameter § Manifold diameter § Run flow analysis with hot runner system § Size drops as necessary to optimize the filling pattern

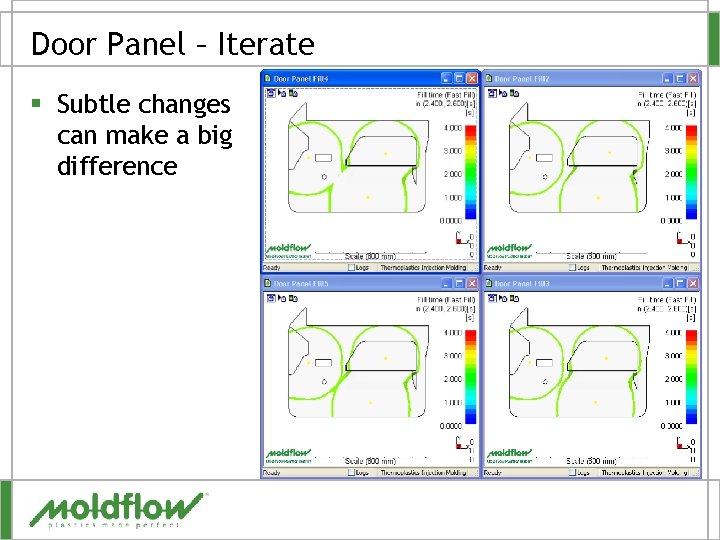
Door Panel – Iterate § Subtle changes can make a big difference

Door Panel - One Possible Solution?

Door Panel - One Possible Solution?

Door Panel - One Possible Solution? Formation of Weld lines and gas traps, a potential problem