Alignment Tools Used To Locate Wire Finder OVERVIEW

- Slides: 1

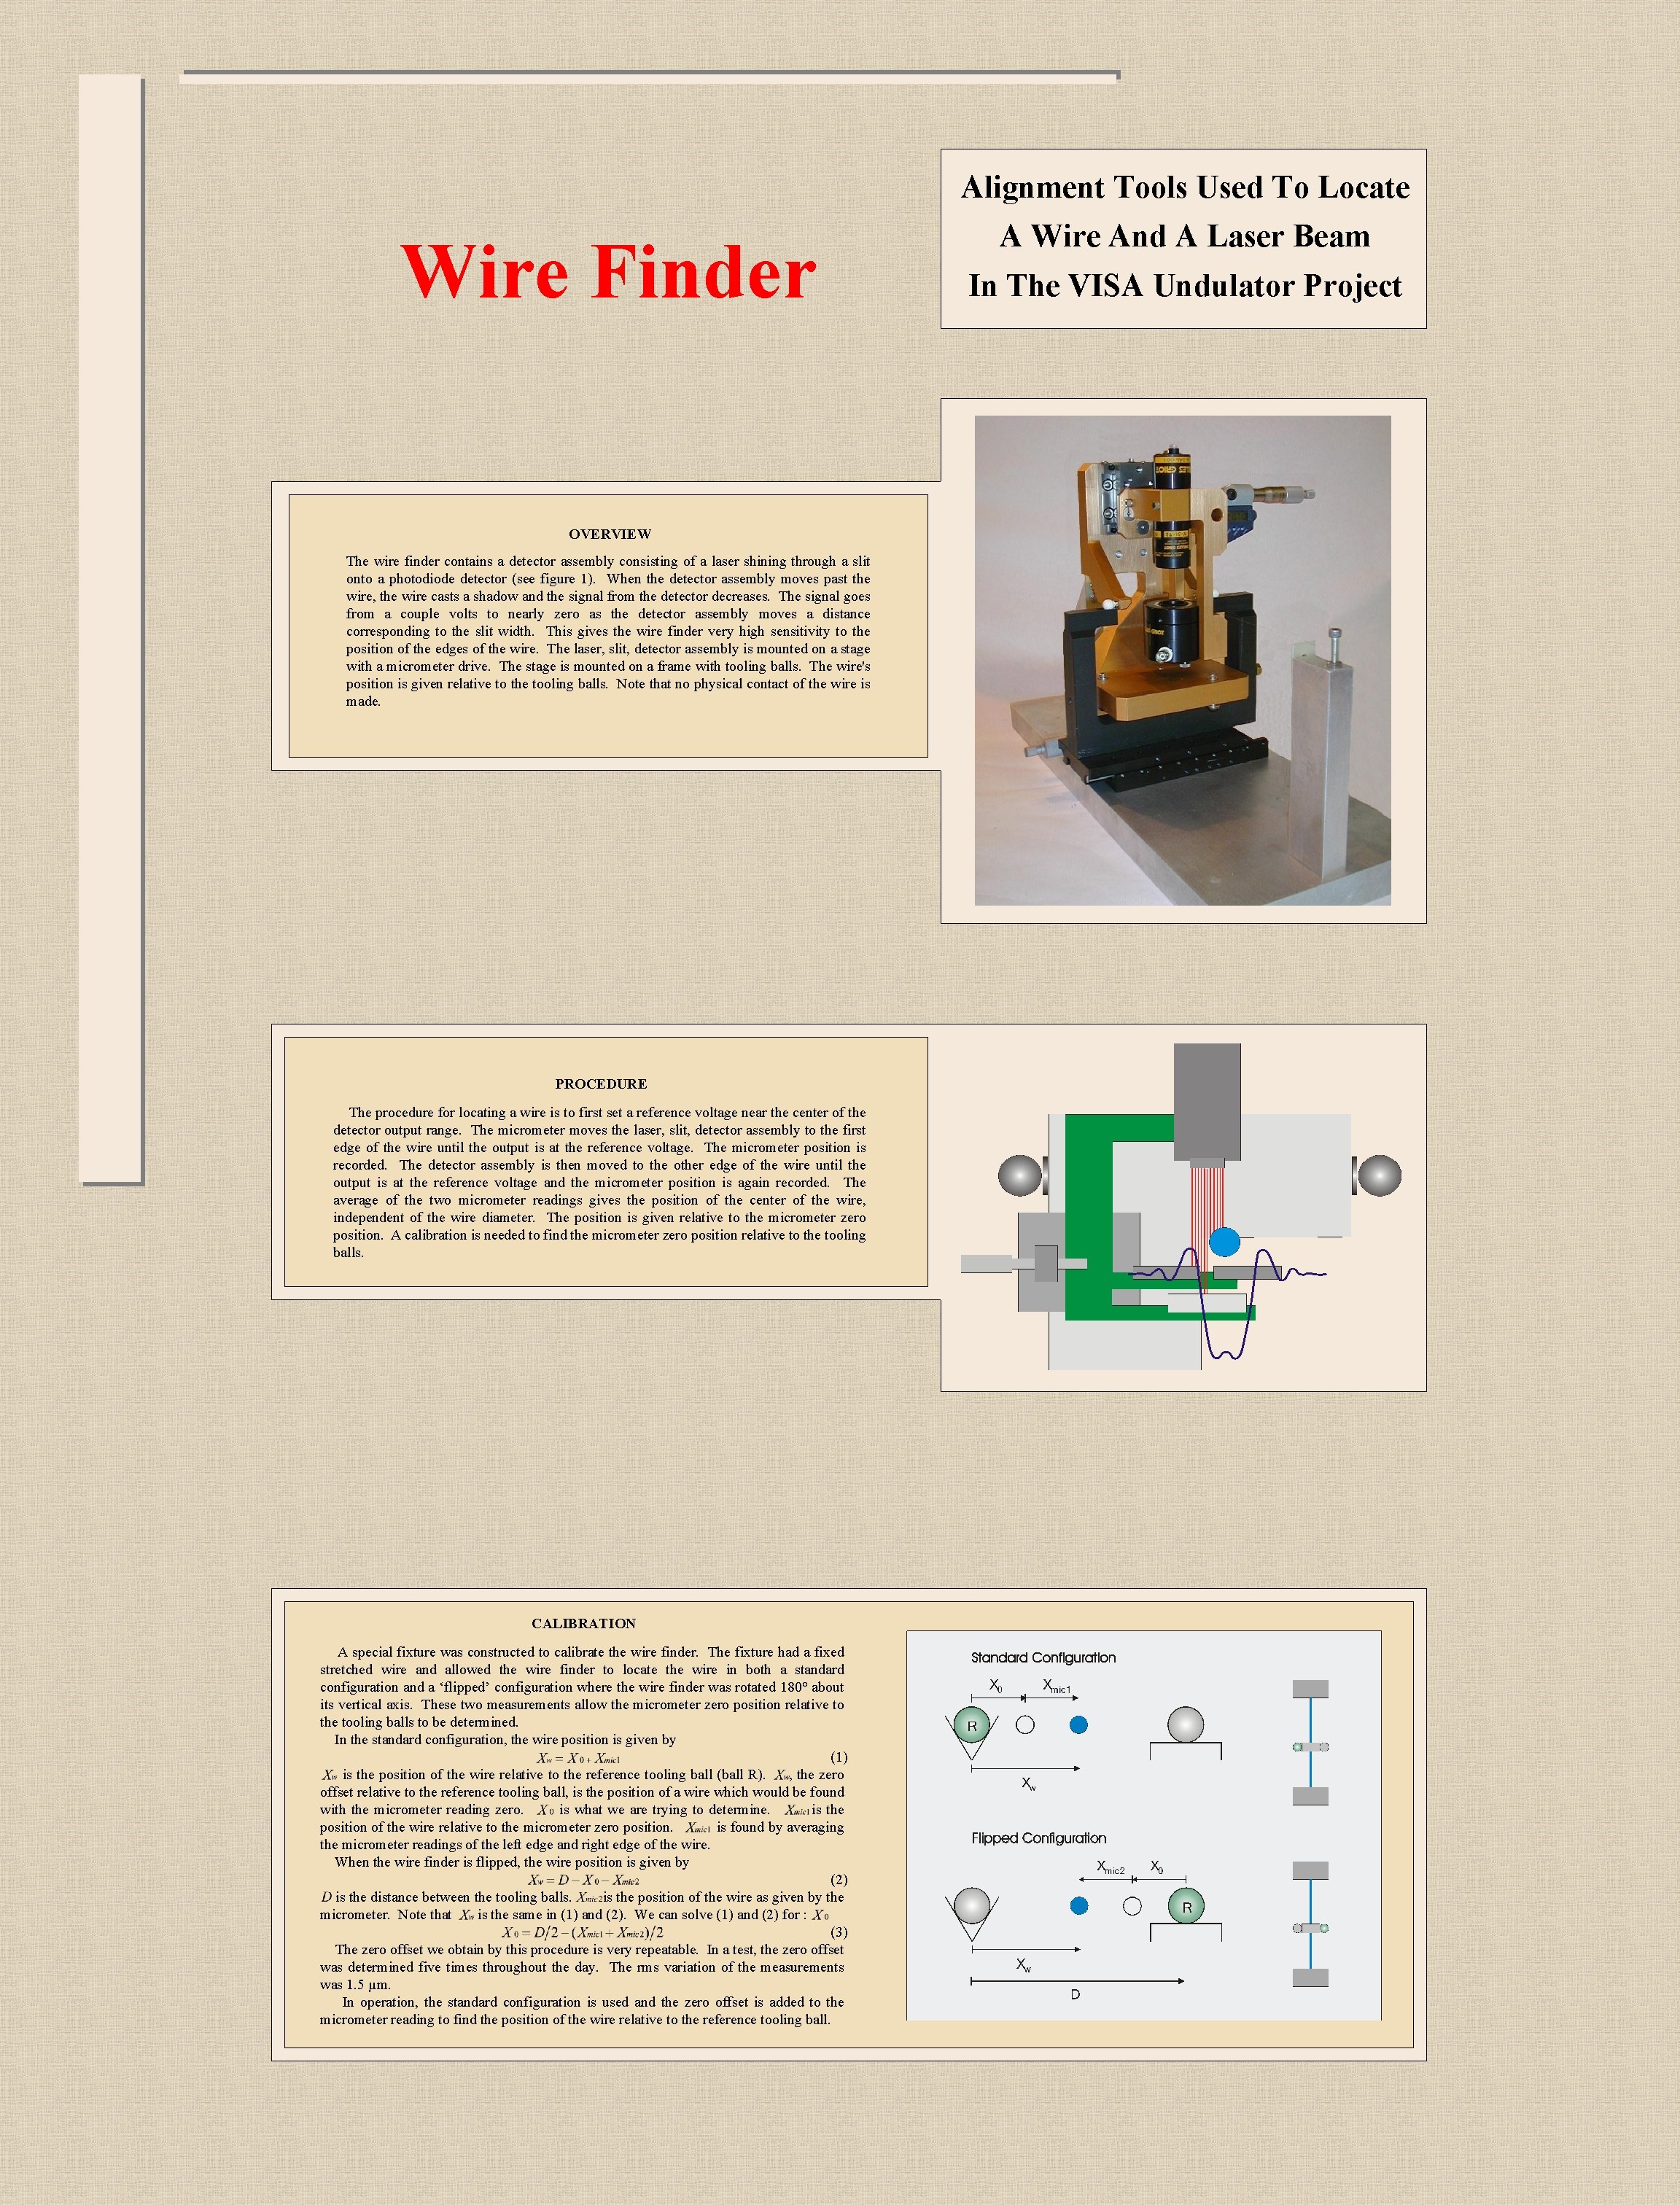
Alignment Tools Used To Locate Wire Finder OVERVIEW The wire finder contains a detector assembly consisting of a laser shining through a slit onto a photodiode detector (see figure 1). When the detector assembly moves past the wire, the wire casts a shadow and the signal from the detector decreases. The signal goes from a couple volts to nearly zero as the detector assembly moves a distance corresponding to the slit width. This gives the wire finder very high sensitivity to the position of the edges of the wire. The laser, slit, detector assembly is mounted on a stage with a micrometer drive. The stage is mounted on a frame with tooling balls. The wire's position is given relative to the tooling balls. Note that no physical contact of the wire is made. PROCEDURE The procedure for locating a wire is to first set a reference voltage near the center of the detector output range. The micrometer moves the laser, slit, detector assembly to the first edge of the wire until the output is at the reference voltage. The micrometer position is recorded. The detector assembly is then moved to the other edge of the wire until the output is at the reference voltage and the micrometer position is again recorded. The average of the two micrometer readings gives the position of the center of the wire, independent of the wire diameter. The position is given relative to the micrometer zero position. A calibration is needed to find the micrometer zero position relative to the tooling balls. CALIBRATION A special fixture was constructed to calibrate the wire finder. The fixture had a fixed stretched wire and allowed the wire finder to locate the wire in both a standard configuration and a ‘flipped’ configuration where the wire finder was rotated 180° about its vertical axis. These two measurements allow the micrometer zero position relative to the tooling balls to be determined. In the standard configuration, the wire position is given by (1) is the position of the wire relative to the reference tooling ball (ball R). , the zero offset relative to the reference tooling ball, is the position of a wire which would be found with the micrometer reading zero. is what we are trying to determine. is the position of the wire relative to the micrometer zero position. is found by averaging the micrometer readings of the left edge and right edge of the wire. When the wire finder is flipped, the wire position is given by (2) is the distance between the tooling balls. is the position of the wire as given by the micrometer. Note that is the same in (1) and (2). We can solve (1) and (2) for : (3) The zero offset we obtain by this procedure is very repeatable. In a test, the zero offset was determined five times throughout the day. The rms variation of the measurements was 1. 5 µm. In operation, the standard configuration is used and the zero offset is added to the micrometer reading to find the position of the wire relative to the reference tooling ball. A Wire And A Laser Beam In The VISA Undulator Project