Alignment Scanning Malcolm Guthrie www europeanspallationsource se Alignment


- Slides: 24

Alignment, Scanning Malcolm Guthrie www. europeanspallationsource. se

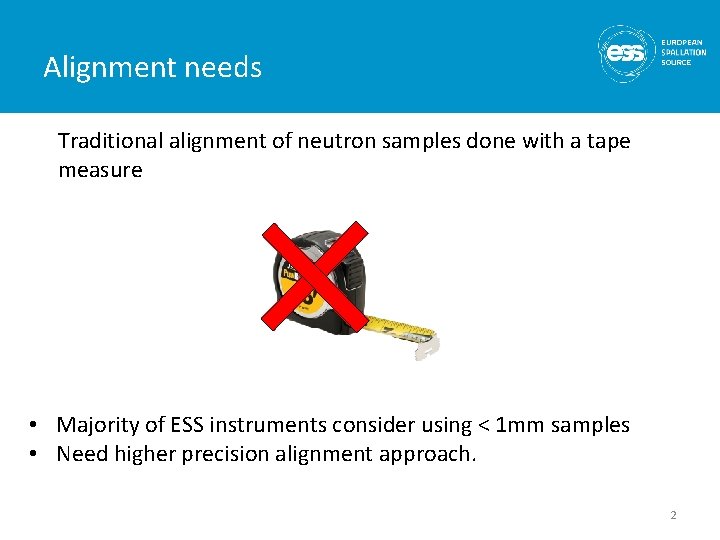
Alignment needs Traditional alignment of neutron samples done with a tape measure • Majority of ESS instruments consider using < 1 mm samples • Need higher precision alignment approach. 2

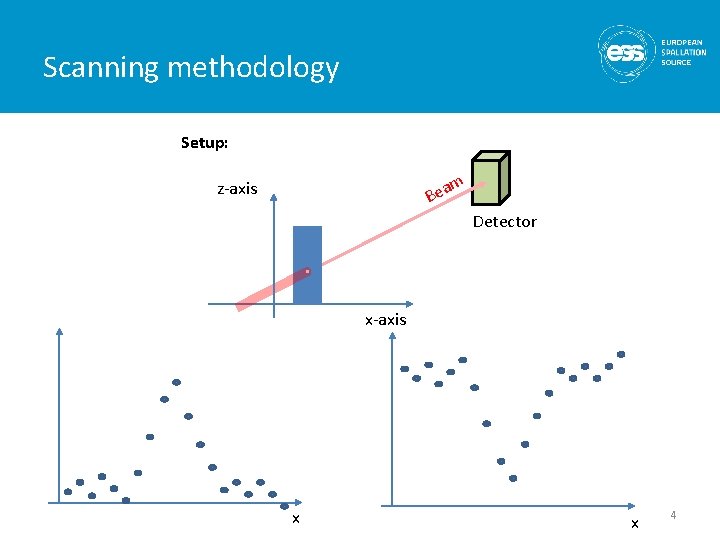
synchrotrons Luckily, problem solved in 1980’s • Scanning based approach. 3

Scanning methodology Setup: m z-axis Bea Detector x-axis x x 4

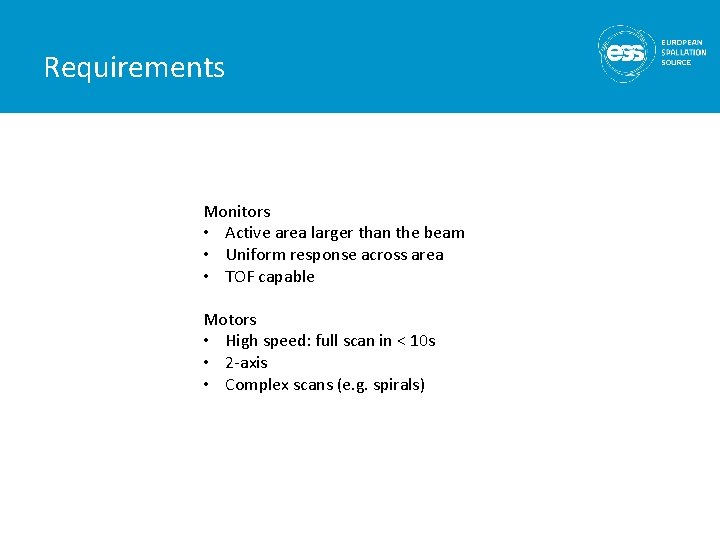
Requirements Monitors • Active area larger than the beam • Uniform response across area • TOF capable Motors • High speed: full scan in < 10 s • 2 -axis • Complex scans (e. g. spirals)

Requirements Software • Easy user interface • Relative vs absolute scan capability • ability to define scan parameters (start, stop, step size) Interfaces • SAD • Detector group • ICS group • Motion control…

Current status • Prototype in Utgård, (using laser) • Diode based detector • Linear motor (driven by Beckhoff controller) Next steps: • Scanning software (already exists in EPICS) • Neutron version (V 20)

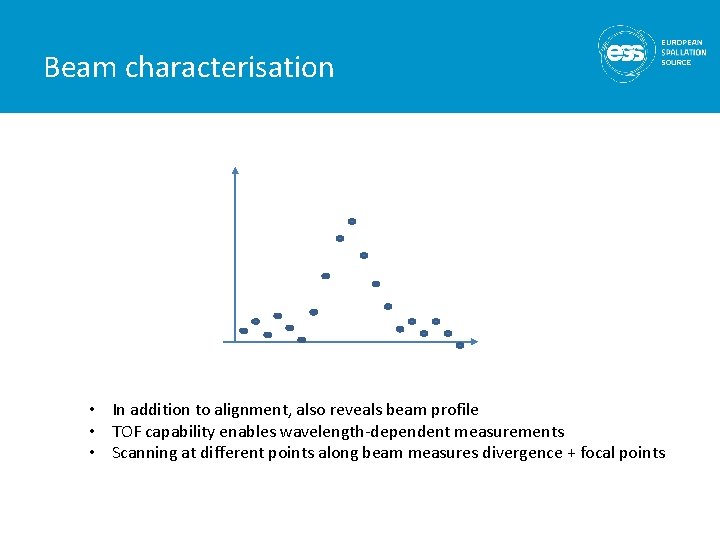
Beam characterisation • In addition to alignment, also reveals beam profile • TOF capability enables wavelength-dependent measurements • Scanning at different points along beam measures divergence + focal points

Alignment of equipment • neutron pinhole/cross-hair is also optically visible • Can align a camera system to same target, thus mapping optical camera to neutron beam

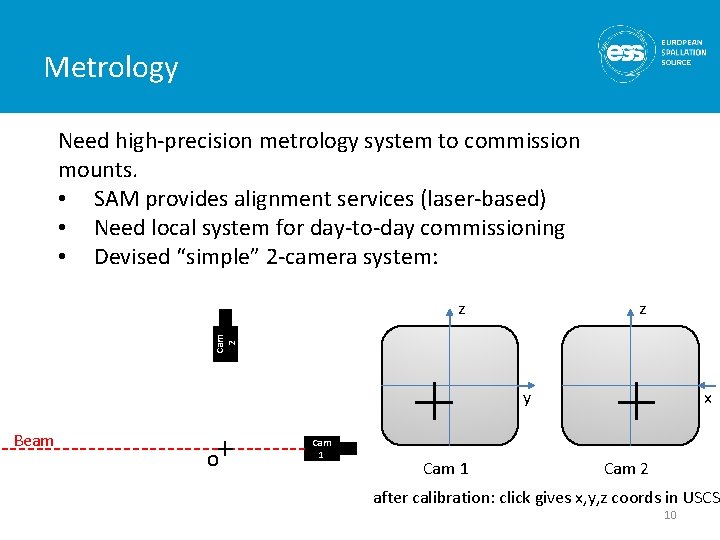
Metrology Need high-precision metrology system to commission mounts. • SAM provides alignment services (laser-based) • Need local system for day-to-day commissioning • Devised “simple” 2 -camera system: z Cam 2 z y Beam O Cam 1 x Cam 2 after calibration: click gives x, y, z coords in USCS 10

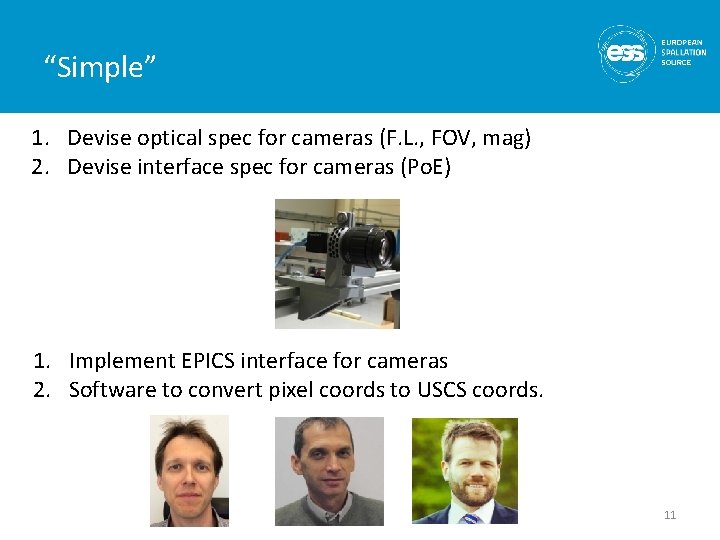
“Simple” 1. Devise optical spec for cameras (F. L. , FOV, mag) 2. Devise interface spec for cameras (Po. E) 1. Implement EPICS interface for cameras 2. Software to convert pixel coords to USCS coords. 11

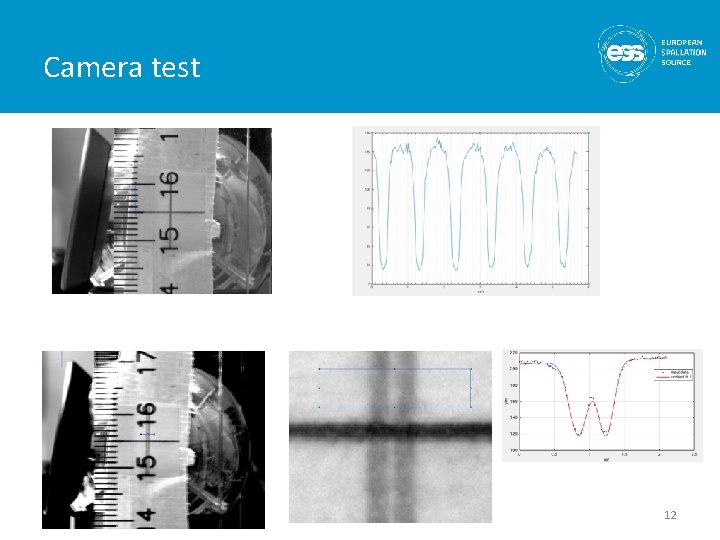
Camera test 12

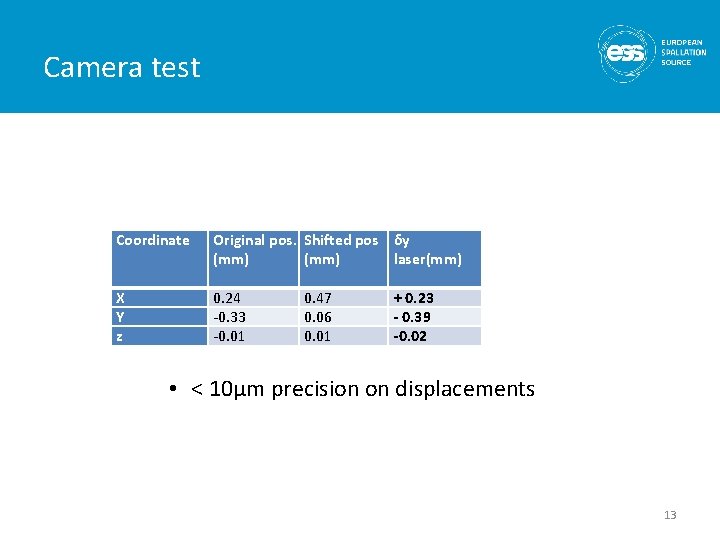
Camera test Coordinate Original pos. Shifted pos δy (mm) laser(mm) X Y z 0. 24 -0. 33 -0. 01 0. 47 0. 06 0. 01 + 0. 23 - 0. 39 -0. 02 δy camera (mm) ? * -0. 390 -0. 027 • < 10μm precision on displacements 13

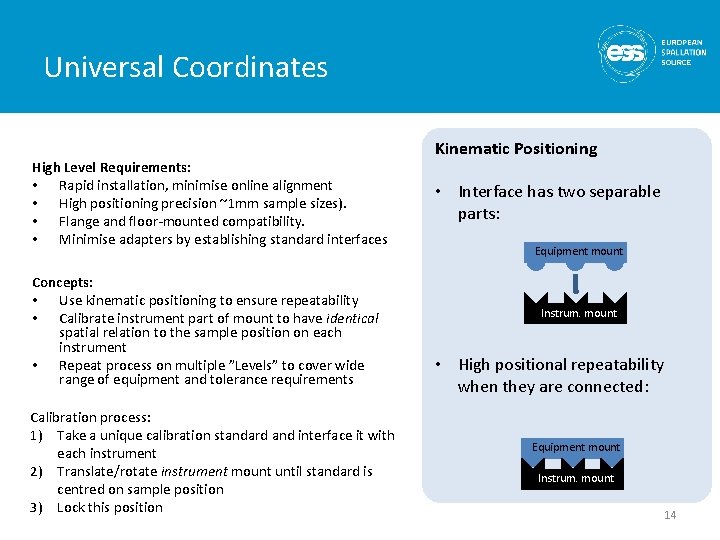
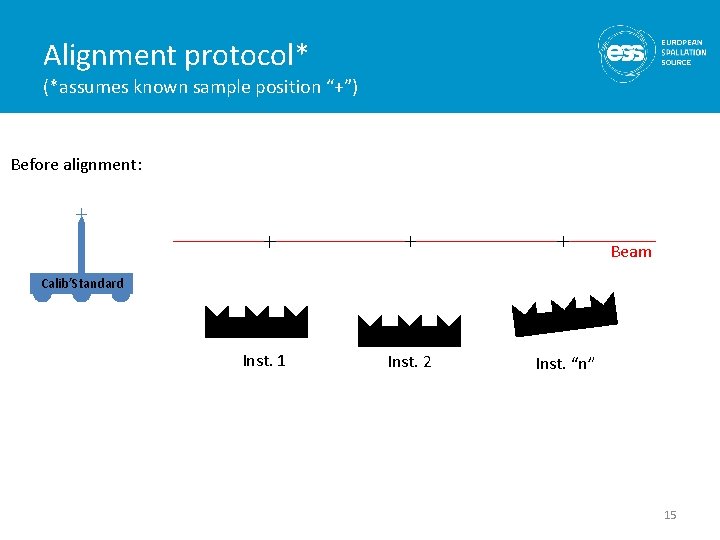
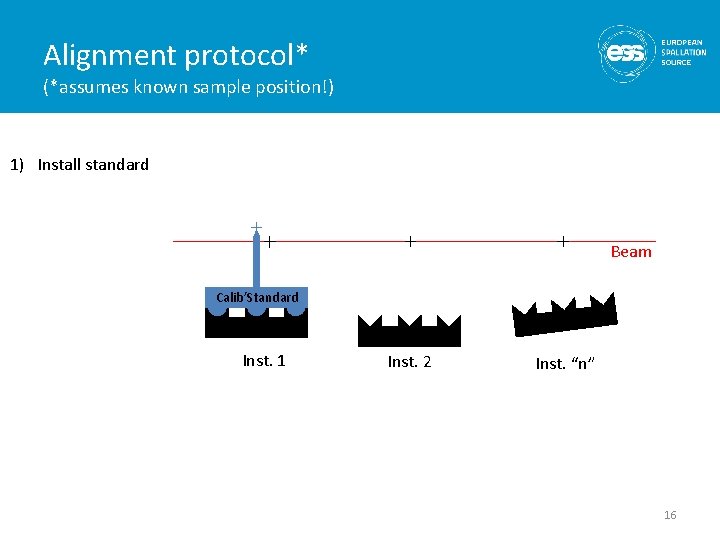
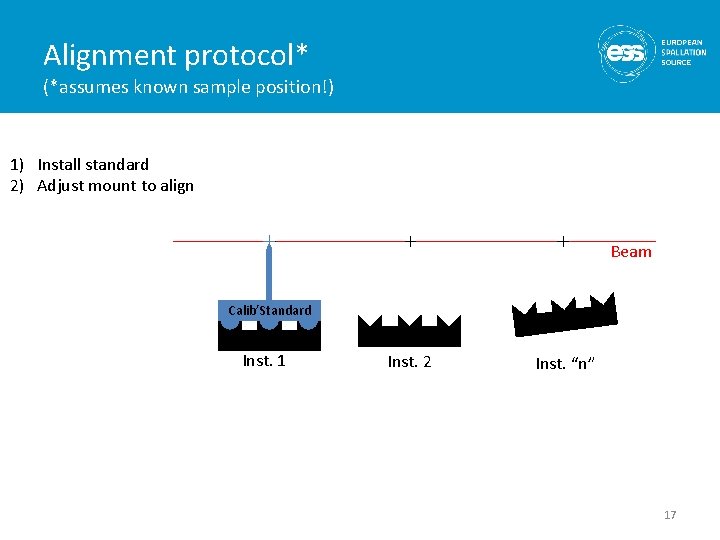
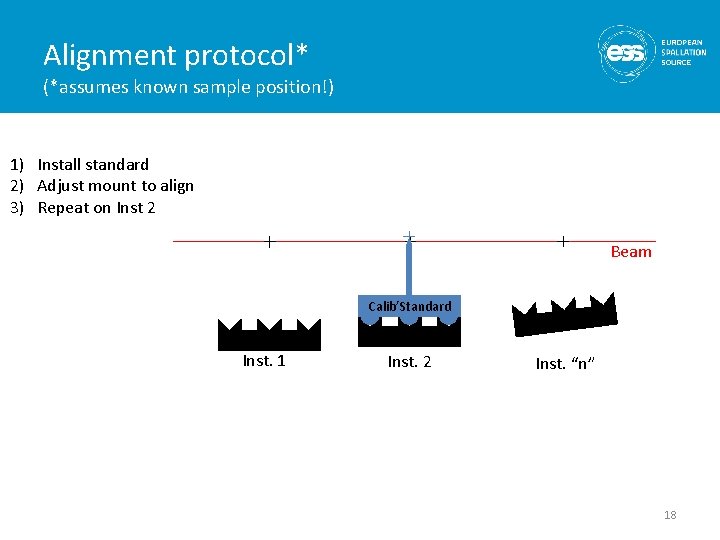
Universal Coordinates High Level Requirements: • Rapid installation, minimise online alignment • High positioning precision ~1 mm sample sizes). • Flange and floor-mounted compatibility. • Minimise adapters by establishing standard interfaces Concepts: • Use kinematic positioning to ensure repeatability • Calibrate instrument part of mount to have identical spatial relation to the sample position on each instrument • Repeat process on multiple ”Levels” to cover wide range of equipment and tolerance requirements Calibration process: 1) Take a unique calibration standard and interface it with each instrument 2) Translate/rotate instrument mount until standard is centred on sample position 3) Lock this position Kinematic Positioning • Interface has two separable parts: Equipment mount Instrum. mount • High positional repeatability when they are connected: Equipment mount Instrum. mount 14

Alignment protocol* (*assumes known sample position “+”) Before alignment: Beam Calib’Standard Inst. 1 Inst. 2 Inst. “n” 15

Alignment protocol* (*assumes known sample position!) 1) Install standard Beam Calib’Standard Inst. 1 Inst. 2 Inst. “n” 16

Alignment protocol* (*assumes known sample position!) 1) Install standard 2) Adjust mount to align Beam Calib’Standard Inst. 1 Inst. 2 Inst. “n” 17

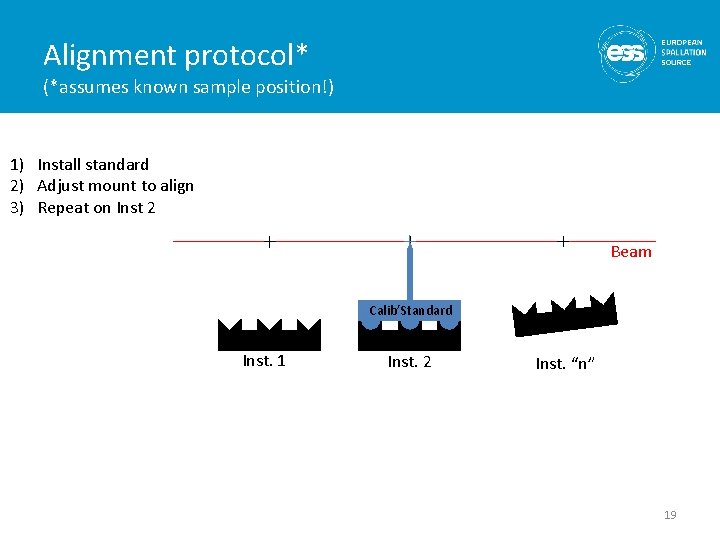
Alignment protocol* (*assumes known sample position!) 1) Install standard 2) Adjust mount to align 3) Repeat on Inst 2 Beam Calib’Standard Inst. 1 Inst. 2 Inst. “n” 18

Alignment protocol* (*assumes known sample position!) 1) Install standard 2) Adjust mount to align 3) Repeat on Inst 2 Beam Calib’Standard Inst. 1 Inst. 2 Inst. “n” 19

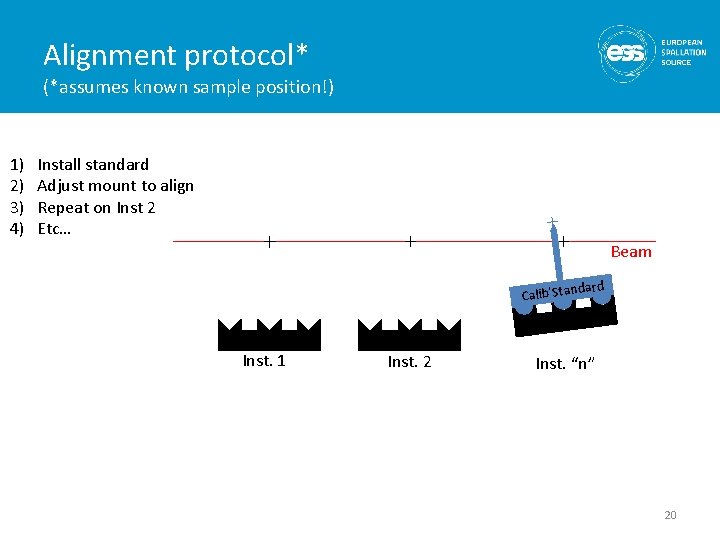
Alignment protocol* (*assumes known sample position!) 1) 2) 3) 4) Install standard Adjust mount to align Repeat on Inst 2 Etc… Beam dard Calib’Stan Inst. 1 Inst. 2 Inst. “n” 20

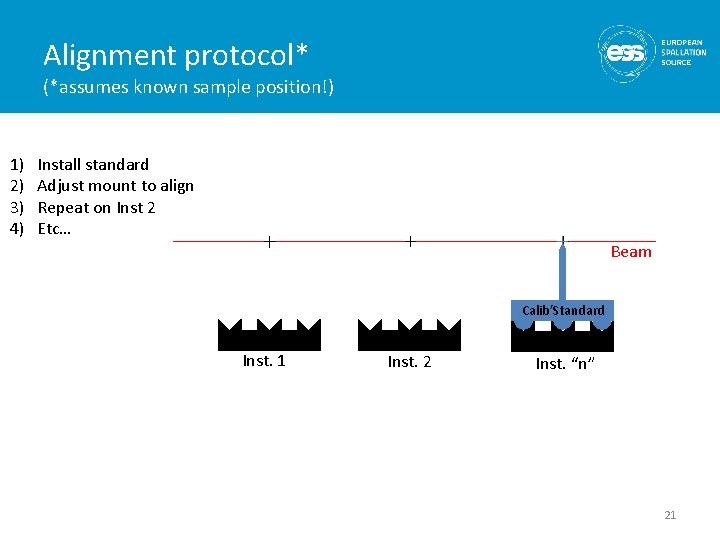
Alignment protocol* (*assumes known sample position!) 1) 2) 3) 4) Install standard Adjust mount to align Repeat on Inst 2 Etc… Beam Calib’Standard Inst. 1 Inst. 2 Inst. “n” 21

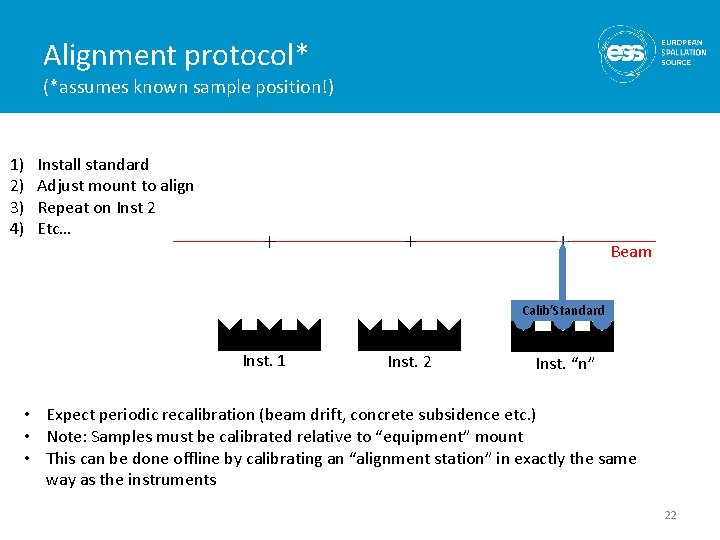
Alignment protocol* (*assumes known sample position!) 1) 2) 3) 4) Install standard Adjust mount to align Repeat on Inst 2 Etc… Beam Calib’Standard Inst. 1 Inst. 2 Inst. “n” • Expect periodic recalibration (beam drift, concrete subsidence etc. ) • Note: Samples must be calibrated relative to “equipment” mount • This can be done offline by calibrating an “alignment station” in exactly the same way as the instruments 22

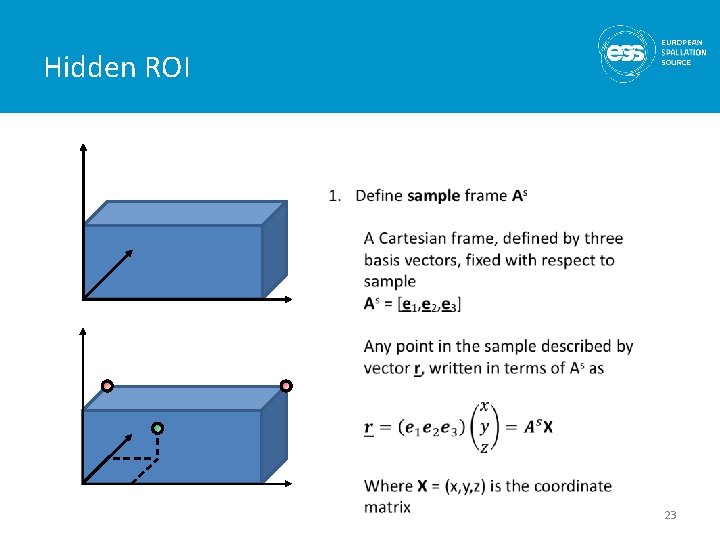
Hidden ROI 23

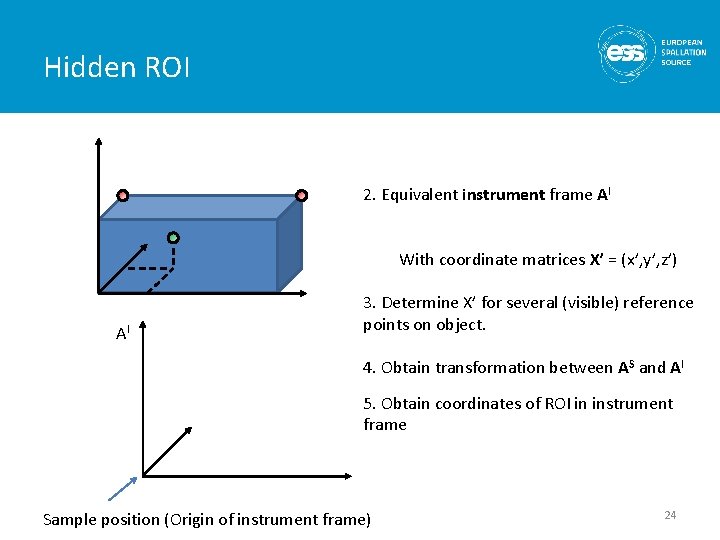
Hidden ROI 2. Equivalent instrument frame AI With coordinate matrices X’ = (x’, y’, z’) AI 3. Determine X’ for several (visible) reference points on object. 4. Obtain transformation between AS and AI 5. Obtain coordinates of ROI in instrument frame Sample position (Origin of instrument frame) 24