
Adding Remote Proctoring with Proctorio Watch this video
- Slides: 18
Adding Remote Proctoring with Proctorio
Watch this video first!! This will give you lots of background information about Proctorio and how it works https: //youtu. be/k. BUunc 1_TEg
Install the Chrome browser, if you don’t already have it on your machine Proctorio must run on the Chrome browser for both faculty and students!
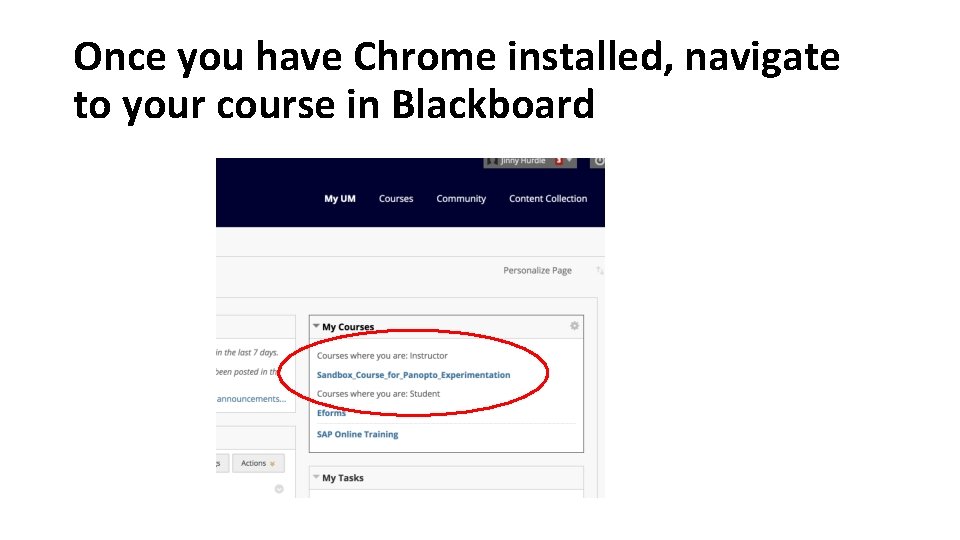
Once you have Chrome installed, navigate to your course in Blackboard
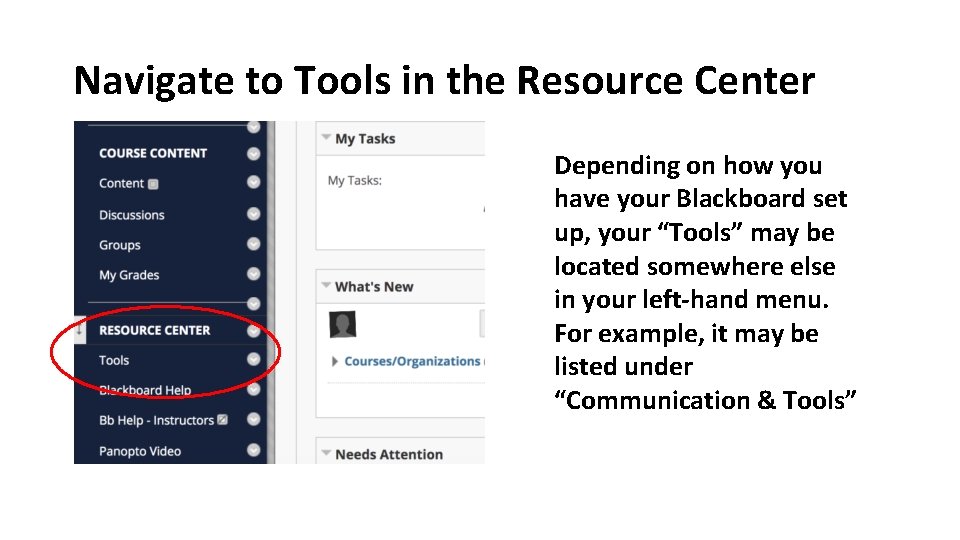
Navigate to Tools in the Resource Center Depending on how you have your Blackboard set up, your “Tools” may be located somewhere else in your left-hand menu. For example, it may be listed under “Communication & Tools”
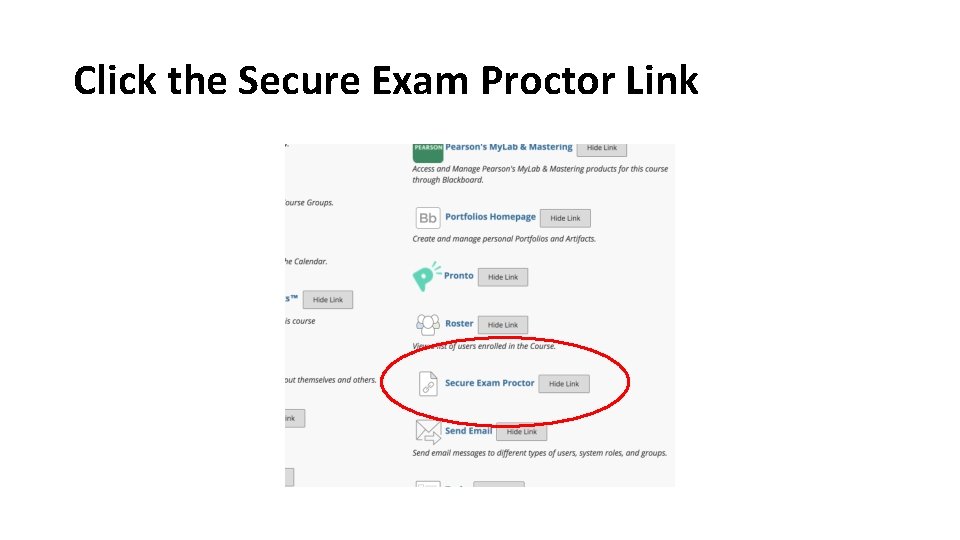
Click the Secure Exam Proctor Link
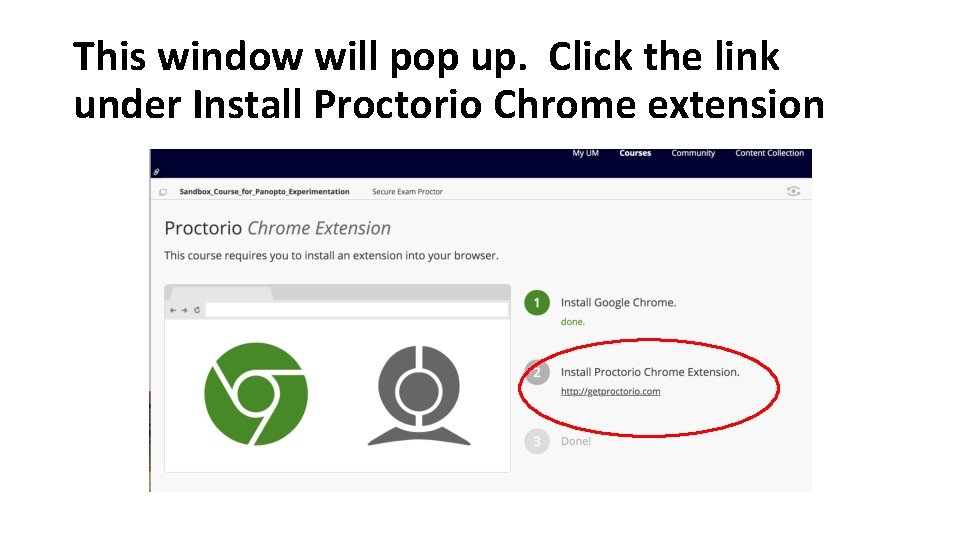
This window will pop up. Click the link under Install Proctorio Chrome extension
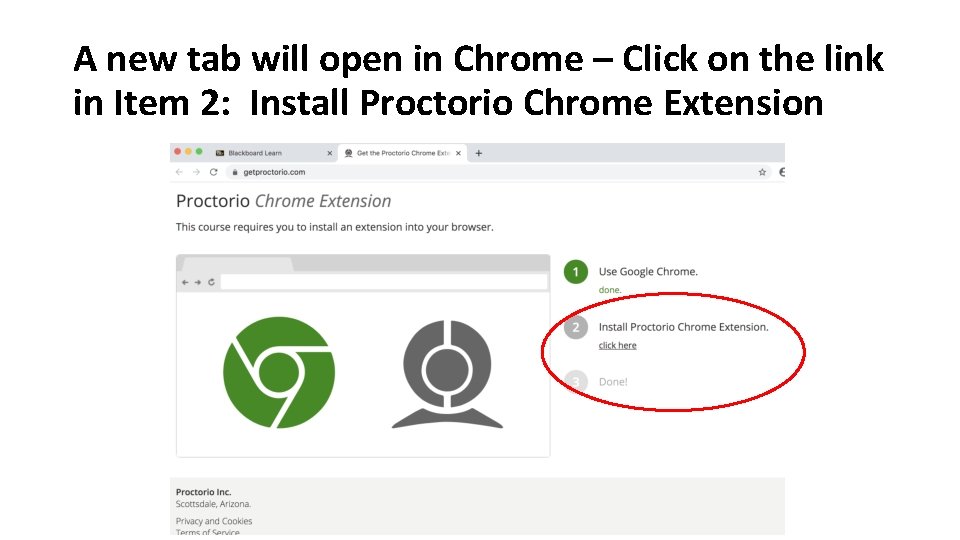
A new tab will open in Chrome – Click on the link in Item 2: Install Proctorio Chrome Extension
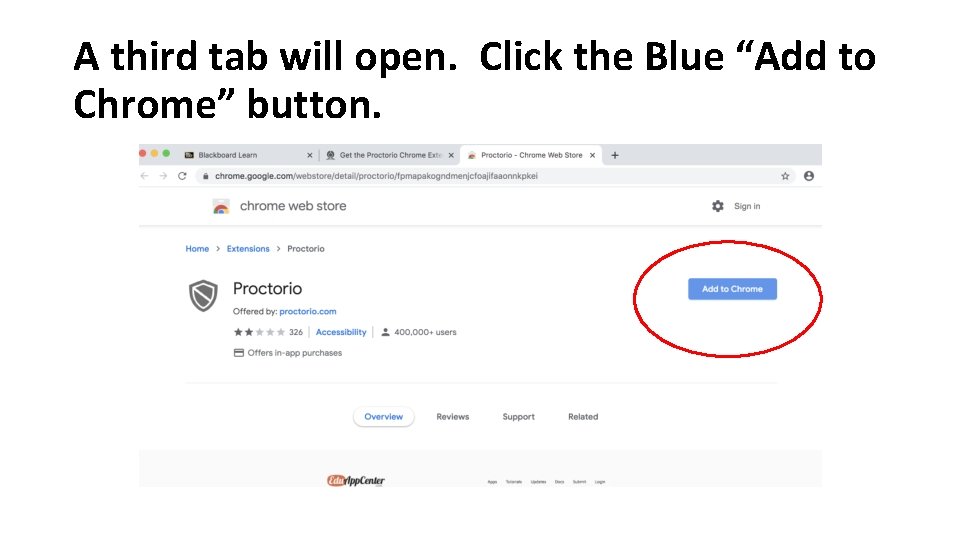
A third tab will open. Click the Blue “Add to Chrome” button.
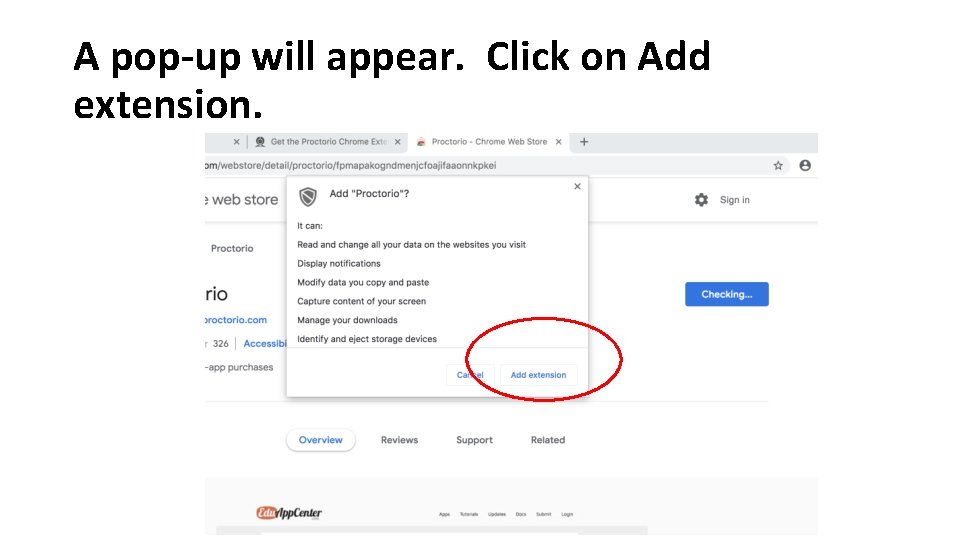
A pop-up will appear. Click on Add extension.
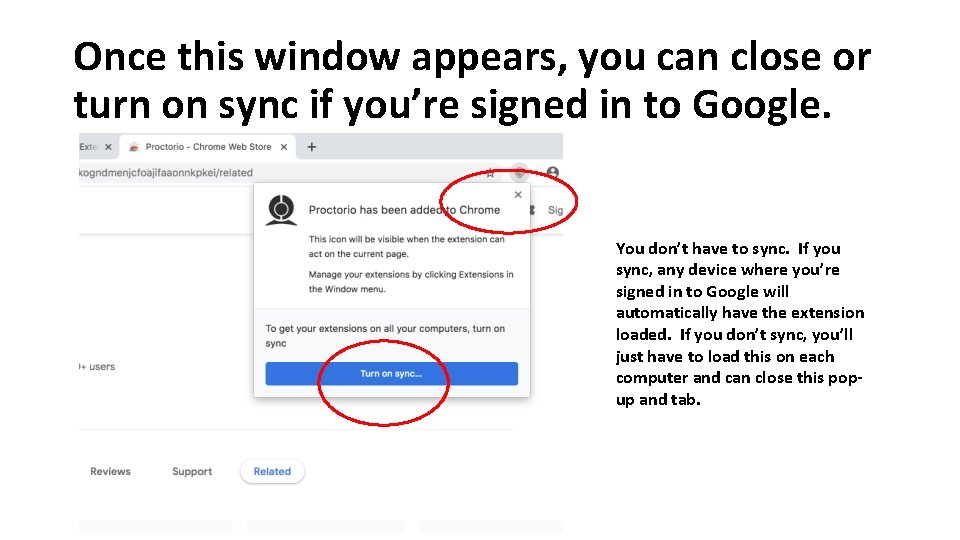
Once this window appears, you can close or turn on sync if you’re signed in to Google. You don’t have to sync. If you sync, any device where you’re signed in to Google will automatically have the extension loaded. If you don’t sync, you’ll just have to load this on each computer and can close this popup and tab.
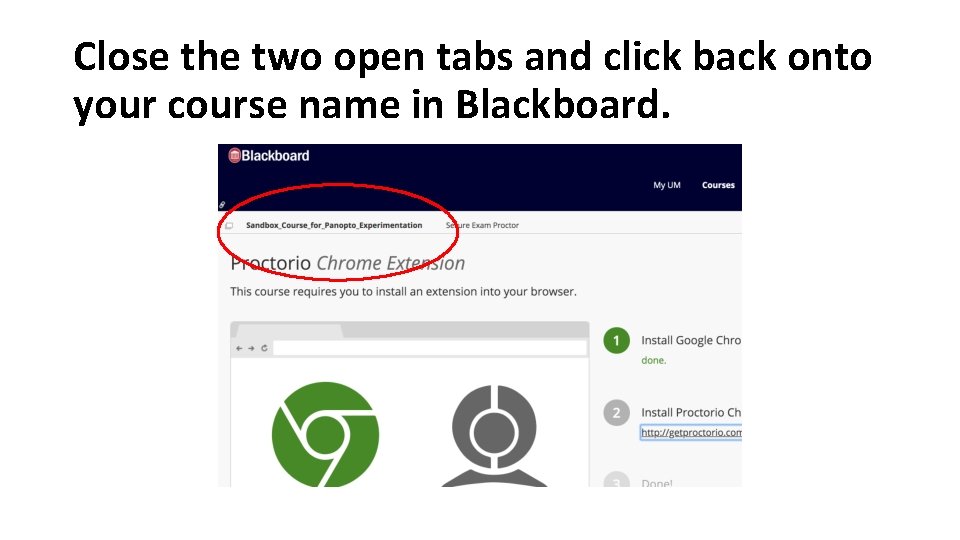
Close the two open tabs and click back onto your course name in Blackboard.
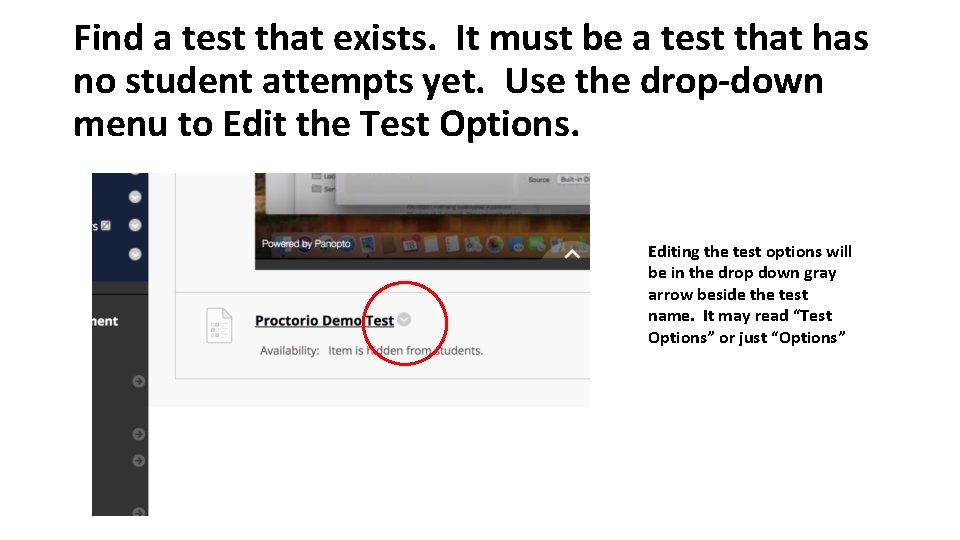
Find a test that exists. It must be a test that has no student attempts yet. Use the drop-down menu to Edit the Test Options. Editing the test options will be in the drop down gray arrow beside the test name. It may read “Test Options” or just “Options”
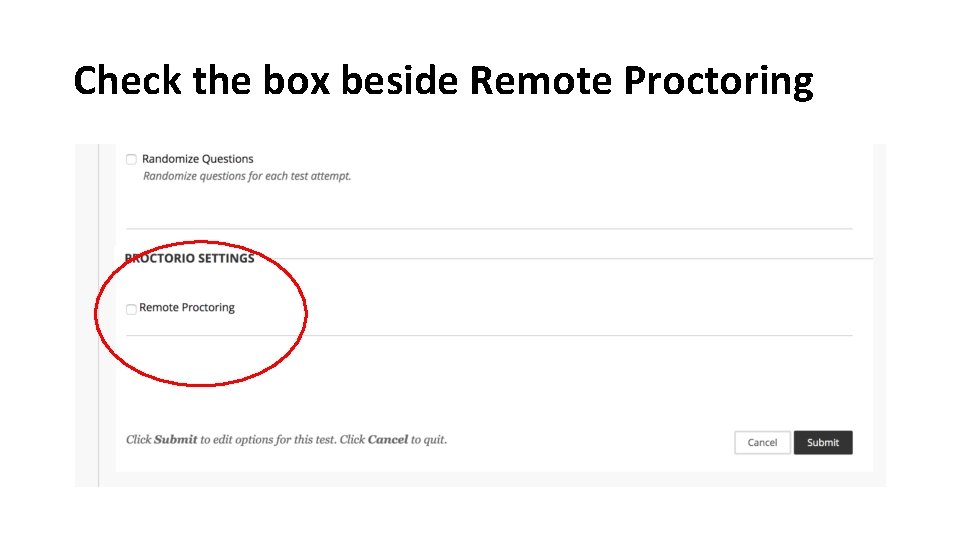
Check the box beside Remote Proctoring
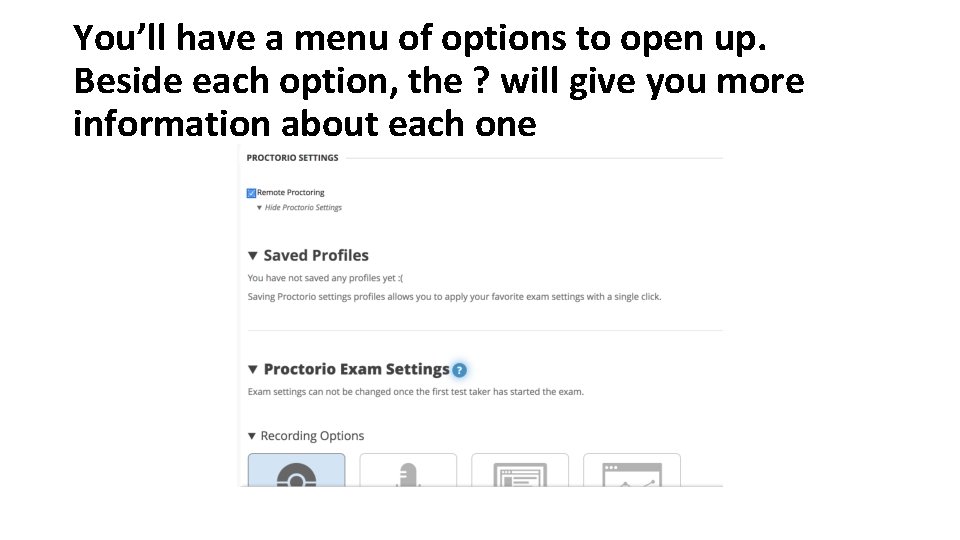
You’ll have a menu of options to open up. Beside each option, the ? will give you more information about each one
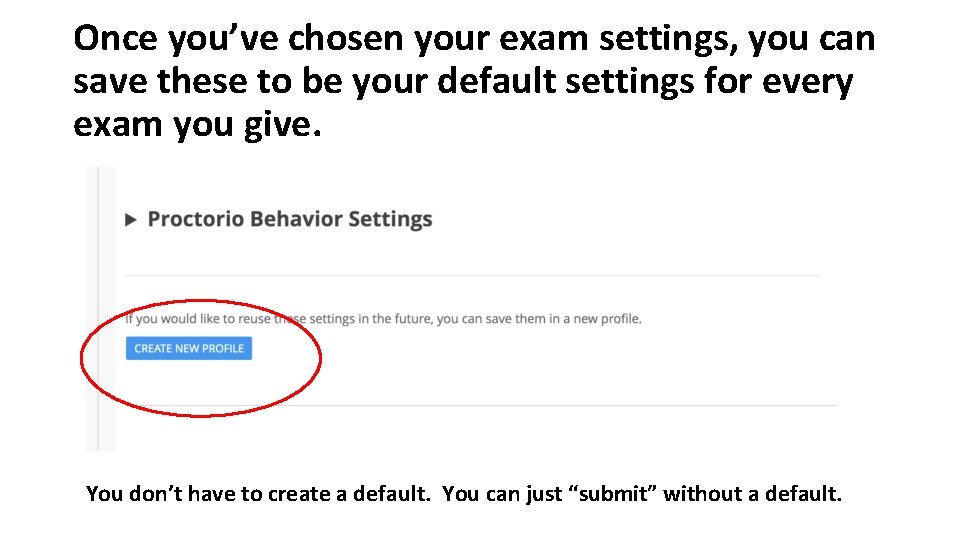
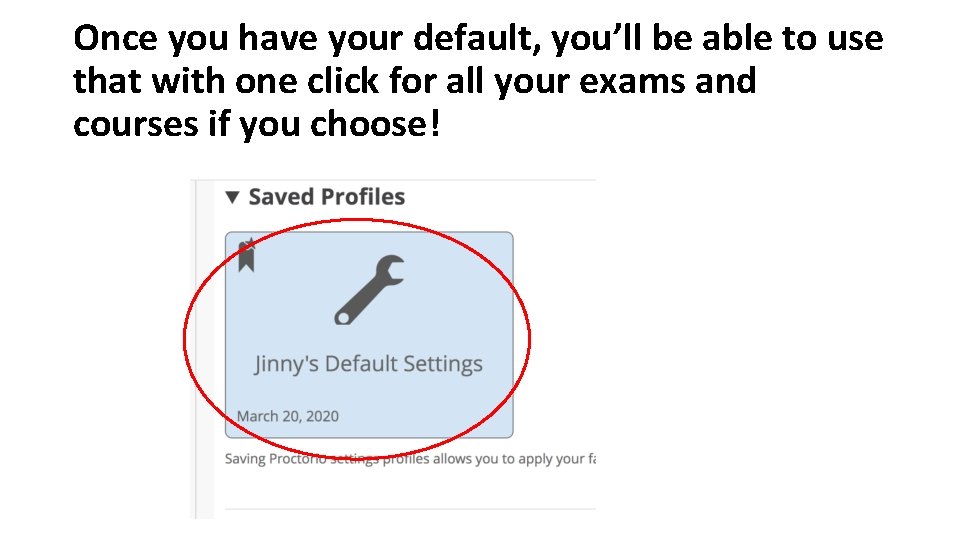
Once you’ve chosen your exam settings, you can save these to be your default settings for every exam you give. You don’t have to create a default. You can just “submit” without a default.
Once you have your default, you’ll be able to use that with one click for all your exams and courses if you choose!
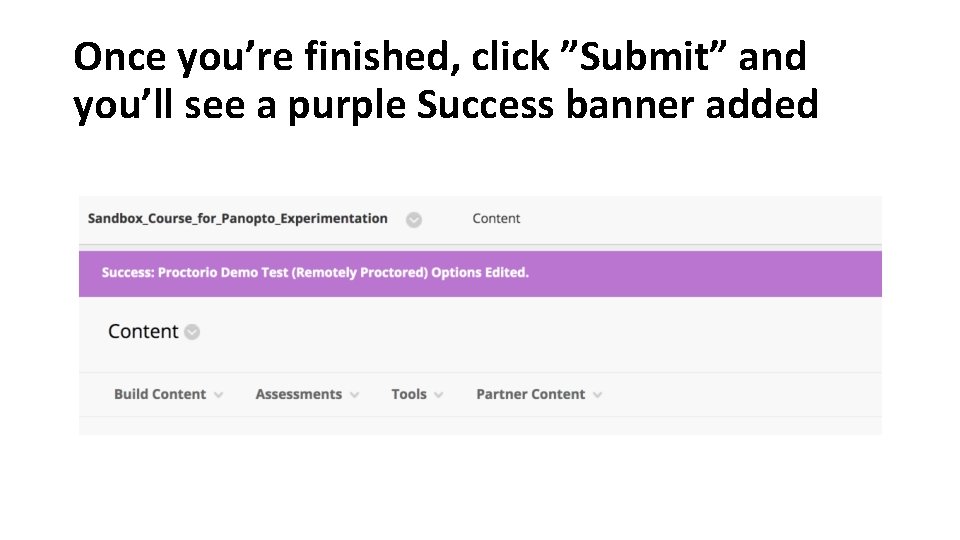
Once you’re finished, click ”Submit” and you’ll see a purple Success banner added