Adding a Supplier Concept Adding a Supplier Adding


- Slides: 183

Adding a Supplier Concept

Adding a Supplier

Adding a Supplier Step 1 Begin by navigating to the Identifying Information page. Click the Scroll Down arrow.

Adding a Supplier Step 2 Click the Accounts Payable menu.

Adding a Supplier Step 3 Click the Accounts Payable Center menu.

Adding a Supplier Step 4 Click the Suppliers link.

Adding a Supplier Step 5 Click the Supplier link.

Adding a Supplier Step 6 Click the Add a New Value tab.

Adding a Supplier Step 7 Click the Add button.

Adding a Supplier Step 8 Use the Identifying Information page to enter identifying information for a supplier, including the supplier name and short name, classification, status, persistence, withholding and VAT eligibility, relationships with other suppliers, duplicate invoice checking settings, and additional identifying elements required for reporting to government agencies.

Adding a Supplier Step 9 Click in the Supplier Short Name field.

Adding a Supplier Step 10 Use the Supplier Short Name field to enter a short name for the supplier for easy identification. Enter the desired information into the Supplier Short Name field. Enter "Baxter".

Adding a Supplier Step 11 Use the Supplier Name field to enter the complete name of the supplier. You can specify an alternate name for the same supplier in the Additional Name field. The option to enter two names is provided to accommodate subsidiaries and divisions. Click in the Supplier Name field.

Adding a Supplier Step 12 Enter the desired information into the Supplier Name field. Enter "Baxter & Stubbing".

Adding a Supplier Step 13 Use the Classification field to select a classification for a supplier. A supplier can be classified as an attorney, an employee, a Human Resources Management System (HRMS), or a supplier.

Adding a Supplier Step 14 Use the Persistence field to select a persistence designation. The persistence value is dictated by the frequency of transactions the supplier will have with your company, such as one-time, regular, permanent, and single payment.

Adding a Supplier Step 15 Use the Supplier Status field to select the status of the supplier. The values available are Approved, Inactive, To Archive, and Unapproved. The status of a new supplier defaults to Approved if you have authority to approve suppliers as defined in your procurement user preferences.

Adding a Supplier Step 16 In this example, Baxter & Stubbing is not eligible for VAT. Click the VAT Registration option.

Adding a Supplier Step 17 The fields in the Supplier Relationships group box identify the supplier's relationship to a corporate office.

Adding a Supplier Step 18 Use the Create Bill To Customer option to automatically create a bill to customer upon saving the supplier. The bill to customer is created with default information.

Adding a Supplier Step 19 Click the Expand All button.

Adding a Supplier Step 20 Click the vertical scrollbar.

Adding a Supplier Step 21 Use the Additional ID Numbers section to enter or select additional customer IDs for both the supplier and supplier location. Additional ID types and numbers are used to check for duplicate suppliers.

Adding a Supplier Step 22 Click the Collapse section button.

Adding a Supplier Step 23 Use the Duplicate Invoice Settings section to define any options for this supplier that are different from what you define on the Payables Options page. On the Payables Options page, you define these options for the business unit; here you define them for the supplier.

Adding a Supplier Step 24 Use the Duplicate Inv Indicator (duplicate invoice indicator) field to set rules for duplicate invoicing at the supplier level. You can either let these options default from the control hierarchy by selecting Default, or you can establish new rules by selecting Specify. Values entered here override those entered at the business unit level on the Payables Options page.

Adding a Supplier Step 25 Click the Collapse section button.

Adding a Supplier Step 26 Use the Government Classifications section to specify the classification of suppliers and certification information of suppliers with whom companies do business.

Adding a Supplier Step 27 Click the Collapse section button.

Adding a Supplier Step 28 Depending on your organization's reporting requirements, you can apply Standard Industry Classification (SIC) codes as part of your supplier header or your supplier location or both. Use the Standard Industry Codes section to do this. You can supply multiple types of industry codes for the same supplier. You can also supply multiple SIC codes for the same SIC type.

Adding a Supplier Step 29 Click the Collapse section button.

Adding a Supplier Step 30 Use the Additional Reporting Elements section to enter supplier information required for Federal Procurement Data Systems reporting.

Adding a Supplier Step 31 Click the Collapse All button.

Adding a Supplier Step 32 Click the Address tab.

Adding a Supplier Step 33 Use the Address page to enter one or more addresses for the supplier. Suppliers may have different addresses for different procurement functions. For this reason, the system enables organizations to enter several different addresses for each supplier location.

Adding a Supplier Step 34 Enter the desired information into the Description field. Enter "Office".

Adding a Supplier Step 35 Use the Effective Date field to specify the date from which the supplier's address is valid. If the supplier's address changes, you can add another row and enter the new address with the new effective date.

Adding a Supplier Step 36 To save time, the supplier address information has been entered for you.

Adding a Supplier Step 37 Click the Contacts tab.

Adding a Supplier Step 38 Use the Contacts page to enter information about the people you contact on a regular basis at the supplier site.

Adding a Supplier Step 39 Enter the desired information into the Description field. Enter "CEO".

Adding a Supplier Step 40 Click the Type list.

Adding a Supplier Step 41 Click the Executive Management list item.

Adding a Supplier Step 42 Click in the Name field.

Adding a Supplier Step 43 Enter the desired information into the Name field. Enter "Daisy Baxter".

Adding a Supplier Step 44 Click in the Title field.

Adding a Supplier Step 45 Enter the desired information into the Title field. Enter "President and CEO".

Adding a Supplier Step 46 Click the Add a new row button.

Adding a Supplier Step 47 Enter the desired information into the Description field. Enter "Billing".

Adding a Supplier Step 48 Click the Type list.

Adding a Supplier Step 49 Click the Billing Contact list item.

Adding a Supplier Step 50 Click in the Name field.

Adding a Supplier Step 51 Enter the desired information into the Name field. Enter "Marty Gonzales".

Adding a Supplier Step 52 Click in the Title field.

Adding a Supplier Step 53 Enter the desired information into the Title field. Enter "Accountant".

Adding a Supplier Step 54 Click the Location tab.

Adding a Supplier Step 55 Use the Location page to record one or more supplier locations for invoicing, remittance, and returns. A supplier location is a default set of rules that define how you conduct business with a supplier. A supplier's location comprises information such as procurement options, VAT options, payment options, withholding options, and pay to bank account information.

Adding a Supplier Step 56 Use the Location field to enter an identifier for this location. This field enables you to differentiate supplier locations, if you have more than one. Enter the desired information into the Location field. Enter "DIST CTR".

Adding a Supplier Step 57 Click in the Description field.

Adding a Supplier Step 58 Enter the desired information into the Description field. Enter "Local".

Adding a Supplier Step 59 Use the Effective Date field to specify the date from which a set of location options are applicable to a supplier. A supplier may have different locations for different procurement functions.

Adding a Supplier Step 60 Click the Payables link.

Adding a Supplier Step 61 Use the Payables Options page to define invoicing and remitting addresses, payment options, matching and approval options, EFT options, selfbilled invoice options, supplier bank account information, supplier type options, and (USA only) HIPAA information.

Adding a Supplier Step 62 The Remitting group box contains the remit supplier ID, location, and address information. If a supplier has multiple locations, you can change the default values to point to different supplier locations.

Adding a Supplier Step 63 Click the Expand All button.

Adding a Supplier Step 64 Click the vertical scrollbar.

Adding a Supplier Step 65 Use the Additional Payables Options section to setup banking, payment, and draft processing information for the supplier location.

Adding a Supplier Step 66 Use the Payment Control group box to specify a pay group for the supplier location. This enables you to assign suppliers to a group and pay them all at once. You can set up different pay cycles for different groups of suppliers.

Adding a Supplier Step 67 Use the Delay Days field to define delay days at the supplier location level. Select Specify, and then enter the number of delay days in the Discount or Net fields.

Adding a Supplier Step 68 Use the Bank group box to specify the bank, account type, and currency options for the supplier.

Adding a Supplier Step 69 Use the Bank Options list to select Default to use default values or Specify to enter new bank option values. Click the Bank Options list.

Adding a Supplier Step 70 Click the Specify list item.

Adding a Supplier Step 71 Use the Bank field to specify a code for the supplier's bank. Click in the Bank field.

Adding a Supplier Step 72 Enter the desired information into the Bank field. Enter "USBNK".

Adding a Supplier Step 73 Use the Account field to specify the type of account that the supplier has with the bank. Click in the Account field.

Adding a Supplier Step 74 Enter the desired information into the Account field. Enter "CHCK".

Adding a Supplier Step 75 Use the Currency field to specify the currency in which payments are made to supplier. Click in the Currency field.

Adding a Supplier Step 76 When you click into the Currency field, the default currency code for the bank is displayed. This is the currency in which payments are made to the supplier.

Adding a Supplier Step 77 Use the Draft Processing Control group box to define a draft sight code for the draft at the supplier location level.

Adding a Supplier Step 78 Use the Payment Method Options field to define payment methods at the supplier location level. Click the Payment Method Options list.

Adding a Supplier Step 79 Click the Specify list item.

Adding a Supplier Step 80 Click the Payment Method list.

Adding a Supplier Step 81 Click the Electronic Funds Transfer list item.

Adding a Supplier Step 82 Use the Layout Option field to specify a layout code when using payment method of Automatic Clearing House, Draft - Customer EFT, Electronic Funds Transfer, Giro - EFT, or Wire Transfer. For this example, you will use the default selection to use the layout defined at the bank account level.

Adding a Supplier Step 83 Use the Layout field to select an applicable layout code. Layout codes indicate whether the system settles them through either the Pay Cycle Manager or Financial Gateway functionality. The system displays codes depending on the bank code, bank account, and payment method defined on the Payments page. When you click the Save button, the system validates layout codes against those defined at the bank account level.

Adding a Supplier Step 84 Use the Handling Options field to define payment handling at the supplier location level. You would select Specify from the list, then populate the Handling field with a handling code.

Adding a Supplier Step 85 Use the Document Type field to override the document sequencing options that default through the control hierarchy and select new ones at the supplier location level. The document type that you select appears by default on any vouchers for this supplier location.

Adding a Supplier Step 86 Use the Holiday Processing Options group box to establish holiday processing options at the supplier location level.

Adding a Supplier Step 87 Use the Late Charges group box to establish late charges at the supplier location level.

Adding a Supplier Step 88 You can use the Late Charges field to establish late charges at the supplier location level. You would select Specify and then populate the fields in this group box.

Adding a Supplier Step 89 You can use the Late Charge Option field to select either Compute Charges (to have the system calculate charges) or Not Applicable.

Adding a Supplier Step 90 To compute late charges at this level, you would use the Late Charge Code field to set the late charge code default on this page.

Adding a Supplier Step 91 Click the vertical scrollbar.

Adding a Supplier Step 92 Use the Workflow Approval group box to apply voucher approval rules.

Adding a Supplier Step 93 Click the Expand section button.

Adding a Supplier Step 94 Use the Voucher Approval field to select one of these options: • Approval Framework: Select to use the Approval Workflow Engine when approving vouchers. • Default from Higher Level: The system applies the voucher approval rule from the control hierarchy. • Pre-Appr (pre-approved): Vouchers are automatically approved for this supplier as they are entered into the system. • Virtual Approver: Select to activate the Bus Proc (business process) and Rule Set fields so that you can specify voucher approval rules for this supplier location.

Adding a Supplier Step 95 Use the Matching Options group box to specify whether vouchers for a supplier need to be matched with purchase orders or receivers for approval.

Adding a Supplier Step 96 Use the Matching Option field to select Default to accept the default matching option already established in the control hierarchy, or select Specified to override these options and select new ones at the supplier location level.

Adding a Supplier Step 97 Use the Matching field to specify the match control that you want the system to use during the Matching Application Engine process (AP_MATCH). This field is available for entry only if you select Specified in the Matching Option field. You can override the match control on the purchase order or voucher levels.

Adding a Supplier Step 98 Use the Receipt Only Match option to enable a receipt to be entered for a supplier without a PO. Receipt-only matching approves vouchers for payment by comparing vouchers to receipts. This option is available only if you have selected the Matching option.

Adding a Supplier Step 99 Use the Match Delay Days field to select Default to accept the default number of match delays days already established in the control hierarchy, or select Specified to override these days and enter new ones at the supplier location level.

Adding a Supplier Step 100 Use the ERS Invoice Date group box to activate Evaluated Receipt Settlement (ERS) for this supplier location.

Adding a Supplier Step 101 Use the Allow ERS option to select to activate ERS (Evaluated Receipt Settlement) for this supplier location. You cannot select this check box if you select a matching option of specified and select a matching rule.

Adding a Supplier Step 102 Use the ERS Invoice Dt (ERS invoice date) field to determine how the invoice date is generated for an ERS voucher. Options include: • Default: This value appears by default from the control hierarchy. • Frt Trms (freight terms): The system uses freight terms entered on a receipt, or those appearing by default from a PO, to determine the ERS invoice date. • Rcpt Dt (receipt date): The system uses the receipt date as the ERS invoice date.

Adding a Supplier Step 103 Use the ERS Tax Type field to select an option to indicate how tax is calculated for ERS vouchers. Options include: • Default: This value appears by default from the control hierarchy. • No Taxes: No tax is calculated. • Sales Tax: The tax for ERS vouchers is accrued as sales tax. • Use Tax: The tax for ERS vouchers is accrued as use tax. • Value Added Tax: The tax for ERS vouchers is accrued as VAT.

Adding a Supplier Step 104 Use the ERS SUT CD (ERS sales and use tax code) field to select Default (appears by default from the control hierarchy) or Specify (activates the ERS Sales Tax Cd field, where you can specify which ERS sales tax code you want to use for this location).

Adding a Supplier Step 105 Click the vertical scrollbar.

Adding a Supplier Step 106 Use the Electronic File Options section to specify the electronic file option setup for this supplier location.

Adding a Supplier Step 107 Use the Prenotification Required option to send a test transaction to the bank for this supplier. The system includes a pre-note for this supplier location in the next pay cycle that includes an Electronic Funds Transfer (EFT) payment for this supplier location's default bank account. Click the Prenotification Required option.

Adding a Supplier Step 108 Use the Payment Format list to select the format in which the supplier will be paid. Click the Payment Format list.

Adding a Supplier Step 109 Click the Prearranged Pay & Dep list item.

Adding a Supplier Step 110 Use the Confirm button to manually confirm a supplier location for EFT payment and override any auto confirmation established in the control hierarchy. Click the Confirm button.

Adding a Supplier Step 111 Notice that the Status value in the Pre. Notification group box changes to Confirmed, and the confirmation date appears.

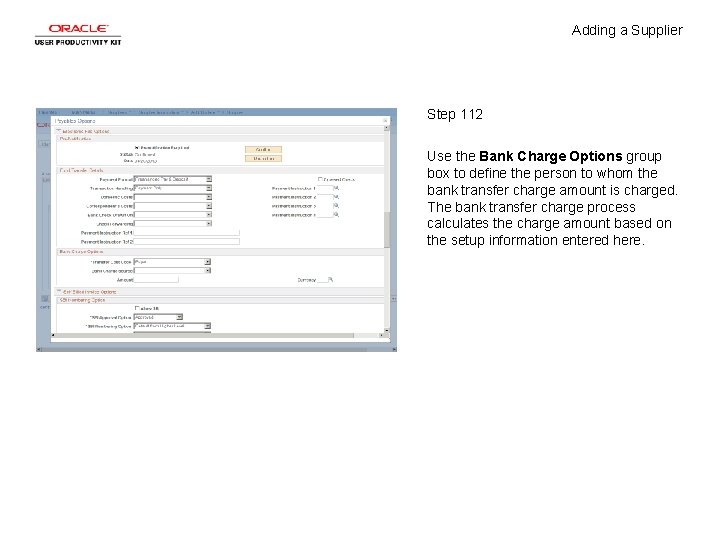
Adding a Supplier Step 112 Use the Bank Charge Options group box to define the person to whom the bank transfer charge amount is charged. The bank transfer charge process calculates the charge amount based on the setup information entered here.

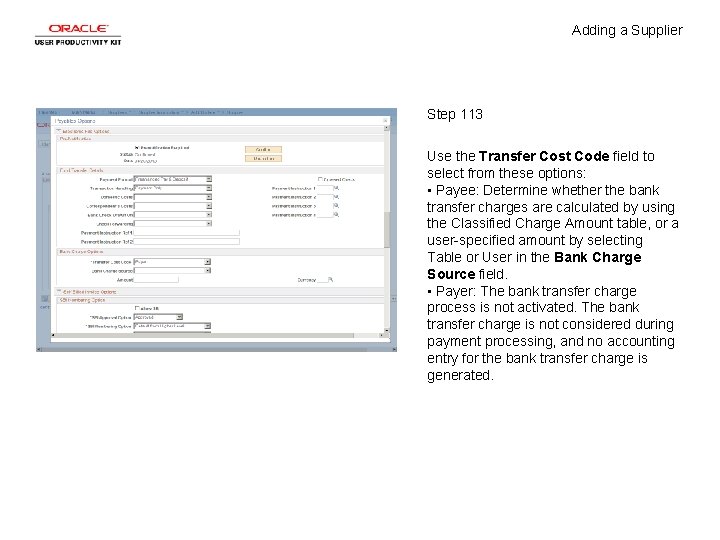
Adding a Supplier Step 113 Use the Transfer Cost Code field to select from these options: • Payee: Determine whether the bank transfer charges are calculated by using the Classified Charge Amount table, or a user-specified amount by selecting Table or User in the Bank Charge Source field. • Payer: The bank transfer charge process is not activated. The bank transfer charge is not considered during payment processing, and no accounting entry for the bank transfer charge is generated.

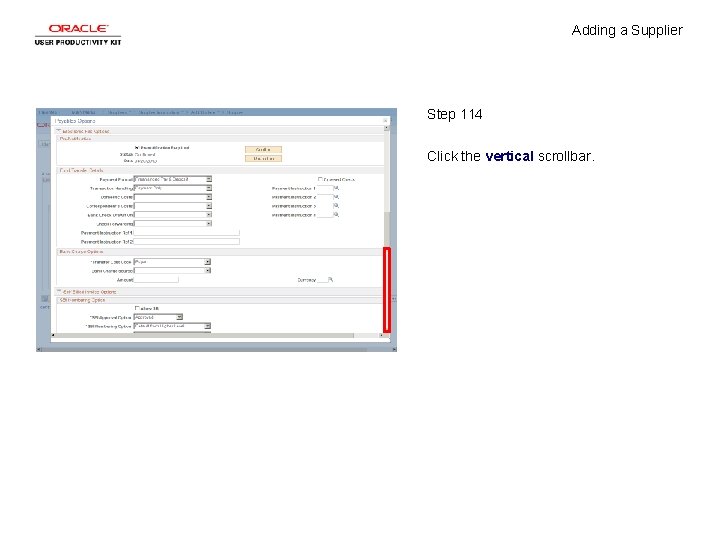
Adding a Supplier Step 114 Click the vertical scrollbar.

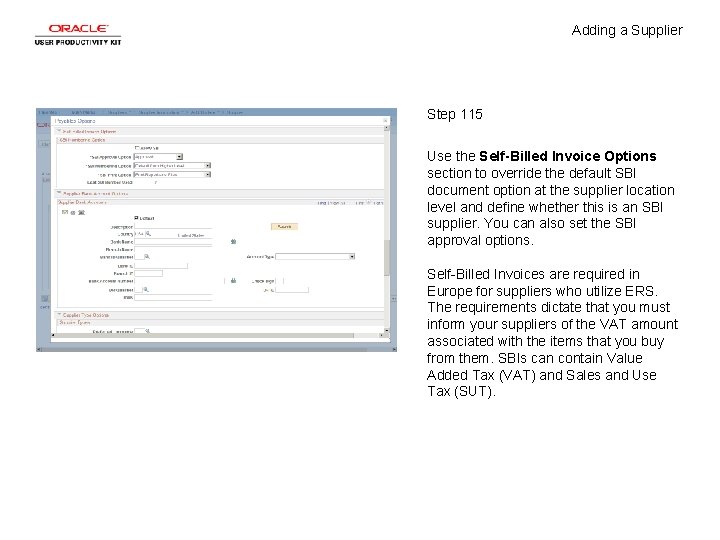
Adding a Supplier Step 115 Use the Self-Billed Invoice Options section to override the default SBI document option at the supplier location level and define whether this is an SBI supplier. You can also set the SBI approval options. Self-Billed Invoices are required in Europe for suppliers who utilize ERS. The requirements dictate that you must inform your suppliers of the VAT amount associated with the items that you buy from them. SBIs can contain Value Added Tax (VAT) and Sales and Use Tax (SUT).

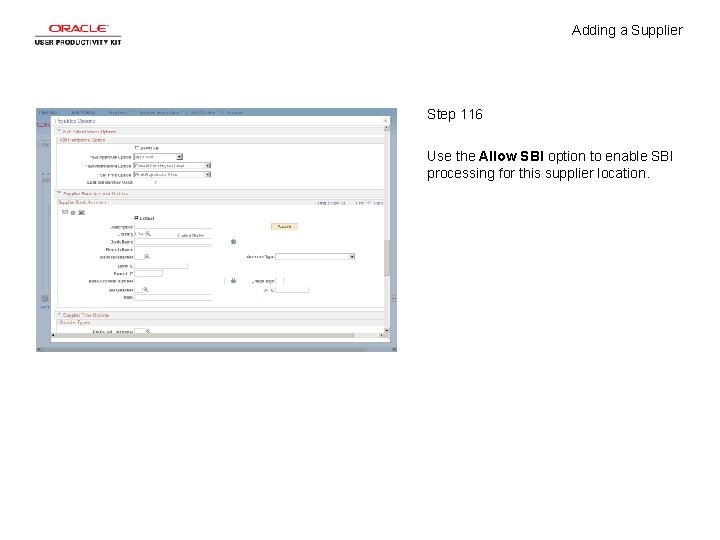
Adding a Supplier Step 116 Use the Allow SBI option to enable SBI processing for this supplier location.

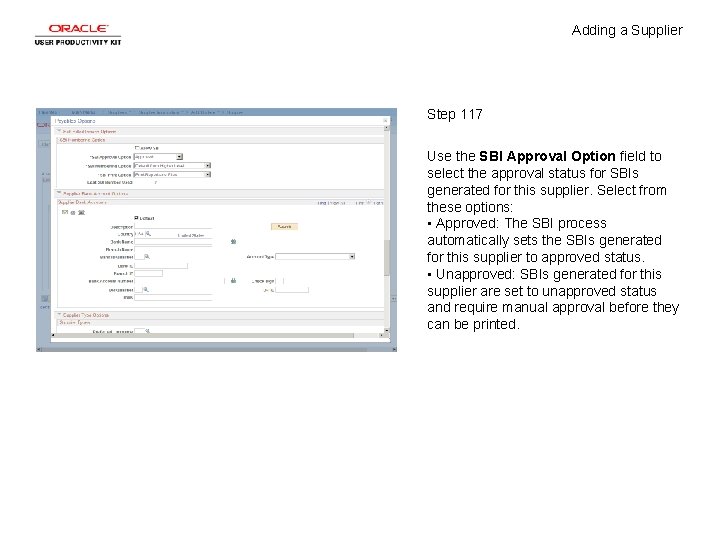
Adding a Supplier Step 117 Use the SBI Approval Option field to select the approval status for SBIs generated for this supplier. Select from these options: • Approved: The SBI process automatically sets the SBIs generated for this supplier to approved status. • Unapproved: SBIs generated for this supplier are set to unapproved status and require manual approval before they can be printed.

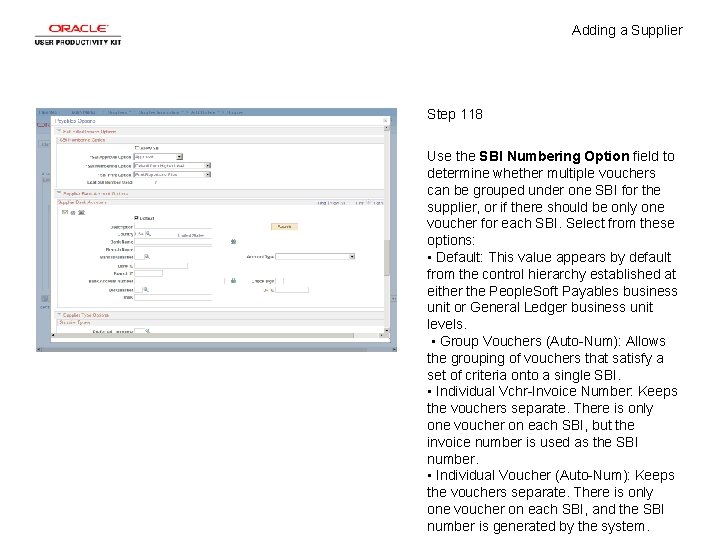
Adding a Supplier Step 118 Use the SBI Numbering Option field to determine whether multiple vouchers can be grouped under one SBI for the supplier, or if there should be only one voucher for each SBI. Select from these options: • Default: This value appears by default from the control hierarchy established at either the People. Soft Payables business unit or General Ledger business unit levels. • Group Vouchers (Auto-Num): Allows the grouping of vouchers that satisfy a set of criteria onto a single SBI. • Individual Vchr-Invoice Number: Keeps the vouchers separate. There is only one voucher on each SBI, but the invoice number is used as the SBI number. • Individual Voucher (Auto-Num): Keeps the vouchers separate. There is only one voucher on each SBI, and the SBI number is generated by the system.

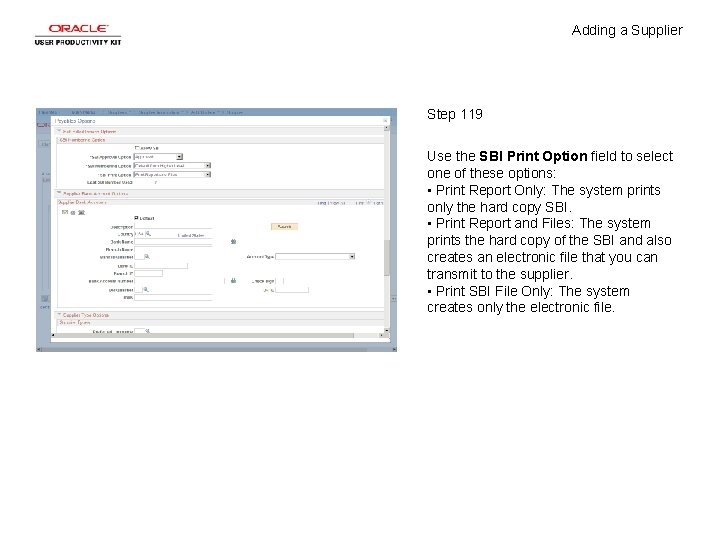
Adding a Supplier Step 119 Use the SBI Print Option field to select one of these options: • Print Report Only: The system prints only the hard copy SBI. • Print Report and Files: The system prints the hard copy of the SBI and also creates an electronic file that you can transmit to the supplier. • Print SBI File Only: The system creates only the electronic file.

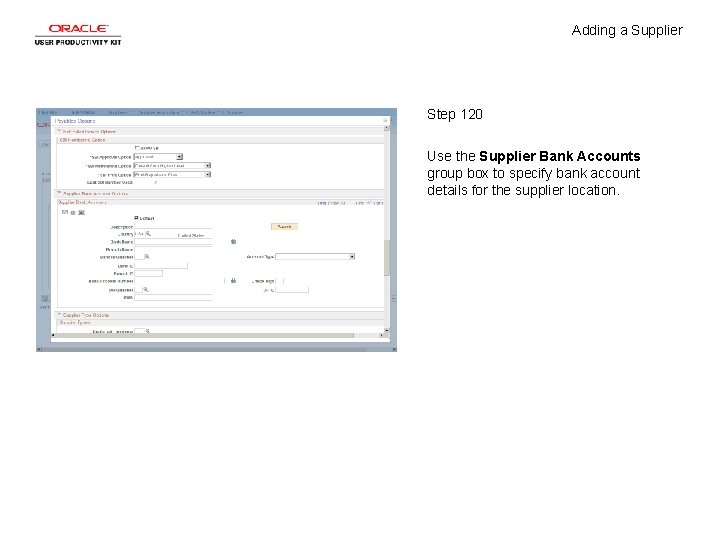
Adding a Supplier Step 120 Use the Supplier Bank Accounts group box to specify bank account details for the supplier location.

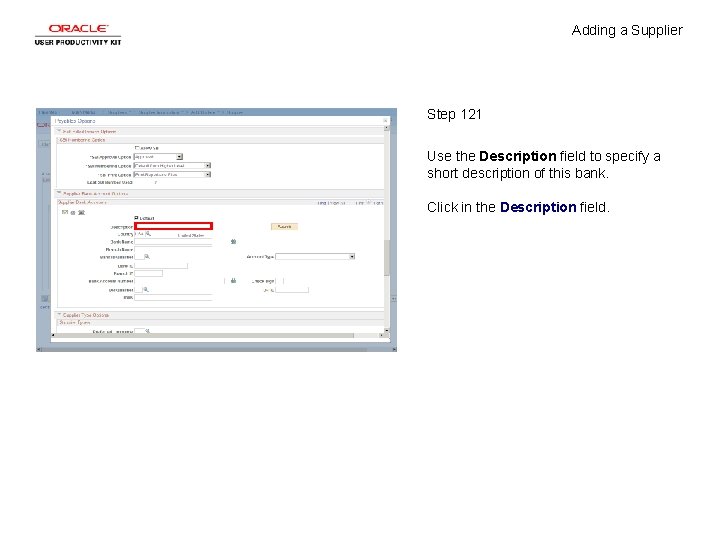
Adding a Supplier Step 121 Use the Description field to specify a short description of this bank. Click in the Description field.

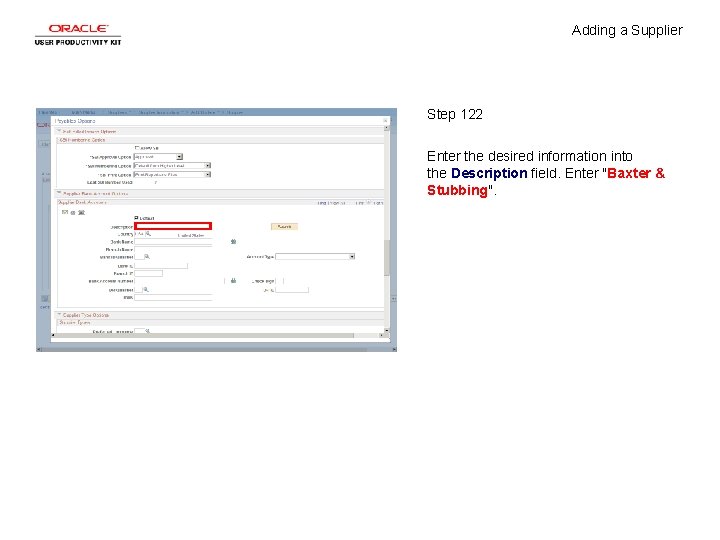
Adding a Supplier Step 122 Enter the desired information into the Description field. Enter "Baxter & Stubbing".

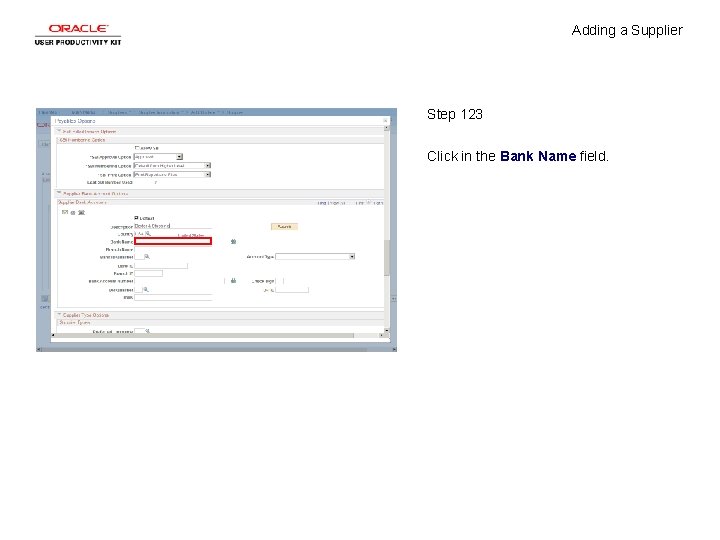
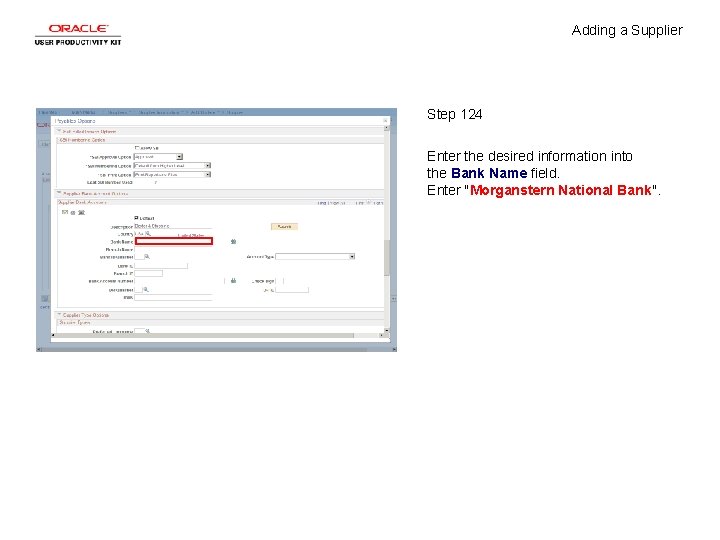
Adding a Supplier Step 123 Click in the Bank Name field.

Adding a Supplier Step 124 Enter the desired information into the Bank Name field. Enter "Morganstern National Bank".

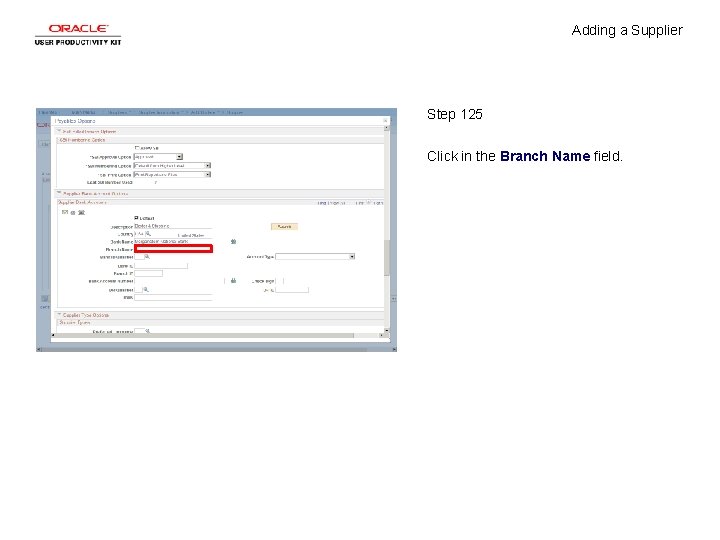
Adding a Supplier Step 125 Click in the Branch Name field.

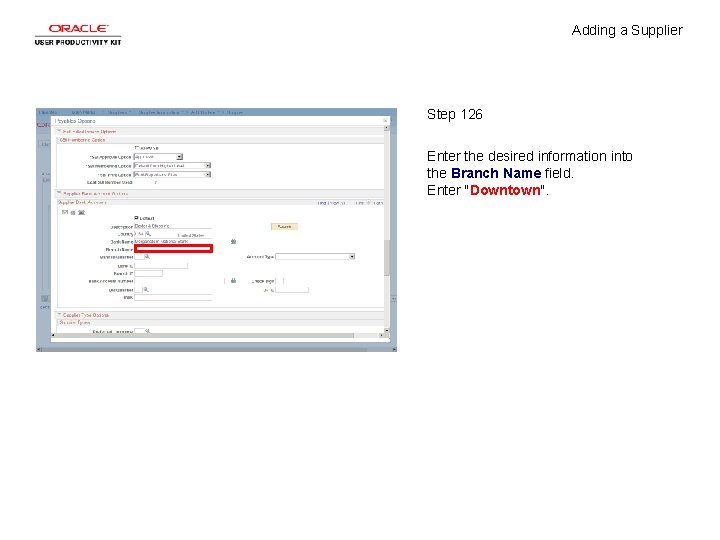
Adding a Supplier Step 126 Enter the desired information into the Branch Name field. Enter "Downtown".

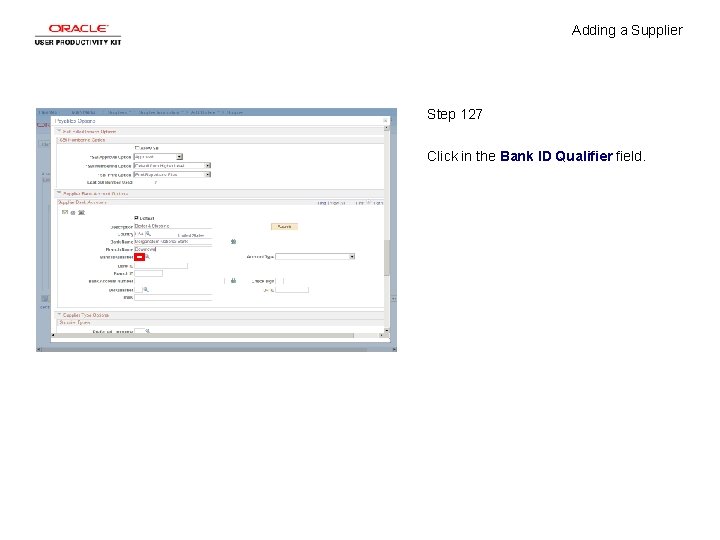
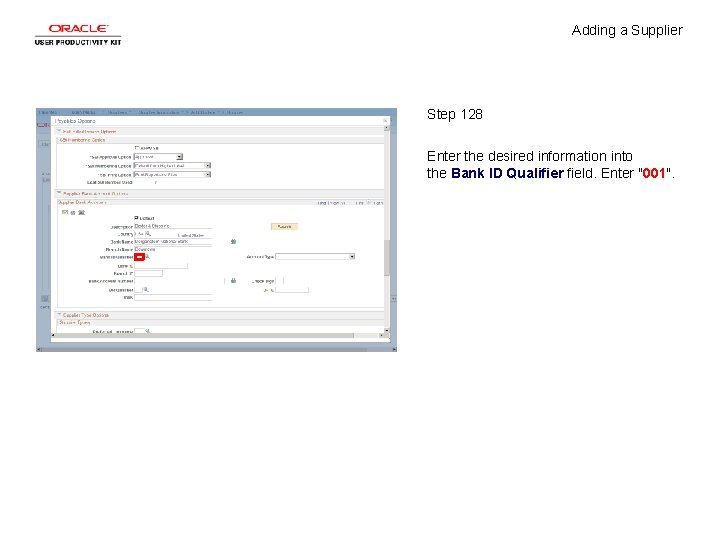
Adding a Supplier Step 127 Click in the Bank ID Qualifier field.

Adding a Supplier Step 128 Enter the desired information into the Bank ID Qualifier field. Enter "001".

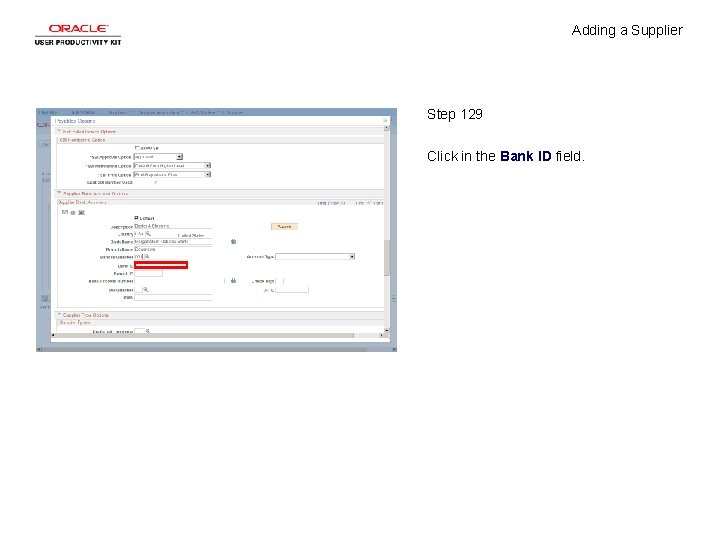
Adding a Supplier Step 129 Click in the Bank ID field.

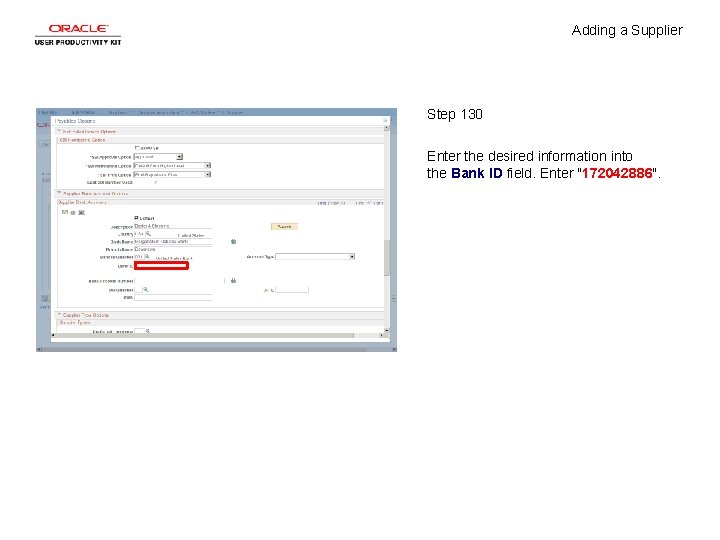
Adding a Supplier Step 130 Enter the desired information into the Bank ID field. Enter "172042886".

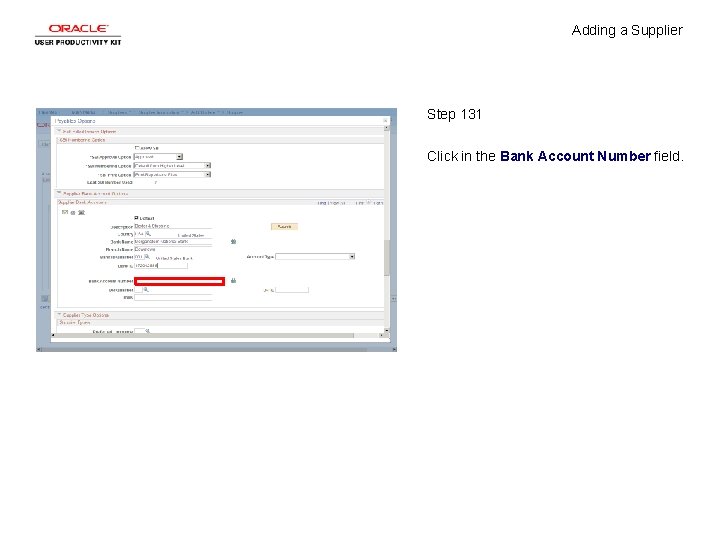
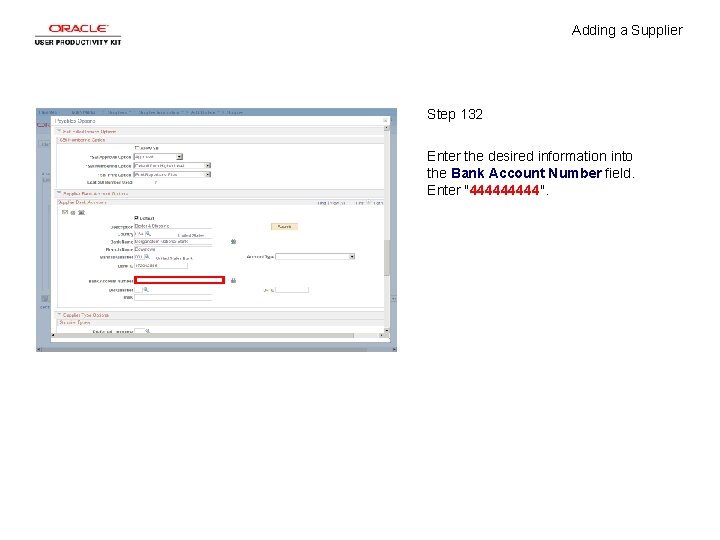
Adding a Supplier Step 131 Click in the Bank Account Number field.

Adding a Supplier Step 132 Enter the desired information into the Bank Account Number field. Enter "44444".

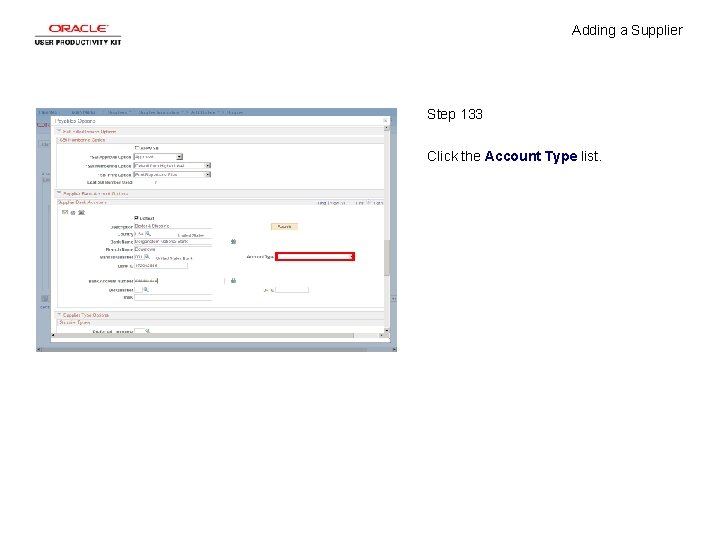
Adding a Supplier Step 133 Click the Account Type list.

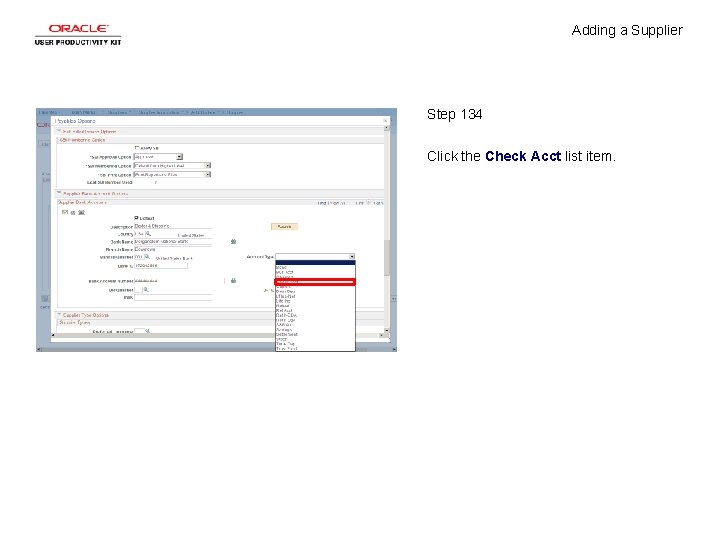
Adding a Supplier Step 134 Click the Check Acct list item.

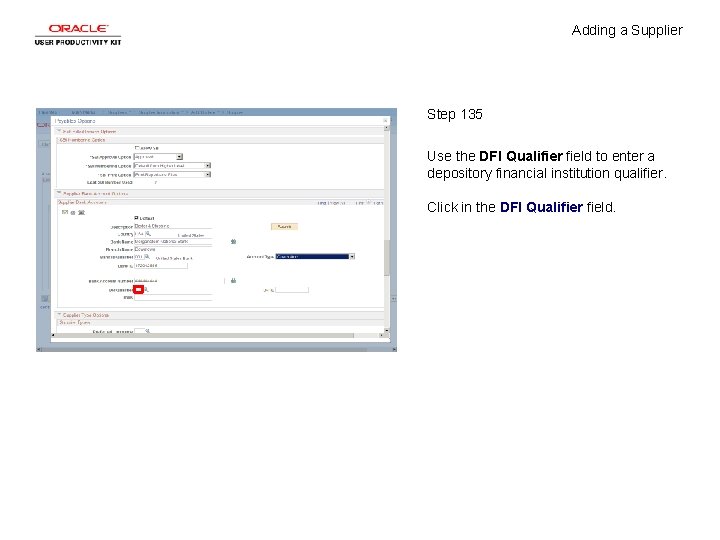
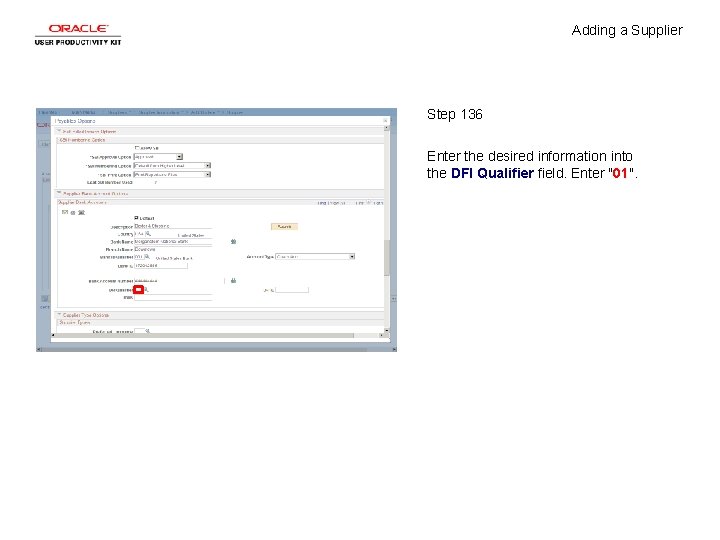
Adding a Supplier Step 135 Use the DFI Qualifier field to enter a depository financial institution qualifier. Click in the DFI Qualifier field.

Adding a Supplier Step 136 Enter the desired information into the DFI Qualifier field. Enter "01".

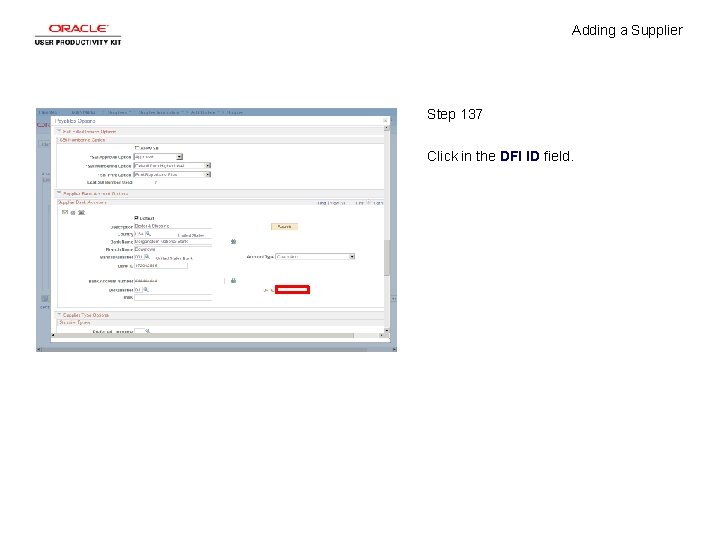
Adding a Supplier Step 137 Click in the DFI ID field.

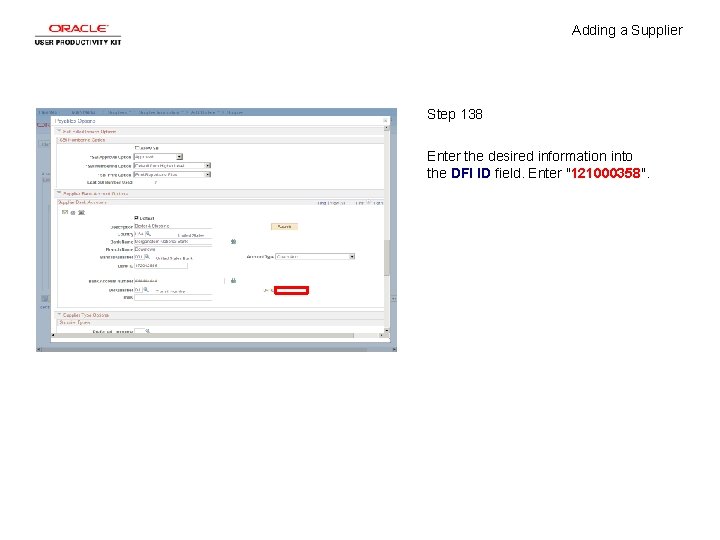
Adding a Supplier Step 138 Enter the desired information into the DFI ID field. Enter "121000358".

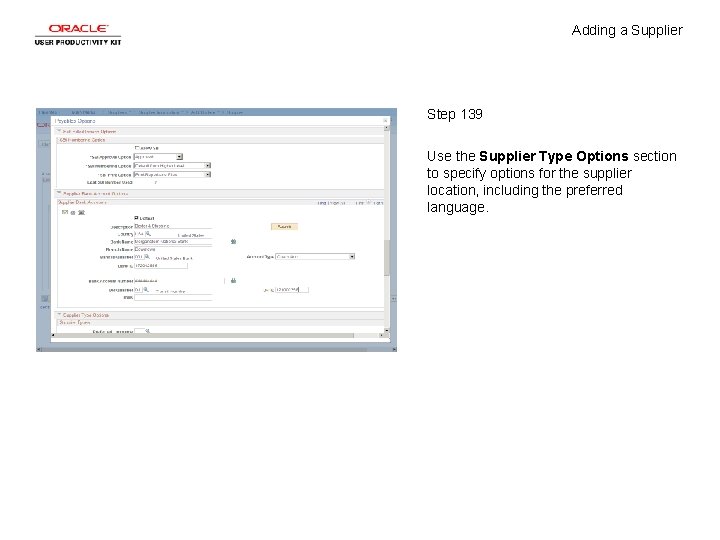
Adding a Supplier Step 139 Use the Supplier Type Options section to specify options for the supplier location, including the preferred language.

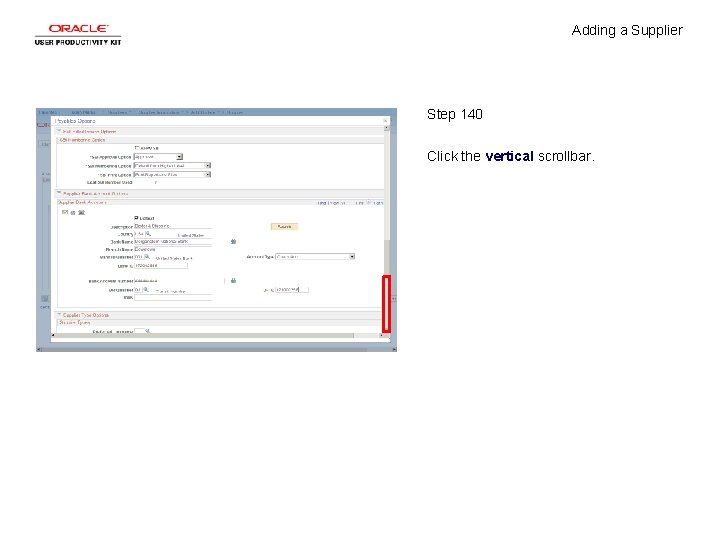
Adding a Supplier Step 140 Click the vertical scrollbar.

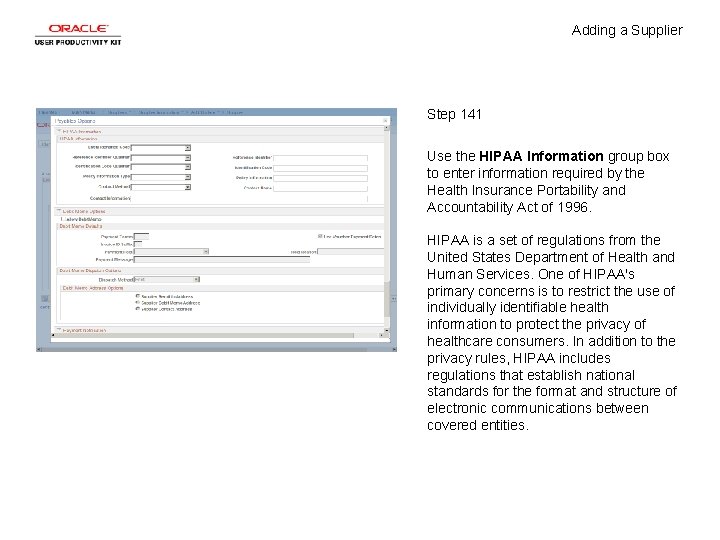
Adding a Supplier Step 141 Use the HIPAA Information group box to enter information required by the Health Insurance Portability and Accountability Act of 1996. HIPAA is a set of regulations from the United States Department of Health and Human Services. One of HIPAA's primary concerns is to restrict the use of individually identifiable health information to protect the privacy of healthcare consumers. In addition to the privacy rules, HIPAA includes regulations that establish national standards for the format and structure of electronic communications between covered entities.

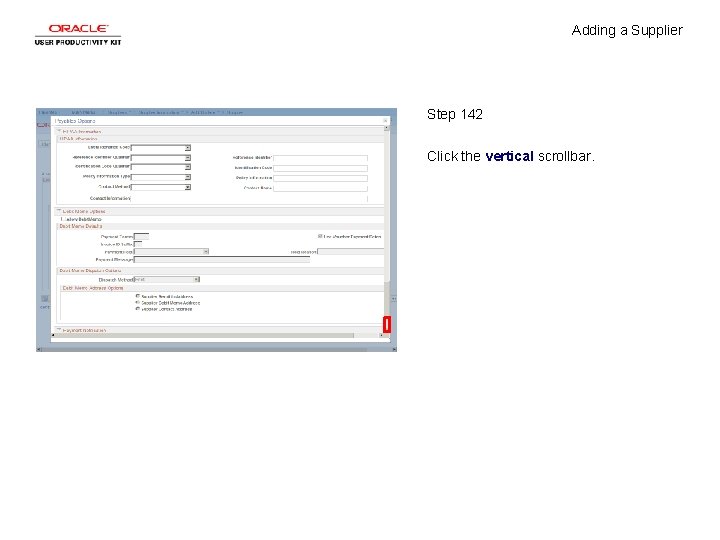
Adding a Supplier Step 142 Click the vertical scrollbar.

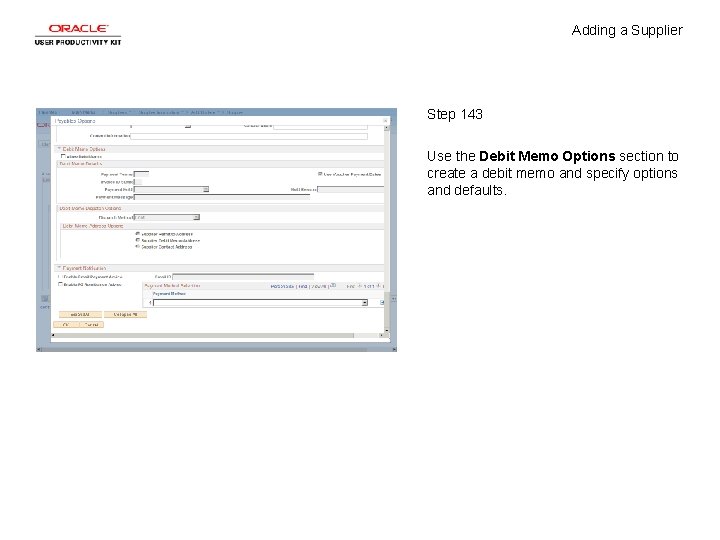
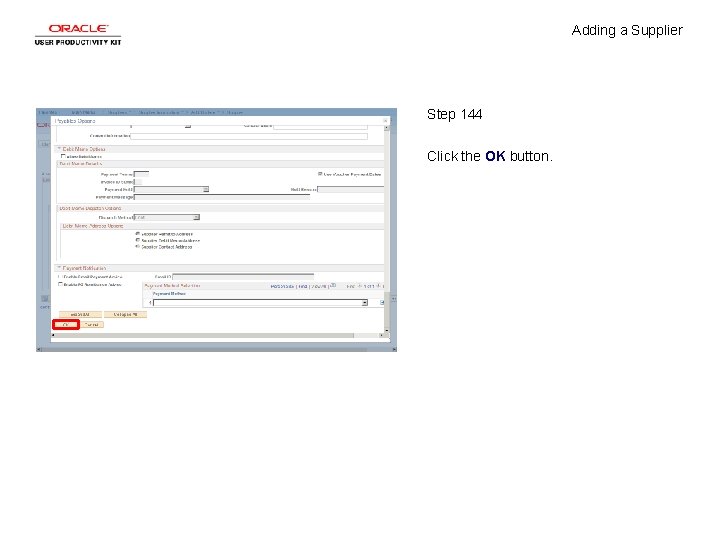
Adding a Supplier Step 143 Use the Debit Memo Options section to create a debit memo and specify options and defaults.

Adding a Supplier Step 144 Click the OK button.

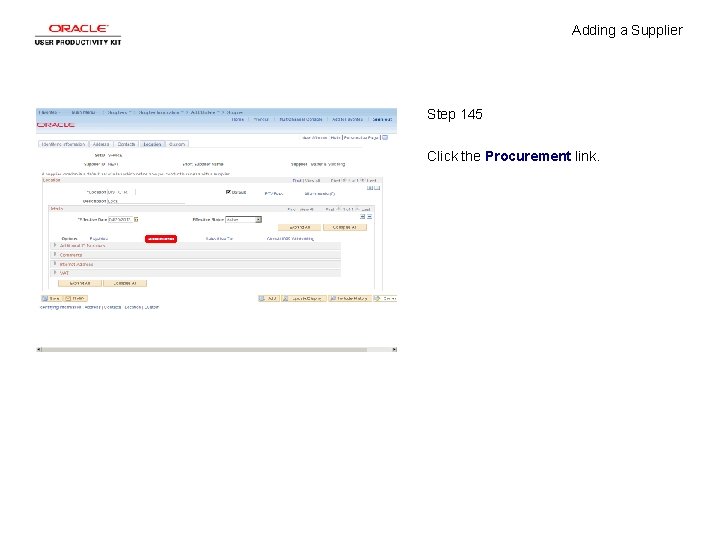
Adding a Supplier Step 145 Click the Procurement link.

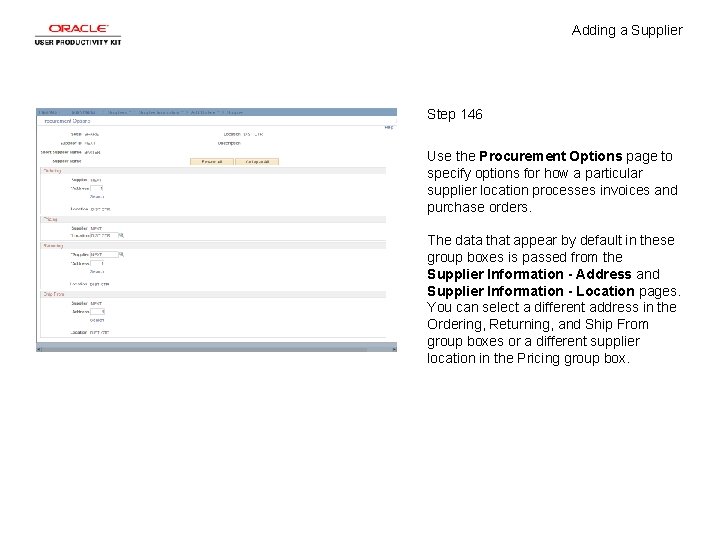
Adding a Supplier Step 146 Use the Procurement Options page to specify options for how a particular supplier location processes invoices and purchase orders. The data that appear by default in these group boxes is passed from the Supplier Information - Address and Supplier Information - Location pages. You can select a different address in the Ordering, Returning, and Ship From group boxes or a different supplier location in the Pricing group box.

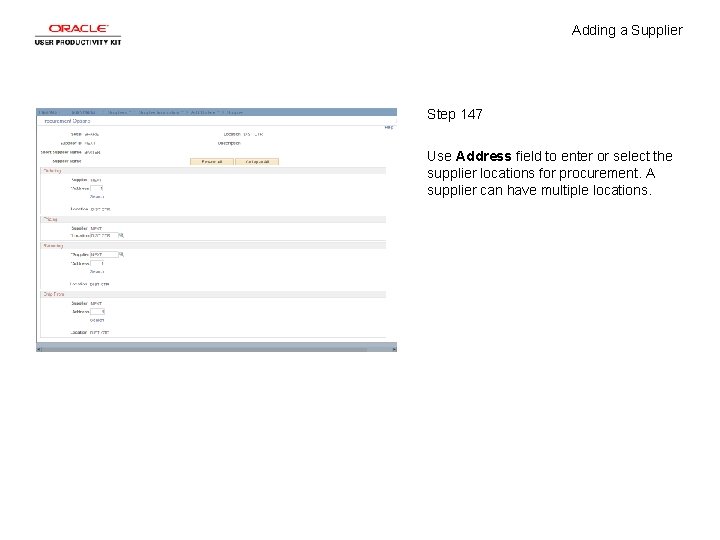
Adding a Supplier Step 147 Use Address field to enter or select the supplier locations for procurement. A supplier can have multiple locations.

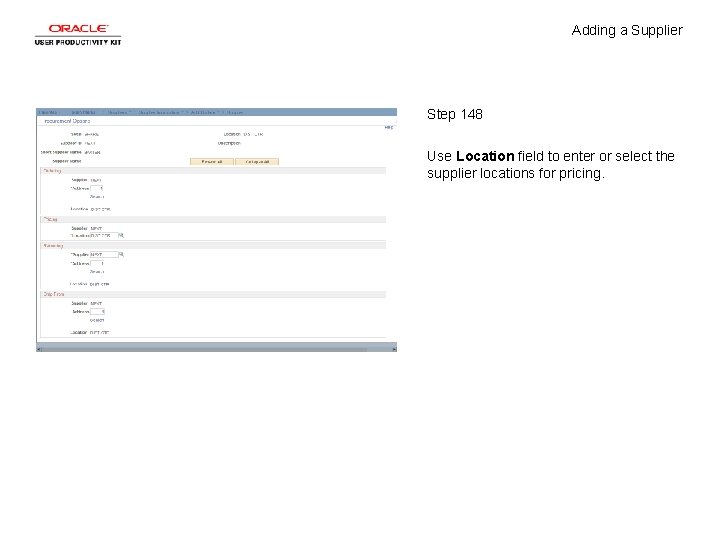
Adding a Supplier Step 148 Use Location field to enter or select the supplier locations for pricing.

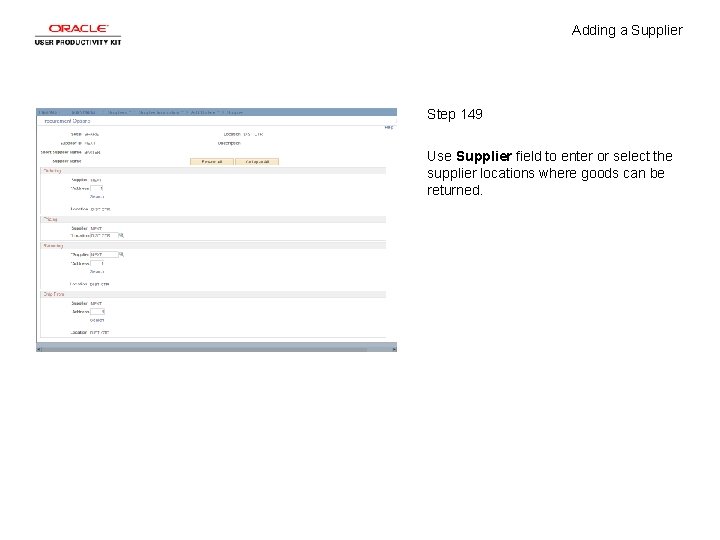
Adding a Supplier Step 149 Use Supplier field to enter or select the supplier locations where goods can be returned.

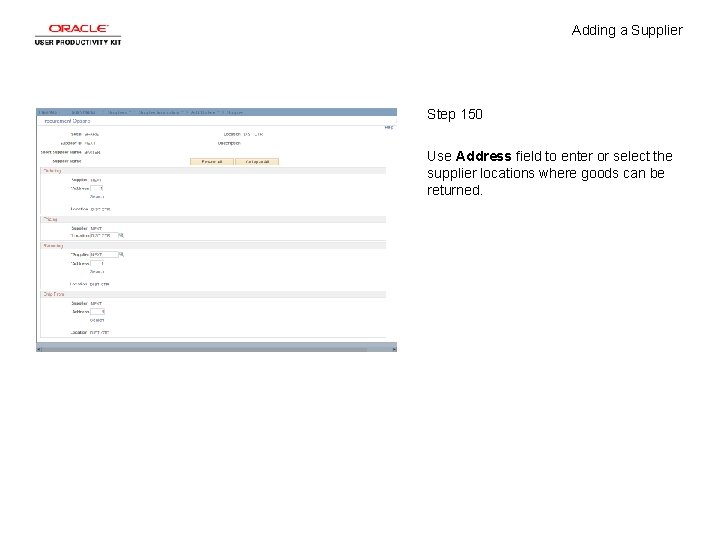
Adding a Supplier Step 150 Use Address field to enter or select the supplier locations where goods can be returned.

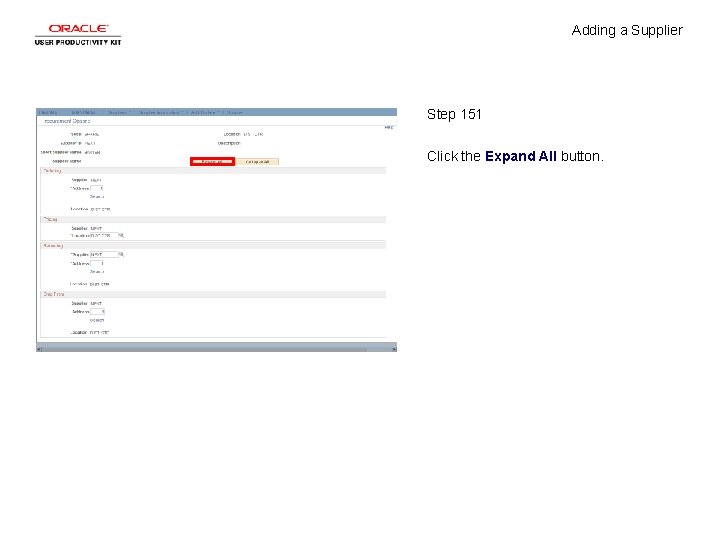
Adding a Supplier Step 151 Click the Expand All button.

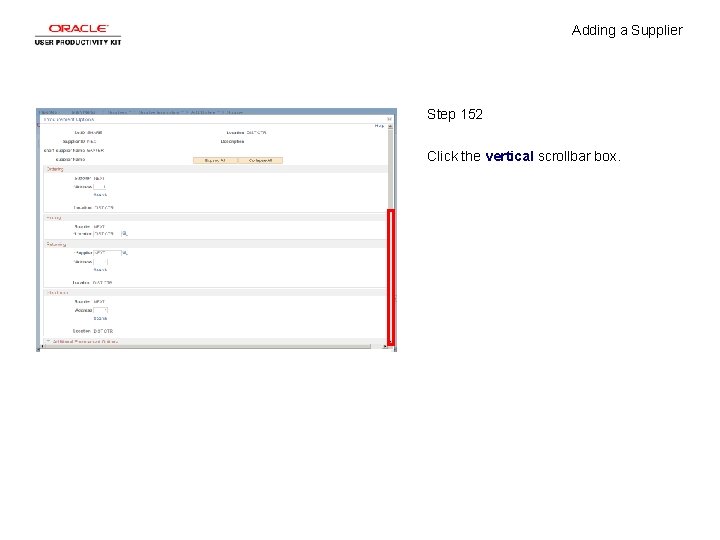
Adding a Supplier Step 152 Click the vertical scrollbar box.

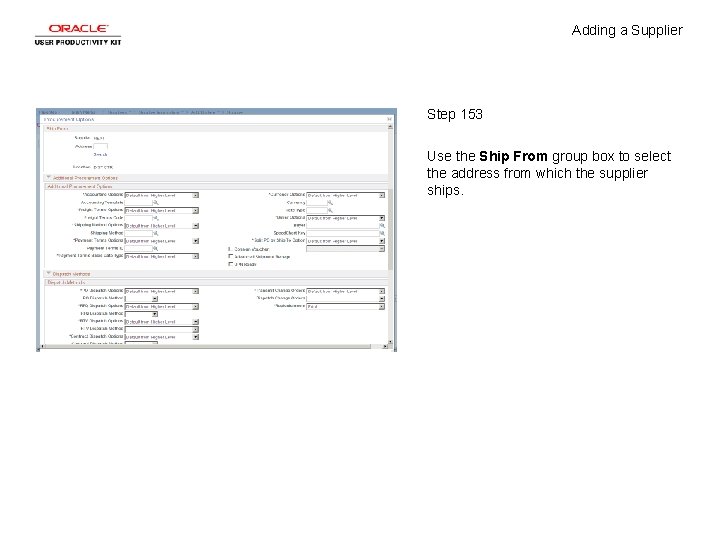
Adding a Supplier Step 153 Use the Ship From group box to select the address from which the supplier ships.

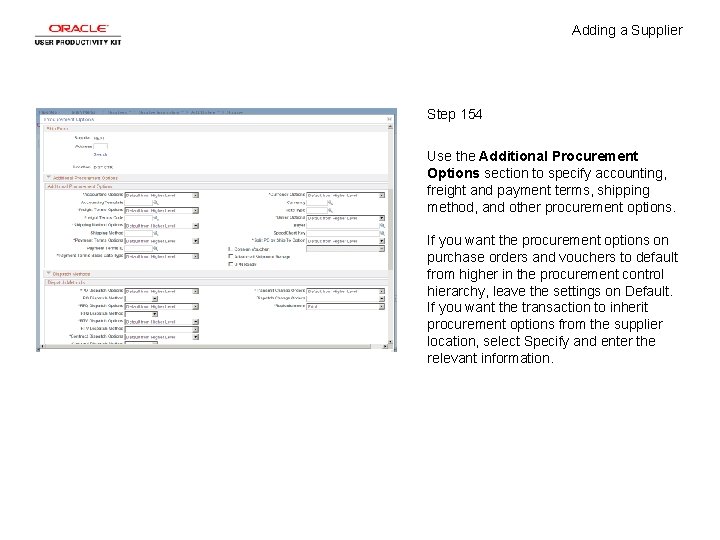
Adding a Supplier Step 154 Use the Additional Procurement Options section to specify accounting, freight and payment terms, shipping method, and other procurement options. If you want the procurement options on purchase orders and vouchers to default from higher in the procurement control hierarchy, leave the settings on Default. If you want the transaction to inherit procurement options from the supplier location, select Specify and enter the relevant information.

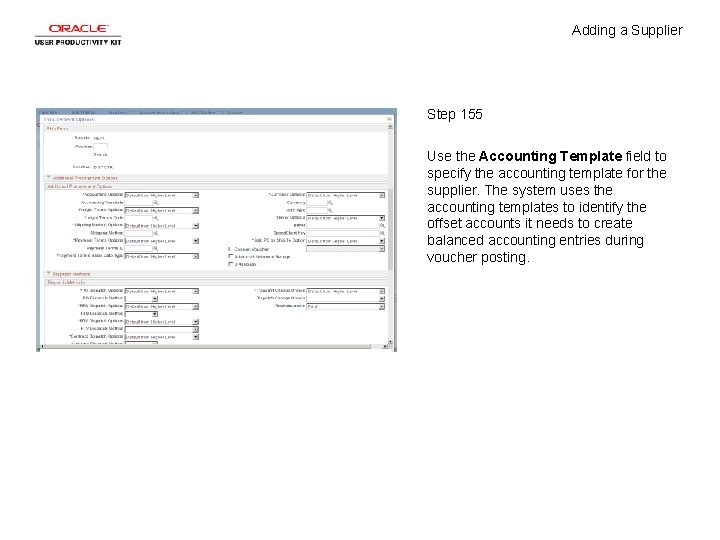
Adding a Supplier Step 155 Use the Accounting Template field to specify the accounting template for the supplier. The system uses the accounting templates to identify the offset accounts it needs to create balanced accounting entries during voucher posting.

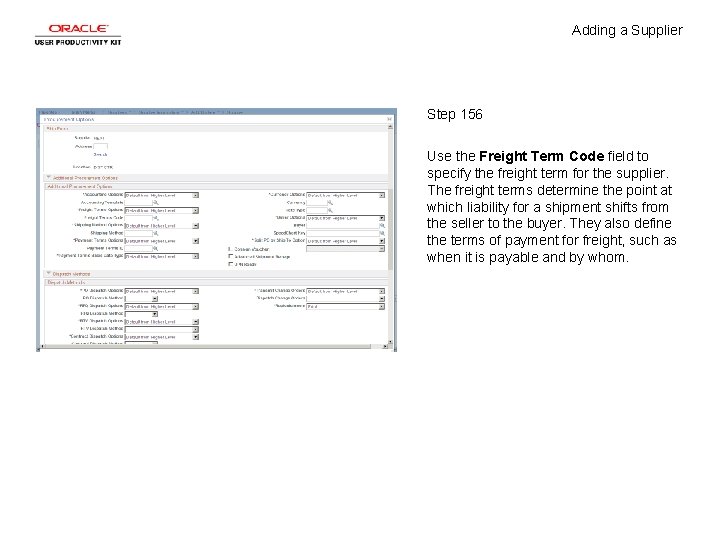
Adding a Supplier Step 156 Use the Freight Term Code field to specify the freight term for the supplier. The freight terms determine the point at which liability for a shipment shifts from the seller to the buyer. They also define the terms of payment for freight, such as when it is payable and by whom.

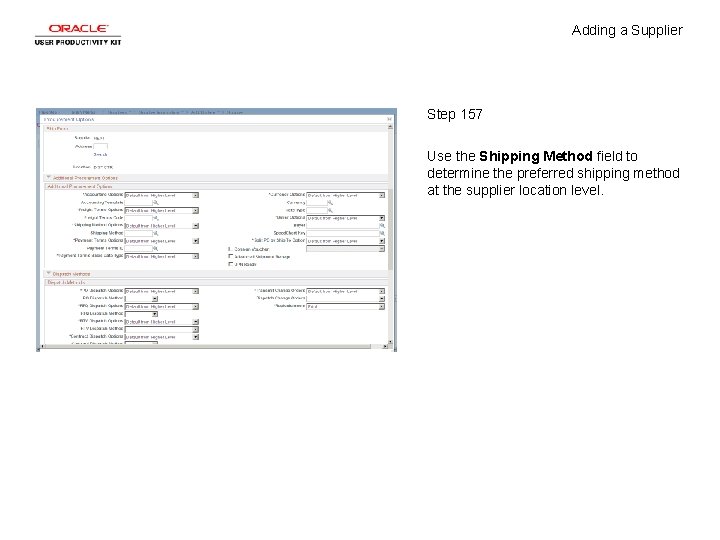
Adding a Supplier Step 157 Use the Shipping Method field to determine the preferred shipping method at the supplier location level.

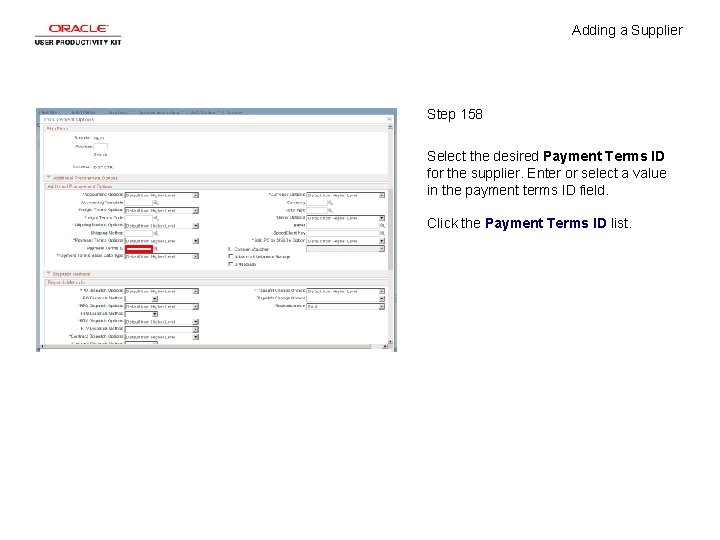
Adding a Supplier Step 158 Select the desired Payment Terms ID for the supplier. Enter or select a value in the payment terms ID field. Click the Payment Terms ID list.

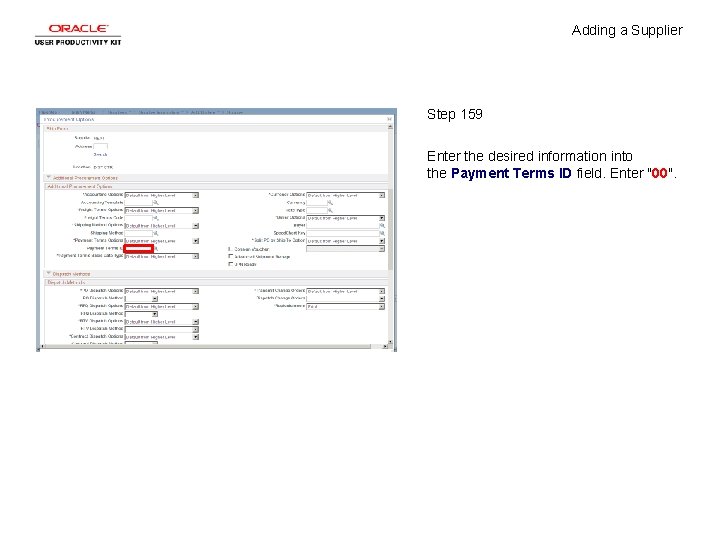
Adding a Supplier Step 159 Enter the desired information into the Payment Terms ID field. Enter "00".

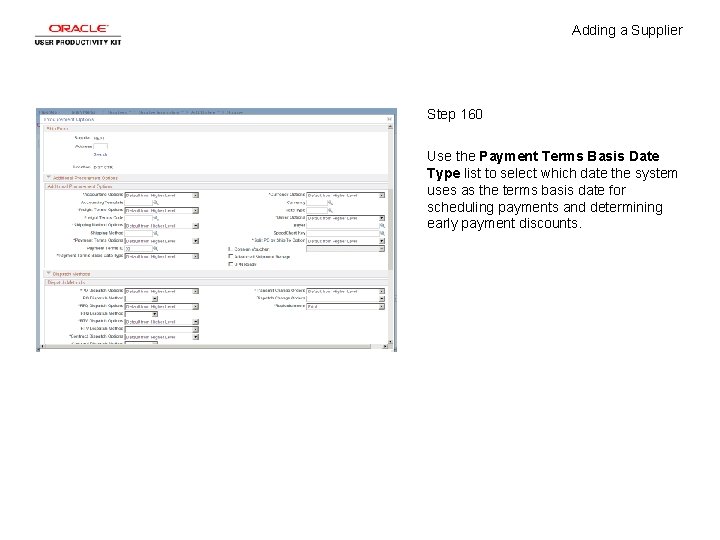
Adding a Supplier Step 160 Use the Payment Terms Basis Date Type list to select which date the system uses as the terms basis date for scheduling payments and determining early payment discounts.

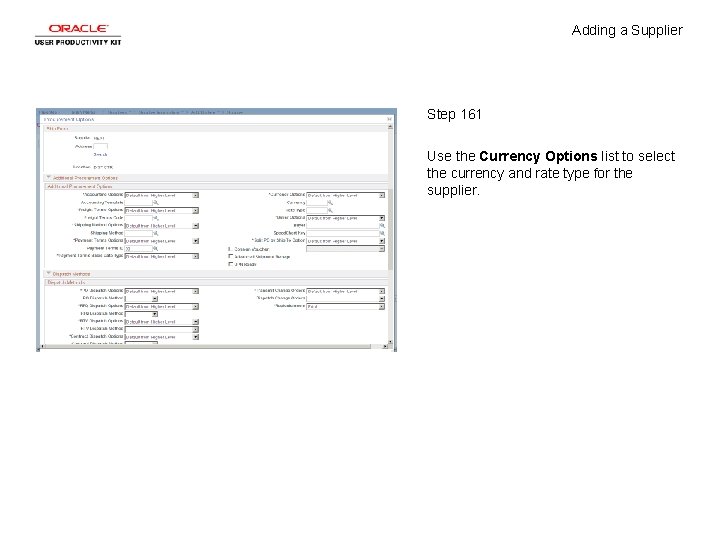
Adding a Supplier Step 161 Use the Currency Options list to select the currency and rate type for the supplier.

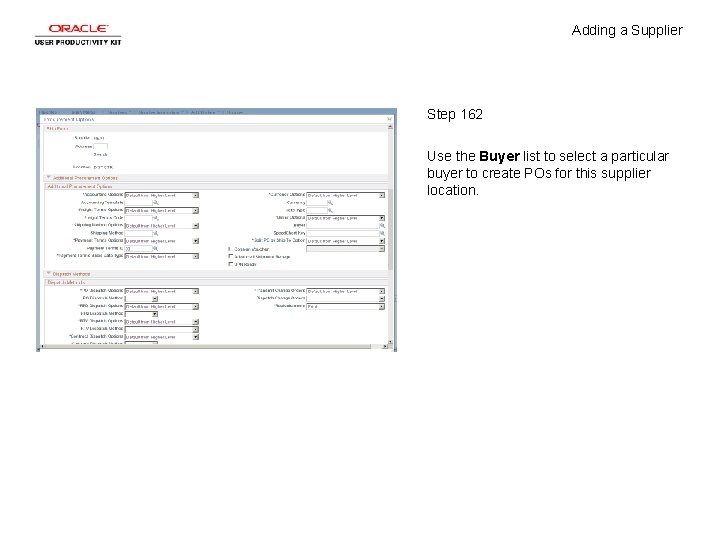
Adding a Supplier Step 162 Use the Buyer list to select a particular buyer to create POs for this supplier location.

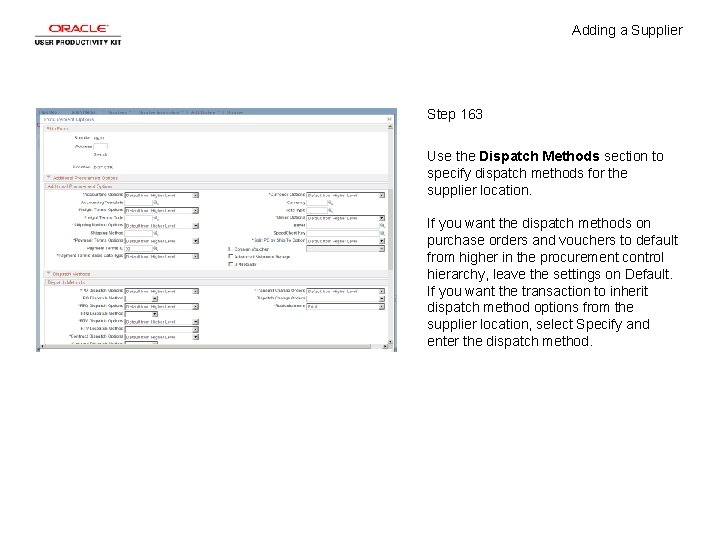
Adding a Supplier Step 163 Use the Dispatch Methods section to specify dispatch methods for the supplier location. If you want the dispatch methods on purchase orders and vouchers to default from higher in the procurement control hierarchy, leave the settings on Default. If you want the transaction to inherit dispatch method options from the supplier location, select Specify and enter the dispatch method.

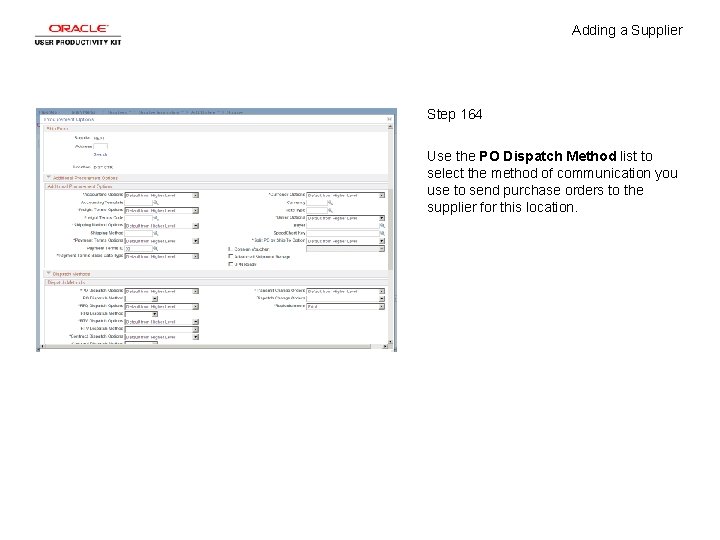
Adding a Supplier Step 164 Use the PO Dispatch Method list to select the method of communication you use to send purchase orders to the supplier for this location.

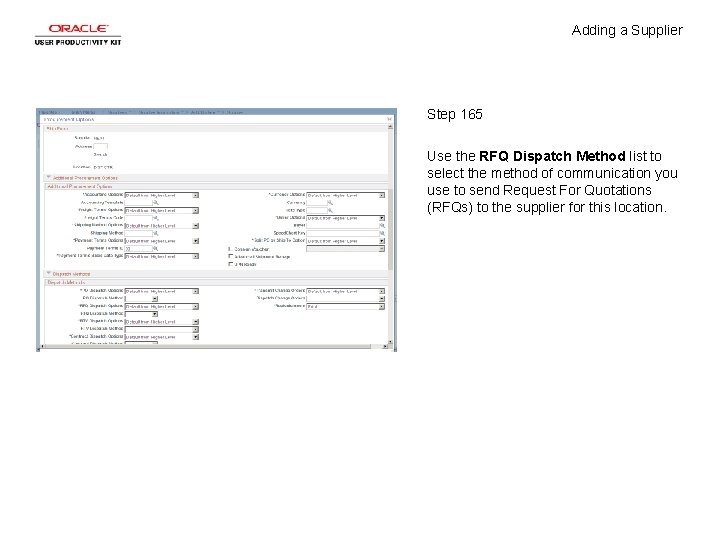
Adding a Supplier Step 165 Use the RFQ Dispatch Method list to select the method of communication you use to send Request For Quotations (RFQs) to the supplier for this location.

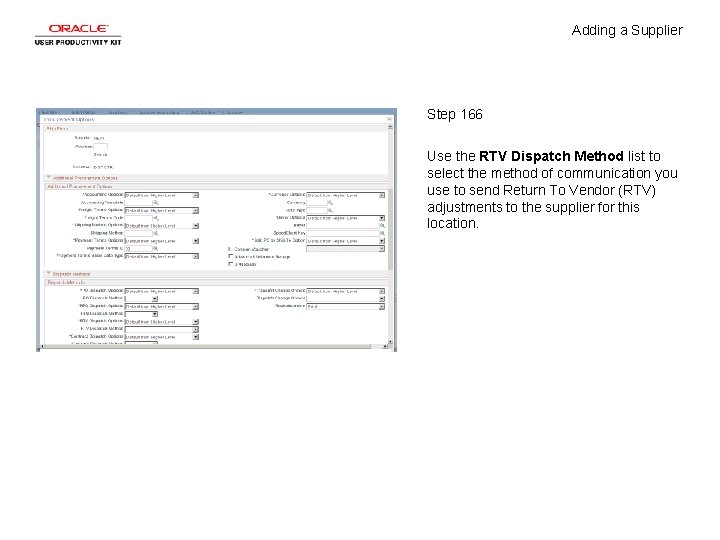
Adding a Supplier Step 166 Use the RTV Dispatch Method list to select the method of communication you use to send Return To Vendor (RTV) adjustments to the supplier for this location.

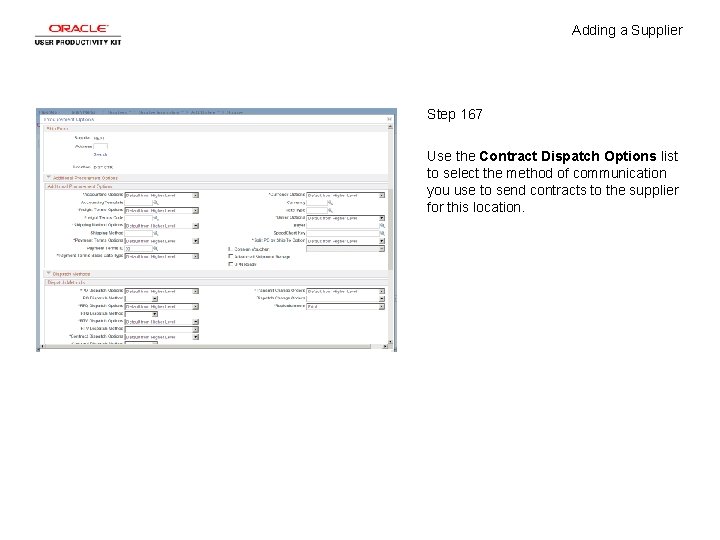
Adding a Supplier Step 167 Use the Contract Dispatch Options list to select the method of communication you use to send contracts to the supplier for this location.

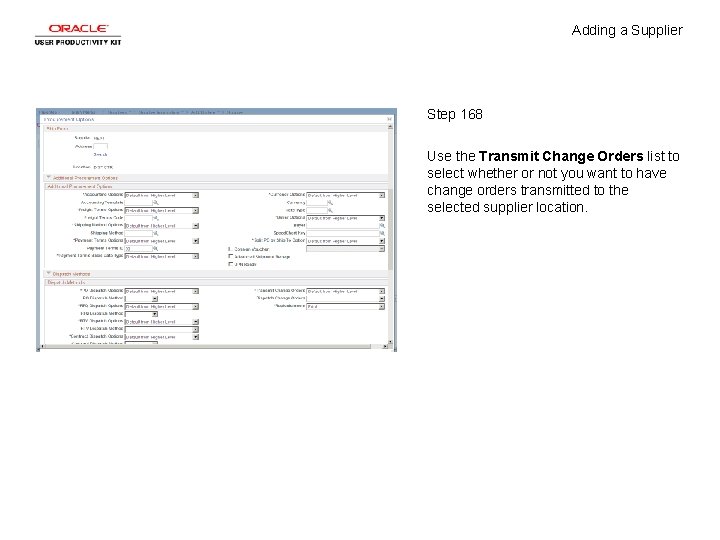
Adding a Supplier Step 168 Use the Transmit Change Orders list to select whether or not you want to have change orders transmitted to the selected supplier location.

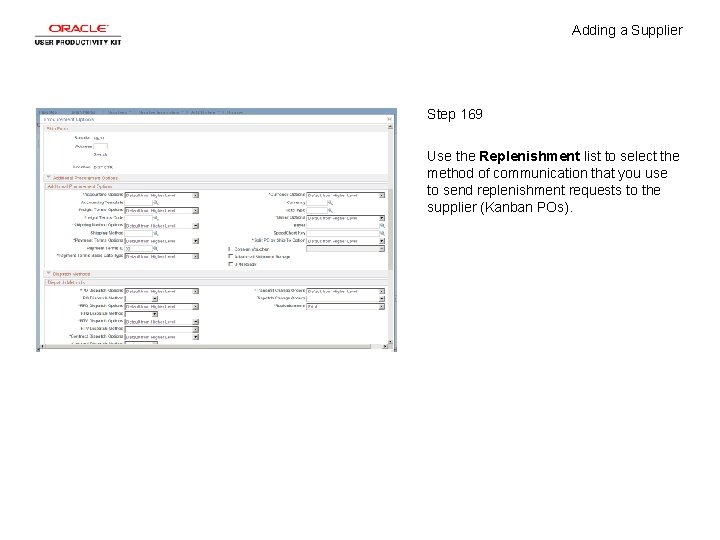
Adding a Supplier Step 169 Use the Replenishment list to select the method of communication that you use to send replenishment requests to the supplier (Kanban POs).

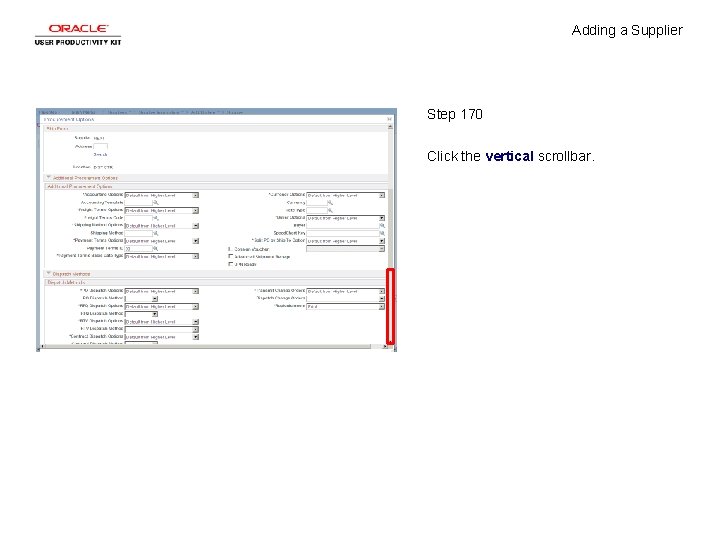
Adding a Supplier Step 170 Click the vertical scrollbar.

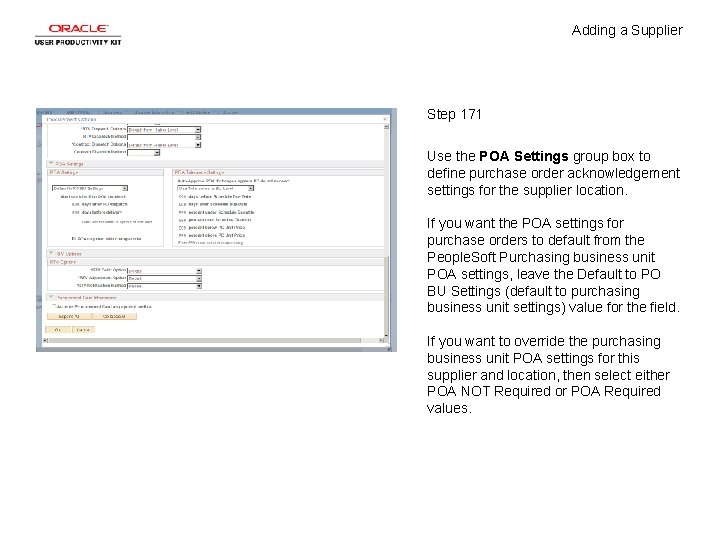
Adding a Supplier Step 171 Use the POA Settings group box to define purchase order acknowledgement settings for the supplier location. If you want the POA settings for purchase orders to default from the People. Soft Purchasing business unit POA settings, leave the Default to PO BU Settings (default to purchasing business unit settings) value for the field. If you want to override the purchasing business unit POA settings for this supplier and location, then select either POA NOT Required or POA Required values.

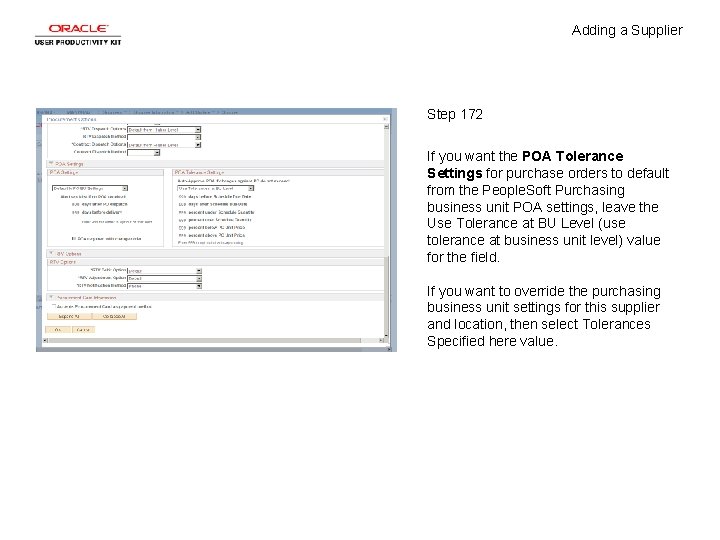
Adding a Supplier Step 172 If you want the POA Tolerance Settings for purchase orders to default from the People. Soft Purchasing business unit POA settings, leave the Use Tolerance at BU Level (use tolerance at business unit level) value for the field. If you want to override the purchasing business unit settings for this supplier and location, then select Tolerances Specified here value.

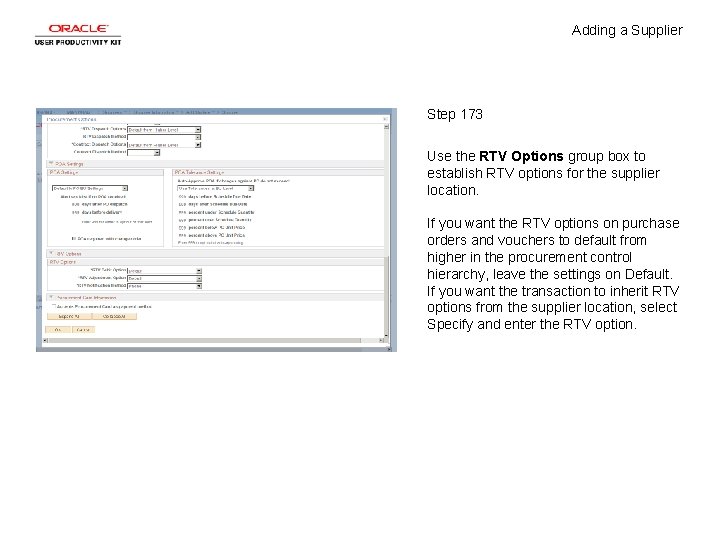
Adding a Supplier Step 173 Use the RTV Options group box to establish RTV options for the supplier location. If you want the RTV options on purchase orders and vouchers to default from higher in the procurement control hierarchy, leave the settings on Default. If you want the transaction to inherit RTV options from the supplier location, select Specify and enter the RTV option.

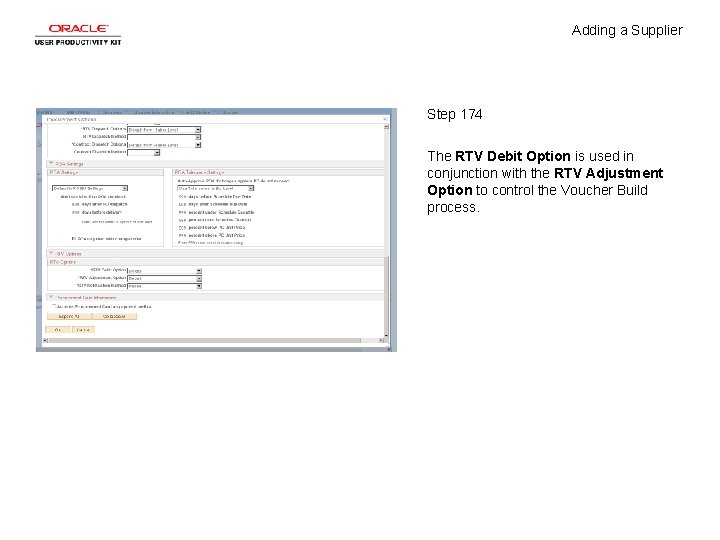
Adding a Supplier Step 174 The RTV Debit Option is used in conjunction with the RTV Adjustment Option to control the Voucher Build process.

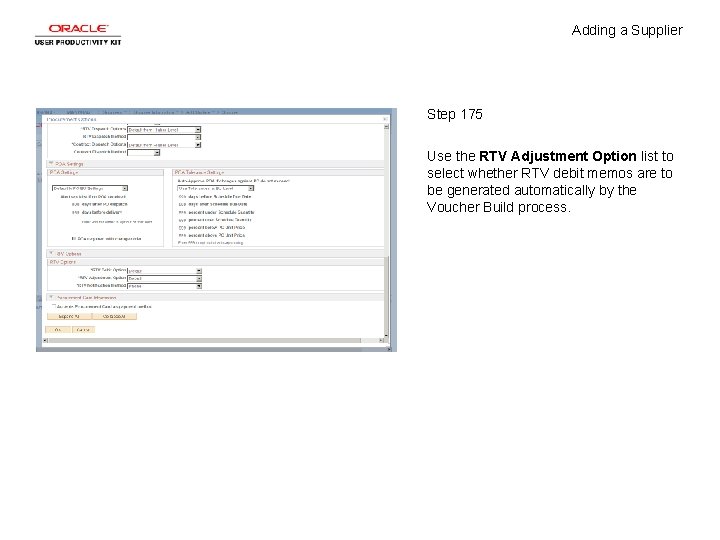
Adding a Supplier Step 175 Use the RTV Adjustment Option list to select whether RTV debit memos are to be generated automatically by the Voucher Build process.

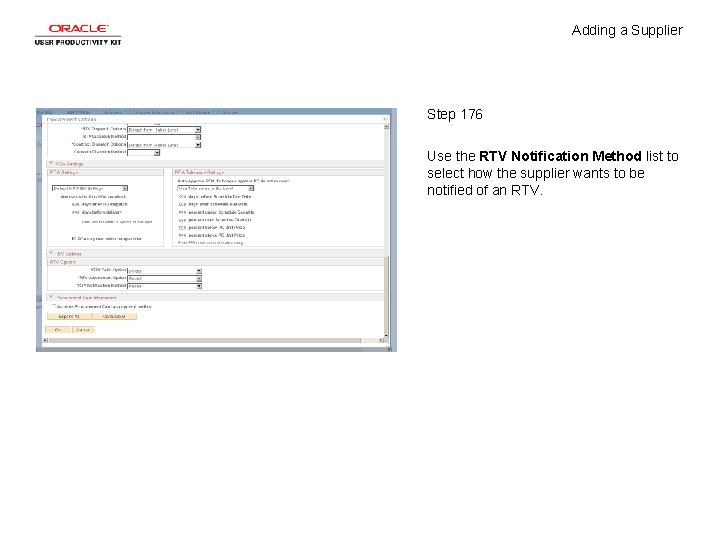
Adding a Supplier Step 176 Use the RTV Notification Method list to select how the supplier wants to be notified of an RTV.

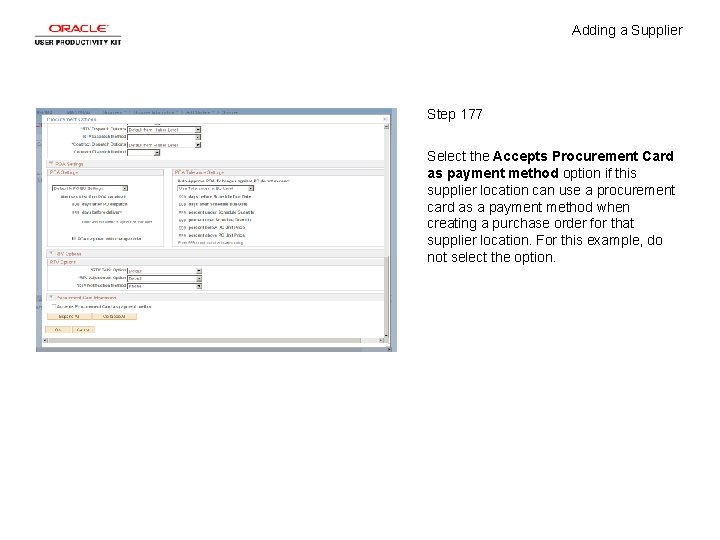
Adding a Supplier Step 177 Select the Accepts Procurement Card as payment method option if this supplier location can use a procurement card as a payment method when creating a purchase order for that supplier location. For this example, do not select the option.

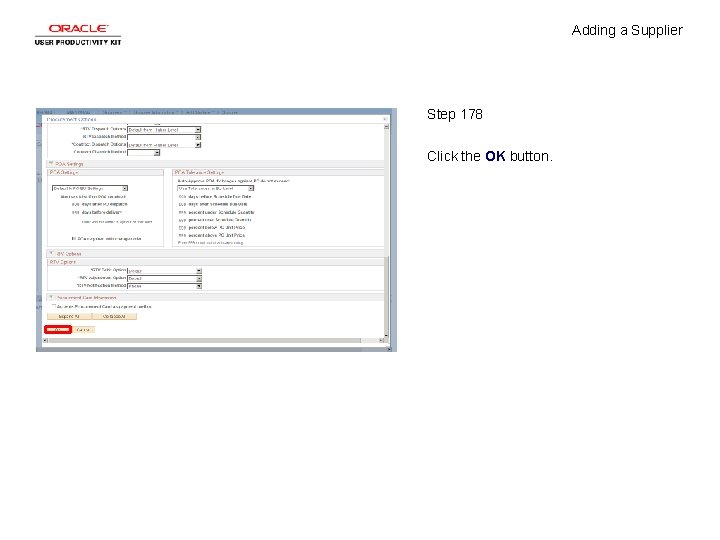
Adding a Supplier Step 178 Click the OK button.

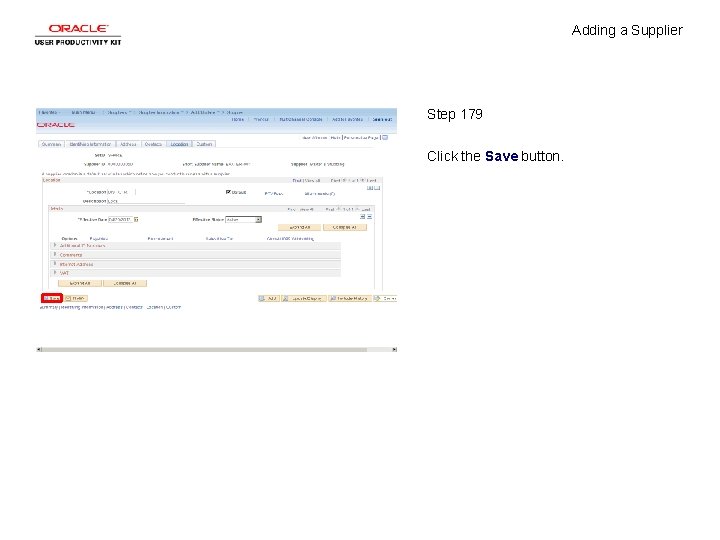
Adding a Supplier Step 179 Click the Save button.

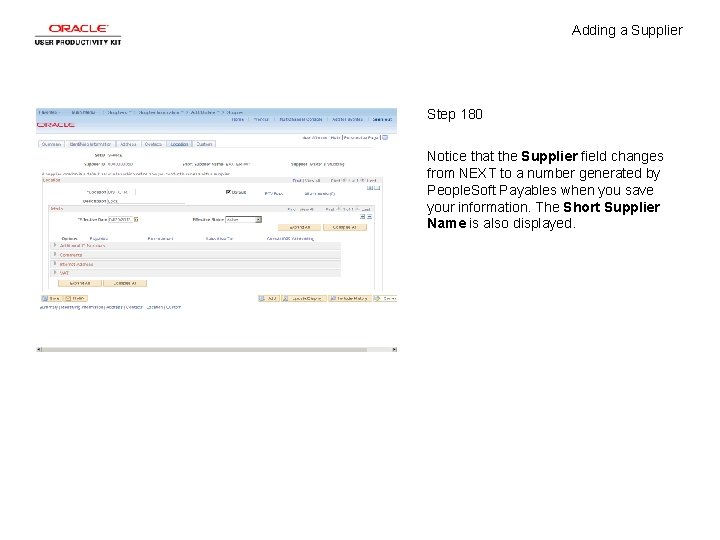
Adding a Supplier Step 180 Notice that the Supplier field changes from NEXT to a number generated by People. Soft Payables when you save your information. The Short Supplier Name is also displayed.

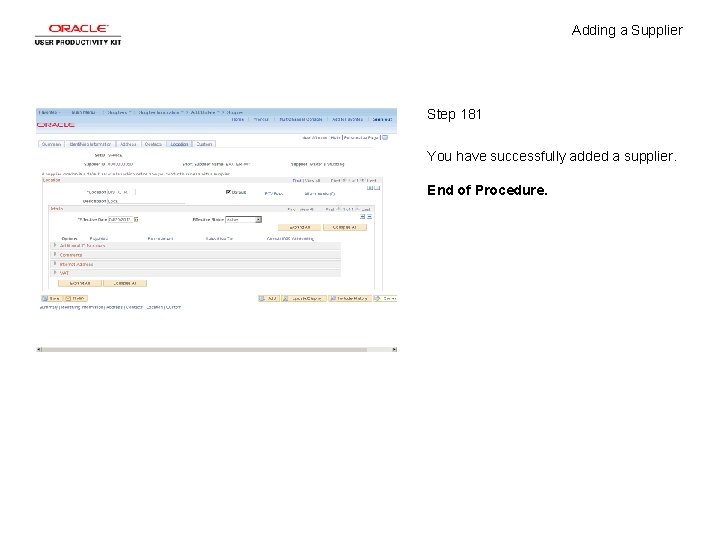
Adding a Supplier Step 181 You have successfully added a supplier. End of Procedure.