Adam Field and Jeremy Randall Stages of Clay

 Wet Leather Hard Bone Dry (Fire) Bisque (Fire) Glazed")


- Slides: 28
Adam Field and Jeremy Randall
Stages of Clay (Review) Wet Leather Hard Bone Dry (Fire) Bisque (Fire) Glazed
Adam Field Born and raised in Colorado, Adam earned his BA in Art from Fort Lewis College. For two years he immersed himself in the culturally rich art scene of the San Francisco bay area, where he began his full time studio practice. From there, he relocated to Maui, where he established a thriving studio business. He spent most of 2008 in South Korea, studying traditional Korean pottery making techniques under 6 th generation Onggi master Kim Il Mahn. After maintaining his studio in Durango, CO for 5 years, Adam recently moved to Helena, MT where he is currently a long-term artist in residence at The Archie Bray Foundation. His works are included in private collections and kitchen cabinets internationally.
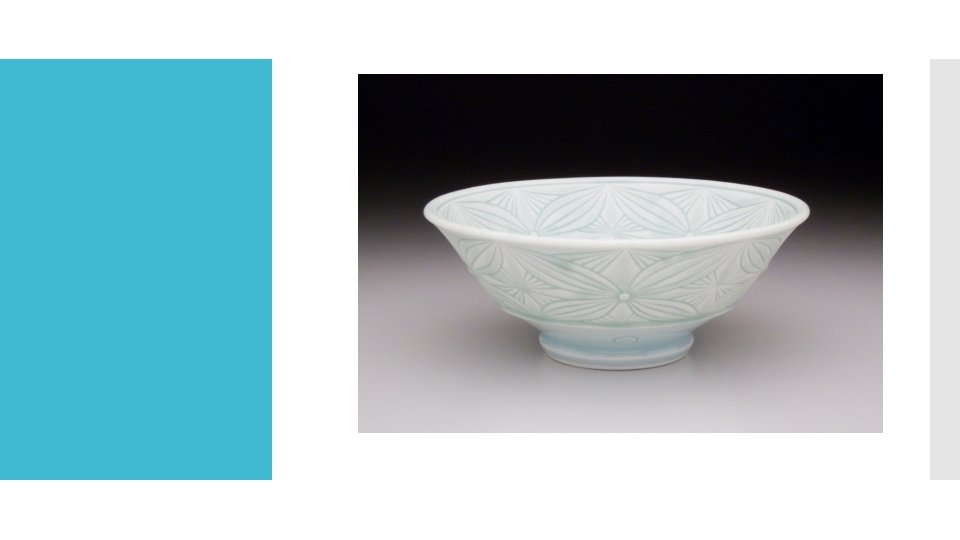
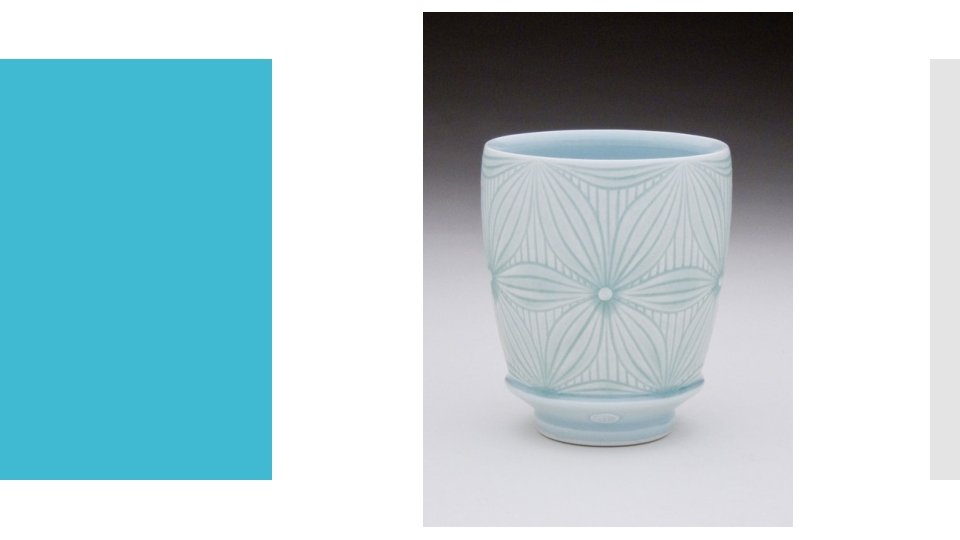
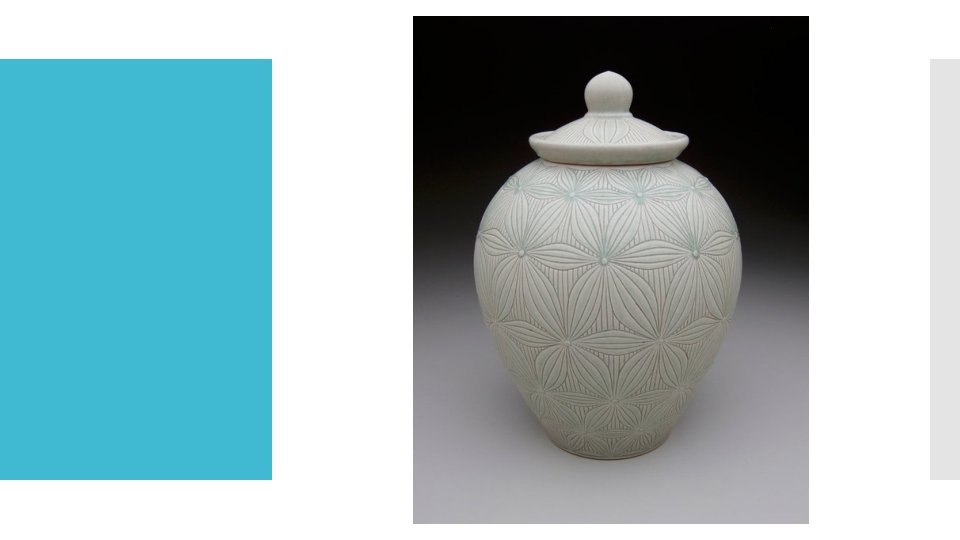
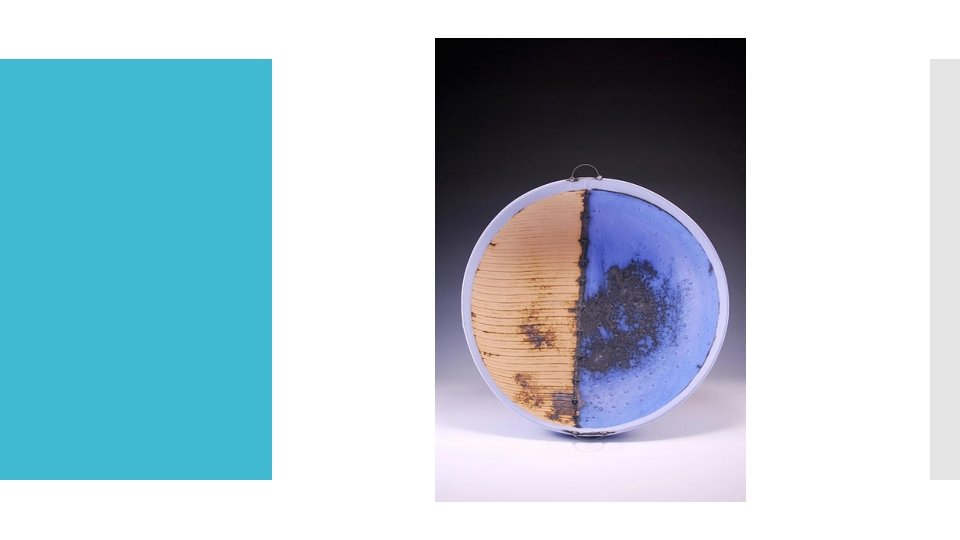
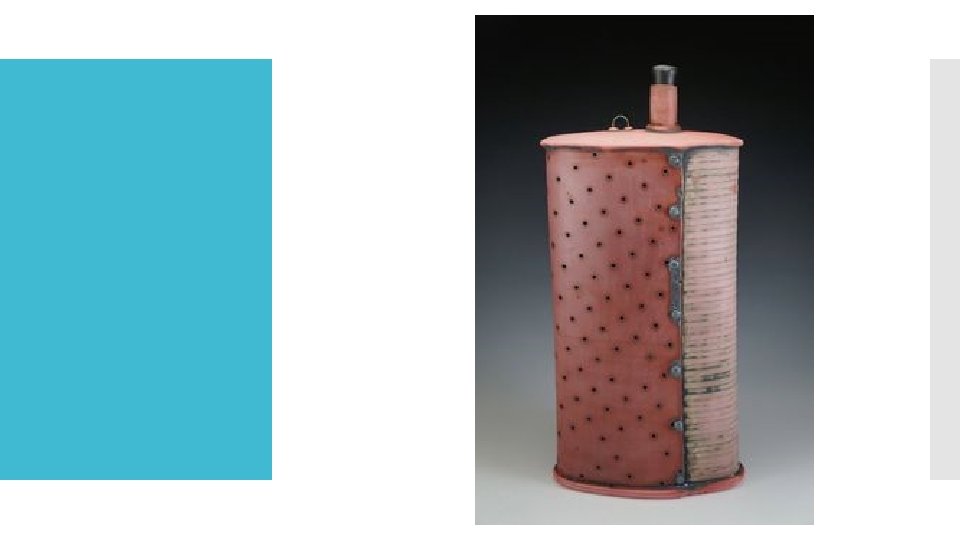
I am fascinated with antique artifacts, the way they can speak of mastery of lost peoples, places, and cultures. This inspires me to create works that both radiate history and capture my own place and time. I work toward a clean aesthetic that celebrates the masterful simplicity of antique Far Eastern pottery, while retaining the modest utility of colonial American wares. The surface of my pottery is meticulously carved with intricate designs that borrow from nature and incorporate the human touch. Much of the carving on my work is informed by the pattern languages found in indigenous fiber art, such as Hawaiian tapa, Incan cordage and Zulu basketry. Adam Field: Artist Statement
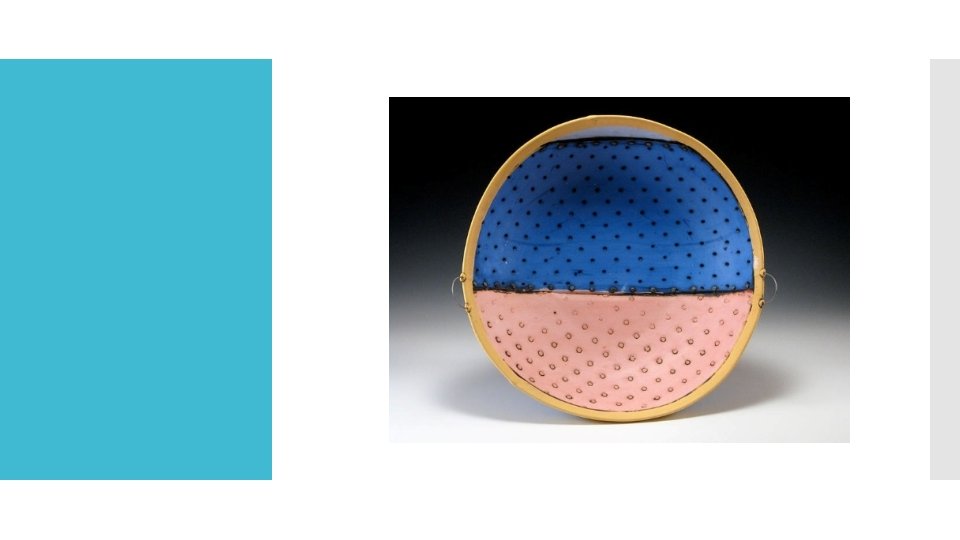
Adam Field. Surface Decoration: ‘Incise’ to engrave a design by cutting or scraping into the clay surface at any stage of drying, from soft to bone dry. After incising, clean off the loose bits with a strong brush, then smooth the edges with a soft damp brush. Incising is useful for making textures.
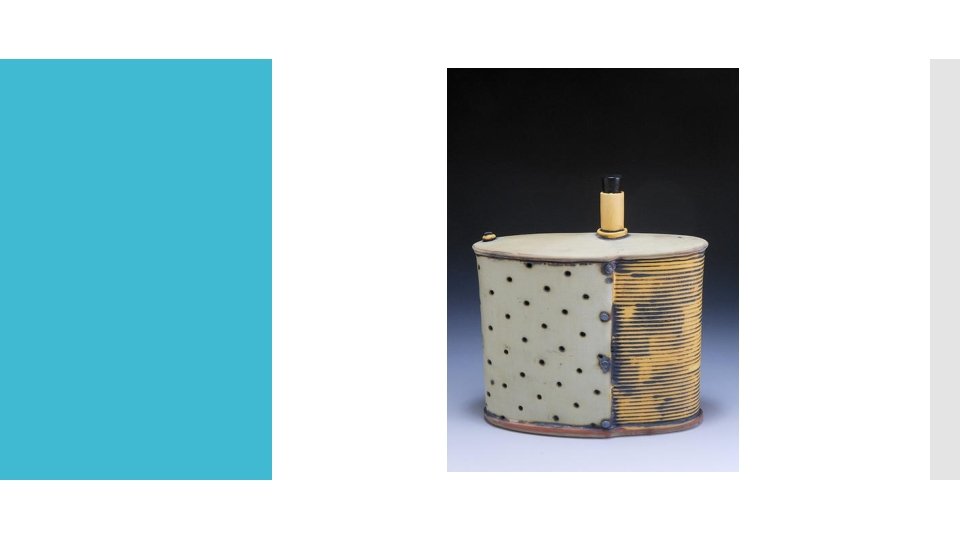
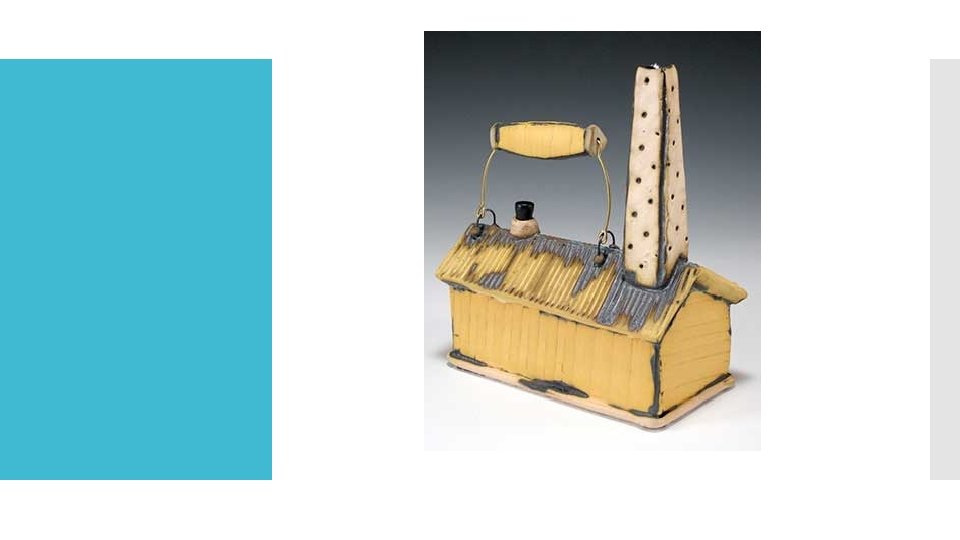
Jeremy Randall Familiarity evokes memory and I look to this association to present nostalgia through form. My reference to rural American architecture and antique rural implements places the viewer in a familiar setting which is layered with time, function and history while color creates celebration in these iconic objects. The vessel forms tie these objects back to the domestic space, enriching ones living environment while allowing for quiet contemplation and a reminder of a simpler time.
Jeremy Randall: Surface Treatment What are some things that you can do to make the clay look: Industrial? Mechanical? Weathered? Utilized?
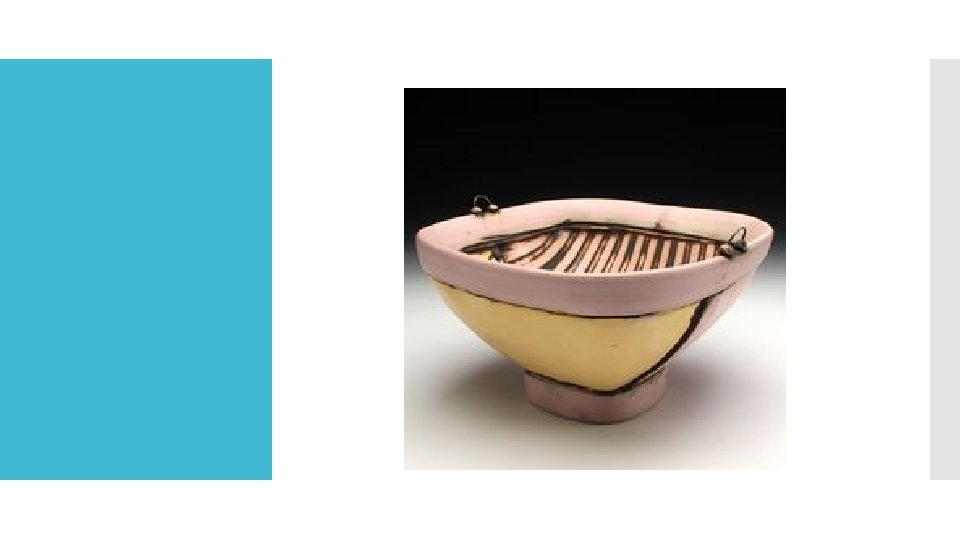
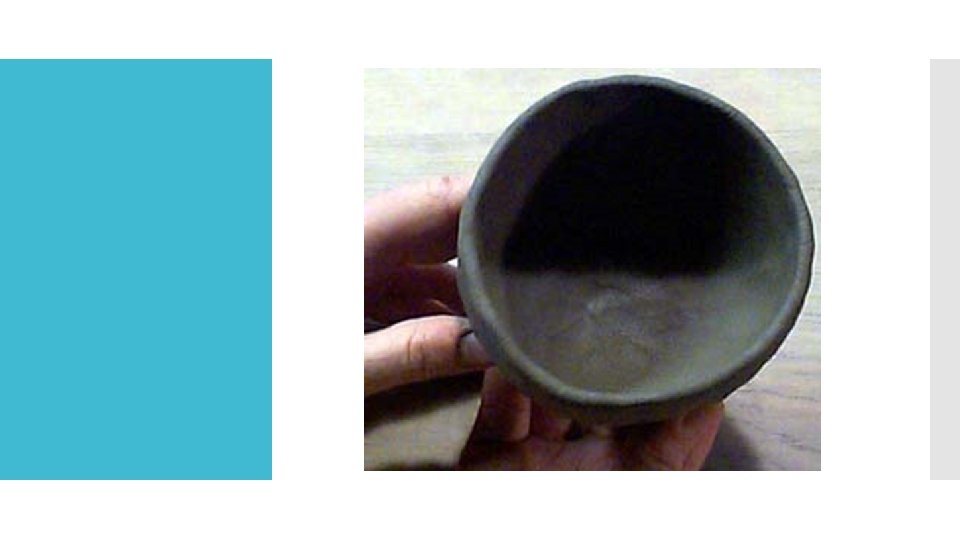
Pinch Bowl Students will be able to create their own functional Tea Bowls through the Pinch Pot Process.
Pinch Method A pinch pot is an ancient as well as contemporary form of pottery. It is a simple form of pottery. The pinching method is a means to create pottery that can be ornamental or functional, and has been widely employed across cultures and times.
Japanese Tea Ceremony You will be creating a two Tea Bowls based on the tea bowls created for use during the Japanese Tea Ceremony. In the 13 th Century, the ancient ceremony started as a ‘transformative practice. ’ During this ceremony, the tea leaves would be ground and hot water would be added, whisked with frayed bambo and performed or produced as a spiritual.
Wedging the Clay To make the clay more plastic or workable, you are to wedge your clay against the table. This causes the air bubbles in the clay to vanish, and the clay to become easier to work with. You are to LIGHTLY compress your clay by dropping it to the table multiple times. (About 6 -10 times)
Step One: Begin to roll your clay into a ball. Less than the size of an tangerine Pinch Pot
Pinch Pot Step Two: The first step to making your pinch pot is to start the opening. You are to insert your thumb about 75% through your ball of clay.
Step Two Pinch Pot
Pinch Pot Forming Your Pot: The idea is to gently press the clay from the inside with your thumb against your fingers on the outside. Each time you press a bit with your thumb, give the clay a bit of a turn before you press again. It doesn't matter if you turn the pot clockwise or counterclockwise, just work in a way that seems natural to you. Begin to compress and pinch the clay with your thumb inserted. You will be ‘Pinching’ and ‘Twisting. ’
Pinch Pot Step 3
Step 4 If you curve your fingers slightly, you can control the shape a bit better and make a more rounded form. If your fingers are held flat against the outside, the pot rim will flare out more to make an open bowl shape. Experiment to see what kinds of forms you can make. Continue the pinching and twisting method until the walls of the pot are thinned out to a thickness that is about the thickness of a pencil.
Learning Goal Rubric You will be creating: Two Tea Bowls using the Pinch Method One must be carved in the style of Adam Field (1) One must be in the style of Jeremy Randall (2) 1/4 “ walls: Even and consistent Both Tea Bowls must have feet attached Focusing on: Pattern (bowl 1), Texture ( bowl 2), and Craftsmanship (both. )