Activity 4 Designing the front wing You are


- Slides: 34
Activity 4 - Designing the front wing.
You are going to create the front wings on your car. There will be different shaped wings throughout this guide.
• Origin- Click the arrow next to origin. • Right click YZ and select ‘Create Sketch’ TIP Ensure the plane is in the middle of the car.
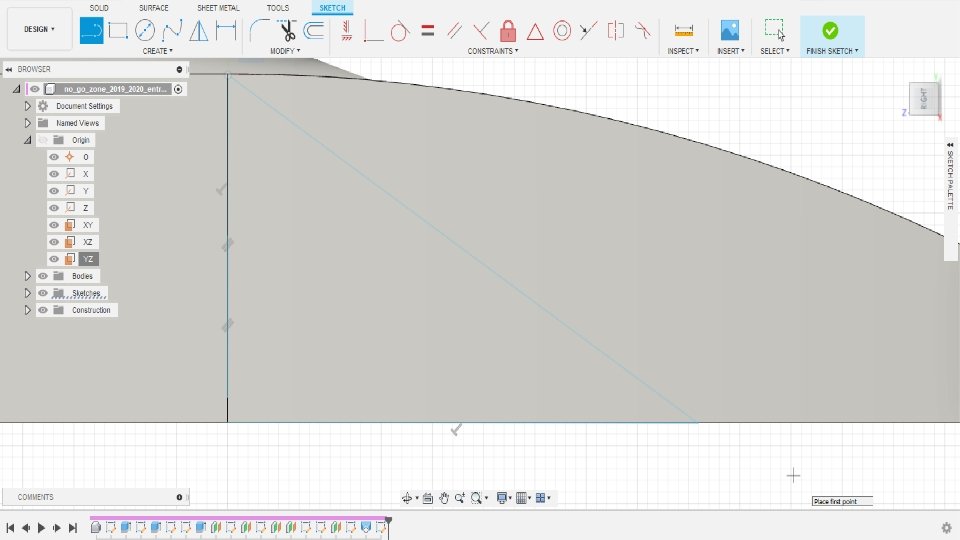
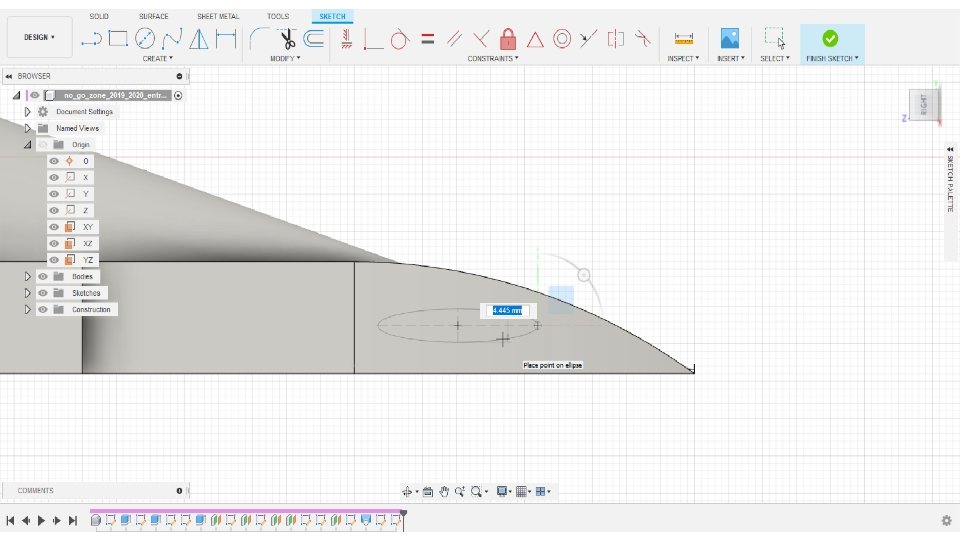
• Ensure you can view the side the car. Use the cube to rotate. • Click ‘CREATE’ • Select ‘Ellipse’
• Select the place you would like the middle of the wing. • Drag the cord length of the wing. • Select the thickness of the ellipse- 3 mm- 15 mm
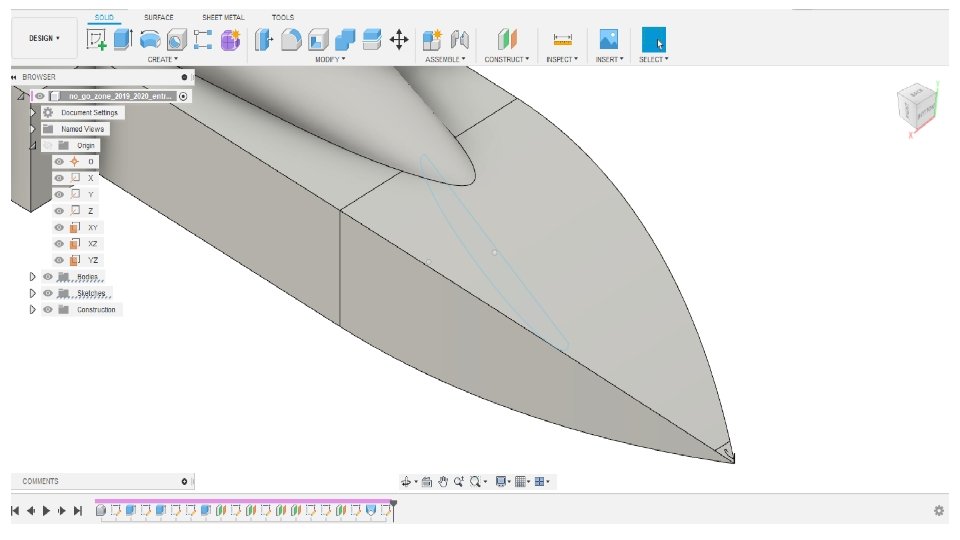
• You can leave the shape as it is. • However, you can shape the ellipse to be more aerodynamic.
• You can leave the shape as it is. • However, you can shape the ellipse to be more aerodynamic. • Select ‘LINE’- Draw the line across the ellipse.
• Press ‘T’ on your keyboard for the trim to • Select the top of the ellipse and double clic • Select ‘Finish Sketch’
• Select the shape you have created. • In the EXTRUDE menu; Direction- Symmetric Operation- Join
• Drag the arrows outwards for the wing span. • Minimum- 60 mm • Maximum- 80 mm TIP Symmetric shows only half the measurement e. g 60 mm has appeared as 30 mm.
• Congratulations, you have created a front wing for your car. • The next few slides show different shaped wings.
Here is another way of creating the front wings.
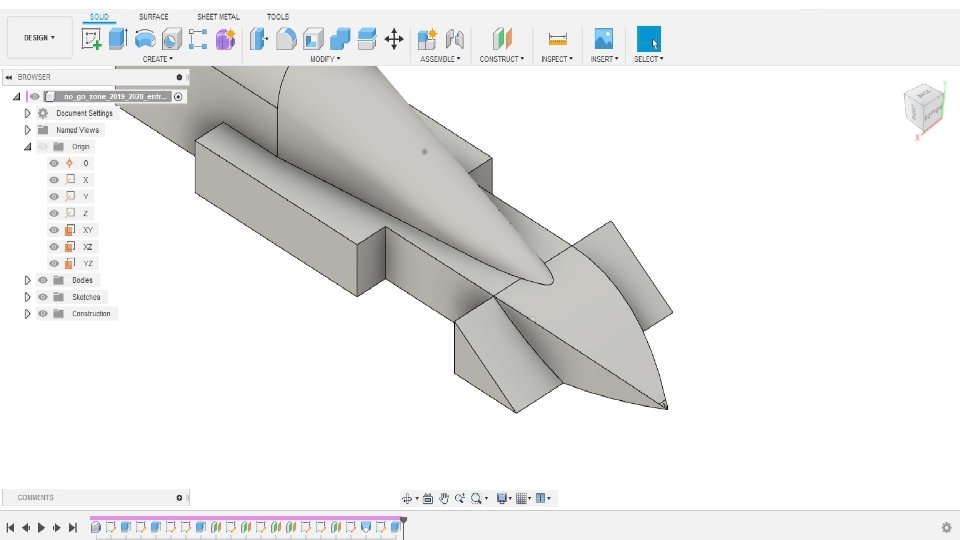
• Using the line tool, create a triangle.
Direction- Symmetric Operation- Join
• Drag the triangle out Minimum- 60 mm Maximum- 80 mm
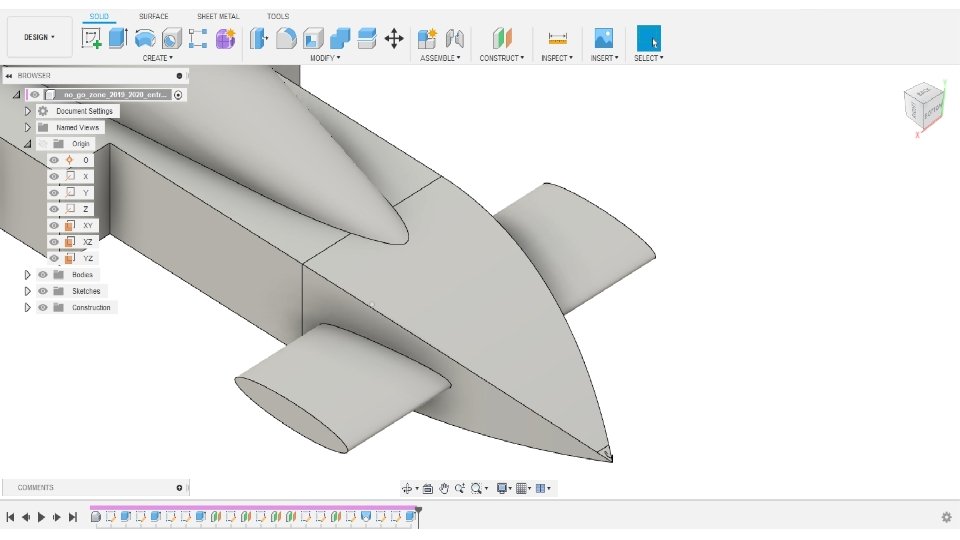
• Using the ellipse tool, create an ellipse shape.
Direction- Symmetric Operation- Join • Drag the shape out; Minimum- 60 mm Maximum- 80 mm
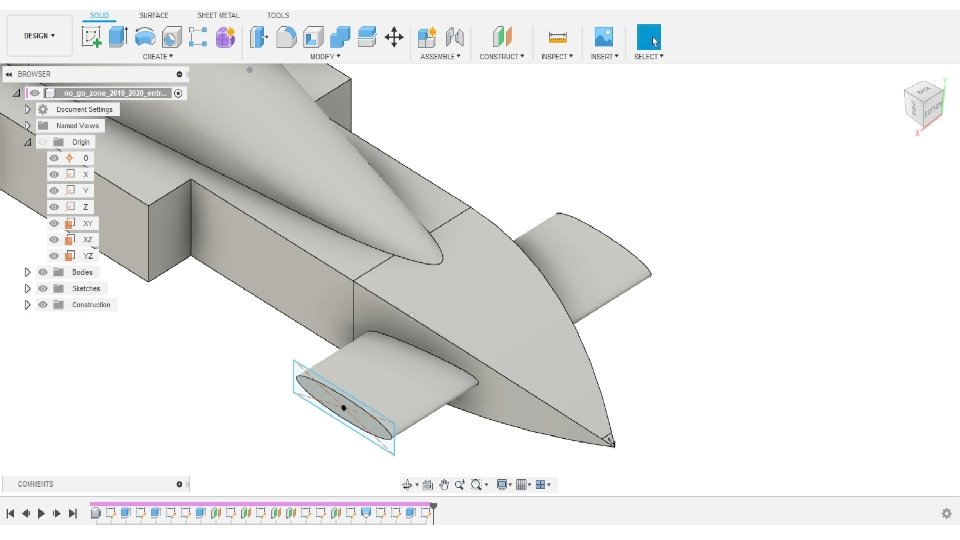
• Select ‘CREATE SKETCH’ • Click the end of the ellipse shape.
• Select ‘CREATE’ • Select ‘Rectangle’ • Select ‘Centre Rectangle’
• Select the middle of the ellipse. • Create a rectangle
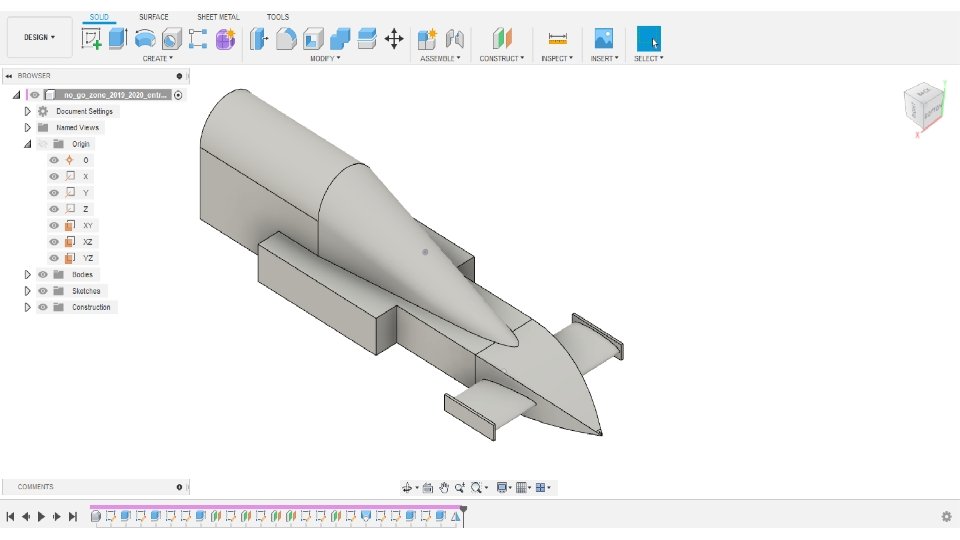
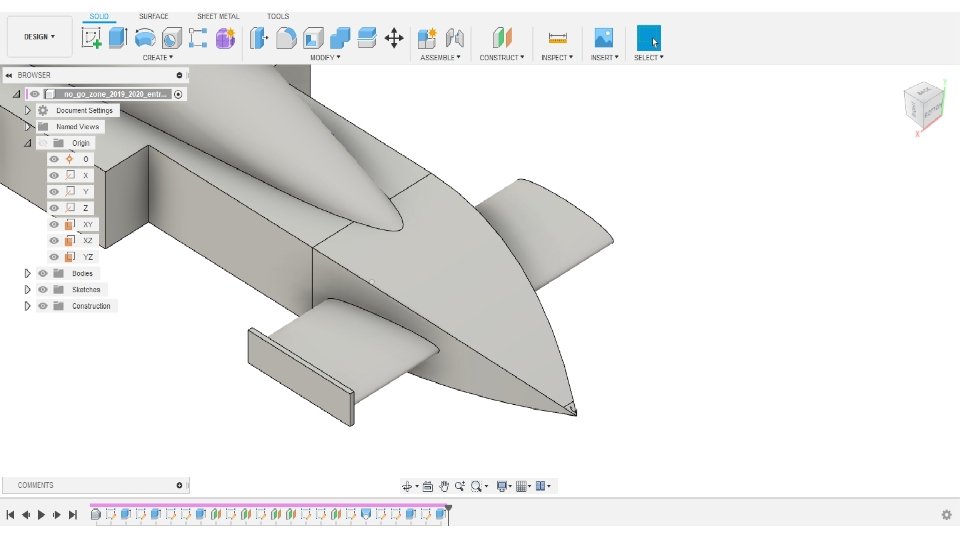
• Select EXTRUDE. • Select the rectangle made. Operation- Join
• Drag the rectangle outwards. Remember, the maximum length of the wing- 80 mm
• Select CREATE • Select Mirror.
• Select the rectangle you have created on the end of the ellipse.
• Select Mirror Plane in the MIRROR menu • Select the middle plane • Click OK