Accuracy Precision in Measurement Accuracy Precision Accuracy Precision


- Slides: 14

Accuracy & Precision in Measurement

Accuracy & Precision • Accuracy: • Precision: • How close you are to the • How finely tuned your actual value • Depends on the person measuring • Calculated by the formula: % Error = (YV – AV) x 100 ÷ AV measurements are or how close they can be to each other • Depends on the measuring tool • Determined by the number of significant digits Where: YV is YOUR measured Value & AV is the Accepted Value

Accuracy & Precision • Accuracy & Precision may be demonstrated by shooting at a target. • Accuracy is represented by hitting the bulls eye (the accepted value) • Precision is represented by a tight grouping of shots (they are finely tuned)

Accuracy & Precision without Accuracy without Precision No Precision & No Accuracy

Accuracy - Calculating % Error How Close Are You to the Accepted Value (Bull’s Eye)

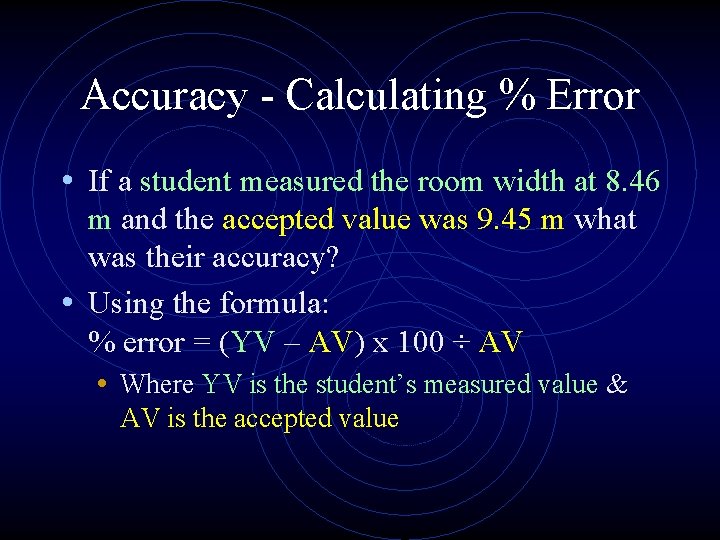
Accuracy - Calculating % Error • If a student measured the room width at 8. 46 m and the accepted value was 9. 45 m what was their accuracy? • Using the formula: % error = (YV – AV) x 100 ÷ AV • Where YV is the student’s measured value & AV is the accepted value

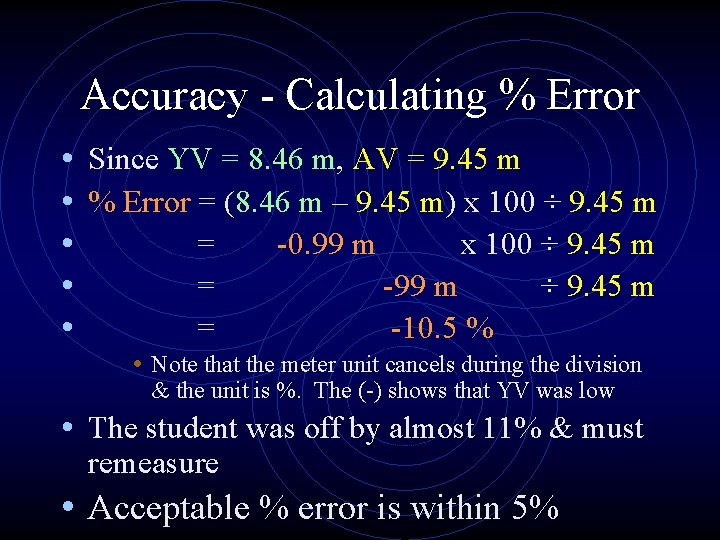
Accuracy - Calculating % Error • Since YV = 8. 46 m, AV = 9. 45 m • % Error = (8. 46 m – 9. 45 m) x 100 ÷ 9. 45 m • = -0. 99 m x 100 ÷ 9. 45 m • = -99 m ÷ 9. 45 m • = -10. 5 % • Note that the meter unit cancels during the division & the unit is %. The (-) shows that YV was low • The student was off by almost 11% & must remeasure • Acceptable % error is within 5%

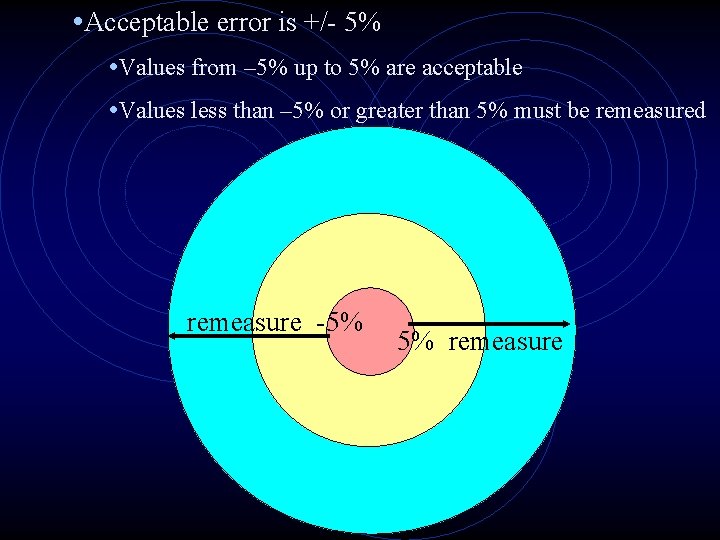
• Acceptable error is +/- 5% • Values from – 5% up to 5% are acceptable • Values less than – 5% or greater than 5% must be remeasured remeasure -5% 5% remeasure


Significant Digits How to Check a Measurement for Precision

Significant Digits & Precision • The precision of a measurement is the smallest possible unit that could be measured. • Significant Digits (sd) are the numbers that result from a measurement. • When a measurement is converted we need to make sure we know which digits are significant and keep them in our conversion • All digits that are measured are significant

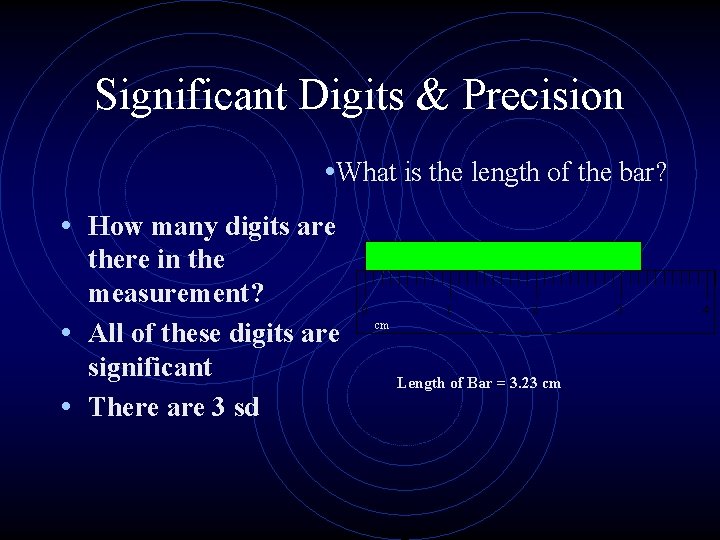
Significant Digits & Precision • What is the length of the bar? • How many digits are there in the measurement? • All of these digits are significant • There are 3 sd 0 1 2 cm Length of Bar = 3. 23 cm 3 4

Significant Digits & Precision • If we converted to that measurement of 3. 23 cm to • • • mm what would we get? Right! 32 300 mm How many digits in our converted number? Are they all significant digits (measured)? Which ones were measured and which ones were added because we converted? If we know the significant digits we can know the precision of our original measurement

Significant Digits & Precision • What if we didn’t know the original measurement – such as 0. 005670 hm. How would we know the precision of our measurement. • The rules showing how to determine the number of significant digits is shown in your lab manual on p. 19. Though you can handle them, they are somewhat complex.