A method of measuring mirrortilt error in laser



- Slides: 25

A method of measuring mirrortilt error in laser trackers Reporter: Zhang Zili Academy of Opto-electronics, Chinese Academy of Sciences October 14 th, 2014

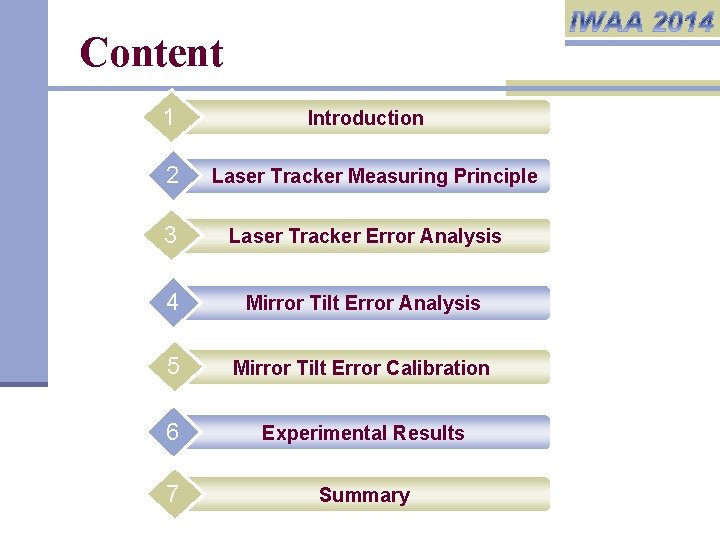
Content 1 2 Introduction Laser Tracker Measuring Principle 3 Laser Tracker Error Analysis 4 Mirror Tilt Error Analysis 5 Mirror Tilt Error Calibration 6 Experimental Results 7 Summary

Application

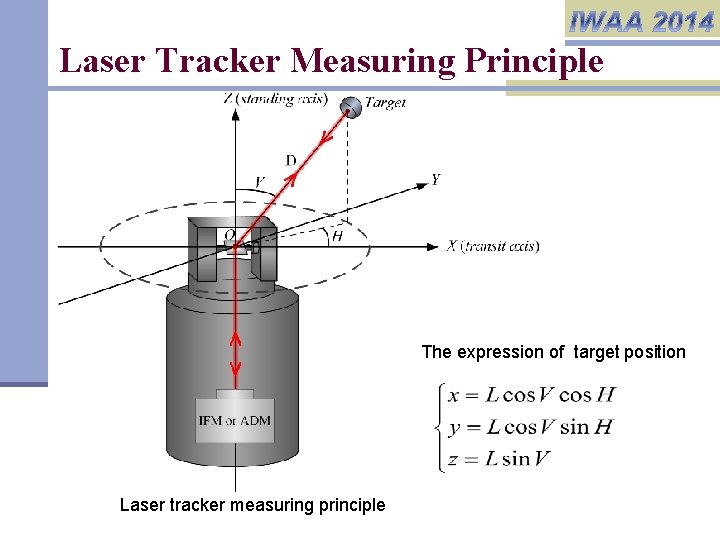
Laser Tracker Measuring Principle The expression of target position Laser tracker measuring principle

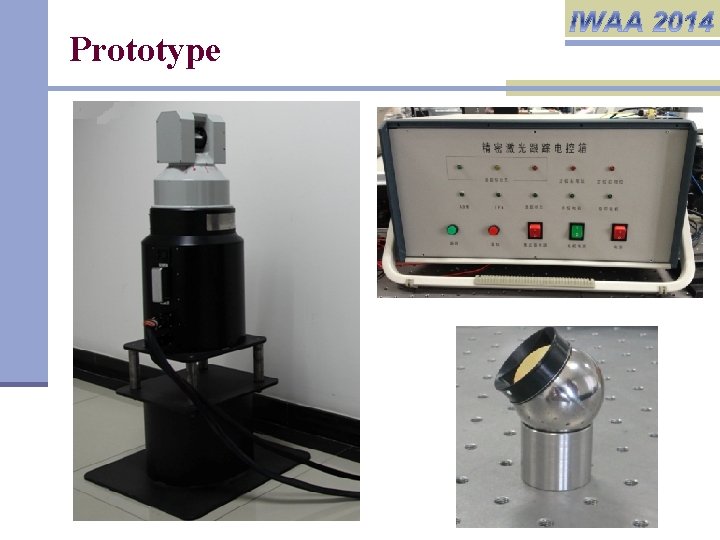
Prototype

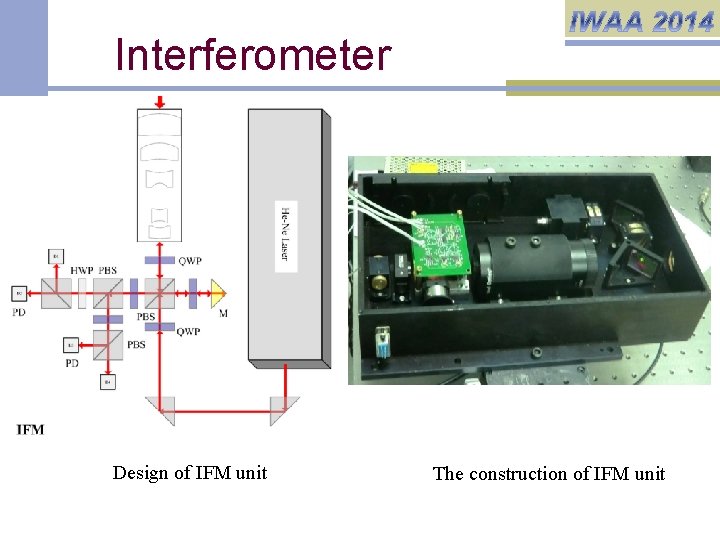
Interferometer Design of IFM unit The construction of IFM unit

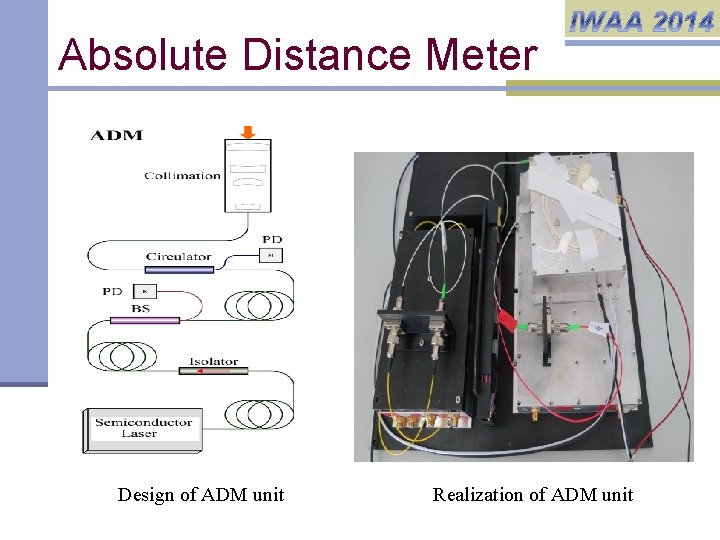
Absolute Distance Meter Design of ADM unit Realization of ADM unit

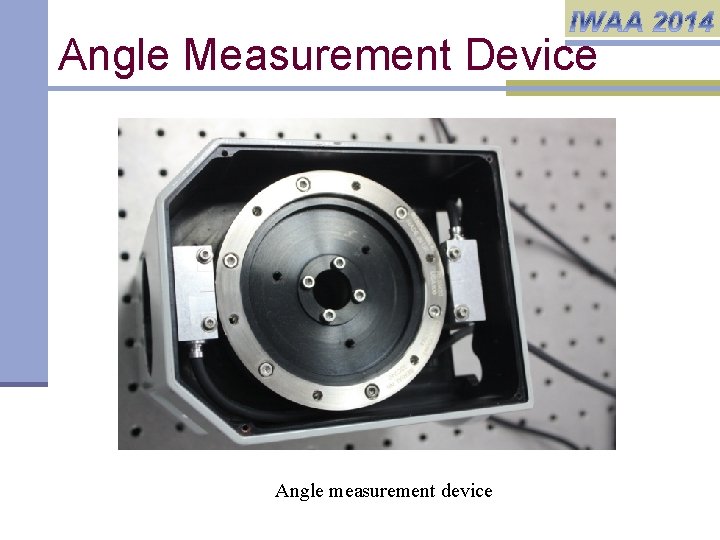
Angle Measurement Device Angle measurement device

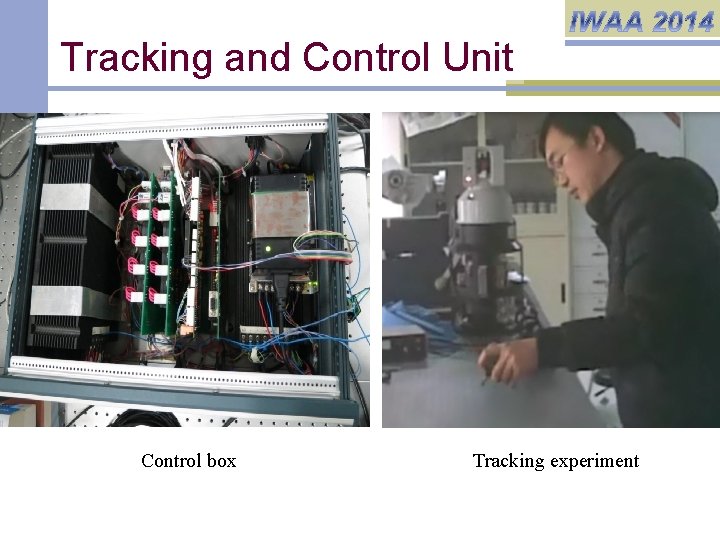
Tracking and Control Unit Control box Tracking experiment

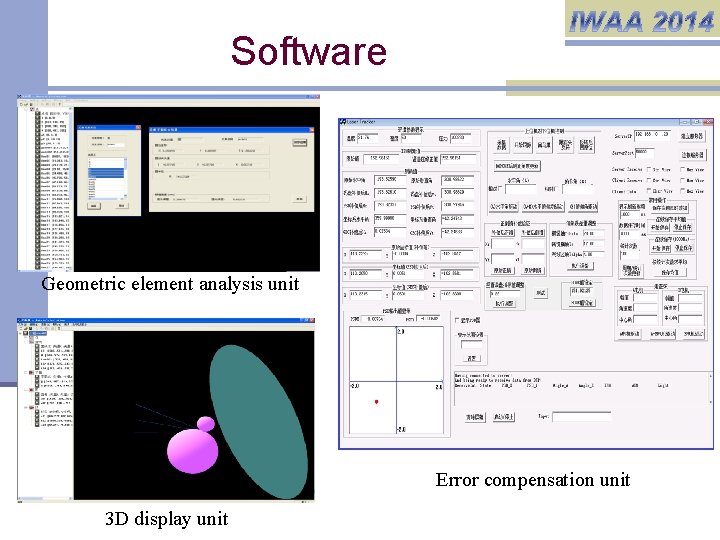
Software Geometric element analysis unit Error compensation unit 3 D display unit

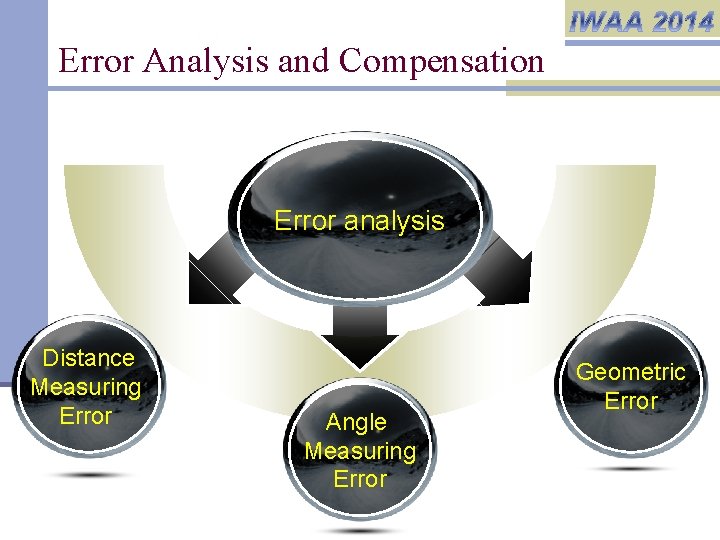
Error Analysis and Compensation Error analysis Distance Measuring Error Angle Measuring Error Geometric Error

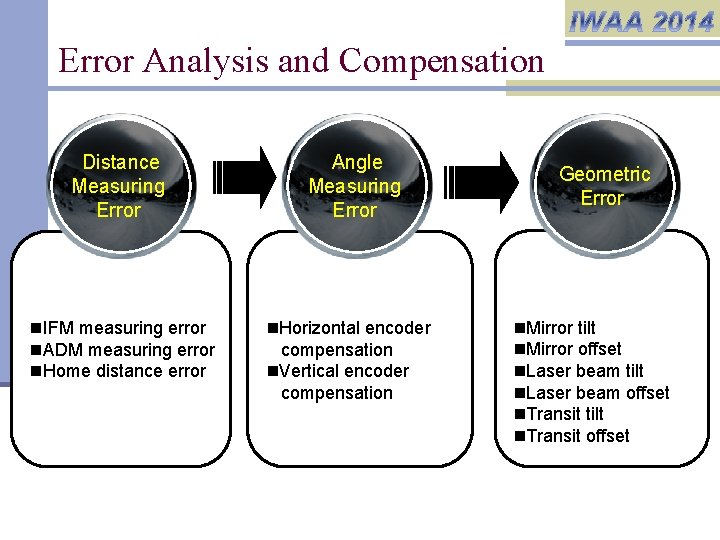
Error Analysis and Compensation Distance Measuring Error n. IFM measuring error n. ADM measuring error n. Home distance error Angle Measuring Error n. Horizontal encoder compensation n. Vertical encoder compensation Geometric Error n. Mirror tilt n. Mirror offset n. Laser beam tilt n. Laser beam offset n. Transit tilt n. Transit offset

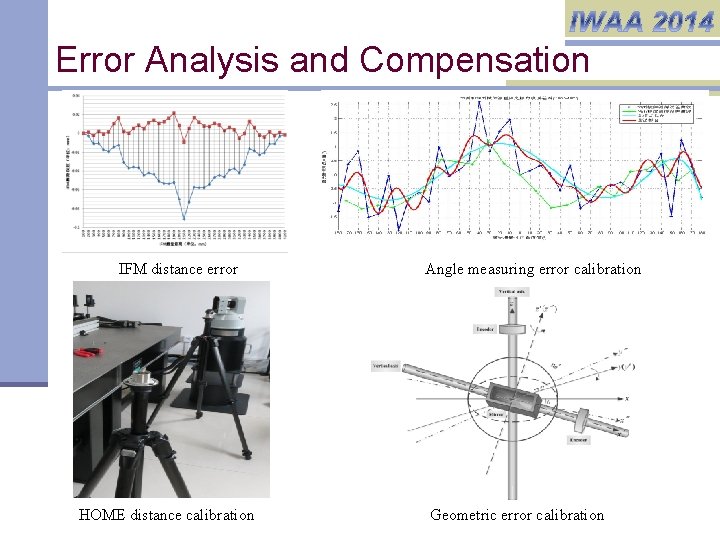
Error Analysis and Compensation IFM distance error HOME distance calibration Angle measuring error calibration Geometric error calibration

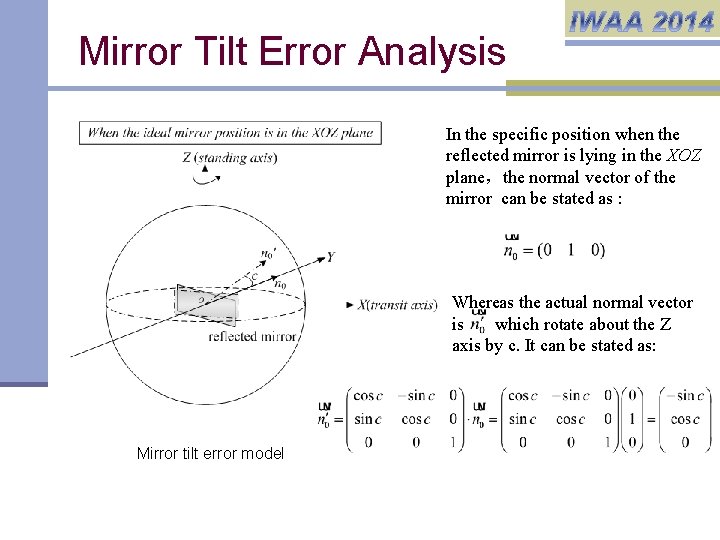
Mirror Tilt Error Analysis In the specific position when the reflected mirror is lying in the XOZ plane,the normal vector of the mirror can be stated as : Whereas the actual normal vector is which rotate about the Z axis by c. It can be stated as: Mirror tilt error model

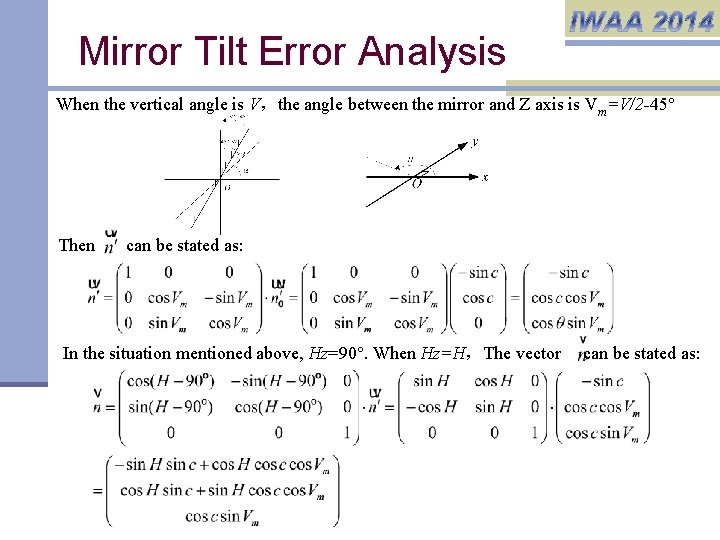
Mirror Tilt Error Analysis When the vertical angle is V,the angle between the mirror and Z axis is Vm=V/2 -45° Then can be stated as: In the situation mentioned above, Hz=90°. When Hz=H,The vector can be stated as:

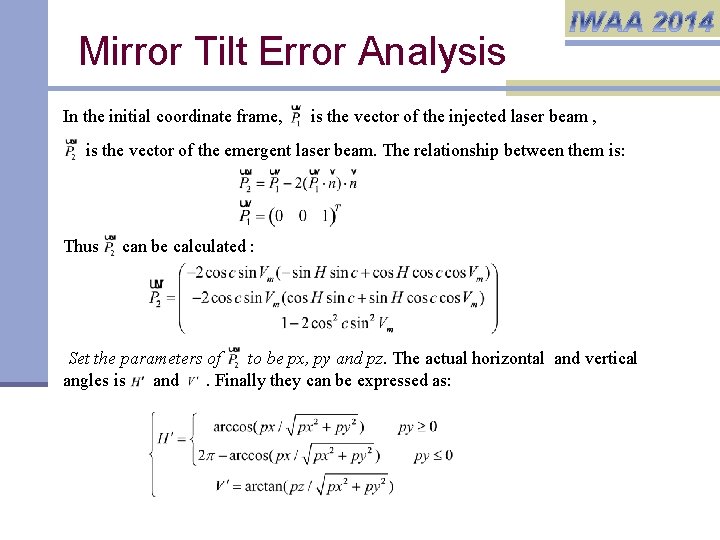
Mirror Tilt Error Analysis In the initial coordinate frame, is the vector of the injected laser beam , is the vector of the emergent laser beam. The relationship between them is: Thus can be calculated : Set the parameters of to be px, py and pz. The actual horizontal and vertical angles is and. Finally they can be expressed as:

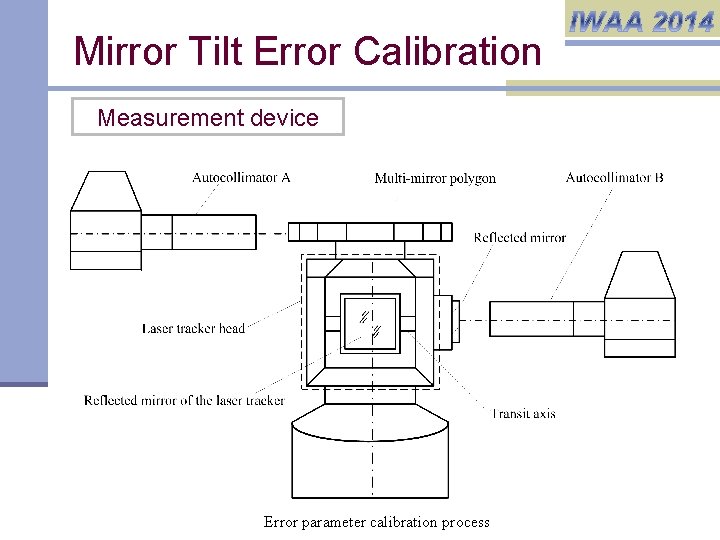
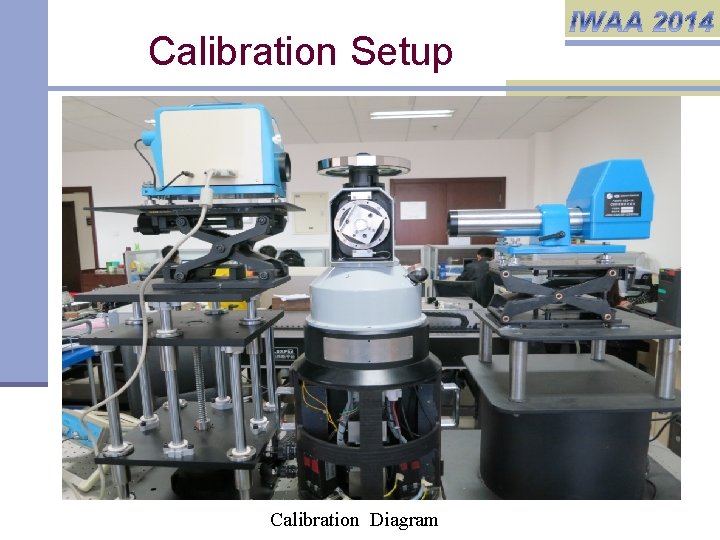
Mirror Tilt Error Calibration Measurement device Error parameter calibration process

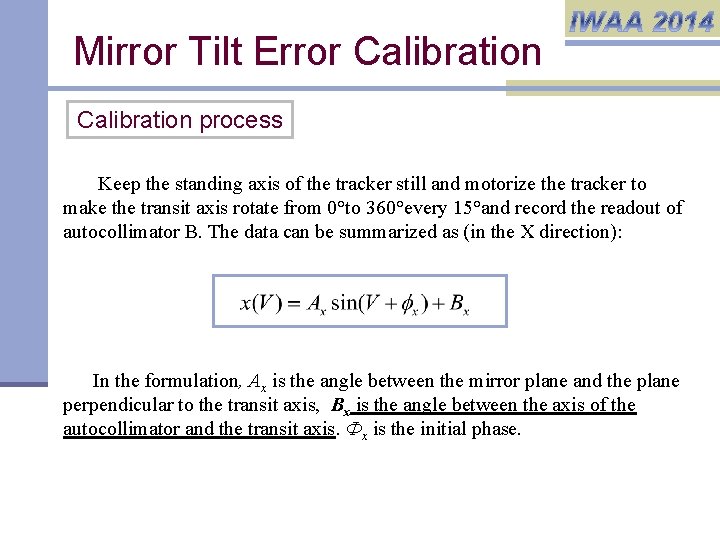
Mirror Tilt Error Calibration process Keep the standing axis of the tracker still and motorize the tracker to make the transit axis rotate from 0°to 360°every 15°and record the readout of autocollimator B. The data can be summarized as (in the X direction): In the formulation, Ax is the angle between the mirror plane and the plane perpendicular to the transit axis, Bx is the angle between the axis of the autocollimator and the transit axis. Фx is the initial phase.

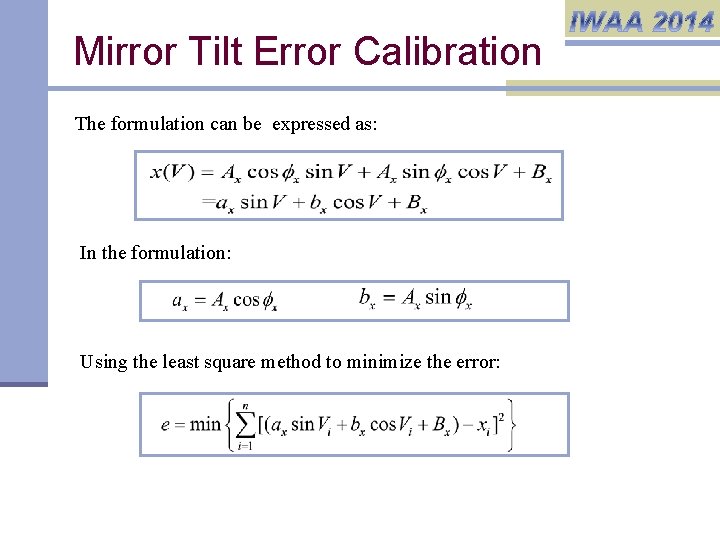
Mirror Tilt Error Calibration The formulation can be expressed as: In the formulation: Using the least square method to minimize the error:

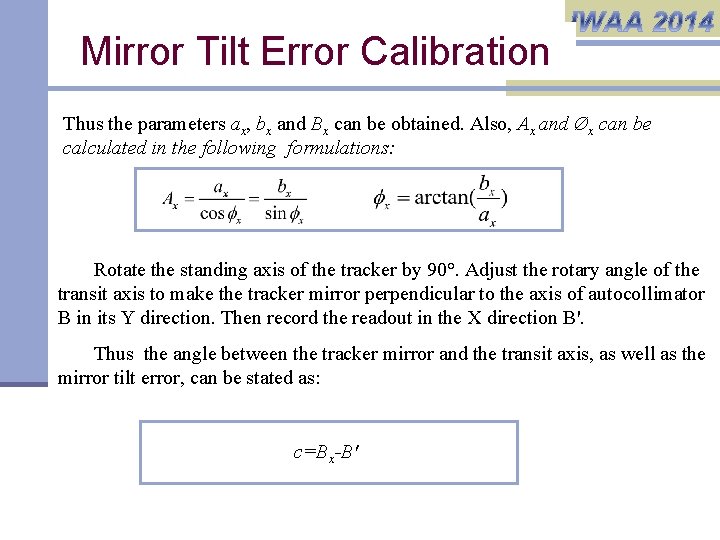
Mirror Tilt Error Calibration Thus the parameters ax, bx and Bx can be obtained. Also, Ax and Øx can be calculated in the following formulations: Rotate the standing axis of the tracker by 90°. Adjust the rotary angle of the transit axis to make the tracker mirror perpendicular to the axis of autocollimator B in its Y direction. Then record the readout in the X direction B'. Thus the angle between the tracker mirror and the transit axis, as well as the mirror tilt error, can be stated as: c=Bx-B'

Calibration Setup Calibration Diagram

Experimental Result Hardware adjustment p Using the proposed method, the mirror tilt error can be detected so that the researchers can adjust the position of the mirror to reduce the deviation. The mirror tilt can be adjusted from 80” to less than 5”. Software compensation p Further software compensation have been implemented by using the formulations mentioned in the mirror error analysis chapter. The twoface experiments showed that the deviation between the front face and back face can be deduced from 1 mm to less than 0. 5 mm in the distance of about 10 m.

Summary n Advantage p The introduced method can obtain and compensation the mirror tilt error parameter with convenience and efficiency. n Disadvantage p The data of the tracker mirror position after rotating 90°is quite limited in the measuring process which may bring in extra errors in the final measuring results. p The software compensation is not quite effective which has been proved in the experiments. n Next Work p Detailed analysis needs to be done to improve the precision of the method and the software compensation.

Acknowledgement n Sponsor n Ministry of Science and Technology of the People’s Republic of China n Chinese Academy of Sciences n National Natural Science Foundation of China n State key laboratory of precision measuring technology and instruments (Tianjin University) n Cooperator n Xi’an Institute of Optics and Precision Mechanics, CAS
