6 0 Hardness Used to designate several qualities







- Slides: 18

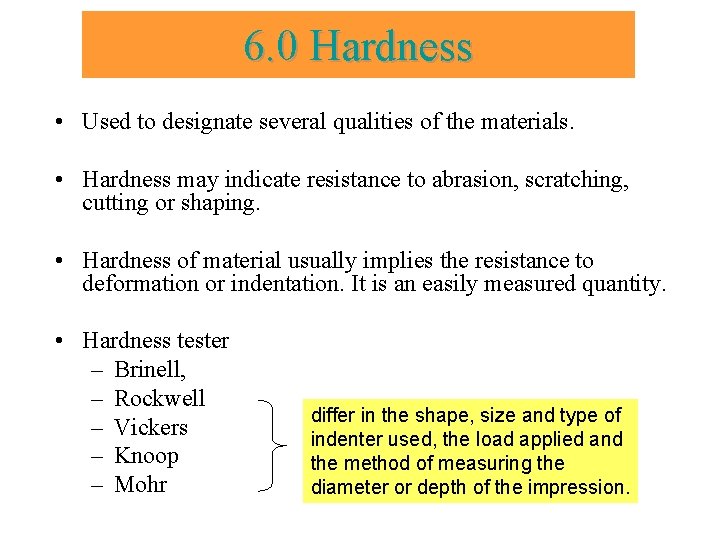
6. 0 Hardness • Used to designate several qualities of the materials. • Hardness may indicate resistance to abrasion, scratching, cutting or shaping. • Hardness of material usually implies the resistance to deformation or indentation. It is an easily measured quantity. • Hardness tester – Brinell, – Rockwell – Vickers – Knoop – Mohr differ in the shape, size and type of indenter used, the load applied and the method of measuring the diameter or depth of the impression.

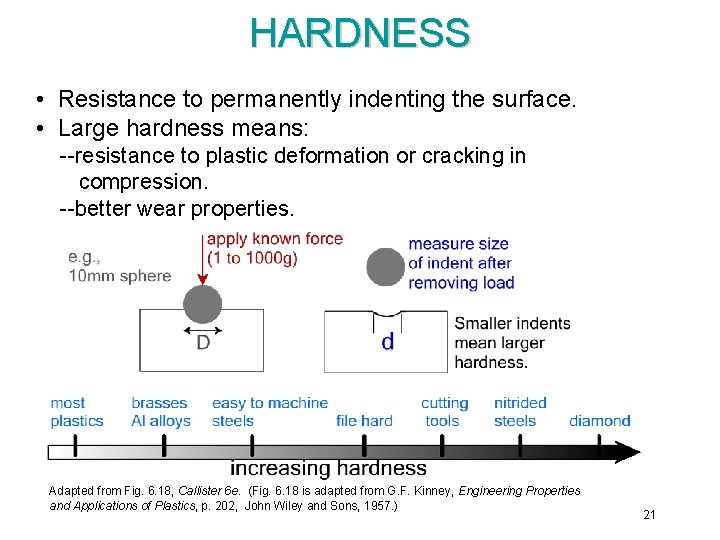
HARDNESS • Resistance to permanently indenting the surface. • Large hardness means: --resistance to plastic deformation or cracking in compression. --better wear properties. Adapted from Fig. 6. 18, Callister 6 e. (Fig. 6. 18 is adapted from G. F. Kinney, Engineering Properties and Applications of Plastics, p. 202, John Wiley and Sons, 1957. ) 21

Hardness Testing Techniques

6. 1 Brinell Hardness Test • The test consists in forcing a steel ball of diameter, D under a load, P into the test piece & measuring the mean diameter d of the indentation left in the surface under test, after removal of the load. • The Brinell hardness number (BHN) is obtained by dividing the test load P (in kilogram) by the curved surface area of the indentation (in square millimeter).

Brinell Hardness Test where P = Load applied, kg D = Diameter of indenter ball, mm d = Diameter of impression, mm Side view Top view

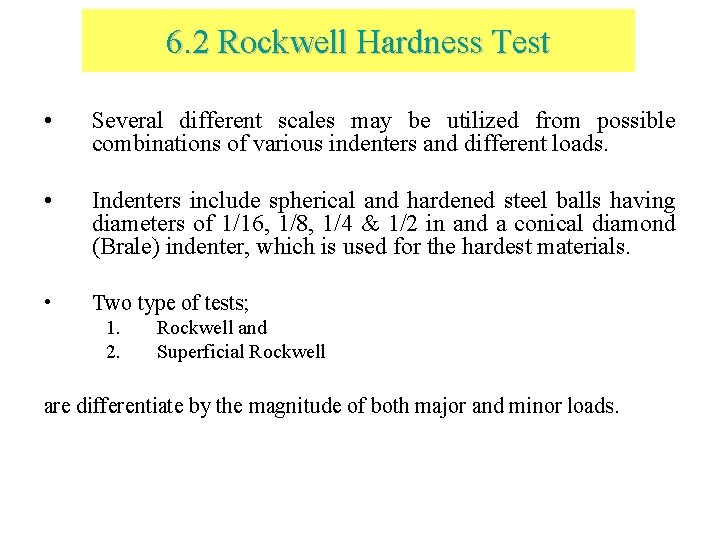
6. 2 Rockwell Hardness Test • Several different scales may be utilized from possible combinations of various indenters and different loads. • Indenters include spherical and hardened steel balls having diameters of 1/16, 1/8, 1/4 & 1/2 in and a conical diamond (Brale) indenter, which is used for the hardest materials. • Two type of tests; 1. 2. Rockwell and Superficial Rockwell are differentiate by the magnitude of both major and minor loads.

Rockwell hardness scales Superficial Rockwell hardness scales

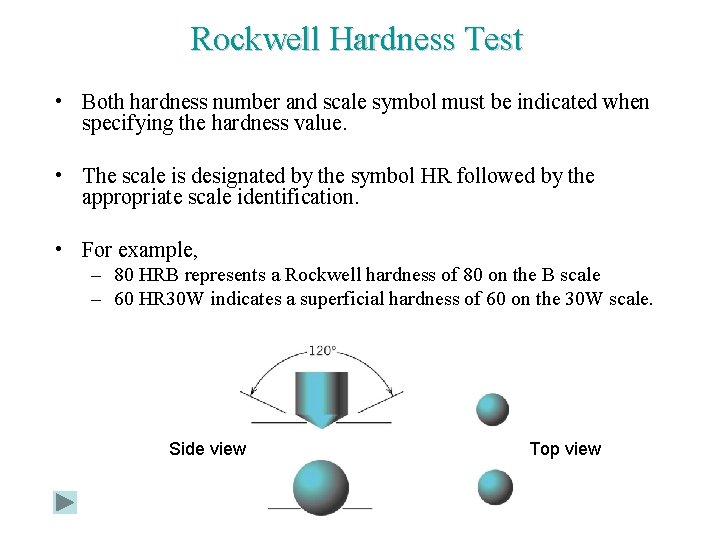
Rockwell Hardness Test • Both hardness number and scale symbol must be indicated when specifying the hardness value. • The scale is designated by the symbol HR followed by the appropriate scale identification. • For example, – 80 HRB represents a Rockwell hardness of 80 on the B scale – 60 HR 30 W indicates a superficial hardness of 60 on the 30 W scale. Side view Top view

Knoop & Vickers Microhardness Test • Two microhardness testing technique widely used are Knoop and Vickers. • The resulting impression is observed under a microscope and measured. This measurement is then converted into a hardness number • The Knoop and Vickers hardness numbers are designated by HK and HV, respectively

6. 3 Vickers Microhardness Test Vickers hardness (HV) Side view Top view

6. 4 Knoop Microhardness Test Knoop hardness (HK) Side view Top view

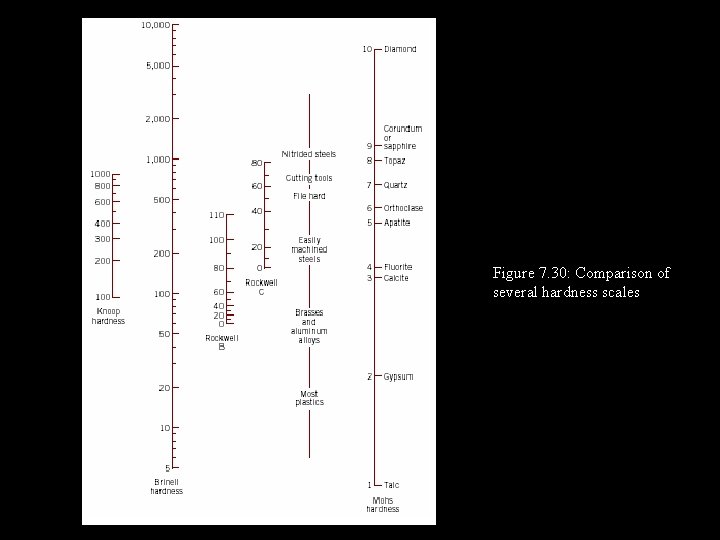
Hardness Conversion • From a practical standpoint it is important to be able to convert the results of one type of hardness test into those of a different test. • The most reliable conversion data exist for steels as shown in Figure 7. 30 for Knoop, Brinell and two Rockwell scales, including also the Mohs scale.

Figure 7. 30: Comparison of several hardness scales

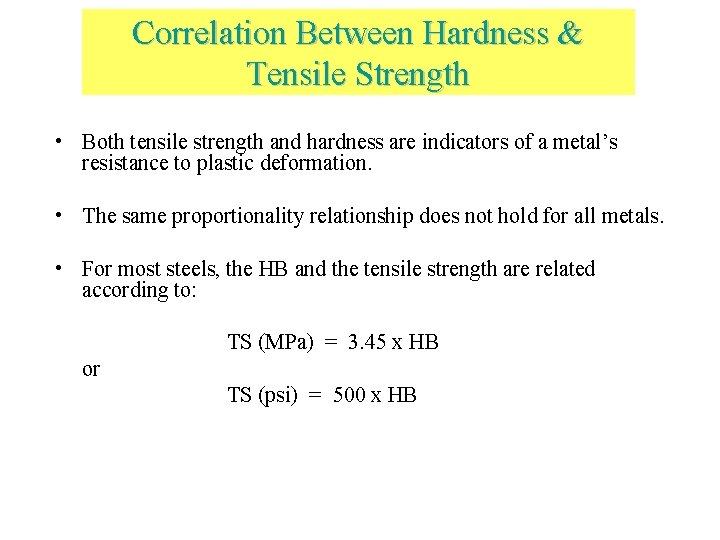
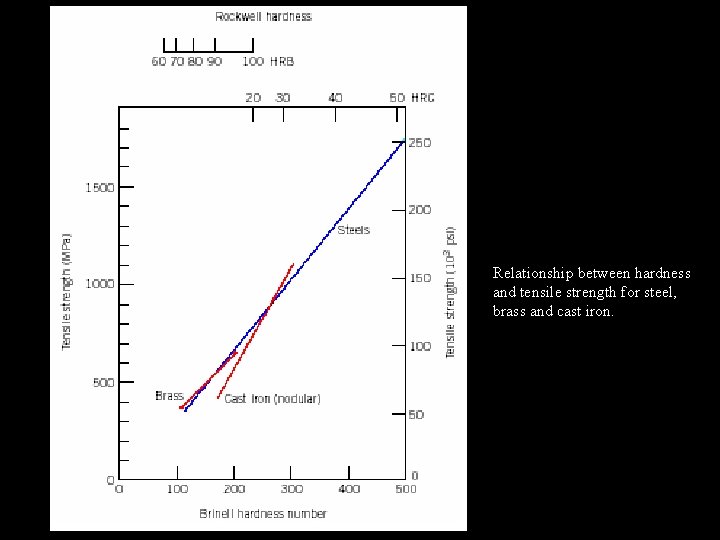
Correlation Between Hardness & Tensile Strength • Both tensile strength and hardness are indicators of a metal’s resistance to plastic deformation. • The same proportionality relationship does not hold for all metals. • For most steels, the HB and the tensile strength are related according to: TS (MPa) = 3. 45 x HB or TS (psi) = 500 x HB

Relationship between hardness and tensile strength for steel, brass and cast iron.

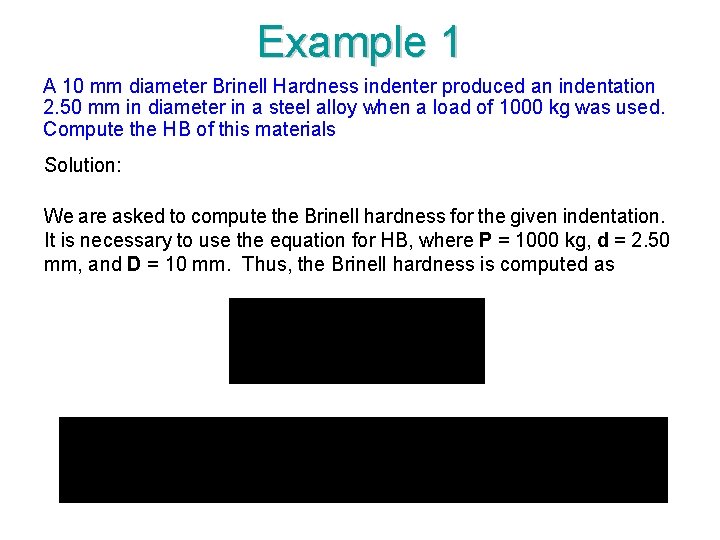
Example 1 A 10 mm diameter Brinell Hardness indenter produced an indentation 2. 50 mm in diameter in a steel alloy when a load of 1000 kg was used. Compute the HB of this materials Solution: We are asked to compute the Brinell hardness for the given indentation. It is necessary to use the equation for HB, where P = 1000 kg, d = 2. 50 mm, and D = 10 mm. Thus, the Brinell hardness is computed as

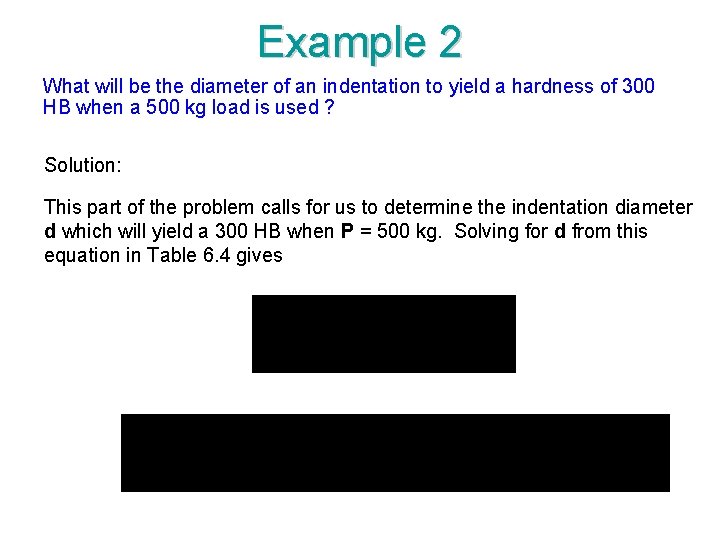
Example 2 What will be the diameter of an indentation to yield a hardness of 300 HB when a 500 kg load is used ? Solution: This part of the problem calls for us to determine the indentation diameter d which will yield a 300 HB when P = 500 kg. Solving for d from this equation in Table 6. 4 gives
