1 void set Progress int progress void set


 § 별점을 표시하거나 입력 받는 위젯")


- Slides: 41
1. 프로그래스 바 § 코드에서 위치 변경 시 아래의 메서드를 사용 void set. Progress (int progress) void set. Secondary. Progress (int secondary. Progress) void increment. Progress. By (int diff) void increment. Secondary. Progress. By (int diff) • 절대 위치를 지정할 수 있고, 현재 위치에서 상대적인 위치를 지정 가능 § 백그라운드 작업의 상태를 보여주며, 메인 작업이라도 루프 내부에서는 프 로그래스가 갱신되지 않음 § 원칙적으로 스레드에서 표시하는 것 이 보통 § progressbar 예제 • 2개의 프로그래스 바와 여섯 개의 버튼 배치 (길어서 일부 생략) • 위쪽 : 막대 프로그래스 • 아래쪽 : 원 모양의 프로그래스 (디폴트로 숨겨짐) progressbar. xml <? xml version=“ 1. 0” encoding=“utf-8”? > <Linear. Layout xmlns: android=http: //schemas. android. com/apk/res/android: orientation=“vertical” android: layout_width=“fill_parent” android: layout_height=“fill_parent” > <Progress. Bar android: id=“@+id/progress” style=“? android: attr/progress. Bar. Style. Horizontal” android: layout_width=“fill_parent” android: layout_height=“wrap_content” android: max=“ 100” android: progress=“ 10” android: secondary. Progress=“ 50” /> …… <Progress. Bar android: id=“@+id/progcircle” android: layout_width=“wrap_content” android: layout_height=“wrap_content” android: visibility=“invisible” /> ……
1. 프로그래스 바 § Progress. Bar. java 예제 Progress. Bar. java public class C 10_Progress. Bar extends Activity { Progress. Bar m. Prog. Bar; Progress. Bar m. Prog. Circle; public void on. Create(Bundle saved. Instance. State) { super. on. Create(saved. Instance. State); set. Content. View(R. layout. c 10_progressbar); m. Prog. Bar = (Progress. Bar)find. View. By. Id(R. id. progress); m. Prog. Circle = (Progress. Bar)find. View. By. Id(R. id. progcircle); } Button. On. Click. Listener m. Click. Listener = new view. On. Click. Listener() { public void on. Click(View v) { switch (v. get. Id()) { case R. id. decfirst: m. Prog. Bar. increment. Progress. By(-2); break; case R. id. incfirst: m. Prog. Bar. increment. Progress. By(2); break; case R. id. decsecond: m. Prog. Bar. increment. Secondary. Progress. By(-2); break; case R. id. incsecond: m. Prog. Bar. increment. Secondary. Progress. By(2); break; case R. id. start: m. Prog. Circle. set. Visibility(View. VISIBLE); break; case R. id. stip: m. Prog. Circle. set. Visibility(View. INVISIBLE); break; } } }; [ Progress. Bar 예제 실행 결과 ] }
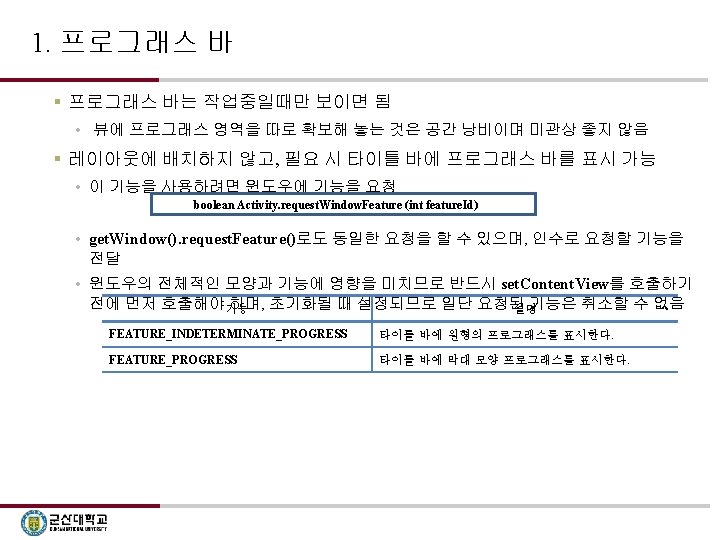
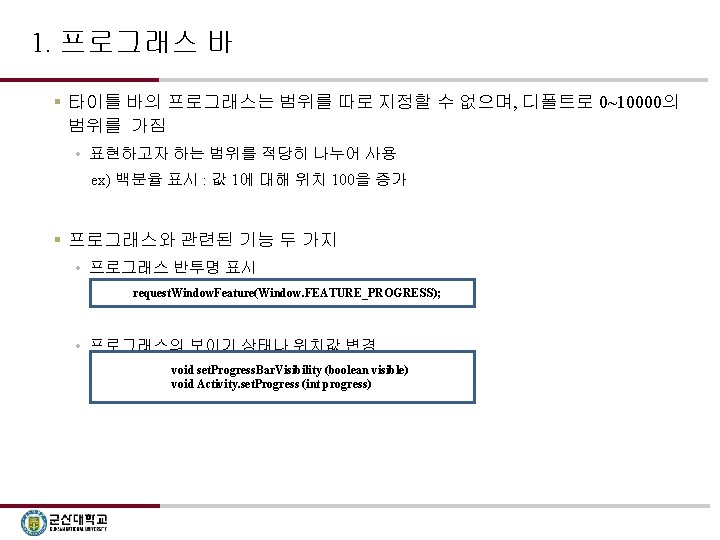
1. 프로그래스 바 § Progress. Title. java 예제 • 레이아웃에 별도의 공간을 차지하지 않고 작업이 진행될 때만 프로그래스를 보일 수 있 으므로 편리 • 작업이 끝나면 프로그래스를 숨김 Progress. Title. java public class Progress. Title extends Activity { int m. Prog; public void on. Create(Bundle saved. Instance. State) { super. on. Create(saved. Instance. State); request. Window. Feature(Window. FEATURE_PROGRESS); set. Content. View(R. layout. progresstitle); m. Prog = 5000; set. Progress(m. Prog); set. Progress. Bar. Visibility(true); find. View. By. Id(R. id. decfirst). set. On. Click. Listener(new Button. On. Click. Listener() { public void on. Click(View v) { if (m. Prog >= 200) m. Prog -= 200; set. Progress(m. Prog); } }); find. View. By. Id(R. id. incfirst). set. On. Click. Listener(new Button. On. Click. Listener() { public void on. Click(View v) { if (m. Prog <= 9800) m. Prog += 200; set. Progress(m. Pfog); } } [ Progress. Title 예제 실행 결과 ]
1. 프로그래스 바 § 타이틀 바에 원 모양 애니메이션을 표시할 경우 아래 형식으로 윈도우의 기능을 요청 request. Window. Feature(Window. FEATURE_INDETERMINATE_PROGRESS); § 두 플래그가 상호 배타적이어서 막대 모양과 원 모양을 동시에 표시할 수 없음 § 원 모양 프로그래스 바는 범위나 위치의 개념이 없으며 보이거나 숨기기만 가능 void Activity. set. Progress. Bar. Indeterminate. Visibility(boolean visible) • 보이기 상태 변경 시 아래의 메서드를 호출 Progress. Title 2. java • 타이틀 바의 오른쪽에 나타나며 표시되는 동안 애니메이션이 계속 재생 public class Progress. Title 2 extends Activity { int m. Prog; public void on. Create(Bundle saved. Instance. State) { super. on. Create(saved. Instance. State); request. Window. Feature(Window. FEATURE_INDETERMINATE_PROGRESS); set. Content. View(R. layout. progresstitle 2); find. View. By. Id(R. id. start). set. On. Click. Listener(new Button. On. Click. Listener() { public void on. Click(View v) { set. Progress. Bar. Indeterminate. Visibility(true); } }); find. View. By. Id(R. id. stop). set. On. Click. Listener(new Button. On. Click. Listener() { public void on. Click(View v) { set. Progress. Bar. Indeterminate. Visibility(false); } } [ Progress. Title 2 예제 실행 결과 ]
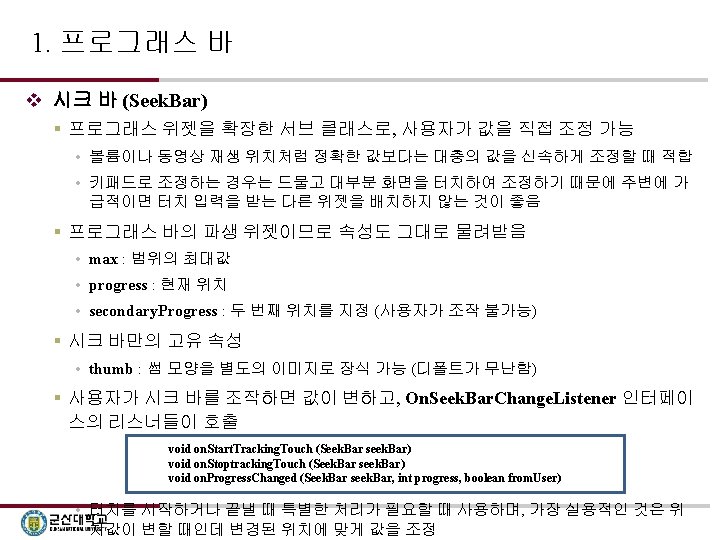
1. 프로그래스 바 § Seek. Bar. java 예제 • 트래킹을 시작할 때와 끝날 때에 대한 리스너는 따로 구현 안 함 • 인터페이스가 요구하는 메서드이므로 설사 본체가 비어있어도 메서드는 구현해야 함 seekbar. xml Seek. Bar. java <? xml version=“ 1. 0” encoding=“utf-8”? > <Linear. Layout xmlns: android=“http: //schemas. android. com/apk/res/android” android: orientation=“vertical” android: layout_width=“fill_parent” android: layout_height=“fill_parent” > <Seek. Bar android: id=“@+id/seekbar” android: layout_width=“fill_parent” android: layout_height=“wrap_content” android: max=“ 100” android: progress=“ 50” /> <Text. View android: id=“@+id/volume” android: layout_width=“fill_parent” android: layout_height=“wrap_content” android: text=“Now volume : 50” /> </Linear. Layout> Public class Seek. Bar extends Activity { Seek. Bar m. Seek. Bar; Text. View m. Volume; public void on. Create(Bundle saved. Instance. State) { super. On. Create(saved. Instance. State); set. Content. View(R. layout. seekbar); [ C 10_Seek. Bar 예제 실행 결과 ] m. Seek. Bar = (Seek. Bar)find. View. By. Id(R. id. seekbar); m. Volume = (Text. View)find. View. By. Id(R. id. volume); m. Seek. Bar. set. On. Seek. Bar. Change. Listener(new Seek. Bar. On. Seek. Bar. Change. Listener() { public void on. Progress. Changed(Seek. Bar seek. Bar, int progress, boolean from. User) { m. Volume. set. Text(“Now volume : “ + progress); } public void on. Start. Tracking. Touch(Seek. Bar seek. Bar) { } public void on. Stop. Tracking. Touch(Seek. Bar seek. Bar) { } }); } }
1. 프로그래스 바 v 래이팅 바 (Rating. Bar) § 별점을 표시하거나 입력 받는 위젯 • 만점을 기준으로 얼마만큼 점수를 받았는가를 표시 • 값을 조정할 수 있으며 읽기 전용 속성을 지원 • 영화나 서적 등에 별의 개수로 선호도를 매기는데 이런 점수 표시 및 입력용으로 흔히 사용 § Rating. java 예제 Rating. java Public class Rating extends Activity { Rating. Bar m. Rating; Text. View m. Rate. Text; public void on. Create(Bundle saved. Instance. State) { super. On. Create(saved. Instance. State); set. Content. View(R. layout. rating); m. Rating= (Rating. Bar)find. View. By. Id(R. id. ratingbar); m. Rate. Text = (Text. View)find. View. By. Id(R. id. ratetext); m. Rating. set. On. Rating. Bar. Change. Listener(new Rating. Bar. On. Rating. Bar. Change. Listener() { public void on. Rating. Changed(Rating. Bar rating. Bar, float rating, boolean from. User) { m. Rate. Text. set. Text(“Now Rate : “ + rating); } }
1. 프로그래스 바 • num. Star : 만점이 되는 별의 개수 - 임의의 개수 지정 가능. (디폴트 5) - 별의 개수에 따라 위젯의 폭 결정. - 레이아웃의 위젯 폭은 반드시 wrap_content 로 지정해야 함. • step. Size : 별점의 조정 단위 - 1 : 별 1개 단위로 점수를 매김 - 0. 5 : 별 반개 단위로 점수를 매김 - 0. 1 : 정밀히 점수 매김 가능 - 한 개 단위는 해상도가 떨어지므로 보통 반 개 단위가 많으며 디폴트는 0. 5 • rating : 초기 별점 (디폴트 0) • is. Indicator : 별점을 단순히 표시만 할 것인지를 지정 - 디폴트 false - rating. Bar. Style. Indicator : 별점 표시만 가능 (사용자 조정 불가능) - rating. Bar. Style. Small : 별이 작게 표시됨 (읽기 전용) rating. xml <? xml version="1. 0" encoding="utf-8"? > <Linear. Layout xmlns: android="http: //schemas. android. com/apk/res/android" android: orientation="vertical" android: layout_width="fill_parent" android: layout_height="fill_parent"> <Rating. Bar android: id="@+id/ratingbar" android: layout_width="wrap_content" android: layout_height="wrap_content" android: step. Size="0. 2" android: rating="3" /> <Text. View android: id="@+id/ratetext" android: layout_width="fill_parent" android: layout_height="wrap_content" android: text="Now Rate : 3" /> <Rating. Bar android: id="@+id/ratingbar" android: layout_width="wrap_content" android: layout_height="wrap_content" android: rating="2" android: is. Indicator="true" /> <Rating. Bar style="? android: attr/rating. Bar. Style. Indicator" android: layout_width="wrap_content" android: layout_height="wrap_content" android: num. Stars="4" android: rating="2. 5" /> <Rating. Bar style="? android: attr/rating. Bar. Style. Small" android: layout_width="wrap_content" android: layout_height="wrap_content" android: num. Stars="10" android: rating="7" /> </Linear. Layout> • 사용자가 별점을 드래그해 조정하면 On. Rating. Barchange. Listener 인터페이스의 on. Rating. Changed 리스너가 호출되어 변경된 별점을 읽고 처리
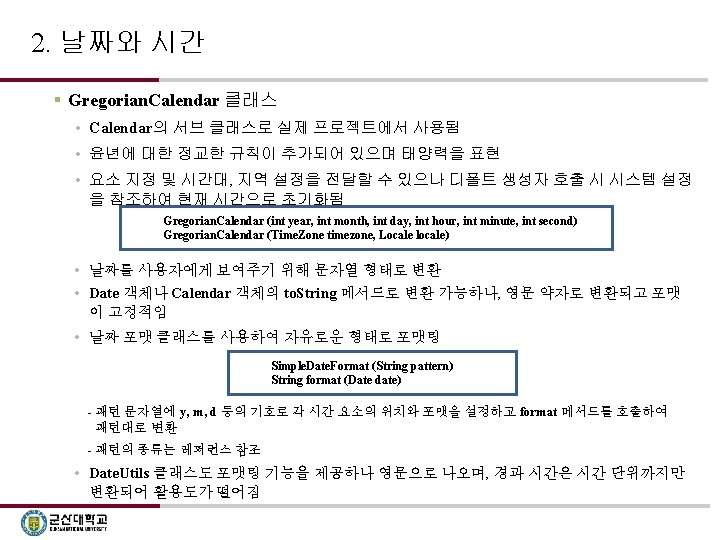
2. 날짜와 시간 § Calendar 클래스 • 날짜를 표현하는 고급 클래스 • 생성자는 동기화의 문제로 외부에서 호출할 수 없도록 감추어져 있음 • get. Instance 정적 메서드로 객체를 생성 • 시간대와 지역 설정을 전달받아 현재 시간으로 초기화하되 두 인수 모두 생략 시 시스 템 설정을 따름 static synchronized Calendar get. Instance ([Time. Zone timezone, Locale locale]) • 날짜, 시간을 구성하는 개별 요소는 아래의 메서드로 분리하거나 설정 int get (int field) void set (int field, int value) void set (int year, int month, int day, int hour. Of. Day, int minute, int second) void add (int field, int value) • Date 객체나 에폭 타임과 상호 변환 가능 Date get. Time () void set. Time (Date date) void set. Time. In. Millis (long milliseconds) long get. Time. In. Millis ()
2. 날짜와 시간 § System. Clock 클래스 • 안드로이드의 날짜 지원 클래스 static long elapsed. Realtime () static long uptime. Millis () static long current. Thread. Time. Millis () § C 10_Date. Time. java 예제 Date. Time. java – 1 public class Date. Time extends Activity { public void on. Create(Bundle saved. Instance. State) { super. on. Create(saved. Instance. State); set. Content. View(R. layout. datetime); Refresh(); } public void m. On. Click(View v) { switch (v. get. Id()) { case R. id. btnrefresh: Refresh(); break; } } void Refresh() { String. Builder time = new String. Builder(); long epoch = System. current. Time. Millis(); time. append("epoch = " + epoch + "n"); //time. append("now = " + Date. Utils. format. Date. Time(this, epoch, 0) + "n"); Calendar cal = new Gregorian. Calendar(); time. append("now = " + String. format("%d년 %d월 %d일 %d시 %d분 n", cal. get(Calendar. YEAR), cal. get(Calendar. MONTH) + 1, cal. get(Calendar. DAY_OF_MONTH), cal. get(Calendar. HOUR_OF_DAY), cal. get(Calendar. MINUTE)));
2. 날짜와 시간 § Date. Time. java 예제 Date. Time. java – 2 Date now = new Date(); Simple. Date. Format sdf = new Simple. Date. Format("yyyy. MM. dd hh: mm: ss"); time. append("now = " + sdf. format(now) + "n"); Calendar tom = new Gregorian. Calendar(); tom. add(Calendar. DAY_OF_MONTH, 1); Date tomdate = tom. get. Time(); Simple. Date. Format sdf 2 = new Simple. Date. Format("yyyy. MM. dd"); time. append("tomorrow = " + sdf 2. format(tomdate) + "n"); time. append("boot = " + Up. Time(System. Clock. elapsed. Realtime())); time. append("run = " + Up. Time(System. Clock. uptime. Millis())); time. append("thread = " + Up. Time( System. Clock. current. Thread. Time. Millis())); Text. View result = (Text. View)find. View. By. Id(R. id. result); result. set. Text(time. to. String()); } String Up. Time(long msec) { long sec = msec / 1000; String result; result = String. format("%d일 %d시 %d분 %d초n", sec / 86400, sec / 3600 % 24, sec / 60 % 60, sec % 60); //result = Date. Utils. format. Elapsed. Time(sec) + "n"; return result; } }
2. 날짜와 시간 § clock. xml 예제 clock. xml <? xml version="1. 0" encoding="utf-8"? > <Linear. Layout xmlns: android="http: //schemas. android. com/apk/res/android" android: orientation="vertical" android: layout_width="fill_parent" android: layout_height="fill_parent“ android: gravity="center_horizontal" > <Analog. Clock android: layout_width="wrap_content" android: layout_height="wrap_content" /> <Digital. Clock android: layout_width="wrap_content" android: layout_height="wrap_content" android: text. Size="10 pt" android: text. Color="#00 ff 00" /> </Linear. Layout> public class Clock extends Activity { public void on. Create(Bundle saved. Instance. State) { super. on. Create(saved. Instance. State); set. Content. View(R. layout. clock); } }
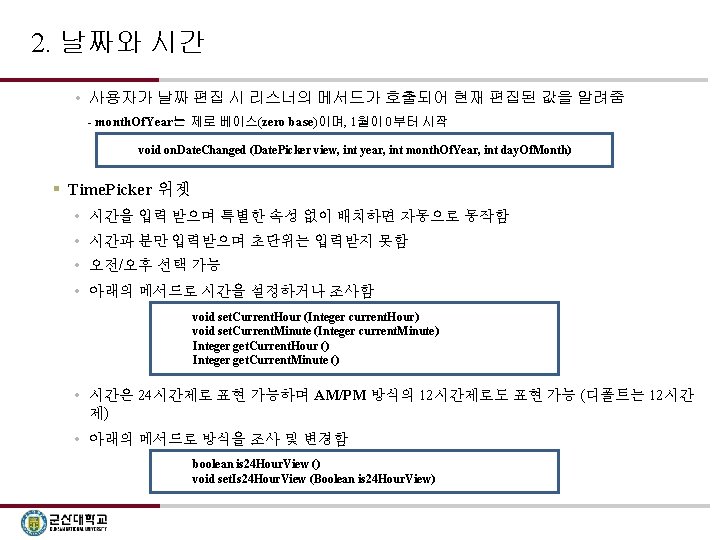
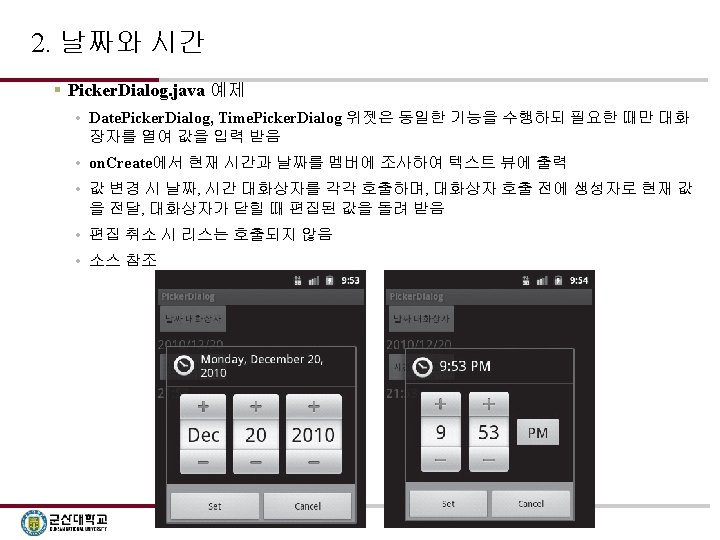
2. 날짜와 시간 • 시간 편집 시 이벤트는 아래의 메서드로 지정 - 리스너의 핸들러로 편집된 시간과 분이 전달 - Date. Picker에 비해 핸들러 지정 방법이 합리적으로 설계됨 void set. On. Time. Changed. Listener (Time. Picker. On. Time. Changed. Listener on. Time. Changed. Listener) void on. Time. Changed (Time. Picker view, int hour. Of. Day, int minute) § Date. Time. Picker. java 예제 Date. Time. Picker. java – 1 public class Date. Time. Picker extends Activity { Date. Picker m. Date; Text. View m. Txt. Date; Time. Picker m. Time; Text. View m. Txt. Time; public void on. Create(Bundle saved. Instance. State) { super. on. Create(saved. Instance. State); set. Content. View(R. layout. datetimepicker); // 날짜 선택기 m. Date = (Date. Picker)find. View. By. Id(R. id. datepicker); m. Txt. Date = (Text. View)find. View. By. Id(R. id. txtdate); m. Date. init(m. Date. get. Year(), m. Date. get. Month(), m. Date. get. Day. Of. Month(), new Date. Picker. On. Date. Changed. Listener() { public void on. Date. Changed(Date. Picker view, int year, int month. Of. Year, int day. Of. Month) { m. Txt. Date. set. Text(String. format("%d/%d/%d", year, month. Of. Year + 1, day. Of. Month)); } } );
2. 날짜와 시간 § Date. Time. Picker. java 예제 Date. Time. Picker. java – 2 // 시간 선택기 m. Time = (Time. Picker)find. View. By. Id(R. id. timepicker); m. Txt. Time = (Text. View)find. View. By. Id(R. id. txttime); m. Time. set. On. Time. Changed. Listener( new Time. Picker. On. Time. Changed. Listener() { public void on. Time. Changed(Time. Picker view, int hour. Of. Day, int minute) { m. Txt. Time. set. Text(String. format("%d: %d", hour. Of. Day, minute)); } }); // 24시간제 토글 find. View. By. Id(R. id. btntoggle 24). set. On. Click. Listener( new View. On. Click. Listener() { public void on. Click(View v) { m. Time. set. Is 24 Hour. View(!m. Time. is 24 Hour. View()); } }); // 선택기로부터 날짜 조사 find. View. By. Id(R. id. btnnow). set. On. Click. Listener(new View. On. Click. Listener() { public void on. Click(View v) { String result = String. format("%d/%d/%d %d: %d", m. Date. get. Year(), m. Date. get. Month() + 1, m. Date. get. Day. Of. Month(), m. Time. get. Current. Hour(), m. Time. get. Current. Minute()); Toast. make. Text(C 10_Date. Time. Picker. this, result, 0). show(); } }
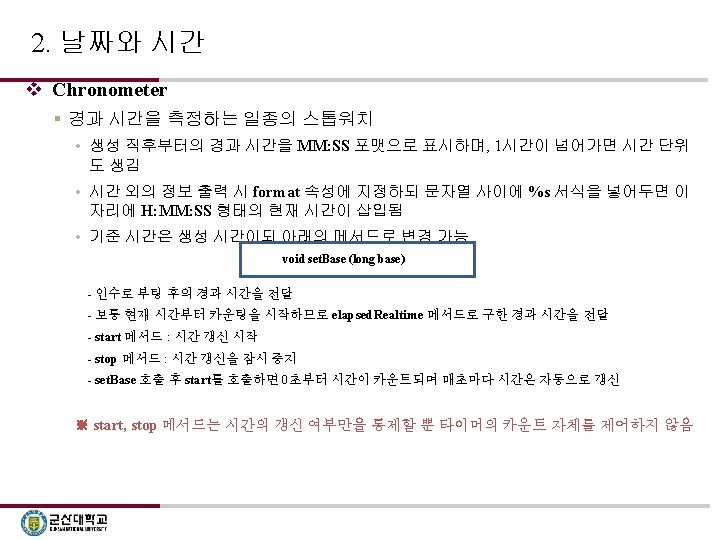
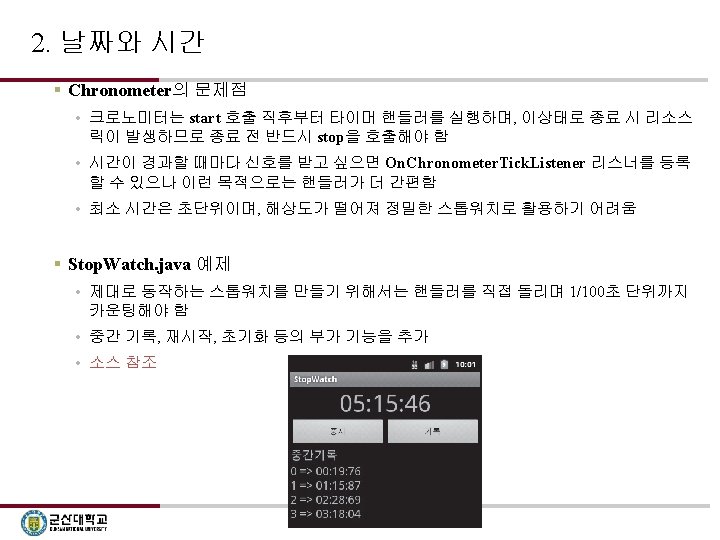
2. 날짜와 시간 § Chronometer. java 예제 Chronometer. java public class Chronometer extends Activity { Chronometer m. Chrono; public void on. Create(Bundle saved. Instance. State) { super. on. Create(saved. Instance. State); set. Content. View(R. layout. c 10_choronometer); m. Chrono = (Chronometer)find. View. By. Id(R. id. chrono); } public void on. Destroy() { super. on. Destroy(); m. Chrono. stop(); } public void m. On. Click(View v) { switch (v. get. Id()) { case R. id. btnstart: m. Chrono. start(); break; case R. id. btnstop: m. Chrono. stop(); break; case R. id. btnreset: m. Chrono. set. Base(System. Clock. elapsed. Realtime()); break; } } } <Chronometer android: id="@+id/chrono" android: layout_width="wrap_content" android: layout_height="wrap_content" android: format="경과시간=%s" android: text. Size="30 sp" />
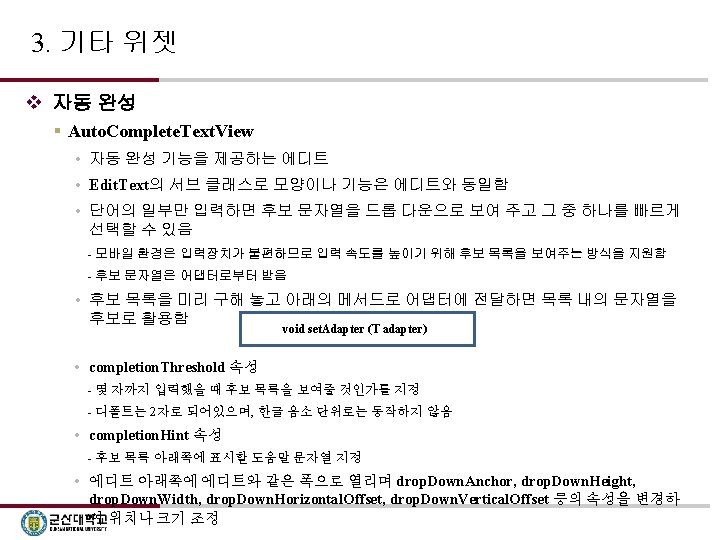
3. 기타 위젯 § Auto. Complete. java 예제 Auto. Complete. java public class Auto. Complete extends Activity { String[] ar. Words = new String[] { "가구", "가로수", "가방", "가슴", "가치", "가훈", "나그네", "다리미", "above", "about", "absolute", "access", "activity", "adjust" }; public void on. Create(Bundle saved. Instance. State) { super. on. Create(saved. Instance. State); set. Content. View(R. layout. autocomplete); Array. Adapter<String> ad. Word = new Array. Adapter<String>(this, android. R. layout. simple_dropdown_item_1 line, ar. Words); Auto. Complete. Text. View auto. Edit = (Auto. Complete. Text. View) find. View. By. Id(R. id. autoedit); auto. Edit. set. Adapter(ad. Word); } } <Auto. Complete. Text. View android: id="@+id/autoedit" android: layout_width="fill_parent" android: layout_height="wrap_content" android: completion. Threshold="1" android: completion. Hint ="목록에서 원하는 단어를 탭하십시오. " />
3. 기타 위젯 § Multi. Auto. java 예제 C 10_Multi. Auto. java public class Multi. Auto extends Activity { String[] ar. Words = new String[] { "가구", "가로수", "가방", "가슴", "가치", "가훈", "나그네", "다리미", "above", "about", "absolute", "access", "activity", "adjust" }; public void on. Create(Bundle saved. Instance. State) { super. on. Create(saved. Instance. State); set. Content. View(R. layout. multiauto); Array. Adapter<String> ad. Word = new Array. Adapter<String>(this, android. R. layout. simple_dropdown_item_1 line, ar. Words); Multi. Auto. Complete. Text. View auto. Edit = (Multi. Auto. Complete. Text. View) find. View. By. Id(R. id. autoedit); auto. Edit. set. Adapter(ad. Word); auto. Edit. set. Tokenizer(new Multi. Auto. Complete. Text. View. Comma. Tokenizer()); } }
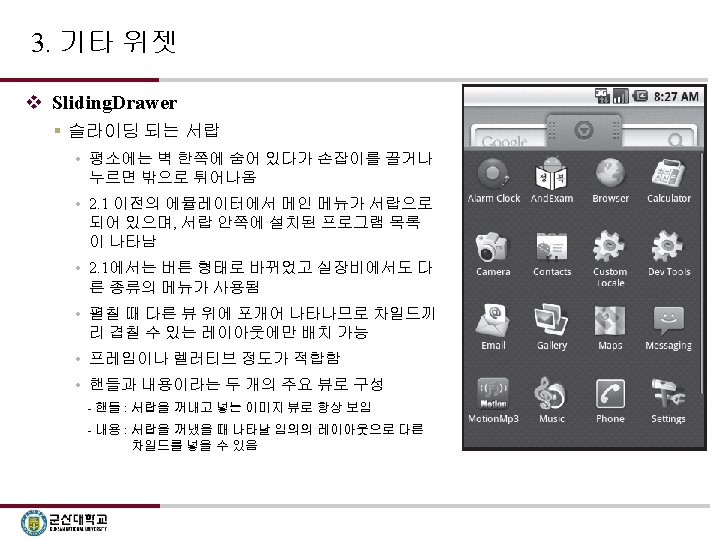
3. 기타 위젯 § Sliding. Drawer. java 예제 Sliding. Drawer. java public class Sliding. Drawer extends Activity { public void on. Create(Bundle saved. Instance. State) { super. on. Create(saved. Instance. State); set. Content. View(R. layout. slidingdrawer); } public void m. On. Click(View v) { Sliding. Drawer drawer = (Sliding. Drawer)find. View. By. Id(R. id. drawer); drawer. animate. Close(); } } slidingdrawer. xml <? xml version="1. 0" encoding="utf-8"? > <Relative. Layout xmlns: android="http: //schemas. android. com/apk/res/android" android: layout_width="fill_parent" android: layout_height="fill_parent" > <Text. View android: layout_width="wrap_content" android: layout_height="wrap_content" android: text="아래쪽의 핸들을 드래그하세요. " /> <Sliding. Drawer android: id="@+id/drawer" android: layout_width="fill_parent" android: layout_height="fill_parent" android: top. Offset="60 dip" android: handle="@+id/handle" android: content="@+id/content"> <Image. View android: id="@id/handle" android: src="@drawable/andexam" android: layout_width="wrap_content" android: layout_height="wrap_content" /> <Linear. Layout android: id="@id/content" android: orientation="vertical" android: layout_width="fill_parent" android: layout_height="fill_parent" android: background="#808080" > <Text. View android: layout_width="wrap_content" android: layout_height="wrap_content" android: text. Color="#000000" android: text="여기는 서랍의 안쪽입니다. " /> <Button android: id="@+id/closedrawer" android: layout_width="wrap_content" android: layout_height="wrap_content" android: on. Click="m. On. Click" android: text="서랍 닫기" /> </Linear. Layout> </Sliding. Drawer> </Relative. Layout>
3. 기타 위젯 § Scroll. View. java 예제 scrollview. xml Scroll. View. java <? xml version="1. 0" encoding="utf-8"? > <Scroll. View xmlns: android="http: //schemas. android. com/apk/res/android" android: id="@+id/scr" android: layout_width="fill_parent" android: layout_height="wrap_content" > </Scroll. View> public class Scroll. View extends Activity { public void on. Create(Bundle saved. Instance. State) { super. on. Create(saved. Instance. State); set. Content. View(R. layout. scrollview); Scroll. View svw = (Scroll. View)find. View. By. Id(R. id. scr); //svw. set. Scroll. Bar. Style(View. SCROLLBARS_INSIDE_INSET); //svw. set. Vertical. Fading. Edge. Enabled(false); //svw. set. Vertical. Scroll. Bar. Enabled(false); svw. add. View(new Color. View(this)); } } class Color. View extends View { public Color. View(Context context) { super(context); } public void on. Draw(Canvas canvas) { Paint Pnt = new Paint(); for (int y = 0; y < 1280; y += 5) { Pnt. set. ARGB(255, 255 - y / 5, 255); canvas. draw. Rect(0, y, 1280, y + 5, Pnt); } } protected void on. Measure (int width. Measure. Spec, int height. Measure. Spec) { set. Measured. Dimension(1280, 1280); } }
3. 기타 위젯 • 스크롤 중에 가장자리가 흐릿해지는 효과를 적용할 것인지와 음영 길이를 지정 void set. Vertical. Fading. Edge. Enabled (boolean vertical. Fading. Edge. Enabled) void set. Horizontal. Fading. Edge. Enabled (boolean horizontal. Fading. Edge. Enabled) void set. Fading. Edge. Length (int length) • 스크롤 바를 사용할 것인가 아닌가를 지정 void set. Vertical. Scroll. Bar. Enabled (boolean vertical. Scroll. Bar. Enabled) void set. Horizontal. Scroll. Bar. Enabled (boolean horizontal. Scroll. Bar. Enabled) § HScroll. View. java 예제 HScroll. View. java public class HScroll. View extends Activity { public void on. Create(Bundle saved. Instance. State) { super. on. Create(saved. Instance. State); set. Content. View(R. layout. hscrollview); Horizontal. Scroll. View svw = (Horizontal. Scroll. View)find. View. By. Id(R. id. scr); svw. add. View(new HColor. View(this)); } } class HColor. View extends View { public HColor. View(Context context) { super(context); } public void on. Draw(Canvas canvas) { Paint Pnt = new Paint(); for (int x=0; x<1024; x+=4) { Pnt. set. ARGB(255, 255 -x/4, 255); canvas. draw. Rect(x, 0, x+4, 500, Pnt); } } protected void on. Measure (int width. Measure. Spec, int height. Measure. Spec) { set. Measured. Dimension(1024, 500); } }
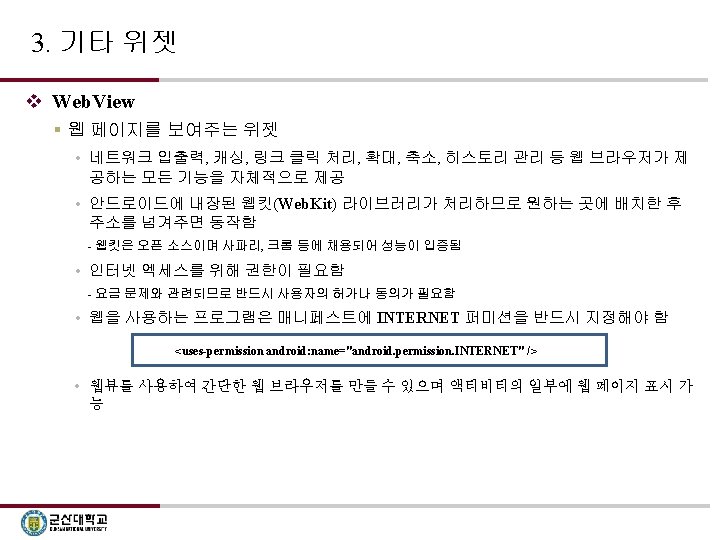
Web. View. java 3. 기타 위젯 § Web. View. java 예제 public class Web. View extends Activity { Web. View m. Web; public void on. Create(Bundle saved. Instance. State) { super. on. Create(saved. Instance. State); set. Content. View(R. layout. webview); m. Web = (Web. View)find. View. By. Id(R. id. web); m. Web. set. Web. View. Client(new My. Web. Client()); Web. Settings set = m. Web. get. Settings(); set. Java. Script. Enabled(true); set. Built. In. Zoom. Controls(true); m. Web. load. Url("http: //www. google. com"); } public void m. On. Click(View v) { switch (v. get. Id()) { case R. id. btngo: String url; Edit. Text addr = (Edit. Text)find. View. By. Id(R. id. address); url = addr. get. Text(). to. String(); m. Web. load. Url(url); break; case R. id. btnback: if (m. Web. can. Go. Back()) { m. Web. go. Back(); } break; case R. id. btnforward: if (m. Web. can. Go. Forward()) { m. Web. go. Forward(); } break; case R. id. btnlocal: m. Web. load. Url("file: ///android_asset/test. html"); break; } } class My. Web. Client extends Web. View. Client { public boolean should. Override. Url. Loading(Web. View view, String url) { view. load. Url(url); return true; } }