1 Android Android 3 Android Android 2 3


 plugin for Eclipse ADT plugin for")
 完成上一個步驟之後Eclipse會顯示左圖的對話盒讓我們繼續安 裝Android SDK,選擇Install new")


- Slides: 61
單元1 Android造時勢或是時勢 造Android 3
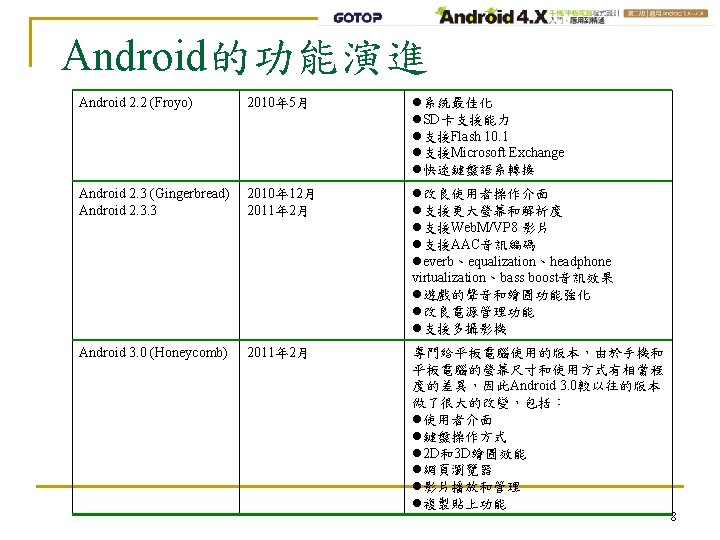
Android的功能演進 Android 2. 3. 4 2011年 5月 新增Open Accessory Library提供對USB 裝置的連線能力 Android 3. 1 2011年 5月 提供對USB裝置的連線能力 支援PTP (Picture Transfer Protocol) 新增不同輸入裝置的支援,例如mice, trackballs, joysticks, … 支援RTP (Real-time Transport Protocol) 強化Animation framework、UI framework、 Network的能力 Android 3. 2 2011年 7月 支援更多型態的平板電腦 新增應用程式畫面的放大模式 Android 4. 0 2011年 10月 適用手機、平板電腦和其它裝置 改良的操作介面 針對多核心CPU進行最佳化 強化多媒體處理能力 新增人臉偵測功能 新增Android Beam功能(NFC) 加強text-to-speech engine 9
Android平台架構圖 12
安裝Android程式開發 具的軟體需 求 n Eclipse 目前已經發展出支援多種程式語言開發的版本,包括Java、 C/C++、PHP、Software modeling等。我們需要的版本是 Eclipse IDE for Java Developers。 n Android Development Tools (ADT) plugin for Eclipse 這是用來撰寫Android程式的 具軟體,它是一個Eclipse 的plugin(插件),也就是必需安裝在Eclipse中和Eclipse 一起運作。 n Android Software Development Kit (Android SDK) 包括開發Android程式的過程中需要用到的資源,像是程 式庫、程式除錯 具、手機模擬器等。 23
安裝Android程式開發 具的步驟 Step 3. 安裝Android Development Tools (ADT) plugin for Eclipse ADT plugin for Eclipse可以在Eclipse主程式中完成下載和安裝。 執行eclipse. exe,然後選擇Help>Install New Software就會出現 如下的對話盒,按下對話盒右邊的「Add」按鈕並輸入下列資訊 Name: Android plugin Location: https: //dlssl. google. com/android/eclipse/ 然後按下「OK」,在對話盒中央 的清單會出現「Developer Tools 」項目,把該項目打勾然後進行安 裝。 26
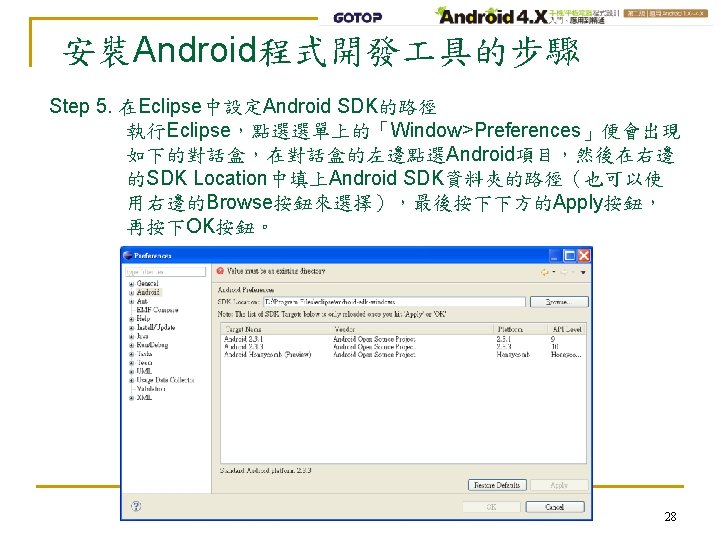
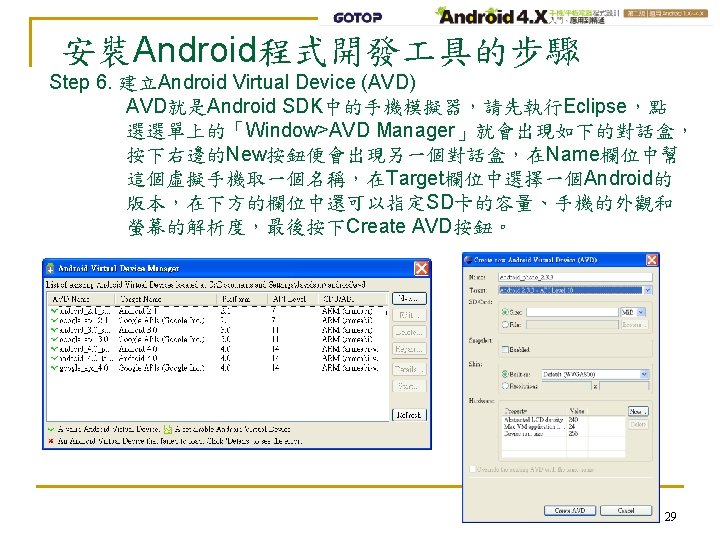
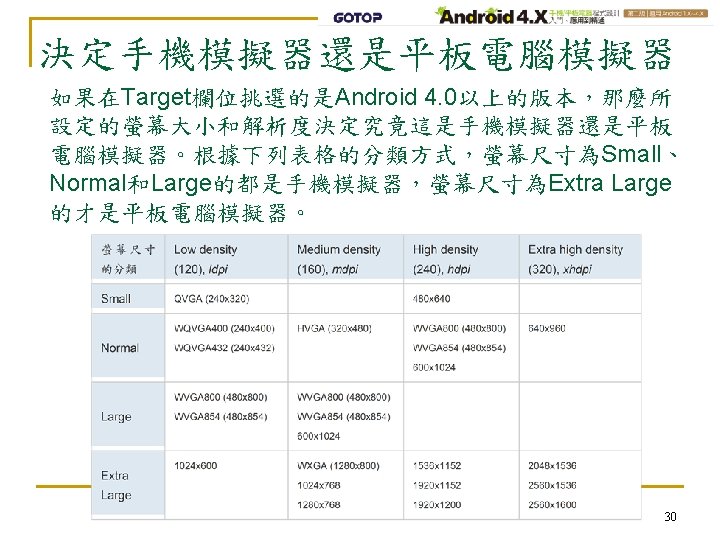
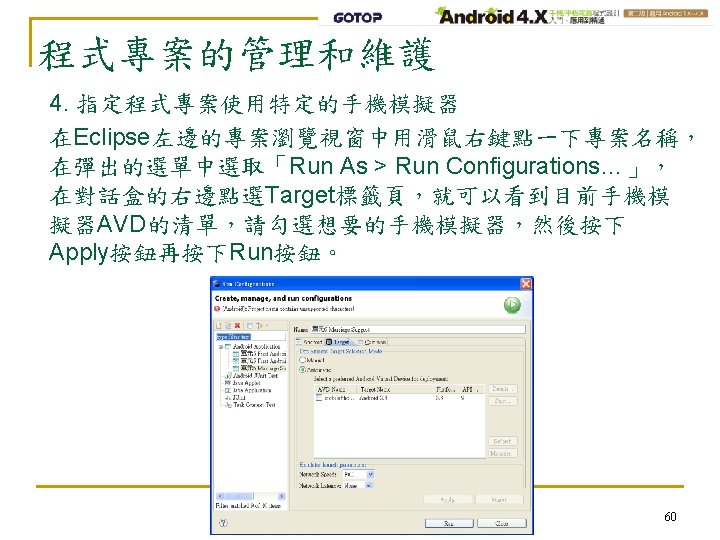
安裝Android程式開發 具的步驟 Step 4. 安裝Android Software Development Kit (Android SDK) 完成上一個步驟之後Eclipse會顯示左圖的對話盒讓我們繼續安 裝Android SDK,選擇Install new SDK,勾選Install the latest available version of Android APIs,在下方的Target Location欄 位中設定好Android SDK的儲存路徑,然後按下Next按鈕就會 出現右圖的對話盒,左邊會列出要安裝的項目,確認無誤後按 下Install按鈕開始安裝。 27
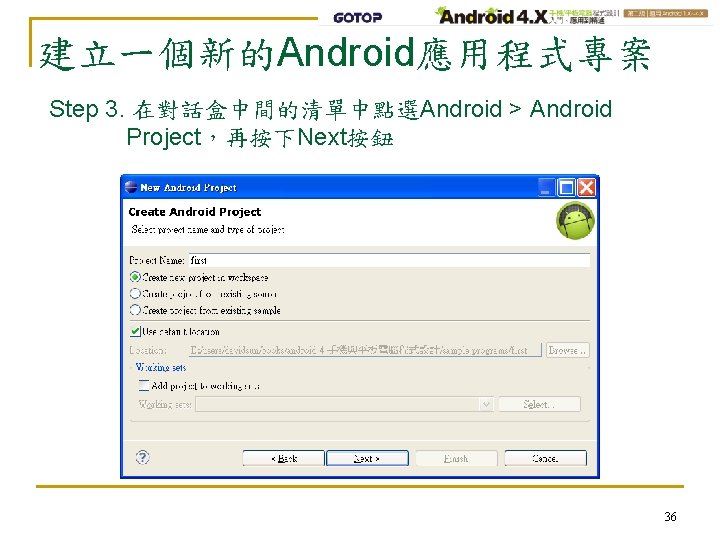
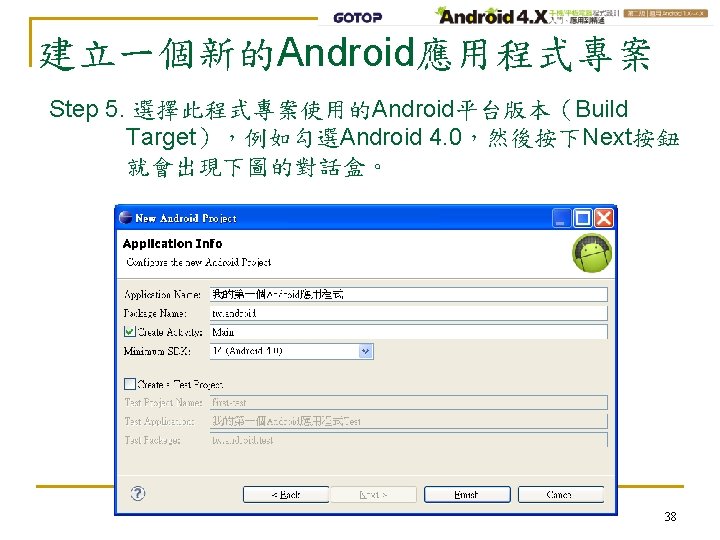
建立一個新的Android應用程式專案 Step 1. 執行Eclipse程式 Step 2. 從選單中選擇File > New > Project 35
建立一個新的Android應用程式專案 Step 4. Project Name: 自己幫此專案取一個名字,例如first • 點選Create new project in workspace項目 • 勾選Use default location 再按下Next按鈕 • 37
修改顯示文字並加上按鈕 Step 4. 仿照第二步的方法打開res>layout>main. xml檔。 Step 5. 在最後一行的上方,也就是</Linear. Layout>的上一 行插入下列的程式碼,輸入時請注意遵守原來檔案的 鋸齒狀編排格式以方便閱讀程式碼。 <Button android: layout_width="fill_parent” android: layout_height="wrap_content“ /> <Image. Button android: layout_width="fill_parent“ android: layout_height="wrap_content“ android: src="@drawable/icon“ /> 45
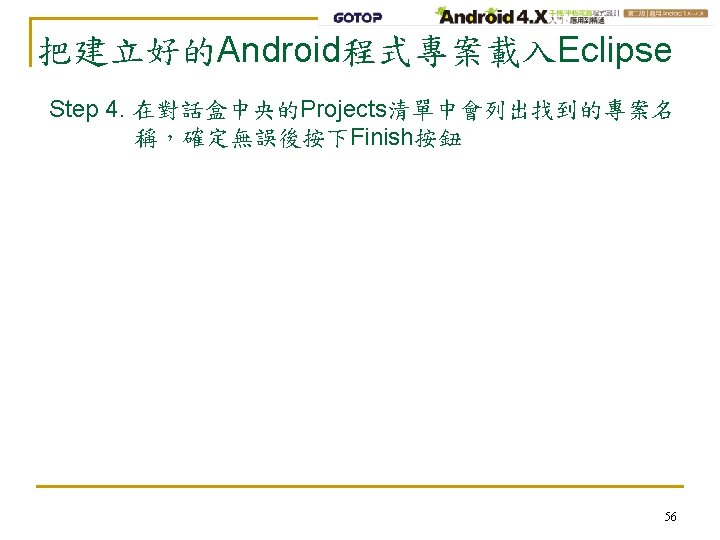
把建立好的Android程式專案載入Eclipse Step 1. 執行Eclipse,點選「File > Import…」。 Step 2. 在對話盒中央的清單中選擇「General > Existing Projects into Workspace」再按下Next按鈕。 Step 3. 在對話盒中點選「Select root directory,再按下右邊 的Browse按鈕,然後選取專案所在的資料夾。 55